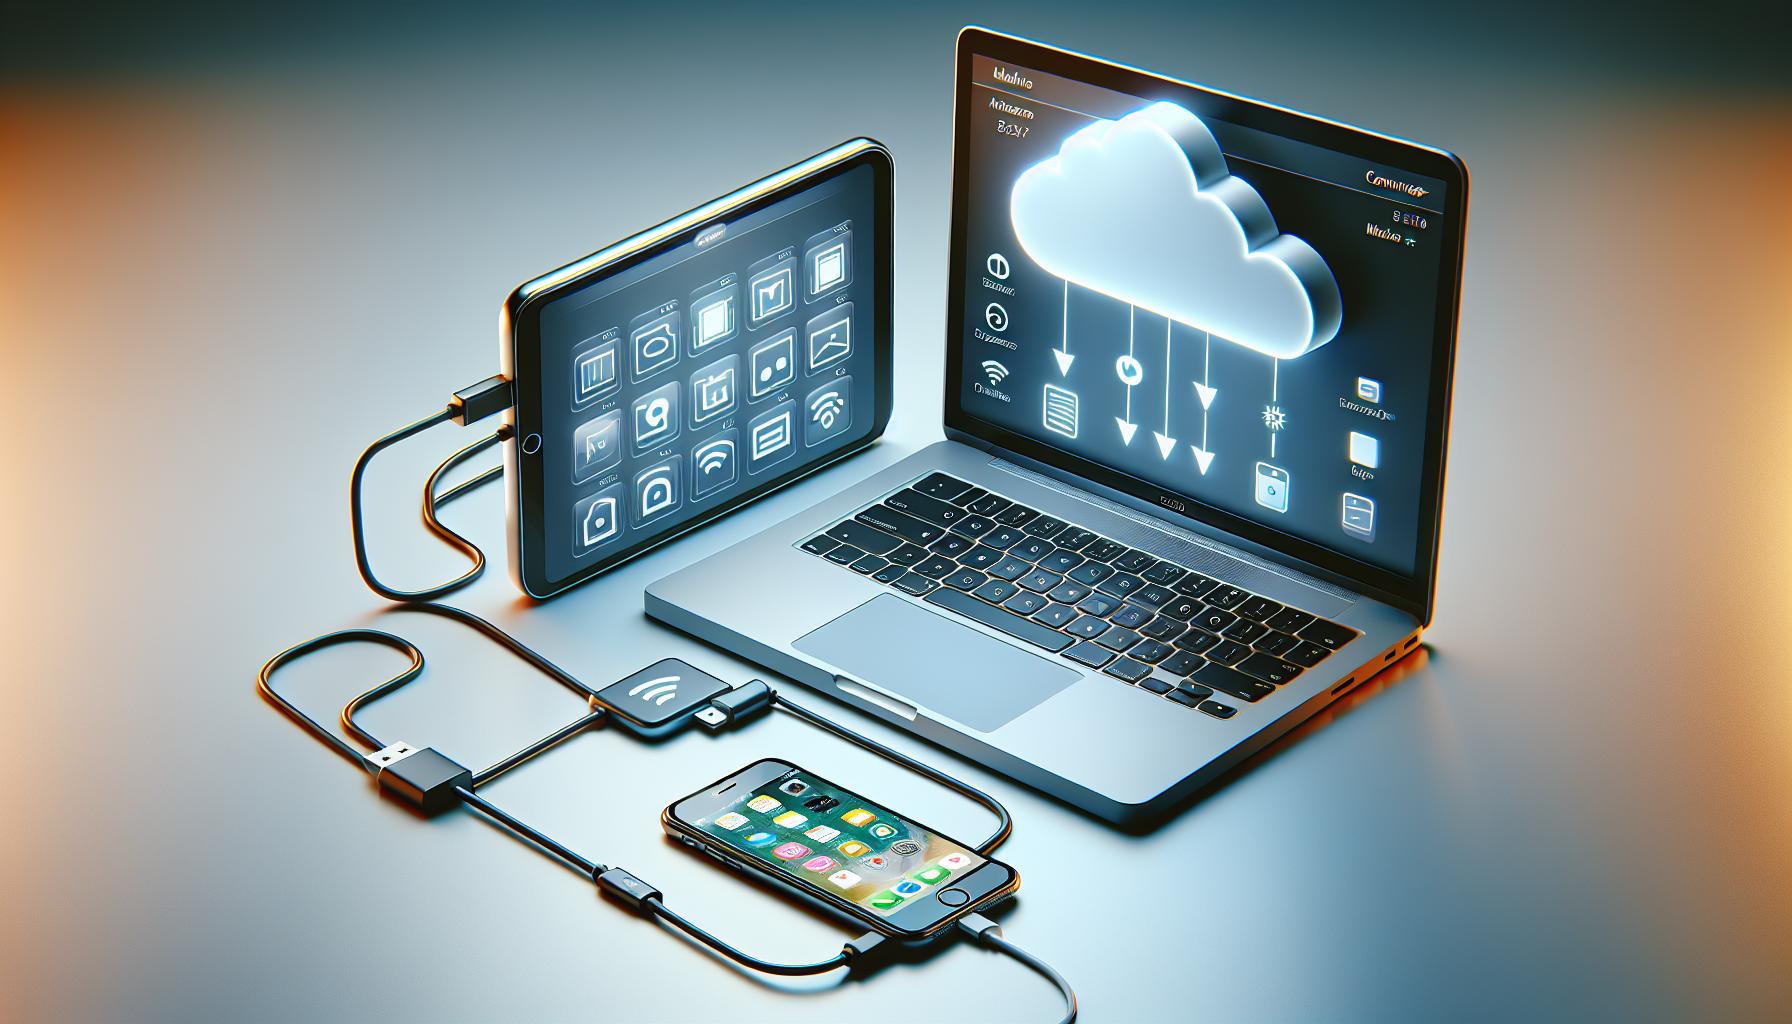
Ever had that sinking feeling when you've lost precious data from your iPhone? It's a nightmare you'd want to avoid. Luckily, backing up your iPhone is a breeze if you know the right steps.
In this guide, you'll learn how to safeguard your digital memories and important files. We'll walk you through the process, ensuring you never have to face a data loss catastrophe.
Whether you're a tech newbie or a seasoned iPhone user, this guide's got you covered. Stay tuned to discover how to back up your iPhone effectively and efficiently.
Why Backing Up Your iPhone is Important
In today's digital era, your iPhone carries a lot more than just numbers. Photos, videos, conversations, everything is safely stacked in that compact device. Backing up your iPhone isn't simply a bonus task you can decide to overlook. It's essential, and here's why.
Data loss can occur for a range of reasons. You may accidentally drop your iPhone damaging it irreparably or lose it. Malware and viruses can also lead to data corruption or loss. In such scenarios, a backup provides you with a safety net. It ensures that you won't lose your precious memories or important files that would be hard to replace.
Your iPhone's backup doesn't just protect your photos and videos. It maintains a copy of your texts, notes, reminders, and device settings as well. After a factory reset, which might be necessary in some cases, this backup lets you restore your phone just the way it was. It's like having a contingency plan for your digital life.
Performing regular backups also helps in seamlessly transferring data when you switch to a new iPhone. It's a hassle-free and efficient way to ensure that you don't lose any data during the transfer. Backup is especially useful when you're installing an iOS update. Sometimes, resolutions to bugs and system hitches involve restoring your device. Again, the backup will be your saving grace.
Most importantly, automatic backups provide peace of mind. You know that your data is safe and secure even in unforeseen events.
Regardless of whether you're a newbie or a long-time iPhone user, understanding the importance of backup is crucial. It's always better to be safe than sorry. Keep in mind that future problems aren't always visible today. So, regularly back up your iPhone and ensure your digital memories and files are never far from reach.
Different Ways to Back Up Your iPhone

You might wonder, what are the different ways to back up my iPhone? Well, you're in luck. Apple provides two primary methods: iCloud and iTunes. You can also use a third-party app if you prefer.
First up, iCloud. This is a cloud-based platform, allowing you to back up your data over Wi-Fi. Any new information on your device automatically syncs across all your Apple devices. Isn't that convenient?
To do this:
- Connect your device to a Wi-Fi network
- Head over to Settings -> Your Name -> iCloud
- Tap iCloud Backup and turn on iCloud Backup
- Press Back Up Now
Your device should be connected to Wi-Fi until the backup finishes.
iTunes, on the other hand, is an application-based platform. It's best for those with large files as it doesn't have any storage limits.
Here's how you do it:
- Connect your device to your computer
- Open iTunes and select your iPhone
- Click on Summary from the sidebar
- Click Back Up Now under Manually Back Up and Restore
Wait till your backup completes before you disconnect your iPhone.
Third-party apps can fill in where iTunes and iCloud leave off. For example, products like iMazing or Dr.Fone Toolkit can provide more granular control over what gets backed up.
Remember that failure to back up your iPhone regularly can lead to irreplaceable loss of data. Therefore, make it a habit. With all these methods of backing up, you're only limited by your preferences. Choose a method that fits your needs best. It's all up to you.
Using iCloud to Back Up Your iPhone

You're at the most crucial step now, understanding how to go about using iCloud for backing up your iPhone. Trust us, it's easier than you think.
Why would you choose iCloud instead of other available options? The answer lies in iCloud's flexibility, accessibility, and the secure encryption it provides. Plus, it provides an automatic backup solution, without requiring any physical wires connected.
Let's dive in.
Step 1: Connect to Wi-Fi
To begin with, ensure you have a stable Wi-Fi connection. Data backup consumes a lot of bandwidth and ideally, you don't want to exhaust all your data.
Step 2: Access iCloud
Next, access 'Settings' from the home screen of your iPhone. Tap on your name at the top and navigate to the 'iCloud' option. Here, you'll see a list of all the data types that can be backed up.
Step 3: Choose what to back up
Scroll down to 'iCloud Backup' and toggle the switch to the 'On' position. You can manually select which data types you'd like to back up.
Step 4: Initiate Backup
Once you've decided on what to back up, tap on the 'Back Up Now' option. Make sure your device stays connected to Wi-Fi until the process is complete.
Keep in mind, as long as 'iCloud Backup' is switched on and your device is linked to Wi-Fi, overnight automatic backups will occur. This is an added benefit that requires no manual intervention.
iCloud provides 5GB of free storage, but in many cases, this isn't enough. You have the option to buy more space, with plans starting at $0.99/month for 50GB. Remember, the cost is worth it if it means securing important data.
Understand this, the more frequently you back up your iPhone, the less likely you are to lose important information. This process might seem time-consuming, but its benefits are noteworthy. Let's now look at another way to secure your data- using iTunes.
Using iTunes to Back Up Your iPhone
Backing up your iPhone with iTunes is another robust method you might want to try. It's an excellent alternative to iCloud, especially for those encountering unstable internet connections or preferring a direct computer backup.
To back up your iPhone using iTunes, first, ensure that you have the most recent version of iTunes installed on your computer. The process requires connecting your device to the computer using a USB cable, and then launching iTunes.
Next, you'll find the device icon near the top-left corner of the screen. Click on this device icon followed by clicking on 'Summary'. In the 'Backups' section, you'll find the 'This computer' option. Check that box and select 'Back Up Now' to initiate the process.
One advantage of using iTunes for your backup needs is the ability to encrypt your backup for enhanced security. You can choose 'Encrypt iPhone backup' and create a memorable password to secure your data.
Additionally, iTunes backups are not restricted by storage limits. As long as your computer has enough space, you can back up a vast amount of data. However, remember to manage your computer storage wisely to avoid potential system slowdowns or crashes.
Although the steps might sound a bit complicated, they aren’t. Once you've done it a few times, you'll find the process as straightforward as using iCloud.
iTunes is a reliable backup solution, valuing both security and storage capacity, and is especially handy if iCloud isn’t meeting your needs. It might take a bit longer due to the physical connection required, but the benefits are well worth the extra effort. By backing up regularly and using different methods, you'll be better prepared for any unexpected occurrences.
The next section will guide you on how to restore your iPhone data using both methods. Get ready to learn how to bounce back quickly and smoothly when the need arises.
Tips for a Successful iPhone Backup

When it comes to backing up your iPhone, there are a few tips and tricks that can make the process go smoothly. Understanding these can help maximize the effectiveness of your backup and ensure you're fully safeguarded against data loss.
First off, make sure to consistently back up your iPhone. Whether it's once a week, twice a month, or every time you make significant changes to your data, maintaining a consistent backup schedule is the key. By doing so, you're always assured that your most recent data is protected.
Moreover, consider using both iCloud and iTunes for backup. Each comes with its unique advantages and using them in tandem can provide a comprehensive backup solution. While iCloud offers the benefit of automated backups and access to data across your devices, iTunes provides unlimited storage and enhanced security via encrypted backups.
Remember, iCloud and iTunes offer different features. For instance, iCloud needs a Wi-Fi connection for backup while iTunes doesn't. So, it's essential to understand the nuances of each and choose the best fit for your needs.
It's also crucial to manage your storage wisely, especially with iCloud. iCloud free accounts get 5GB of space and you might need to buy additional storage if your backup exceeds this limit. With iTunes, there's no limit, but be sure to clear some space on your computer to avoid system issues.
Last but not the least, don't forget to encrypt your backups when using iTunes. It adds an extra layer of protection to your data especially when you store sensitive information like passwords and Health app data.
These tips should help making backing up your iPhone a breeze. Familiarizing yourself with the process can go a long way towards keeping your data safe and secure. No matter what option you choose, remember that data protection begins with frequent and thorough backups. Stay tuned for more detailed info on how to restore iPhone data using both iCloud and iTunes.
Restoring Your iPhone from a Backup
When you've diligently backed up your data, restoring your iPhone becomes a simple task. Whether you've used iCloud or iTunes for your backups, both methods offer reliable data recovery solutions. Let's dive into the process and see how it works.
Starting with iCloud, it's useful when you've a Wi-Fi connection and need all data back without connecting to a computer. To restore data using iCloud, follow these steps:
- Reset the phone to its factory settings
- Select 'Restore from iCloud Backup' during the initial iPhone setup
- Sign in with your Apple ID
- Choose the backup you want to be restored
Proceeding with this method, it's important to stay connected to Wi-Fi until the process is done, as iCloud restoration happens through internet.
On the other hand, using iTunes for a restore is an effective way to regain data without using Wi-Fi. It's helpful when you've large files to retrieve or a slow internet connection. To undertake a restore using iTunes, do the following:
- Connect the iPhone to the computer
- Open iTunes or Finder
- Choose your device when it appears
- Select 'Restore Backup'
- Pick the most relevant backup
With iTunes, be patient since the restoration process might take a little longer if the size of the backup is large or the computer is running several tasks.
Switching from one iPhone to another? You're in luck as both iCloud and iTunes allow restoring old data to a new device. Just ensure the new device has the most recent iOS update, and follow the same steps to bring your treasured data to your new iPhone.
No matter how you decide to restore, conducting frequent backups is essential to avoid any unwelcome loss of data. Stay prepared and know that you're fully equipped to restore your device if need arises. Up next, we'll have a look at common issues that may arise during backup and restoration, and provide tips to troubleshoot them effectively.
Conclusion
So, you've learned the ins and outs of backing up your iPhone. You've seen how iCloud and iTunes each offer unique advantages, and how managing your storage and encrypting your backups can add an extra layer of protection. You've also discovered the steps to restore your iPhone from a backup, whether you're using iCloud over Wi-Fi or iTunes for larger files. Remember, frequent backups aren't just about safeguarding against loss or damage. They're also your ticket to seamlessly transferring your old data to a new device. Keep these tips in mind, and you'll be well-equipped to keep your iPhone data safe and accessible, no matter what comes your way.
Frequently Asked Questions
What is the primary focus of the article?
The article's focus is on offering tips for successful iPhone backup and restoration. It emphasizes the importance of regular device backups and highlights benefits of using iCloud and iTunes for these procedures.
Why should I backup my iPhone regularly?
Backing up your iPhone regularly ensures your data's security and accessibility. It guards against possible data loss due to unexpected incidents, such as device damage, theft, or software malfunction.
What are the advantages of iCloud and iTunes backups?
iCloud offers convenient wireless backups and can automatically do it when your iPhone is charging, locked, and connected to Wi-Fi. iTunes, on the other hand, is beneficial for restoring large files or for those with slower internet connections.
How can I manage my storage efficiently on iCloud?
Proper management of iCloud storage involves deleting old backups and unnecessary data. Regularly auditing and purging files can free up storage space, allowing more room for important backups.
Why should I encrypt my backups when using iTunes?
Encrypting your iTunes backups adds an extra layer of security, protecting sensitive data from unauthorized access. It's particularly useful when you have confidential information on your iPhone.
How can you restore an iPhone from a iCloud and iTunes backup?
You can restore your iPhone from a iCloud backup by going to your device's Settings, selecting your Name, then iCloud, then iCloud Backup and clicking "Restore. For iTunes, connect your device to the computer, open iTunes, select your iPhone, click on 'Summary', then 'Restore iPhone'.
Can I restore old data to a new device using iCloud or iTunes?
Yes, both iCloud and iTunes allow you to restore old data to a new device. This feature simplifies the process of transferring data when switching to a new iPhone.


