Getting a new iPhone is exciting, but transferring all your data can be a bit daunting. Don't worry, we're here to guide you through the process. Whether you're moving from an old iPhone to a new one, or switching from an Android device, we've got you covered.
In this article, you'll learn how to seamlessly move your contacts, photos, apps, and more to your new iPhone. We'll walk you through every step, ensuring your transition is smooth and hassle-free. So, let's dive in and get started on setting up your new device.
Remember, you don't need to be a tech guru to get this done. With our simple and straightforward guide, you'll have everything transferred to your new iPhone in no time. So, sit back, relax, and let's get your new iPhone up and running.
Step 1: Backing up Your Old iPhone
Before anything else, it's crucial that you back up your old iPhone. This step ensures all your data, including your contacts, photos, apps, and more are safe and ready to be moved to your new device.
You've got two options for backing up your old iPhone: iCloud or iTunes.
Backing up with iCloud
If you're keen to use iCloud, here's the easy step-by-step guide:
- Connect your device to Wi-Fi.
- Go to Settings > [your name] > iCloud.
- Select iCloud Backup.
- Tap on 'Back Up Now.'
Your iPhone will start backing up all your data to iCloud. Remember, the length of this process depends on the amount of data you have.
Backing up with iTunes
Alternatively, if you prefer to use iTunes, follow these instructions:
- Connect your old iPhone to your computer.
- Open iTunes and select your device.
- Click on 'Back Up Now.'
Just like the iCloud backup, this process' duration depends on the size of your data.
This step is the foundation of a hassle-free transition to your new iPhone. Treat it with the seriousness it deserves and ensure you have a comprehensive backup.
Remember, your photos, apps, and personal information are essential. It's more than just data. It's a collection of memories, communications, and elements that make your device personal. Once your old iPhone has been backed up, you're one step closer to setting up your new one.
Key takeaway:
- Backing up your old iPhone is the first and crucial step to take before switching to a new iPhone.
- iCloud and iTunes are both effective methods for backing up your data, choose the one that suits you best.
In the next section, we'll delve deeper into what comes after your data has been safely backed up and you're ready to make a move. Stay tuned.
Step 2: Setting up Your New iPhone

After taking precautionary measures to secure your old data by backing it up, you're set to move forward to the next step: Setting up your new iPhone. Setting up involves initiating actions on your new device to get it ready for usage. You'll see, it's simpler than it sounds!
Turn on Your New Device
Press and hold the power button until you see the Apple logo. Following this, a "Hello" screen will welcome you. If you're setting a handset with Home button, you can press it. For others, just swipe up.
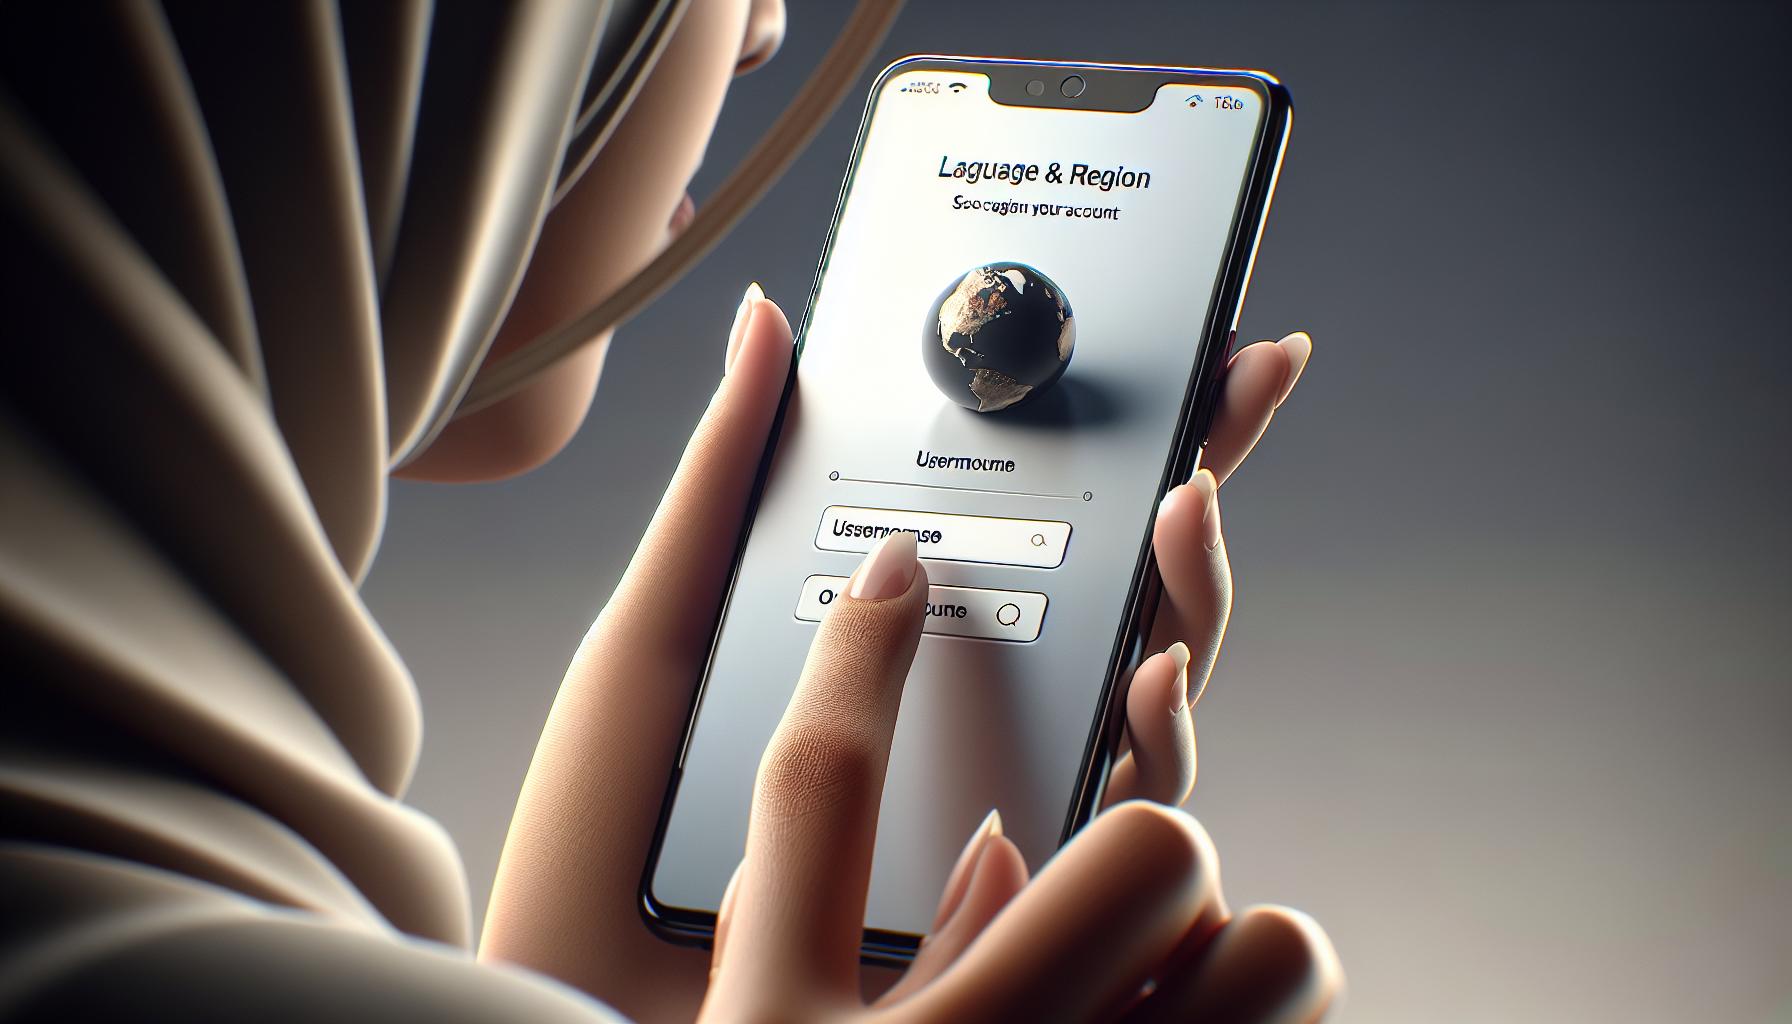
Make sure to select your preferred language and your region. These settings will determine the language display and time settings on your iPhone.
Connect to WiFi
Ensure that your device is connected to WiFi. This is crucial as data intensive operations such as restoring your backup and the update process require a secure and reliable connection.
Set Up Your Apple ID
Enter your Apple ID and password. If you don't have one, never fear, it's an easy setup. Click on "Forgot password or don't have an Apple ID?" and simply follow the prompts. Remember, this ID ties all your devices together making it easier for you to access your data across multiple platforms.
Restore from iCloud or iTunes Backup
It's time to restore your old data. If you've backed up using iCloud, go to "Apps & Data" then choose "Restore from iCloud Backup". For iTunes, connect your iPhone to your computer, select your iPhone in iTunes, then select "Restore Backup".
Follow through with the remaining prompts which will include enabling location services, setting up Apple Pay, and agreeing to the terms and conditions.
You'll find, with each step, your iPhone begins to take on a familiar feel as it populates with your cherished data and preferred settings.
Step 3: Transferring Contacts and Photos
In this step, you'll focus on transferring key personal data: your contacts and photos. These elements are often the lifeblood of our digital lives and not something you'd want to lose in transition.
For contacts, if your old iPhone was using iCloud to sync contacts, you're in luck. Contacts sync through iCloud, so simply entering your Apple ID on the new iPhone during the setup process would have brought them over automatically.
If you weren't using iCloud, you'll have to back up your contacts to iCloud from your old iPhone first, then sync to your new device. Go to Settings on your old iPhone and tap your name at the top, then iCloud. Make sure the switch next to Contacts is in the ON position. Wait a moment for the backup to complete, then do the same on your new iPhone.
Transferring photos becomes a breeze with iCloud. If you've enabled "iCloud Photos" on your old device, your photos will automatically appear on the new device after entering your Apple ID. If you weren't using iCloud Photos, you can still back your photos up to iCloud from your old iPhone, and then sync to your new one. Go to Settings > your name > iCloud > iCloud Photos, then switch "ON" iCloud Photo Library and My Photo Stream.
But what if iCloud isn't an option for you? Maybe you're coming from an older iPhone without iCloud capabilities, or running out of iCloud storage. Remember there is always iTunes/Finder as a method. Connect your old iPhone to PC/Mac, open iTunes/Finder, click your device, and back up now. After the backup, connect your new iPhone, and restore from iTunes backup.
Keep in mind this process can take a bit of time, especially if you have a large number of photos and contacts to transfer. So, sit back, let your cup of Java simmer while your new iPhone gets to know you again.
Step 4: Transferring Apps and Data
Moving to a new iPhone should not mean missing out on the apps and data that you've accumulated over time on your old device. Just as you've successfully moved your contacts and photos, in this step, you'll see how to easily transfer all your apps and their pertinent data.
Start by backing up your apps and data. If you're already using iCloud backup on your old iPhone, you're halfway there. The apps and their data have been backed up and stored safely in the cloud. In case you weren't using iCloud backup, you'll need to enable it. Go to Settings > [your name] > iCloud > iCloud Backup.
Enable the switch and tap on Back Up Now. Be sure your phone is connected to Wi-Fi as this data backup might consume quite a bit of your mobile data. Moreover, the backup process can take some time, so ensure your device has enough battery life or is connected to a power source.
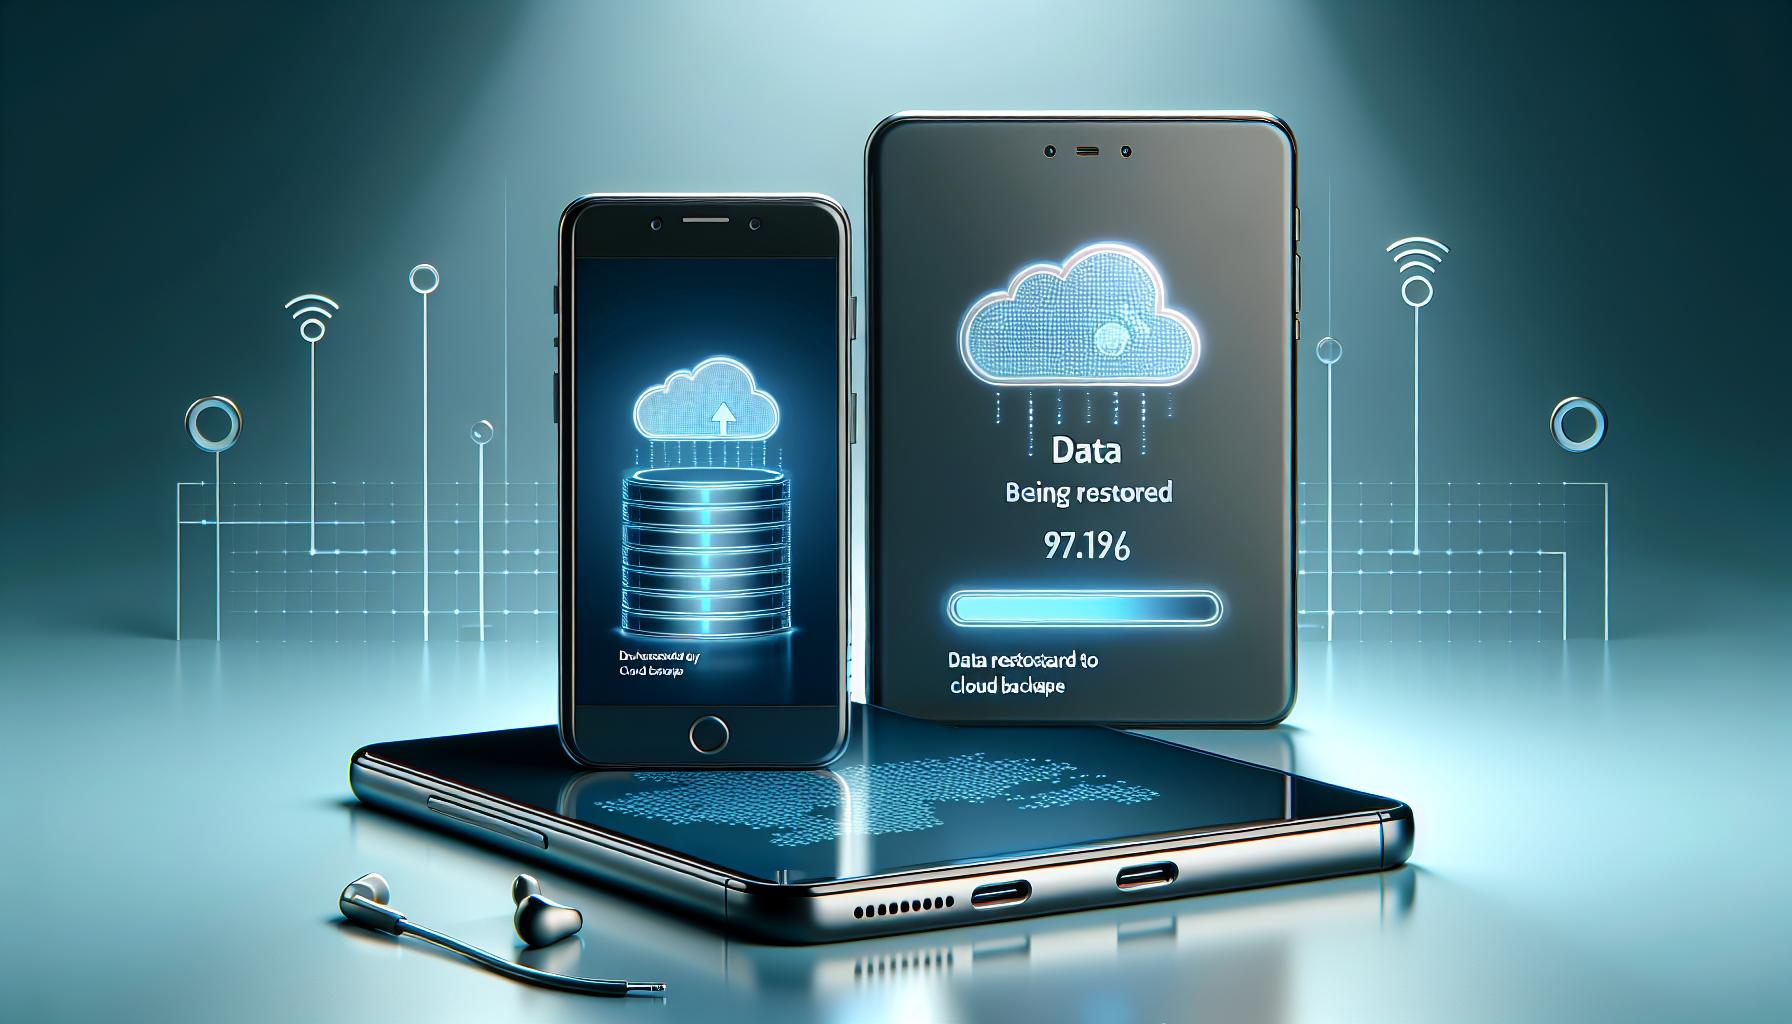
Moving forward, restoring your apps and data becomes the target. After you initiate the setup process on your new iPhone, select Restore from iCloud Backup during the Apps & Data screen. You'll then need to log in with your Apple ID and select the backup you want to restore. Keep in mind, the process of restoration requires Wi-Fi and varies based on the amount of data and your internet connection speed.
The beauty of this process is not just in its simplicity, but in the level of customization it allows. In case you don't want to restore all the apps, you can choose what to include in the backup. Just go to Settings > [your name] > iCloud > Manage Storage > Backups > This iPhone. Here you'll find all the apps listed with the option to include or exclude them from the backup.
This method ensures a smooth transition from your old iPhone to the new one, keeping your important Apps and Data intact. As long as you follow these steps, the fear of losing your valuable data while transitioning should be a thing of the past.
Conclusion
You've now got the know-how to transfer to your new iPhone. You've learned that iCloud backup is your best friend when moving apps and data. If you've overlooked this in the past, it's never too late to start. Remember, restoring from iCloud backup during the new iPhone setup is the key to getting your apps and data back. But keep in mind, you'll need Wi-Fi and some patience, as the duration depends on your data volume and connection speed. Don't forget, you've got the power to pick and choose your apps for the backup. So, here's to a seamless switch to your new iPhone, with all your important apps and data tagging along. Happy transferring!
Q1: What is the fourth step in transferring data to a new iPhone?
The fourth step is transferring apps and data. If you used iCloud backup on your old iPhone, your apps and their data will be backed up and stored in the cloud.
Q2: What if iCloud backup was not used on the old iPhone?
It's recommended to enable iCloud backup and backup the apps and data. During the new iPhone setup process, select "Restore from iCloud Backup" and log in with your Apple ID to restore the desired backup.
Q3: Does the process of restoration need Wi-Fi?
Yes, restoration does require a Wi-Fi connection. The length of this process can vary based on the amount of data and the speed of your internet connection.
Q4: Can I select which apps I want to keep during the backup?
Yes, the article also highlights customization options that allow you to decide which apps you want to include or exclude from your backup.
Q5: Why is it important to follow these steps when getting a new iPhone?
These steps are crucial for a smooth transition to your new iPhone and make sure that your important apps and data are still available on the new device.


