Ever found yourself in a situation where you've wanted to share what's on your iPhone screen with someone else? Maybe you're trying to troubleshoot a problem, share a cool app, or simply show off your latest high score. Whatever the case, it's important to know how to screen share on your iPhone.
In this guide, you'll get the lowdown on how to do just that. You'll learn the step-by-step process, making it a breeze for you to share your iPhone screen whenever you need to. It's easier than you might think, and once you've got the hang of it, you'll wonder how you ever managed without it.
Why screen sharing on iPhone is important
Screen sharing on an iPhone opens up a world of possibilities. For starters, it's a powerful tool for troubleshooting. Picture this: you're struggling with an app but can't seem to nail down the problem. A tech-savvy friend offers to help. Instead of explaining your issue over text or a phone call, you simply share your screen. They can see exactly what's going wrong and guide you through solving it right there and then. It's not only about fixing issues though.
Imagine you're exploring a new app with a friend, sibling, or your parents who stay miles apart from you. Instead of waiting for them to download the app and then going through all the features - the process could be super smooth with screen sharing. It's like giving a virtual tour of the app in real-time where you can show, explain, observe, and make it a mutual learning journey.
Yet another reason why screen sharing is crucial - showing off achievements. Whether you've scored your highest on a particular game, remodeled your virtual home in a design app, or maybe you've created a complex spreadsheet model on your financial app that you're proud of, you can boast about your accomplishment by letting your friends or colleagues on the other side observe your screen.
Remember, it's not only about useful applications of screen sharing, it's about building long-distance real-time connections. You can share those special moments, like watching your daughter's first steps on her learning app, or sharing that special photo album slideshow from your vacation. Your dear ones might not be physically present with you - but screen sharing on your iPhone bridges that gap.
Enhancing troubleshooting, sharing new learnings, showing off achievements, and creating personal connections - that's how important screen sharing from an iPhone can truly be. Now, let's dive into the steps of setting up screen sharing in the next section.
What you'll need is your iPhone, an internet connection, and a recipient ready to join you on the screen share journey. And that's it. You're all set to go. And remember this, once you start using it, you'll wonder how you ever managed without it. Let's get started in the next section.
Understanding the benefits of screen sharing

In this digital age, screen sharing has become a fundamental tool that can greatly enhance your communication. With the feature available on your iPhone, you may wonder why you should bother about screen sharing. Well, here's why.
The benefits are numerous and they pretty much cover every aspect of your digital life. Whether it's for your work, studies, or even just for fun, screen sharing can be a game changer.
For Troubleshooting
We've all found ourselves in that frustrating situation where we are unable to fix a tech issue on our devices. Don't worry, screen sharing is here to save the day. With screen sharing, you can share your iPhone's screen with a friend or a tech support specialist. It allows them to see exactly what's happening on your screen and guide you through the solution.
For Sharing and Learning
Looking to share your findings from a newly discovered app? Or perhaps you're eager to show off your high-score in your favorite game? Screen sharing is perfect for these scenarios. By sharing your screen, you can let others in on your experiences and discoveries.
Additionally, screen sharing is a powerful tool for learning. It allows teachers, tutors, or mentors to effectively demonstrate procedures, explaining them step-by-step.
Creating Personal Connections
Finally, let's not forget the power of screen sharing to enhance personal relationships. Need to teach your grandparent how to use a new app? Or show your friend a cool trick you discovered? Screen sharing makes these interactions smooth and fulfilling.
So, you've now seen how screen sharing can impact various areas of your life. Notice how this unique iPhone feature empowers your digital interactions. But how exactly do you set up this worthwhile feature? The following sections will gradually guide you through the process.
Step-by-step guide to screen sharing on iPhone
If you're eager to navigate this feature, let's walk you through the process.
First off, you'll need to have iOS 11 or later on your iPhone for screen sharing to work. To double-check this, head to Settings, then General, and finally About.
Step 1: Download the app. There are several apps available for screen sharing but TeamViewer QuickSupport is one of the most recommended. You can find it in the App Store.
Step 2: After the app is successfully downloaded, open it. You'll find an ID. Make a note of it.
Step 3: On a different device, download TeamViewer (not the QuickSupport version that's on the iPhone). Use the noted ID, and request a remote session.
Step 4: Back on your iPhone, a notification will appear, asking if you'd like to allow the other device to see your screen. Tap on "Allow".
Step 5: Another prompt will then appear asking to start broadcast. Once again, hit "Start Broadcast". This signals the commencement of the screen share.
It may seem daunting at first, but remember, practice makes perfect. Don't be discouraged if it doesn't go right the first time.
Remember, Apple's privacy settings mean that some information might be hidden during the sharing process. This is a protective measure to keep your passwords, payment information, photos and messages secure.
Give it a couple of tries and you'll soon get the hang of it. After the initial setup, the process accelerates as the system organic remembers the settings. Sharing your iPhone adventures has never been as easy as it is today.
Take the leap and immerse yourself in the tech-savvy world of screen sharing. Beyond its practical applications, the fun of virtually hanging out with your friends is an unlimited bonus. Keep exploring, keep sharing.
Step 1: Update your iPhone to the latest software version
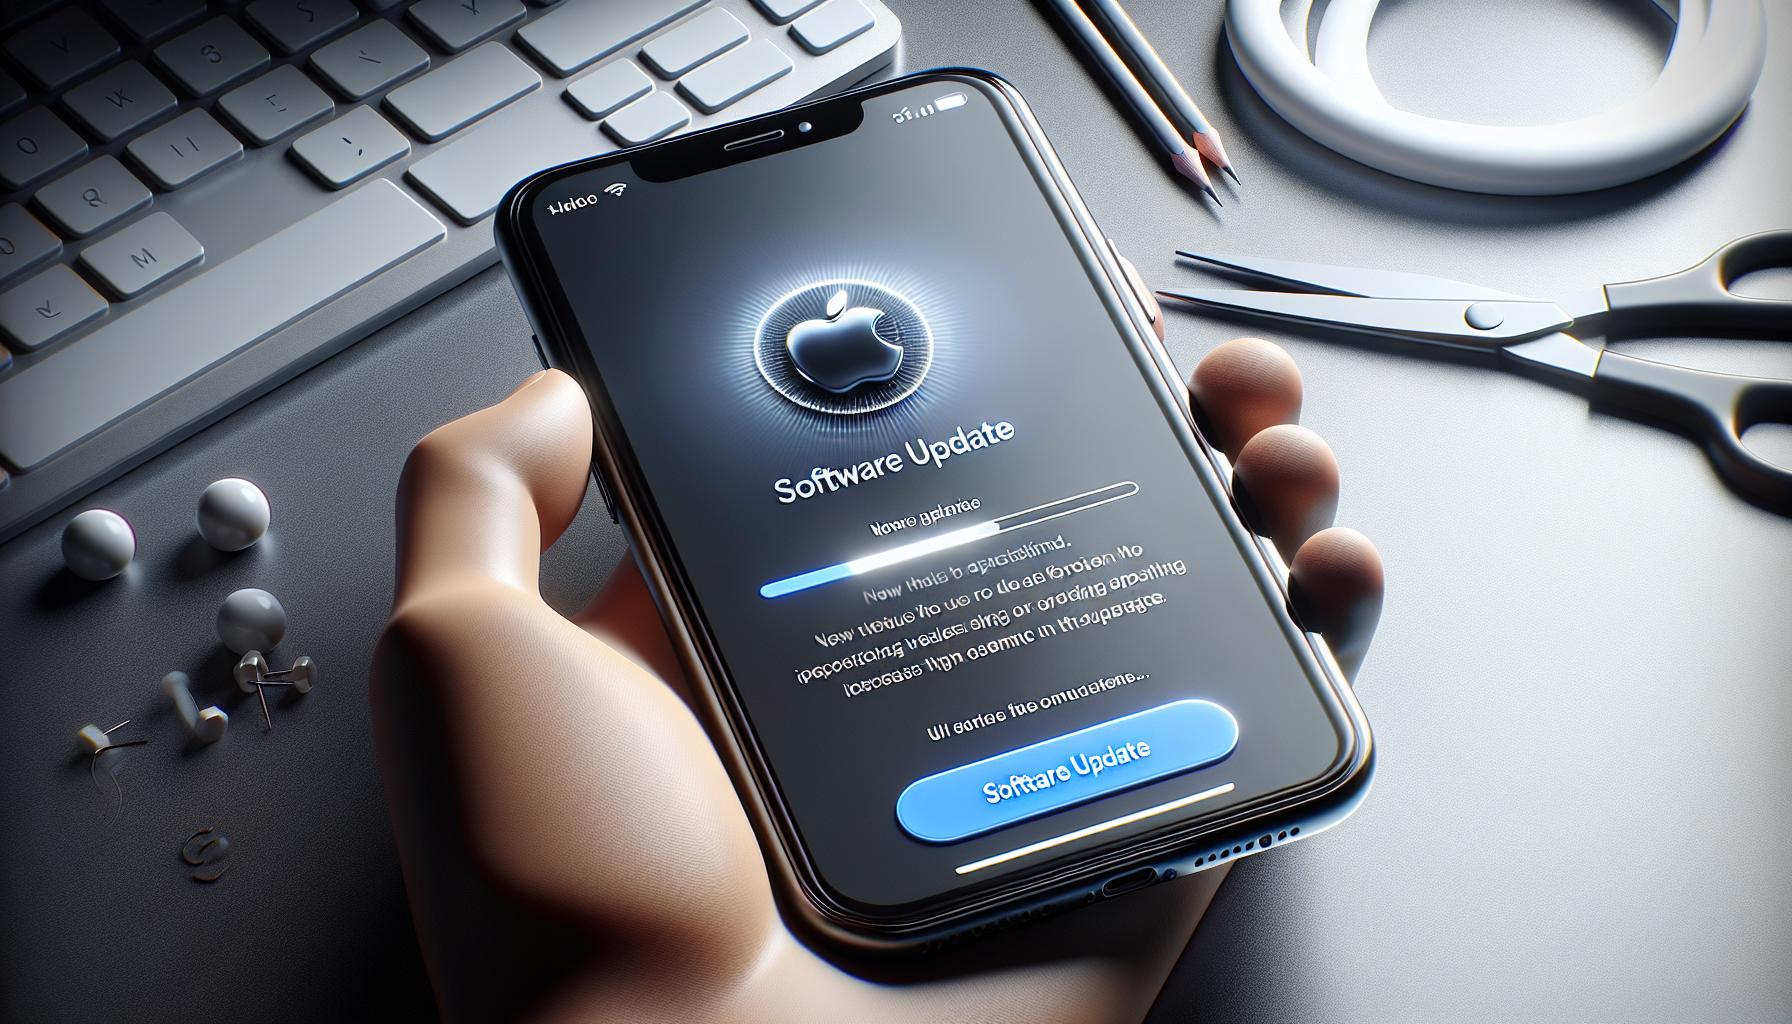
Starting your journey into iPhone screen sharing should always begin with ensuring your software is up to date. Crucially, you'll need to have iOS 11 or later. That's because screen sharing capabilities were introduced with this version.
There's no denying that it's a simple step, yet it's an important one. Outdated software not only misses out on the latest features, but it can also pose security risks.
Without any delay, let's get your iPhone updated.
Start by opening up the Settings App, it replicates a symbol of gears combined. From there, head into General, and finally Software Update. Wait for a few moments as your device automatically checks for any available updates.
Should there be an update available, tap Download and Install – and don’t be alarmed if it asks for your passcode. It's a natural step in confirming the download.
- Keep your iPhone connected to Wi-Fi for the entire process.
- Plug in your iPhone into power if it's not at least 50% charged.
Given the limitation of data here, we can’t exactly put it into a markdown table.
Once the download completes, your iPhone will restart. Don't worry, it’s a normal process to implement the new software.
Just remember, this is Step 1 of our iPhone screen sharing guide and sets the groundwork for the journey ahead. Once your phone restarts, we'll be ready to move onto downloading the TeamViewer QuickSupport app in our following section.
Step 2: Enable screen recording in the Control Center
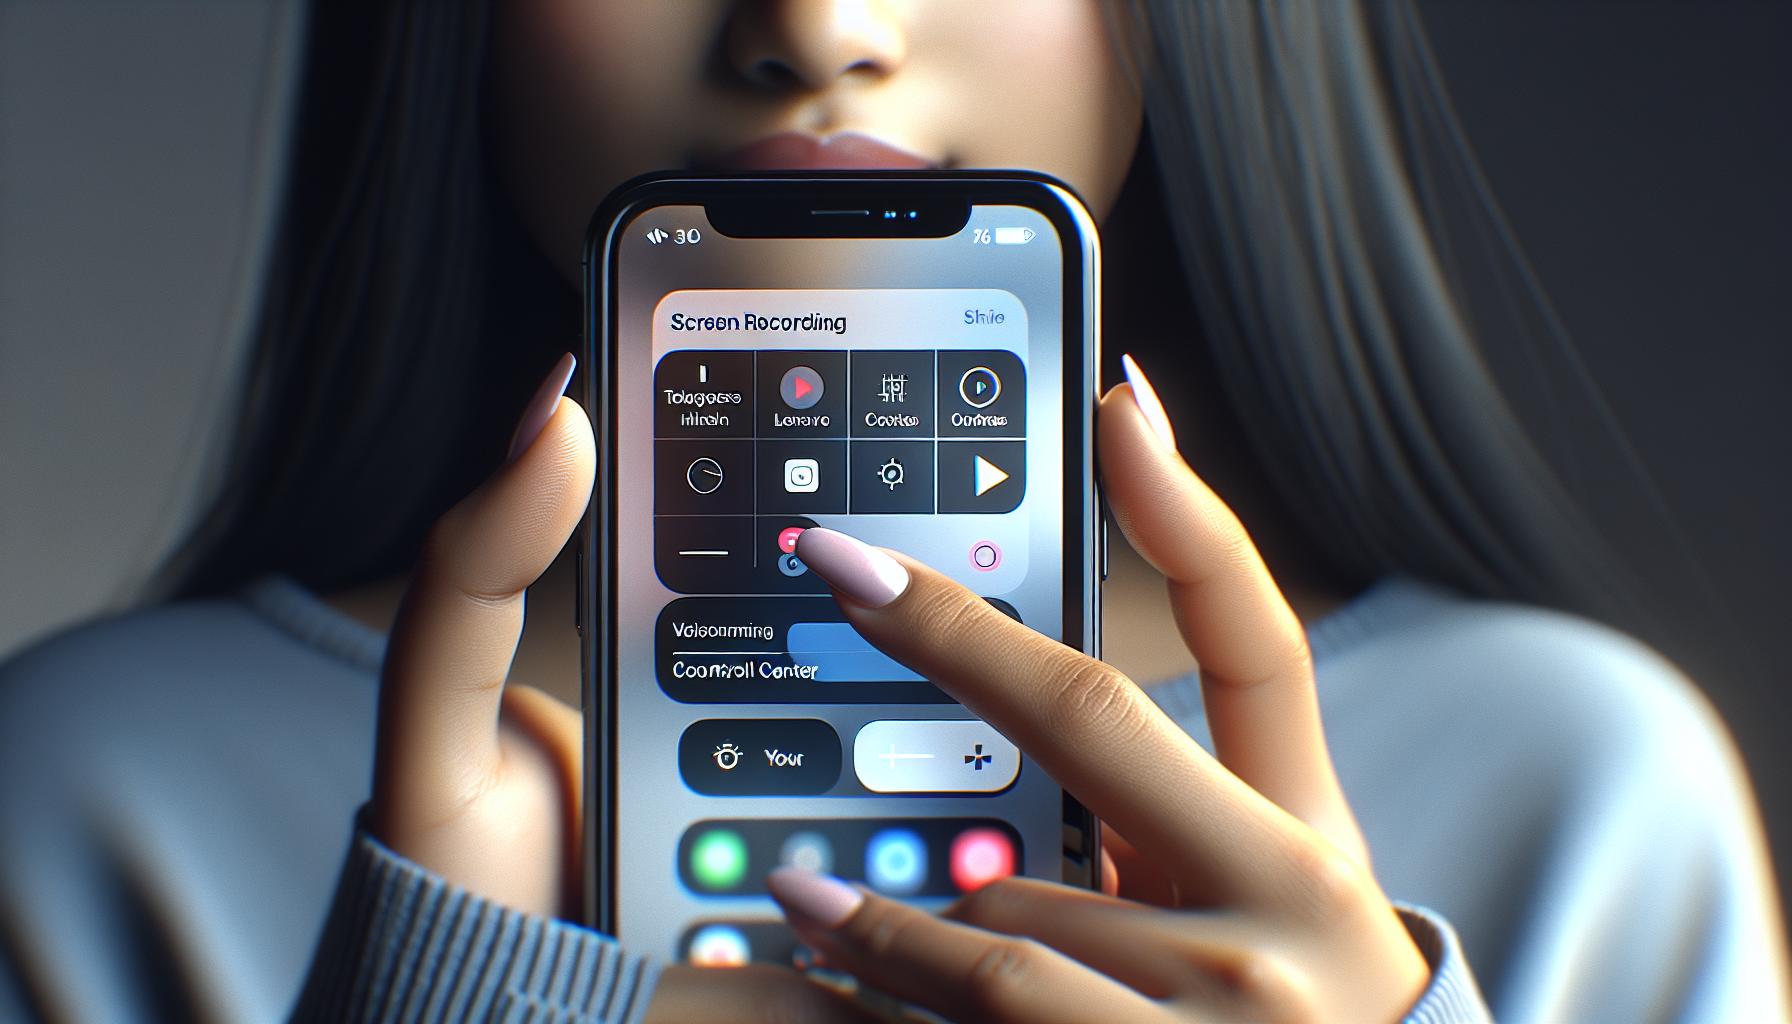
With the TeamViewer QuickSupport app installed and your device updated to iOS 11 or later, you're ready to move onto the next step. Enabling Screen Recording in the Control Center is an essential part of the screen sharing process on your iPhone. This handy feature allows your actions on the screen to be visible to viewers or support assistance.
To do this on your iPhone, follow these instructions:
- Lightly press and hold the lock screen button on the right side of your device. Simultaneously, press the volume down button on the left. This action will bring up the Control Center.
- Look for a round, red icon. If you don't see it, you'll need to add the Screen Recording function to your Control Center.
NOTE: In case the Screen Recording function isn't already in your Control Center, here's how to add it:
- Go to the 'Settings' app.
- Tap on 'Control Center'.
- Select 'Customize Controls'.
- Look for 'Screen Recording' under the 'More Controls' section.
- Tap on the green '+' to its left.
Once you've added Screen Recording to your Control Center, you'll be able to see it there for future use.
You've successfully enabled screen recording in the Control Center. Now, it's time to start a screen sharing session. It may seem like a few steps, but trust me, it's worth the setup.
In the following section, we'll navigate how to use the TeamViewer QuickSupport app to initiate a screen sharing session. Keep an eye out for some easy-to-follow instructions that will get your screen sharing up and running in no time.
Step 3: Start a screen sharing session
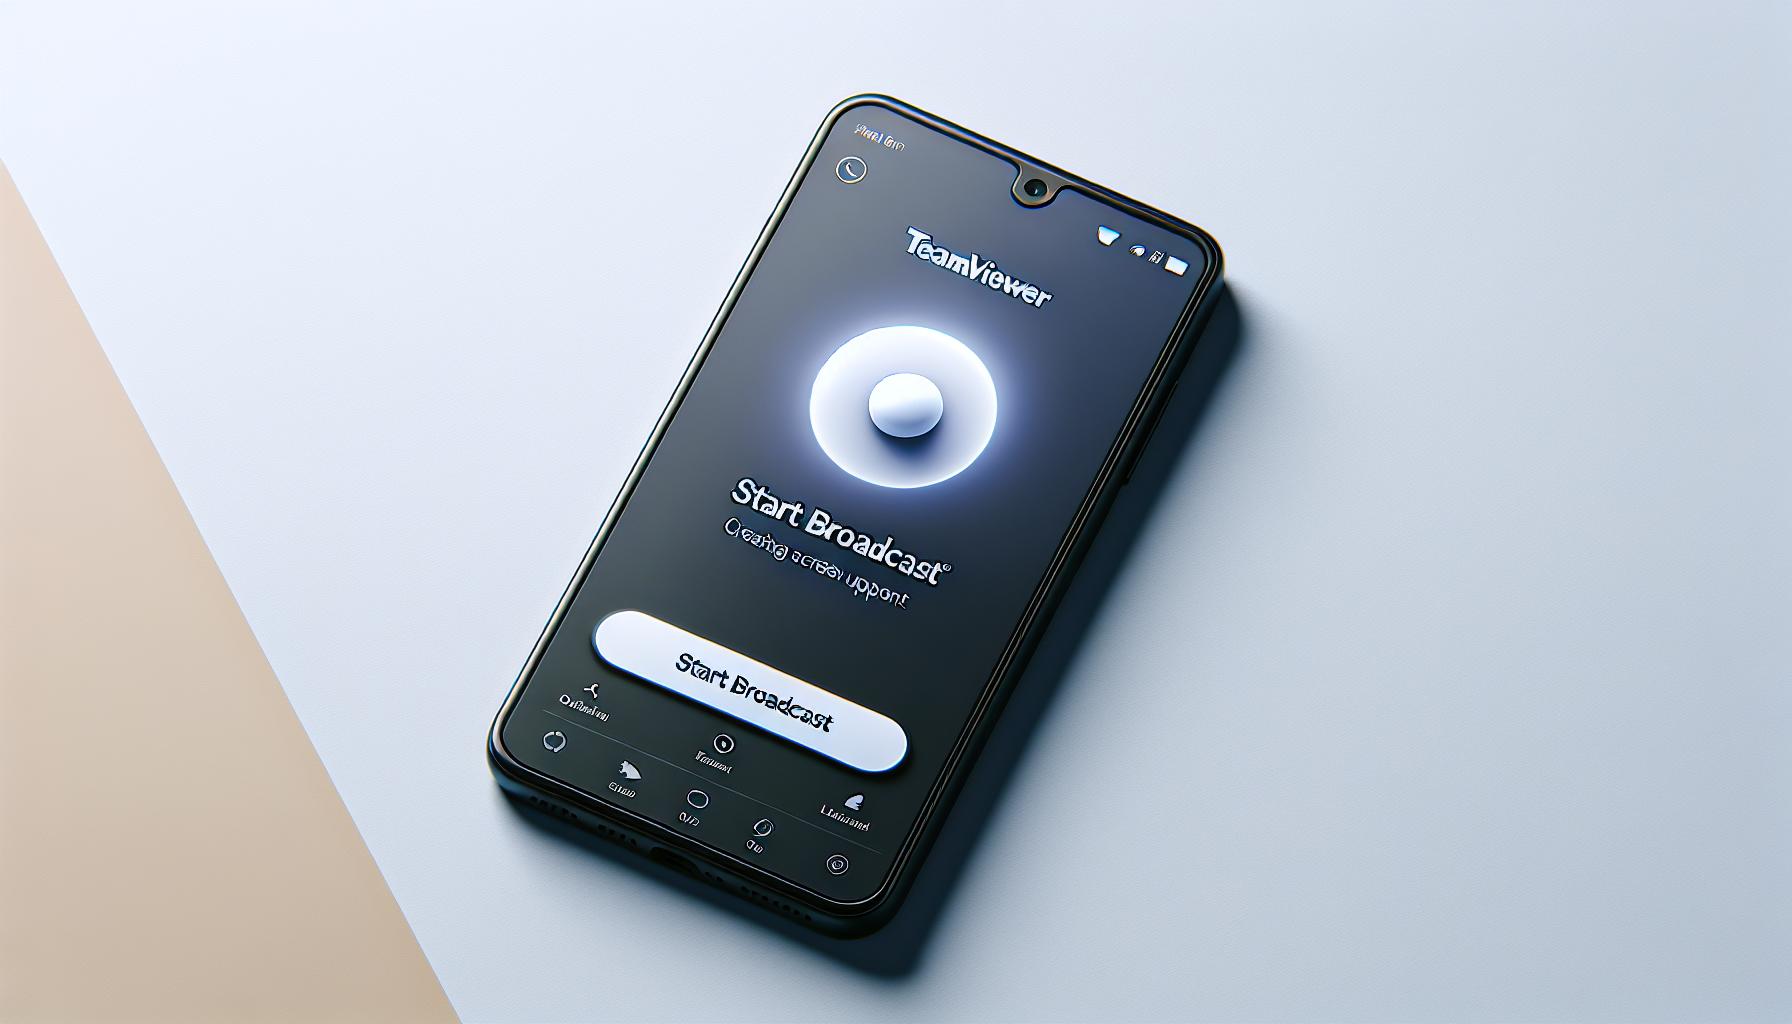
Alright, your iPhone's updated, the Screen Recording function is sitting pretty in your Control Center, and you've got the TeamViewer QuickSupport app downloaded and ready to go. Now it's time to start your screen sharing session.
First up, you'll need to get that tricky TeamViewer QuickSupport app open. Once upon the app's homepage, you'll notice your ID prominently presented. This ID is unique to your device; it's like your iPhone's digital fingerprint. Now hold that thought; we'll be back to it shortly.
Grabbing your attention next should be that "Share Screen" button. The name's an obvious giveaway, huh? Kickstart the screen sharing session by giving it a tap. Your iPhone will ask for permission - "TeamViewer" would like to start Broadcast. Simply hit "Start Broadcast", and you're off to the races!
However, you're not quite done yet. Remember that ID we mentioned earlier? It's time for it to see some action. To share your iPhone screen with another person or device, you need to provide them with your unique ID.
Navigate back to the TeamViewer QuickSupport app. Locate your ID once again, and share it with the individual or device you want to share your screen with. Once they’ve entered your ID on their end, they'll be able to see your iPhone screen, replicating your actions as you navigate through your device.
One last mention - don't worry about security. TeamViewer uses cutting-edge end-to-end encryption to ensure your screen sharing session is confidential and secure. Nobody can sneak in without your unique ID. Just keep it safe, okay? It's your ticket to a safe, effective screen sharing session.
In our upcoming section, we'll work through how you can control a screen sharing session and disconnect when you want. Keep reading for these valuable insights.
Step 4: Choose the method of screen sharing
Now that you've enabled screen recording and you're familiar with the TeamViewer QuickSupport app, it's time to delve into the actual method of screen sharing.
There are two primary methods when it comes to screen sharing on an iPhone: using a Wi-Fi connection or a mobile data connection. If you're in a location with a stable Wi-Fi network, that's always the recommended method. On the other hand, if you're on the go without access to Wi-Fi, using your mobile data connection will work just as well.
Let's break down these two methods:
Using a Wi-Fi connection:
- Open the control center on your iPhone.
- Long press on the screen recording icon.
- Choose TeamViewer from the list of options that appears.
- Tap Start Broadcast to initiate the screen sharing.
Remember, you’ll need your unique TeamViewer id for this step. Make sure you have it handy as you’ll need to enter it.
- Go to Settings on your iPhone.
- Select Cellular and make sure the Cellular Data switch is on.
- Follow steps 1-4 provided above for Wi-Fi connection.
Keep in mind, using mobile data could result in additional carrier charges. So, if you’ve got a limited data plan, you might want to monitor your data usage closely during the sharing session.
Screen sharing isn't just for technical assistance. It's a great tool for collaboration. Maybe you want to share design ideas with a colleague or plan a trip with a friend. Whatever the reason, now you have the know-how to share your screen confidently.
Remember, screen sharing involves broadcasting your screen to another device. So, it's pivotal to stop the broadcast once you're done. Moving forward, let's look at how to end the screen sharing when you're finished.
Once you've set up your iPhone for screen recording and you're ready to start sharing your screen, you'll need to understand how to actually share it with others.
Start the screen sharing process by swiping up from the bottom of the screen to open the Control Center. If you're using an iPhone X or later, flick down from the top-right edge of the screen instead. Press firmly onto the Screen Recording button – it's a circle with a dot in the middle. After a long press, a menu will pop up.
In the pop-up menu, you'll see the TeamViewer QuickSupport option. Hit that. This redirects your screen recording to the TeamViewer platform, where you can share it with others. Hit the Start Broadcast button to initiate sharing. Keep in mind that it will count down from 3 before it starts.
You're now sharing your iPhone screen via TeamViewer. The person you're sharing your screen with needs to have your unique TeamViewer ID, which you should have shared with them earlier. If you're sharing your screen with multiple people, ensure they all have your ID.
Here's a pro tip: Screen sharing doesn't prevent you from using your phone. Feel free to check your email, browse the web, or perform any other task.
Remember: keep an eye on who's viewing your screen. When broadcasting, you'll see a red status bar at the top of your screen. It's here where you'll see the name of the person who's viewing your iPhone screen.
Overall, the process is straightforward and intuitive. Just remember to stop the broadcast when you're finished to avoid sharing sensitive information. To end the broadcast, go back to the control center and tap the screen recording button.
This basic guide to enabling screen sharing on an iPhone provided you with the necessary steps to share your screen with others. Having followed this guide, you will surely find the experience smooth and efficient. Remember to always keep your iPhone updated, to have a stable internet connection, and to monitor the viewers of your session.
Tips for a successful screen sharing experience
Navigating a successful screen share can be a walk in the park if you follow these handy tips.
First, manage your notifications. Before you start your screen sharing session, consider switching on 'Do Not Disturb' mode. Notifications can pop up during your session, which isn't ideal. This can distract you and whoever's viewing your screen, or worse – unveil personal or sensitive information to your viewers.
Next, keep your screen tidy. Clean up your screen by closing unnecessary apps and having only what's relevant open. It'll reduce any potential confusion and keep your viewers focused. Who likes a cluttered workspace right?
It's also essential to prepare your device before sharing your screen. If you're showing something that requires internet connection, make sure you're connected to a reliable network. Also, ensure your device has enough charge to last the entire session. You don't want your device dying mid-session.
Finally, practice what you're going to share. That's right! Rehearse moving through your apps and files with ease. Know where everything is so you won't be fumbling for files when you are live.
There you have it. With these tips at your fingertips, you're ready to embark on a flawless screen sharing journey. Lay aside fear of embarrassing pop-ups, messy screens, or incessant buffering. Anticipate screen shares stripped of technical glitches – it's all within your grasp. Through planned preparation and practice, screen sharing doesn't have to be a nerve-wracking experience. Just remember, the key lies in managing notifications, keep your screen clean, prepare the device thoroughly and practice!
Remember, being prudent can make your screen sharing experience worthwhile. So, go on... Let technology embellish your communication. And in the ever-changing world of tech, who knows what other wonders await.
Troubleshooting common screen sharing issues

After you've prepped your device and are ready to start sharing your iPhone screen, you might encounter some bumps along the way. Don't fret! Here's a handy guide to navigating through some common issues that could arise during a screen sharing session.
Issue 1: Screen Sharing Not Starting
One common problem you might face is the screen sharing not starting at all. First, double-check your internet connection. Even though iOS devices can share screens over both Wi-Fi and cellular data, a strong and steady internet connection is crucial for seamless screen sharing. If you're certain that your internet connection isn't causing the problem, then check if you've correctly enabled the screen sharing settings in the Control Centre.
Issue 2: Sluggish Performance
Experiencing a slow or lagging screen sharing session can be quite frustrating. Keep in mind, high CPU usage on your iPhone can cause this sluggishness. Before initiating screen sharing, close unused apps, and refrain from launching processor-intensive applications during the session. This provides maximum computing resources for a smooth screen sharing experience.
Issue 3: Security and Privacy Concerns
Some users have raised concerns about the TeamViewer QuickSupport app seeking certain permissions. Understandably so, you need to be mindful of your privacy. Remember, the app requests these permissions to enable efficient remote assistance. However, if you're still uncomfortable, there's always an option to revoke permissions after you're done sharing.
Issue 4: Screen Recording Not Working
You might follow all the steps but still find your screen recording is not working. If so, you'll want to ensure you've updated your device to the latest iOS version, as certain features might not be available on older versions.
As you can see, navigating through common issues doesn't need to be a complicated process. The trick lies in being familiar with your iPhone and understanding each step of the screen sharing procedure.
In Case of Persistent Issues
In the event of trouble that persists even after following the given solutions, consider reaching out to the TeamViewer QuickSupport customer support line. They have specialists ready to guide you through any complex issues that you might encounter during your screen sharing sessions. Remember to have your device model and the version of iOS you're using handy to expedite the resolution.
Conclusion
You've now got the knowledge to confidently set up screen sharing on your iPhone. Make sure your device runs iOS 11 or later and you've got the TeamViewer QuickSupport app at hand. Remember to update your iPhone's software and enable screen recording in the Control Center. Don't forget about security measures during a screen sharing session. If you hit a snag, refer back to our troubleshooting tips or contact TeamViewer QuickSupport customer support. Whether it's for work or personal use, screen sharing can be a game changer. So, go ahead and share your screen with ease and confidence.
What requirements are there for iPhone screen sharing?
Screen sharing requires an iPhone device with iOS 11 or later. It also recommends the installation of the TeamViewer QuickSupport app.
How do I update my iPhone to the latest version?
You can update your iPhone to the latest version by going to Settings > General > Software Update and following the prompts.
How do I enable screen recording in the iPhone's Control Center?
You can enable screen recording by going to Settings > Control Center > Customize Controls and adding the "Screen Recording" feature.
How do I initiate a screen sharing session using TeamViewer QuickSupport?
You start a screen sharing session by opening the app, finding your device's unique ID, and sharing that with the person you want to share your screen with.
What should I do when my screen sharing doesn't start?
If screen sharing doesn't start, you should check your internet connection, make sure the app is up-to-date, and ensure your iOS is iOS 11 or later. Contact TeamViewer QuickSupport customer support if the issue persists.
Why is my screen sharing sluggish?
Sluggish performance during screen sharing usually stems from a slow internet connection. It is recommended to use a strong Wi-Fi network for screen sharing.
How can I ensure my screen sharing session is secure?
The TeamViewer QuickSupport app has built-in security measures. Always ensure you only share your unique ID with those you trust.
What should I do if my screen recording isn't working?
If your screen recording isn't working, make sure you have added the "Screen Recording" control in your Control Center settings. For further issues, contact TeamViewer QuickSupport customer support.


