If you've just gotten your hands on a new iPhone, you might be wondering, "How do I turn this thing on?" Don't worry, you're not alone. Many people find themselves in your shoes, especially if they're switching from an Android device.
Turning on an iPhone is straightforward, but it can seem complicated if it's your first time. This guide will walk you through the process step by step. So, sit back, relax, and let's get your iPhone up and running.
You're ready to set up your new iPhone, but first things first: where's the power button? It's easier than you may think.
On an iPhone, you'll find the power button on the right side of the device. If you're holding the phone so that the screen is facing you, it's on your right-hand side. It's the only button there, so it's pretty hard to miss.
In the latest models—iPhone 13, iPhone 12, and iPhone 11—you'll find the power button slightly above the middle of the device's right edge. It's elongated, making it easy to identify. Rest assured, whether you have the latest model or an older version like iPhone 8 or older, you'll find the power button on the same side.
Take note that the iPhone's power button is also known as the side button or the sleep/wake button. Here is a breakdown:
| iPhone Models | Power Button Location & Description |
|---|---|
| iPhone 13, 12, 11 | Slightly above the middle of right side, elongated |
| iPhone 8 and older | Right side |
Now that you've found the power button, the next step is getting your device turned on. But don't worry, that's a piece of cake once you know where the power button is. It's as simple as pressing and holding the button for a few seconds, but we'll delve deeper into that in the next section. By knowing the exact location of your power button, you're one step closer to getting your iPhone up and running, hassle-free. Stay tuned till the next section for an easy walk-through of the power-on process.

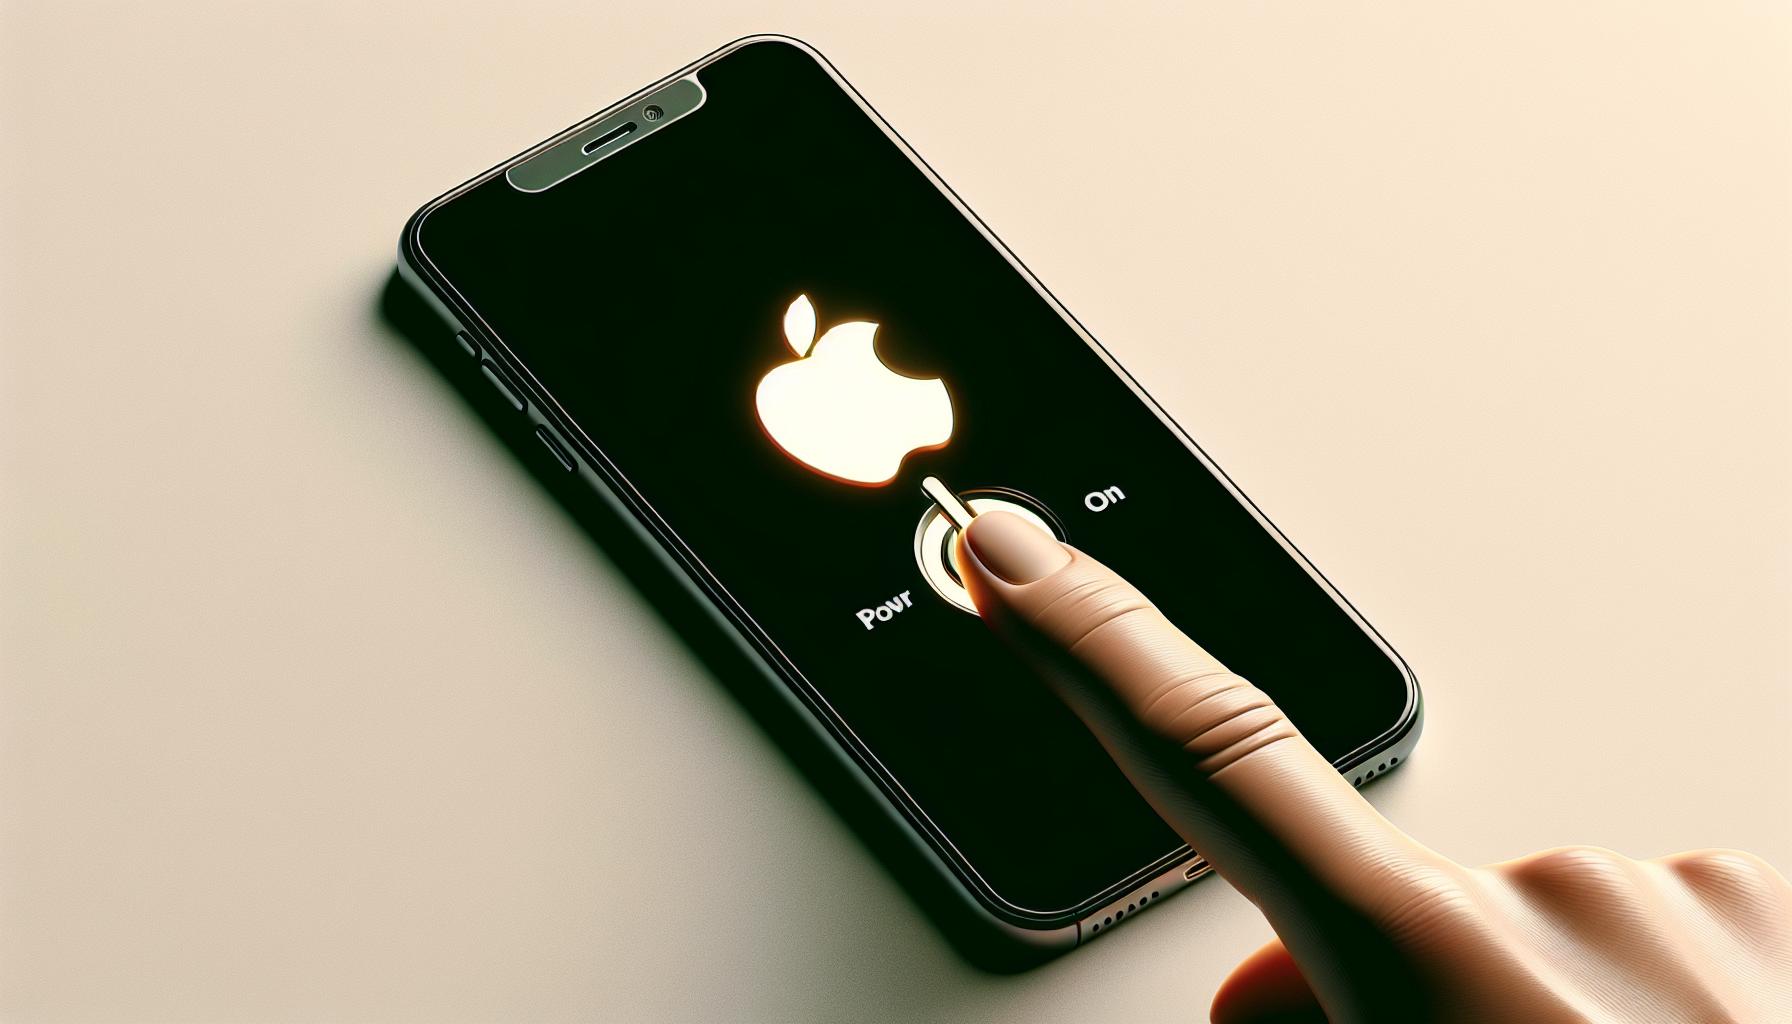
After locating the power button, the next step is to turn on your iPhone. Remember, you're not just giving it a quick tap. Instead, you're going to press and hold the power button.
As you press this button, hold it down for two to three seconds until you see the Apple logo appear on the screen. This symbol is a good sign — it means that your iPhone is starting up!
A common concern among new users is "What if I hold the button for too long?" Don't worry, holding the button for too long won't have any adverse effect on your iPhone. If you keep holding, the iPhone is designed to either switch off again or show the Apple logo. In fact, holding the power button for an extended period (around 10 seconds) can be used to force restart the device if it becomes unresponsive. This should only be done in rare instances though.
Think of pressing and holding the power button as the equivalent of turning the keys in a car's ignition. They both signal the system to wake up and start functioning.
Is your iPhone not turning on despite holding down the button? This could be due to several reasons:
- Your iPhone's battery might be completely drained.
- There could be a problem with the iPhone's hardware.
- Your iPhone's software might be experiencing an error.
Don't despair, there are solutions available for all these scenarios. To get a battery recharge, simply connect your iPhone to a power source and wait for some time before trying to switch it on again. If the hardware or software is at fault, it's advisable to get in touch with Apple's Customer Service team or visit an official Apple Store for assistance.
There's plenty more for us to walk through when it comes to iPhone optimization. The next section will guide you about what to expect once your iPhone starts up and how to proceed from there.
As we've mentioned before, turning on your iPhone isn't a complicated process. Now that you know where the power button is and that you've held it down for the recommended two to three seconds, it's time to move on. The pressing of the power button won't last forever. Once the Apple logo appears on the screen, it's your cue to release the button.
Don't be alarmed if the Apple logo doesn't immediately appear. Keep holding the power button until it does. There might be a delay, especially if your iPhone has been turned off for a prolonged period. This isn't uncommon, and it's not a sign of any significant problem.
Also, don't fret if the device seems to take its time to fully start up. Just like a computer, a smartphone needs time to load its operating system and get everything ready for use. It might take a bit longer if your iPhone has a lot of apps. Be patient – the device is doing exactly what it's supposed to do.
Keep his mind that if at any time you get stuck on a white screen with a black Apple logo, don't panic. Follow these steps:
- Press and quickly release the volume up button
- Press and quickly release the volume down button
- Press and hold the side button, continue holding the button even when the Apple logo appears
- Release when you see the recovery mode screen
This is a force restart and can help resolve minor software glitches. The important thing to remember here is not to hold the side button too long after the Apple logo appears, or else you'll end up doing a force restart unintentionally.
After releasing the power button, be patient and let your iPhone complete its start-up process. This may take up to a few minutes. Patience is key here. As your device is turning on, it should present you with the 'Hello' screen. But we'll get to that next. Stay tuned.
Step 4: Set up your iPhone
Now that your iPhone has started, it's time to set up your device. Mind you, this setup process only applies if you're setting up a new iPhone or one that's been factory reset. Let's get down to it!
Your device will guide you through several steps during this setup process. First, on the 'Hello' screen, you'll need to press the home button. In case of no home button, swipe up and you'll be guided to the language selection screen. From there, choose the language you prefer and you're ready to move to the next phase.
After language selection, you'll proceed to choosing a country or region. This is necessary for your iPhone to set up the correct settings for the language, time and date, keyboard layout, and more. Make sure to select your actual location for the best user experience. Now, onto the next step!
In the 'Quick Start' or 'Set Up Manually' option, choose the most suitable one for you. Quick Start is for those who already have an Apple device and want to transfer data from it to the new iPhone. However, Set Up Manually is the way to go for starting afresh or without transferring data.
If you're setting up manually, you'll need a Wi-Fi network to connect to. Once connected, your iPhone may display an option to activate your iPhone. Just follow the on-screen instructions. Depending on your carrier and iPhone model, you might need to insert a SIM card, if it's not already inserted. You'll soon be moving to your iPhone's software update.
The 'Software Update' part pops up only if your iPhone isn't up-to-date. Here, you can opt to install updates manually or automatically. We strongly recommend choosing 'Automatically'. That way, your device stays updated with the newest features and security fixes.
Let's go one step further to set up Face ID or Touch ID, depending on your iPhone model. This step isn't necessary during initial setup, but it's advised for optimal security. You can also choose to skip and set it up later. Now, you're just a couple of steps away from having your iPhone ready and optimized for use. Knowing how to set up your iPhone enhances your prowess with the device and ensures you get the most out of your iPhone experience.
Conclusion
You've now mastered the art of turning on your iPhone. You know where to find the power button and how long to hold it for. You're prepared for any hiccups that might occur during the process, and you know how to handle a force restart if needed. You're ready to navigate the setup process, from selecting your language to setting up Face ID. You're equipped with the knowledge to optimize your iPhone experience right from the start. Remember, patience is key during the start-up process. Now, power up and unlock the potential of your iPhone. Your digital journey awaits.
Frequently Asked Questions
The power button is located on the side of the device and can be referred to as the side button or sleep/wake button.
How do I turn on my new iPhone?
Press and hold the power button for two to three seconds. Release it once the Apple logo appears on the screen.
No, holding the power button for an extended period won't harm your device. Instead, it can be used to force restart your iPhone if necessary.
What do I do if my iPhone doesn't turn on?
The article suggests various solutions depending on your scenario. It could be related to charging issues, software updates, or other factors.
What happens once the Apple logo appears on my iPhone screen?
Once the Apple logo appears, release the power button and wait. Your device will complete the start-up process itself.
How can I set up my new iPhone or factory reset iPhone?
First, choose a language, then select a country or region. Lastly, set up face ID or touch ID for optimal security.
Why is understanding the iPhone setup process important?
Understanding the setup process enhances your user experience by ensuring you're utilizing all the features your iPhone has to offer.


