Ever snapped a stunning photo on your iPhone and wished you could view it on your Mac's larger screen? You're not alone. Transferring photos from your iPhone to your Mac can seem daunting, but it's actually a simple process.
In this guide, we'll walk you through the steps to effortlessly move your precious memories from your iPhone to your Mac. You'll be able to enjoy your photos on a bigger screen in no time, whether for editing, sharing, or just savoring the moment.
So, whether you're a seasoned Apple user or new to the ecosystem, we've got you covered. Let's dive into the world of seamless photo transfer and make your digital life a whole lot easier.
Step 1: Connect your iPhone to your Mac
Now that you're prepared, let's get started with the first active step in the process. For each of the following steps, you'll need to ensure your iPhone is securely connected to your Mac. This is a vitally important foundation of the photo transferring procedure!
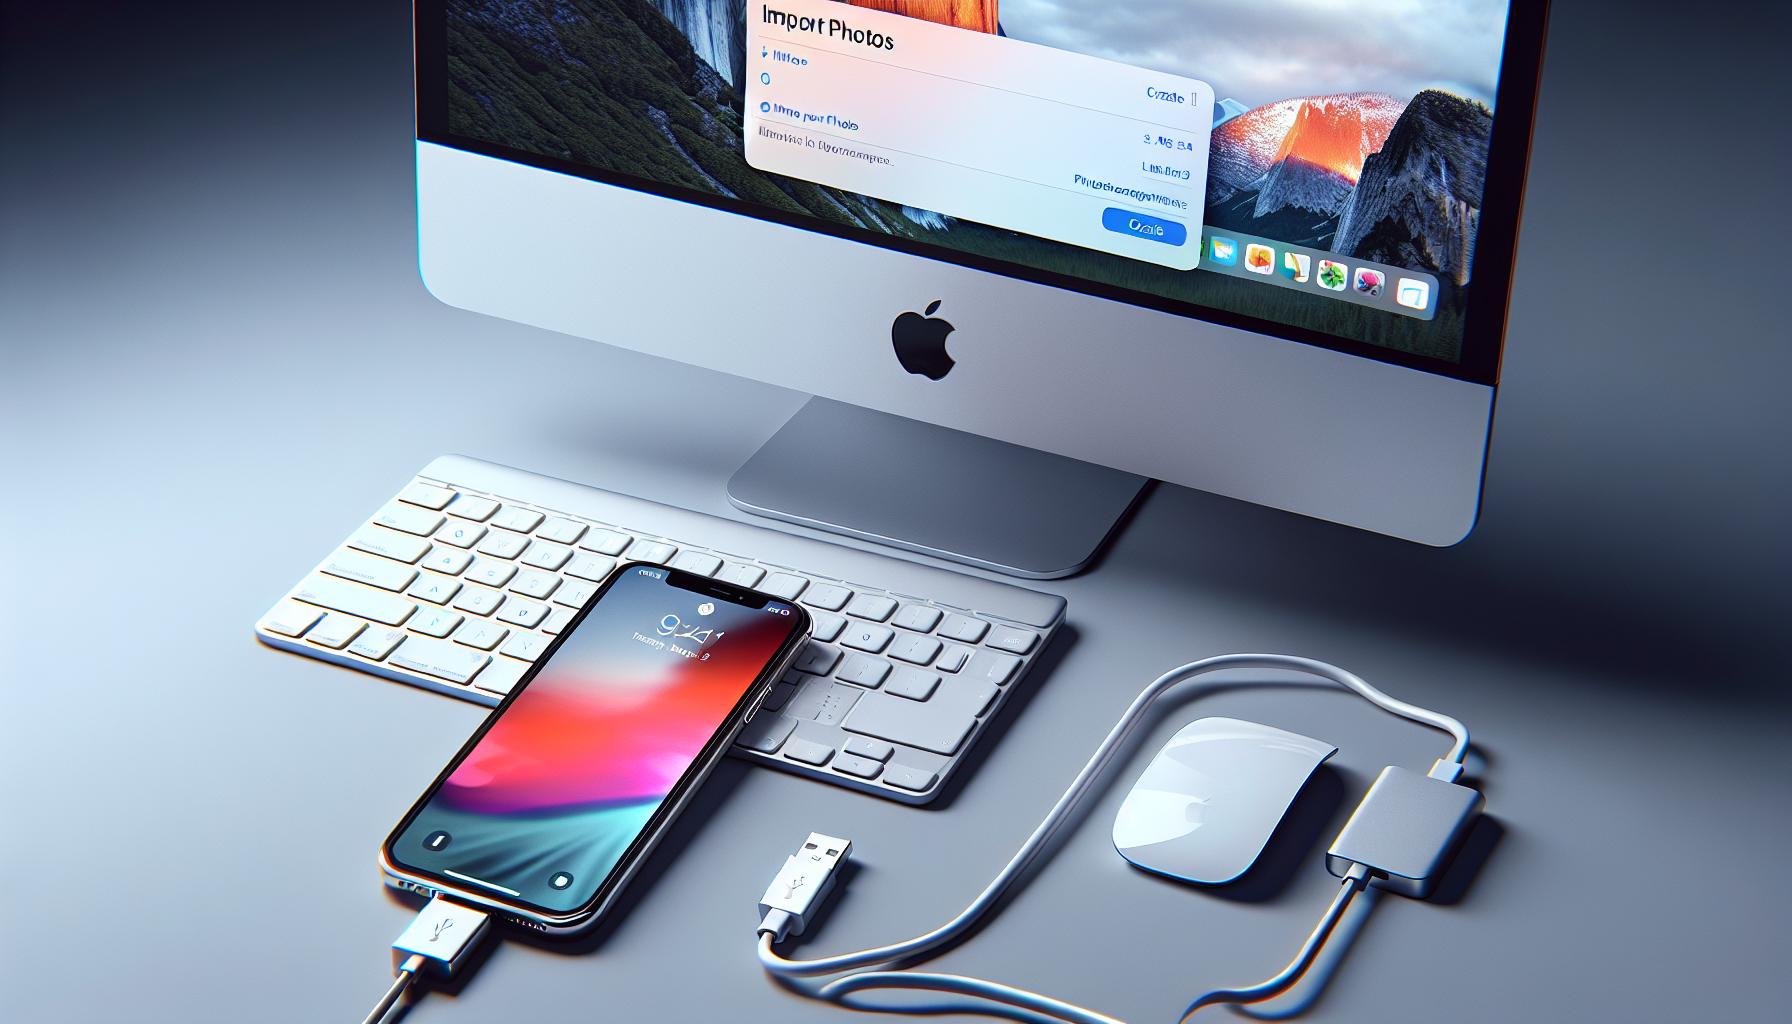
Find the original Apple USB cable, or any other reliable third-party cable. Check that it’s in good condition, with no signs of wear, damage, or loose connections. Faulty cables can disrupt or break the connection between your iPhone and Mac. You don't want to risk losing any of your precious moments due to interrupted data transfer.
Plugin the Lightning end of the cable into your iPhone and the USB end into any available port on your Mac. Ensure a secure and firm fit into both devices. Tight connections mean stable data transfer.
Once correctly connected, your iPhone will ask if you "Trust This Computer". You should select "Trust" to establish a secure connection. Completing this action will certify the computer is safe and allowed to access your iPhone's data, including your photos.
Your iPhone and Mac are now ready for a smooth transfer of photos. Make sure to stay alert throughout the process as you may have to unlock your iPhone for the data transfer to remain continuous. Losing connection or navigating away can disrupt the process, leading to incomplete transfer of your precious moments.
Traffic between your iPhone and Mac is a two-way street. After securing this connection, your Mac will also be able to share content with your iPhone – an extra advantage that you may find beneficial in the future!
Step 2: Open the Photos app on your Mac

Now that you've achieved a secure connection between your iPhone and your Mac, it's time to work on the Mac. The foundation is set, so the next important step is to open the Photos app on your Mac.
Launching the Photos app may seem as simple as clicking the app in the dock. But it's essential to understand that the dock isn't the only place where you'll find the Photos app. You can locate it by using Finder, accessing it via Launchpad, or using Spotlight Search.
Why Spotlight Search? Well, it's a convenient and efficient way to locate any app or file on your Mac, and it's one click away. Hit Cmd+Space on your keyboard, enter 'Photos' in the search bar which then pops up, and when the app appears, click on it.
Alternatively, if you prefer doing it through Launchpad - click on the rocket icon in your Dock, find 'Photos' and click on it.
Once the Photos app is open, ensure it's updated to the latest software version. Outdated versions can sometimes cause issues with photo transfer. To check this, click on "Photos" in the menu bar at the top, then select "About Photos".
This will result in a pop-up box where the version number of your Photos app will be displayed. If you don't have the latest version, visit the App Store and update your software.
Now with the Photos App open and up-to-date, your media is ready to be transferred. Have your iPhone and charging cable on hand, as we'll be moving on to finding and selecting the pictures you wish to transfer.
Step 3: Select the photos you want to transfer
Now that your iPhone's plugged into your Mac and the Photos app's up-to-date, you're ready to select your photos for transfer. In the Photos app, you'll find rows and rows of images. They're sorted by the date you've taken them. All your photos and videos from your iPhone camera roll ought to be there. But, don't get intimidated! Although quite a lot could potentially be loading in, you've got a couple of solid strategies for finding your desired photos with relative ease.
First and foremost, it's beneficial to remember that you can scroll up and down within the Photos app. Simply use the scroll bar on the right or swipe with two fingers on your trackpad. This will help you browse through your photo library more quickly.
If scrolling's not your thing, the Photos app's equipped with a handy search option. Found up at the very top of the side navigation panel, you can type in specific terms related to the photos you're searching for. Let's say you're after the photos from your last beach trip. By typing "beach" in the search bar, the app will display all relevant photos, allowing you to choose the ones you wish to transfer.
Notable Mention:
Sometimes, you've shots taken on other apps such as Instagram or Facebook. To locate them, you can go to the 'Albums' section of the Photos app. Look for albums titled 'Instagram' or 'Facebook.' The same goes for screenshots or selfies as there are dedicated albums for these.
So, once you've located your desired photos, click to select them. If you want to select all photos from a specific day, month, or year, click on the small checkbox in the upper-left corner of the date designation. This makes the process of selection extremely efficient.
Should you wish to select multiple photos individually, hold down the command key on your keyboard and click each desired photo. This could be especially useful for weeding out that excess burst-mode photography.
With your desired photos in check, you're almost there. Pat yourself for coming this far and let's gear up for the next step in the process.
Now that you're done with the selection of your photos, your next move is relatively easy. You have to click on the 'Import' button located at the top right corner of your screen.
As you go ahead and hit 'Import', you'll likely notice two main options: 'Import All New Photos' and 'Import Selected'. Here's the skinny on both:
- 'Import All New Photos': This option is predominantly helpful when you intend to transfer all of your fresh, unimported pictures to your Mac.
- 'Import Selected': In case you aren't keen on moving all your new snaps, this option lets you import only those images that you have specifically selected.
Remember, if you've selected some photos and decide to hit 'Import All New Photos', your selected images would override this command. The Photos app acknowledges your earlier selection and only brings those images over.
Does it transfer immediately? Not quite. The transfer speed, in reality, depends on various factors such as the total number of photos, their size, and the USB connection's speed. But worry not, for the Photos app will keep you posted with a progress bar.
While you're waiting, it might be a good idea to keep your iPhone unlocked. This is mainly to prevent any interruptions in the data transfer. The MacBook should still be able to pull pictures off your iPhone, but keeping it unlocked could speed up the process. Locking your iPhone doesn't stop the import operation but slows down the transfer speed as a security measure.
Additionally, it's good general advice not to disconnect your iPhone before the import process is complete. Doing so might not just disrupt pictures presently being imported, but can also result in potential errors in your Photo Library, which can be a hassle to rectify. So patience, while the photos make their journey to your Mac, could save you from a lot of trouble down the road.
That is it for this step. Be sure you have managed to navigate to this point without any hiccups and wait for the next section to continue with the process! We are not yet at the final step, so keep holding on, you're almost there.
Step 5: Choose the destination folder on your Mac

Congrats on hitting the "Import" button! But you're not done yet - selecting the destination folder on your Mac is a crucial step in ensuring that your photos will end up where you want them to be.
To decide where your pictures should live on your computer, click the "File" menu at the top of the screen. Each photo imported from your iPhone will have its own designated folder. You won't have to worry about losing precious pictures in the vast landscape of your computer.
After accessing the File menu, you'll notice a dropdown with several options. You'll need to click on "Import to". This will open up a new pane where you can browse your Mac's directory. From this point, it's straightforward - just find and select the folder where you want your photos to go.
Don't rush through this step. Make sure the destination folder is clear and recognizable. You might even want to create a new dedicated folder just for these pictures.
First, click on "New Folder" at the bottom of the panel. Then, name it something memorable like "iPhone Photos". Finish by hitting "Create". Et voila! You've set the path for your iPhone photos.
Ensuring a smooth, faultless transfer of your photos is not just about connecting devices or hitting the right buttons. It's also about organizing your photos in a way that makes sense to you. You're calling the shots and deciding where your photos will live on your Mac. Use this sovereignty wisely.
We're not through yet, though. There are still a few handy tips and tricks to show you to make the whole process more streamlined and efficient. Let's dig deeper and reveal more secrets on how the perfect transfer from iPhone to Mac is done.
Conclusion
Transferring photos from your iPhone to your Mac doesn't have to be a daunting task. With a simple USB cable and the Photos app, you've seen how easy it can be. Remember, it's crucial to maintain an organized system for your photos; creating a dedicated folder for your imported pictures can be a great start. As you continue to explore, you'll find more tips and tricks that will streamline your photo transfer process, making it more efficient. So, don't hesitate to dive in and start transferring your memories from your iPhone to your Mac.
How do I connect my iPhone to my Mac to transfer photos?
Firstly, you'll need to connect your iPhone to your Mac using a USB cable. Then, you will need to establish a secure connection between the two devices to ensure data can be transferred safely.
What steps do I take on my Mac to begin transferring photos from my iPhone?
Once your devices are connected, you can open the Photos app on your Mac. This will allow you to view and select the photos you want to transfer from your iPhone to your Mac.
How do I select the destination folder for my transferred photos on my Mac?
After selecting the photos to transfer, choose the destination folder on your Mac by opening the "File" menu and clicking on "Import to". This will open a pane where you can browse your Mac's directory to select the desired folder.
Why is it important to organize my transferred photos?
It's crucial to organize your transferred photos in a way that makes sense to you. With well-organized photos, you can easily locate any picture when needed. You may want to create a dedicated folder for your imported photos to keep things tidy.
Are there more tips to streamline the photo transfer process?
Yes, indeed, there are more tips and tricks to make the transfer process more streamlined and efficient. These include smart use of iCloud, third-party apps, and other hidden iPhone features. Stay tuned to our blog for detailed steps and advice!


