Ever found yourself wishing you could block a pesky contact on your iPhone? You're not alone. It's a common situation, whether it's to avoid unwanted calls, texts, or FaceTime requests. Luckily, your iPhone is equipped with features to help you maintain your peace.
In this guide, you'll learn how to block a contact on your iPhone. It's a straightforward process that doesn't require any technical skills. All you need is a few taps and swipes, and you're set. So, if you're ready to take control of your calls and messages, keep reading.
Overview of blocking a contact on iPhone
Ever feel overwhelmed by the sheer volume of calls and texts that flood your iPhone daily? Unwanted phone calls and messages can be a major distraction. Moreover, they can make your phone less of a productivity tool and more of a nuisance.
With the advent of telemarketing, robocalls, and spam messages, it seems there's no end to how many unwanted communications one receives. Let's grasp control and transform your iPhone back into the tool for efficiency and connectivity that it was meant to be. Apple's intuitive OS allows you to block contacts with ease.
The perk of blocking a contact on your iPhone is the wide net it casts: once a contact is blocked, their calls, texts, and even FaceTime calls get blocked simultaneously. It’s like hitting a mute button for a specific contact. Their calls will be redirected to voicemail, and texts or FaceTime calls won't even show up.
However, keep in mind, the blocking feature is not foolproof. It cannot prevent a blocked contact from emailing you or contacting you via third-party apps. For comprehensive protection against a specific contact, you'd have to block them on each platform they use.
iPhone’s blocking feature is no rocket science. Even if you're a novice iPhone user, with little to no technical knowledge, you'd be able to block unwanted contacts with just a few taps. And if you change your mind later, unblocking a contact is just as simple. It's all part of what makes iPhones a preferred choice among millions of users.
So, are you ready to learn how to take control of your iPhone experience? Stick around as we delve deeper into the steps to block (and unblock) a contact on your iPhone. Understanding these steps will empower you to maintain your peace and productivity, unhindered by unwanted contact.
Step 1: Open the Contacts app

This first step sets the foundation for the entire process. Locating and opening the Contacts app on your iPhone is as simple as finding the green icon with a white silhouette of a person within a circle. It's typically found on your Home screen. If you've customized your interface and can't find it, swipe your finger down the middle of your screen. This reveals a search bar at the top. Type 'Contacts' into the bar and the app will appear underneath.
Once you've opened the Contacts app, it displays a list of names, numbers, and perhaps face photos if you've synced your account with social media platforms. At this point, you may already have the contact you wish to block in mind. If so, scroll through the list till you find them. If they're not in your list, take a moment to add them by tapping the '+' symbol located in the upper right corner.
Entering their phone number and a name is sufficient. Remember you're adding them to be able to block them, so filling in detailed information about the contact isn't necessary.
Once you have the contact open on your display, the next steps to take will be relating to the process of blocking them. You're on your way to achieving freedom from unwanted calls and messages with these simple steps. It's no secret that an uninterrupted day can markedly increase your productivity and peace of mind.
Navigating your iPhone manuevres smoothly, getting you closer to mastering its functionality. The Contacts app is one of many tools within your reach, designed to organize and manage your communications.
Step 2: Select the contact you want to block

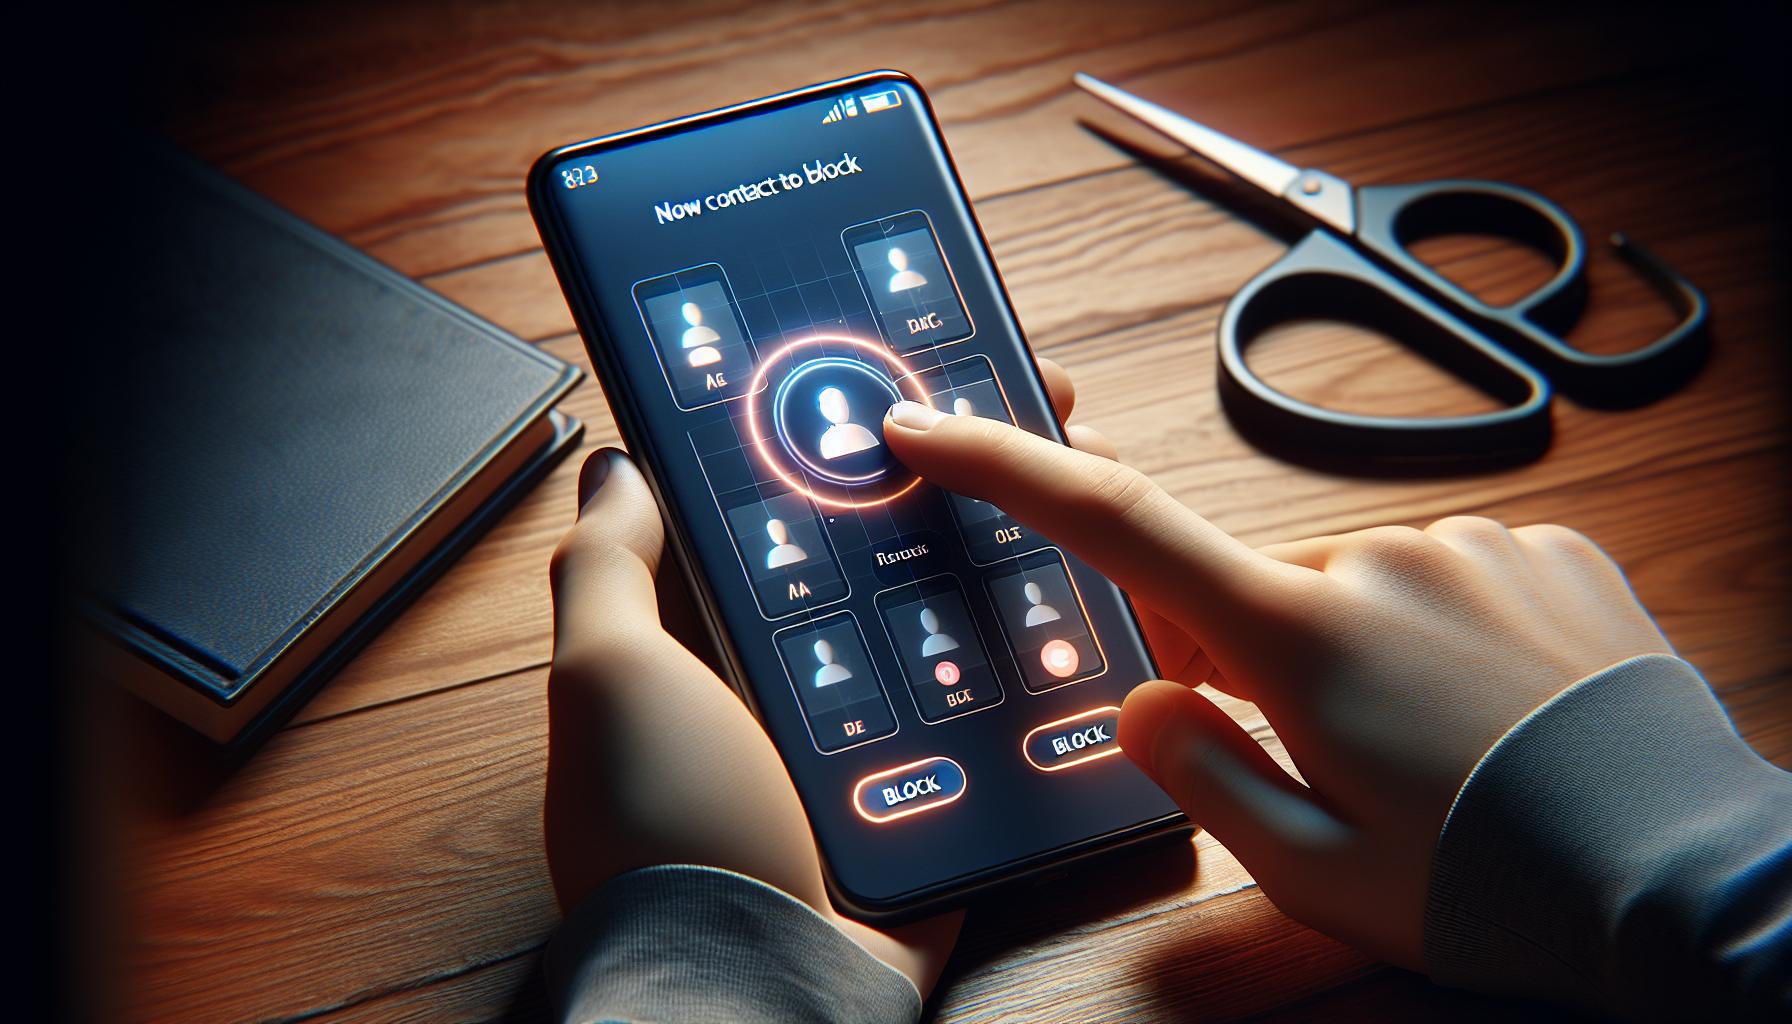
So, you've opened your Contacts app and you're ready to make a selection. In this phase, you'll need to pinpoint the specific contact you wish to block. It's important to note that the contact doesn't necessarily have to be someone already present in your contacts list. Whether it's an annoying telemarketer, a persistent ex, or just someone whose calls and messages you'd rather avoid, the process is the same.
First off, make sure you are in the 'All Contacts' section. Scroll down your list until you locate the person. If you're running iOS 13 or later, there's a search option at the top. Simply type in the contact's name and they will come up immediately. Remember, being specific is vital.
On the off chance that the person isn't already saved in your list, just hit the '+' button located at the top-right corner of your screen. Here, you would need to input the name and the phone number you wish to block, and then save it.
Blocking a contact on your iPhone is a tad bit obscure by design. Yet, by following these systematic steps, even the most tech-averse individuals can get it done. Once you have selected the contact, the process is far from over. Don't just stop here! You'll be guided through more steps to successfully block this contact in the following sections of this article.
Remember, utilizing the iPhone's functionality fully enables you to take charge of your device. So, continue rolling with these productive and straightforward steps to increase your peace of mind and productivity.
Step 3: Scroll down and tap on "Block this Caller"

Once you've identified the specific contact you want to avoid, it's now time for the crucial action. Observing the contact details on the screen, scroll down to find the option "Block this Caller". You'll notice this option sits near the bottom of the screen, underneath a strand of other choices.
Everything related to the contact's details gets displayed right in front of you. But, what you're on the lookout for sits patiently at the bottom. It’s easy to miss this step if you're in a hurry. Don't rush; take your time and scroll down until you reach the option to initiate the block.
By tapping on "Block this Caller", your iPhone starts to put the needed barriers between you and the unwanted caller. It's a move towards maintaining peace in your daily life, a stride towards taking control of your digital spaces.
Remember the aim here isn't just to block, but to do it properly. To do it in a way that eliminates any possibility of unwanted communications creeping in from that specific contact. Being thorough in your approach to this step ensures a complete and successful blocking process.
But you ain't done just yet. After you tap on "Block this Caller", a confirmation prompt will arise. This prompt is crucial to the success of your blocking process. It's what seals the deal, making sure your iPhone knows exactly what you want. So, stay tuned to find out what the next steps of this blocking process involve. With each step, you're bringing yourself closer to a quieter, more controlled mobile experience.
Step 4: Confirm the block
After tapping "Block this Caller," you'll notice a confirmation prompt appearing on your screen. Apple wants to ensure that your decision to block a contact is deliberate, and not an accidental tap. This confirmation step is crucial. Let's dive into further specifics.
This confirmation prompt is designed with user experience in mind. It pops up to add a secondary layer of defense against inadvertent contact blocking. You wouldn't want to end up blocking your boss or an important client by mistake, would you?
The prompt will usually say, "You will not receive phone calls, messages, or FaceTime from people on the block list." Below this, you'll find two options: "Block Contact" or "Cancel." Now, it's time for you to decide.
If you've reached this point in error, simply press "Cancel." This action will bring you back to the contact's information page, and you can breathe a sigh of relief. Nothing's changed, and you can go about your day as usual.
On the other hand, if you're certain about your decision, go ahead and press "Block Contact." Once you do this, you'll find that the contact you've selected is effectively blocked across all your Apple devices linked with your iCloud account. This block isn't only limited to calls; it extends to messages and FaceTime too.
The beauty of this feature is that it gives you control. You're not obliged to tolerate nuisance callers or pesky marketers. Brilliant, isn't it?
Remember, though, no action is permanent. Suppose you change your mind or accidentally block a contact. In that case, you can unblock the contact by repeating the aforementioned steps, selecting "Unblock this Caller" instead. It's like a digital version of setting boundaries - you can draw and erase them as you please.
So, what happens after blocking a contact? Technically, nothing dramatic. Your phone won't ring, vibrate, or display any notification if the blocked contact tries to reach you. It's a silent, effective tool to maintain your peace of mind with zero theatrics. All blocked contact interactions are neatly tucked away. It's as if the contact never attempted to reach you.
Moving onto the next step...
Step 5: Managing blocked contacts
Dealing with blocked contacts is not as challenging as you might think. It's essential to know how to manage your blocked list on your iPhone for a smoother experience.
First, how do you access your Blocked List? Here's how. Go to your "Settings," scroll down until you see "Phone," "Messages," or "FaceTime." You'll see "Blocked Contacts" under these options. Tapping this will take you to the comprehensive list of numbers and contacts you've blocked.
Sometimes, you might accidentally block a contact, or perhaps you've changed your mind about a certain number. What now? Well, lucky for you, unblocking a contact is just as easy as blocking one. To unblock a contact, simply swipe left on their name or number and click "Unblock."
There might be instances where you want to know whether a blocked number tried to contact you. Unluckily, Apple doesn't currently provide notifications if a blocked contact attempts to reach you. They'll instead be directed to voicemail, and their messages won't appear in your inbox.
Here's a bit of interesting data you may appreciate:
| iOS Version | Blocked Contact Notification | Voicemail Access |
|---|---|---|
| iOS 11 | No | Yes |
| iOS 12 | No | Yes |
| iOS 13 | No | Yes |
| iOS 14 | No | Yes |
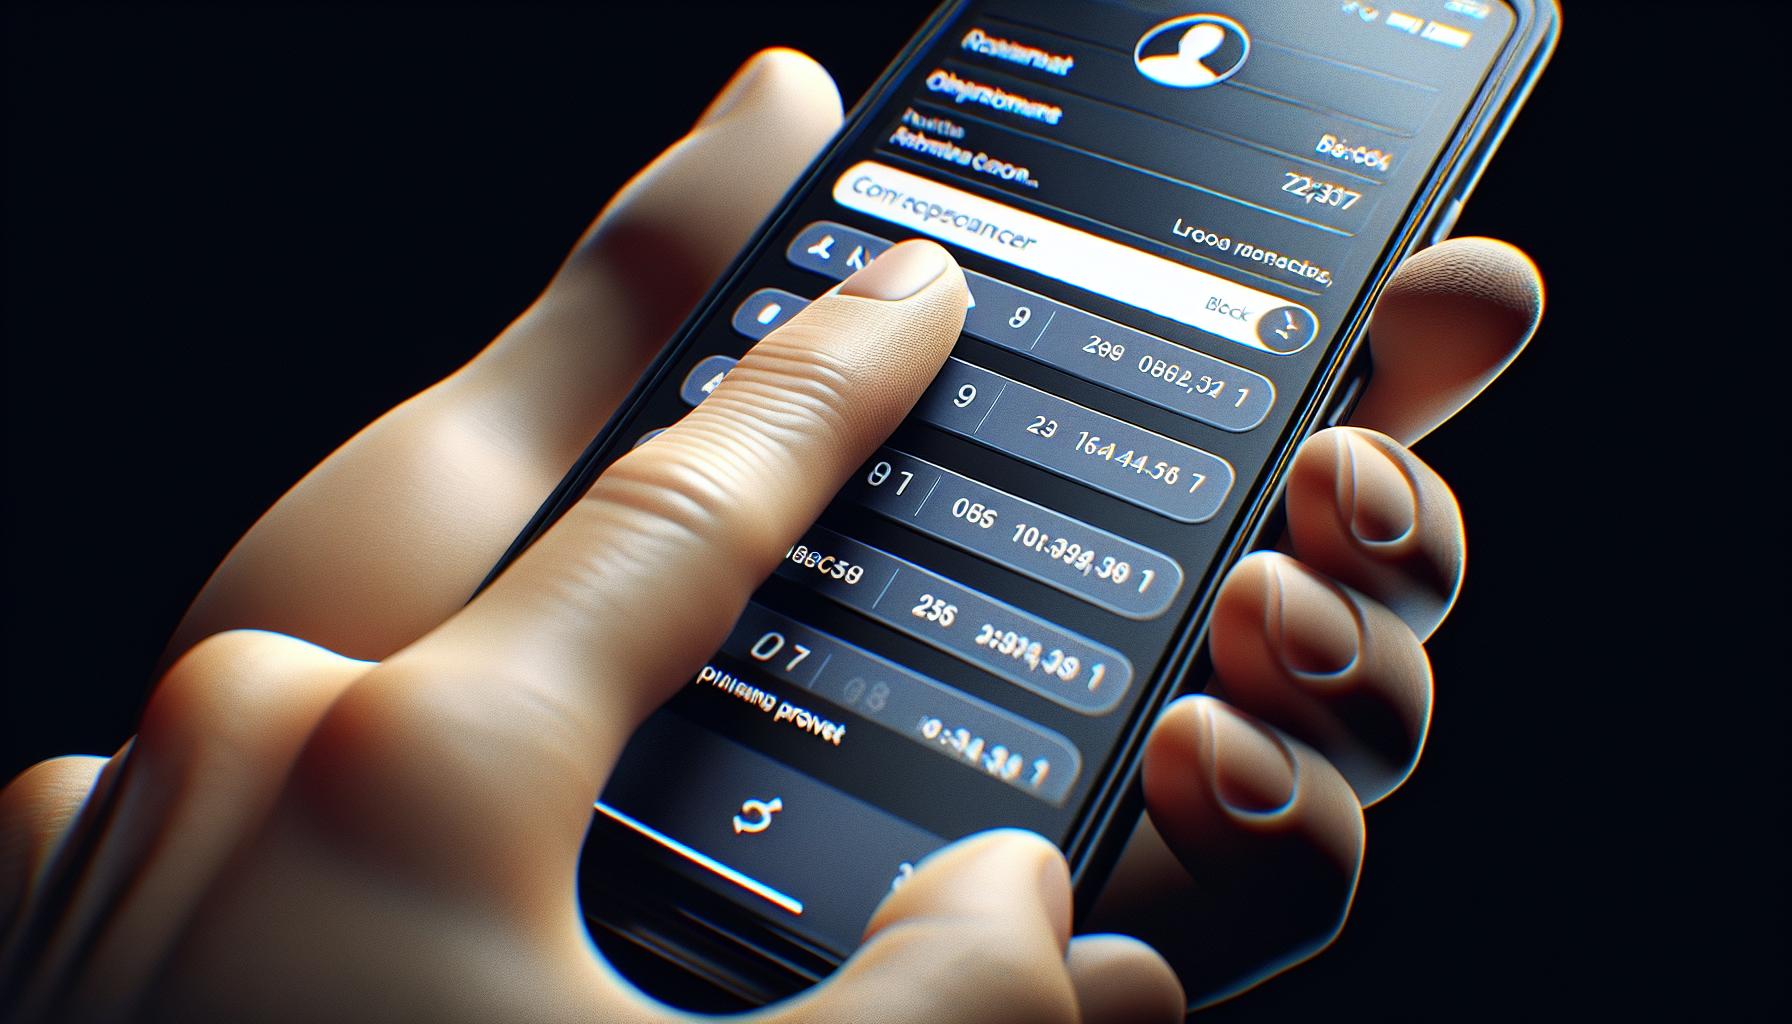
Moving ahead, let's talk about how to add an unknown number to your blocked list. If you've received a call or message from an unknown number and you wish to block it, it's not a big deal. In the "Recent Calls" tab, click the "I" icon next to the unknown number, then scroll down and tap "Block this Caller." For messages, tap the unknown number at the top of the screen and select "Block this Caller."
As you manage your blocked list, remember that there's no limit to the number of contacts you can block. With this feature, you have the power to control who can reach out to you on your device. Rest assured knowing the process is easy, straightforward, and customizable according to your preferences.
In the next section, we'll explore more about managing notifications regarding blocked contacts.
Conclusion
You've now got the know-how to take control of your iPhone contacts. With these steps, you can easily block and manage those pesky numbers that you'd rather not hear from. Remember, there's no limit to the number of contacts you can block, and it's all customizable to suit your preferences. Don't forget, Apple doesn't alert you about blocked calls - they're sent straight to voicemail. If you ever change your mind, unblocking is just as easy. So, take charge and make your iPhone calling experience exactly what you want it to be.
How can I block a contact on my iPhone?
To block a contact on your iPhone, go to the Phone app or FaceTime app, then tap on the contact you wish to block and select "Block this Caller". Remember, this will block them across all your Apple services.
How do I unblock a contact on my iPhone?
You can unblock a blocked contact by going to the Settings app, then tapping on Phone, Messages, or Facetime. Scroll down and tap on "Blocked Contacts". You’ll be able to see your blocked contacts here and can proceed to unblock them by swiping left on the contact's name.
What happens when a blocked number tries to contact me?
When a blocked number tries to contact you, they'll be directed to your voicemail and no notifications will be shown on your end. Apple does not currently provide these notifications.
Can I block an unknown number on my iPhone?
Yes, you can block an unknown number on your iPhone. When a call from an unknown number comes, tap on the 'i' icon and then choose the “Block this caller” option.
Is there a limit to the number of contacts that can be blocked on an iPhone?
No, there's no limit to the number of contacts you can block on an iPhone. You can manage your blocked list according to your personal preferences.


