Ever misplaced your iPhone and felt a pang of panic? You're not alone. Thankfully, Apple's 'Find My iPhone' feature is a lifesaver in such situations. In this guide, we'll walk you through the steps to turn it on.
Before we dive in, it's important to note that 'Find My iPhone' is more than a tool to track a lost device. It's a comprehensive system designed to protect your data, lock your device, and even erase your information if needed. Let's get started on setting it up for your peace of mind.
Remember, you'll need your Apple ID and password to activate this feature. If you don't have these handy, now's the time to dig them out. Stay tuned as we unravel the process of enabling 'Find My iPhone' on your device.
How to Turn On Find My iPhone
It's true that turning on 'Find My iPhone' is a crucial step in ensuring your device's security. Moreover, it's a relatively straightforward process. Grab your iPhone, iPad, or other Apple device, and let's walk through the steps together.
Firstly, you need to access the Settings on your device. Find the silver icon typically located on your home screen. Your device must be up-to-date with the latest iOS version to ensure access to all the features.
Navigate to your Apple ID at the top of the menu. Selecting this option will lead you to your Apple ID page. Here, you'll see a variety of options available for customization. What you're looking for is iCloud. You'll find this towards the bottom of your screen beneath 'Payment & Shipping'.
Upon entering the iCloud menu, you'll witness a vast list of apps using iCloud.
Scroll down to find 'Find My iPhone'. Toggle the switch on - it should turn green
On this page, two additional options play a critical role:
- Enable Offline Finding: This allows Apple to find your device even when it's not connected to Wi-Fi. It's particularly useful if your phone is stolen or lost in a remote location.
- Send Last Location: If your device's battery is critically low, it'll send its last known location to Apple. This function could be your last resort in finding a lost device.
Turn on these features for an extra layer of security.
And there you have it! 'Find My iPhone' is now turned on and configured to protect your device and data. Remember, having these settings on aren't just for peace of mind - they're your best bet to retrieve a lost device or valuable personal data. Don't underestimate the power of this small but mighty feature.
Introduction to Find My iPhone

Imagine misplacing your iPhone in a cafe and not having a clue where it might be. Maybe you left it at work or it slipped under your car seat, or worse, you can't figure out if it's been stolen. These are moments when Find My iPhone becomes your beacon in the dark, helping you trace your device, keep your data safe, and breathe a sigh of relief.
It's no exaggeration to say that Find My iPhone is a godsend feature for Apple users. A tool that efficiently blends technology with the necessity of everyday situations. It's designed to track your device, be it your iPhone, iPad, iPod Touch, or Mac, when it's lost or misplaced. Not only does it help locate your device, but it also secures your information while you’re trying to get it back. How fantastic, isn't it?
To leverage this feature, you should know how to activate it on your device. But before we delve into the setup process, let's understand some key aspects of Find My iPhone. Two crucial elements of it are - 'Enable Offline Finding' and 'Send Last Location'.
'Enable Offline Finding' allows your device to be located when it's not connected to Wi-Fi or cellular network. Yes, that's right. Your device sends out Bluetooth signals that can be detected by any Apple device nearby and helps determine your device’s location.
'Send Last Location' is another vital feature. It automatically sends the position of your device to Apple when the battery is critically low. This helps you track the last known location of your device if it goes off the grid.
Make sure you enable these additional features when you turn on the Find My iPhone option. Doing so strengthens your device's security and heightens your chances of recovering it when lost.
Importance of Find My iPhone

You may wonder, why all the fuss about the 'Find My iPhone' feature? Well, it's more than just a handy tool - it's a comprehensive day-to-day solution for keeping tabs on your device and ensuring optimal security.
Imagine you're at a café and you happen to leave your iPhone behind. You've just unwittingly joined the millions of people who've faced the anxiety and inconvenience of losing a device. According to an industry report in 2020, approximately $2.5 billion was spent globally in replacing lost devices and repairing damage caused by misplacement.
| Year | Expense (in billion) |
|---|---|
| 2020 | $2.5 |
This potential risk highlights the value of the 'Find My iPhone' feature. Activating it is like getting an inexpensive insurance policy for your device.
But, it's not just about locating your device. It's also about securing your data. Privacy and data security have always been crucial in this digital era. Your iPhone stores an immense amount of sensitive and personal information. If your device falls into the wrong hands, you could forfeit much more than just a piece of hardware.
Thanks to the 'Find My iPhone' feature, you can remotely erase all details stored on your device. This is like having a safety net for your personal information, preventing it from being misused by potential thieves.
Let's delve further into the key features of 'Find My iPhone', specifically, 'Enable Offline Finding' and 'Send Last Location'. These necessarily become the game changer when your device is out of range or battery.
Step 1: Locate the Settings App

The journey to securing your iPhone begins with a simple step: locating the Settings app. It's remarkable how this small gear icon on your iPhone holds the operational reins of the entire device. Understanding its role is integral to optimizing your device's performance and security.
As you navigate your home screen, look for the Settings app icon. It typically has a grey background with a gear or cog design in the center. It's a native app, meaning it's part of the iOS software installed on your device at the time of manufacture, so you can't miss it on the home screen.
Getting familiar with the Settings app is key. It's within this hub that you'll manage your device's system preferences including, but not limited to, screen brightness, wallpaper, sound settings, privacy settings, and, most pertinently for our current focus, enable the crucial 'Find My iPhone' feature.
Since 'Find My iPhone' is your contingency plan in case of loss or theft, it's essential that you know how to turn it on and adjust its features to suit your needs. The first part of that process starts here, on your home screen, by locating the Settings app. So, search your screen, find that gear icon and you are one click away from improving the security of your iPhone.
Next up, you'll be diving into the myriad of features this handy little app has to offer, one of which will help secure your iPhone in case it ever falls into the wrong hands. But more on that later. Now, tap on the Settings app and let's journey into the next phase of this crucial process.
Step 2: Open the iCloud Settings
After you've explored the Settings app, your next step in that journey toward ultimate iPhone security is uncovering the hidden treasures within the iCloud tab. Here's how you can do that.
Navigate through the list and tap on iCloud. You may need to scroll a little, as it’s often towards the middle of the menu. Once you've tapped, you'll be present with numerous options that are related to iCloud services. iCloud is your best friend when it comes to securing data and enabling key functions like Find My iPhone.
So why specifically should you care about iCloud settings? iCloud not only secures your data but also helps in tracking your device even if it's offline. It's your sanctuary when your device is lost.
Within the iCloud tab, you'll see a list with several options such as Photos, Mail, Contacts, Calendars, Notes, and so on, right towards the end you'll find Find My iPhone. This is where you can enable or disable the feature. It's certainly one feature you don’t want to miss out on.
To further make sure that you've got this step down, here's a concise set of instructions for you to follow:
- Open the Settings app
- Scroll down and tap on iCloud
- Scroll through the list within the iCloud tab
We can’t stress enough the importance of this step and how it dovetails into enabling the Find My iPhone feature. So diligently follow these steps until you become a pro at it.
Moving forward, keep in mind it’s all about details. So you'll be exploring more about this feature and how you can enable it to guard your iPhone effectively. Hold onto your hats; you're just getting started on this security journey.
Step 3: Sign In to your Apple ID

So far, we've guided you through navigating to the iCloud settings within your Settings app. Scrolled through settings and tapped on iCloud right? Now it's time to sign into your Apple ID.
Don't have an Apple ID yet? Don't sweat it - you can follow the prompts to set up a new one straight from your iPhone. It's an essential element of owning an iPhone. Without one, you'll find yourself unable to access a myriad of features - including the Find My iPhone function we're focusing on.
The sign in process is straightforward. Simply enter your Apple ID email and password in the appropriate fields. You've probably done something like this many times before. It's like signing into your email or social media accounts.
But hold up! You might experience an extra layer of security. Have you set up two-factor authentication? If you have, you'll need to enter a verification code that'll be sent to one of your trusted devices or phone numbers. This step ensures that the person trying to sign in is indeed you.
Once signed in, your iPhone will sync with your Apple ID. That means your contacts, calendars, notes, and more - everything that's tied to your Apple ID will be updated and available across all your Apple devices. Your Apple ID also works in tandem with iCloud to keep those precious bits of data safe and accessible.
The Find My iPhone feature is tethered to this very Apple ID. You've signed in and are now a step closer to fully utilizing this handy function. Next, you'll learn to turn on the Find My iPhone set up. Right after a few scavenger hunting steps within settings, of course.
Remember, an important sub-step of this method is double-checking to ensure that your Apple ID is correctly signed in. Your Apple ID is critical in securing your device and its data. Moreover, Micro mistakes can cause Macro issues. Signing in may sound simple, but it's the first foundational layer of setting up Find My iPhone.
With these steps, we're closer to the final setup. Stay tuned to know how you can leverage Find My iPhone feature optimally.
Step 4: Enable Find My iPhone
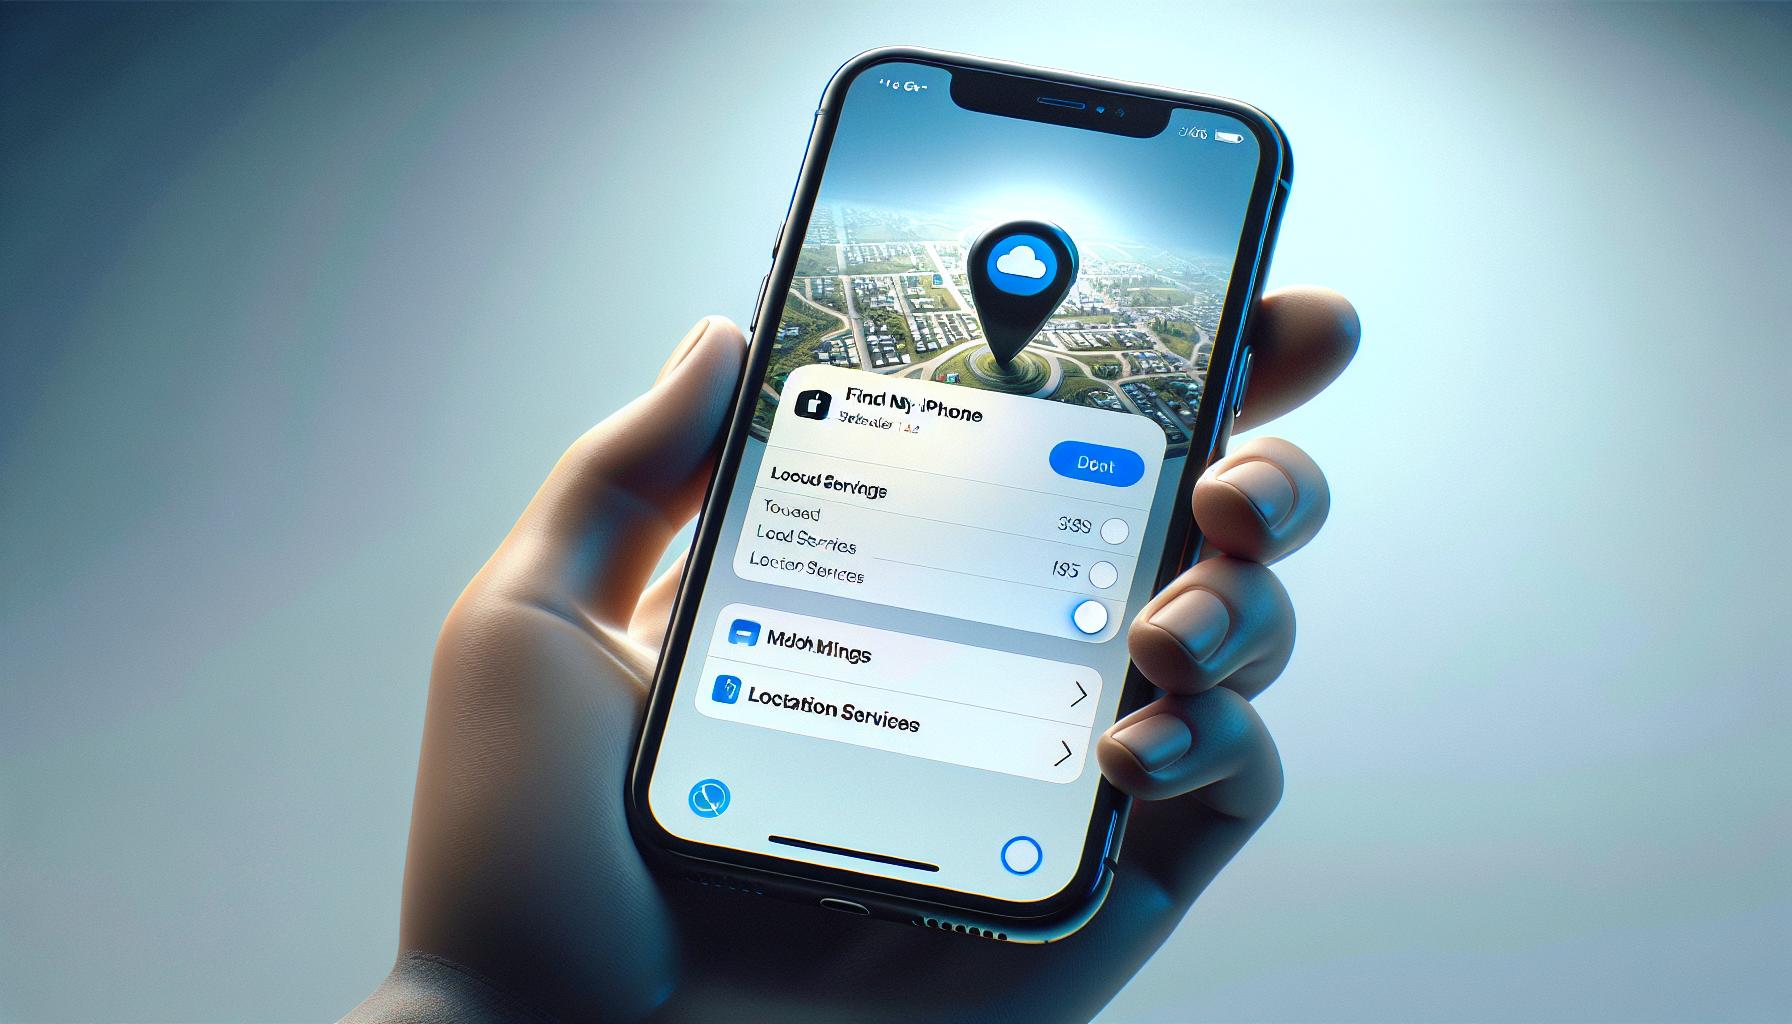
After ensuring that you've signed in to your Apple ID, it's time to turn on the Find My iPhone feature. Believe it or not, this addition can be a real lifesaver should your iPhone ever be misplaced or stolen. With this crucial feature, you'll be able to locate, lock, or even erase your iPhone remotely.
To enable Find My iPhone, navigate to the Settings app on your device. Once you're there, tap on your name at the top of the list to access the Apple ID menu. Open up the iCloud section and scroll down until you see the Find My iPhone tab. Tap on it. You'll now see a toggle switch alongside 'Find My iPhone'. Make sure this switch is flipped to the green position. Your device will affirm that the feature is turned on by displaying 'Find My iPhone: On' under the switch.
This isn't just an extra security measure. It's a fundamental step in protecting your device – an essential part of the iPhone security layers. That said, if you have important data stored on your iPhone, we recommend also turning on the Send Last Location feature. This function will automatically send the location of your iPhone to Apple when the battery is critically low.
To do this, navigate to the Find My iPhone menu again. Just underneath the Find My iPhone switch, you'll find another toggle switch for Send Last Location. Flip this switch on as well.
Now you've successfully set up the Find My iPhone and Send Last Location features. Remember, the strength of your iPhone's security is tied directly to these protective measures. As our safety journey progresses, we'll tackle the measures that should be considered when you're out and about.
Remember, with the Find My iPhone feature, your phone can be located, locked down, or completely wiped remotely. It's a virtual superpower in your hands. The extra layer of defense against loss, theft or mishandling is now just a few taps away on your screen. Isn't it beautiful? Now, let's proceed to the next step – optimizing iPhone security settings.
Step 5: Customize Find My iPhone Settings
You've made it to the next vital step in upping your iPhone's security game, customizing your Find My iPhone settings. Your iPhone hosts a wealth of sensitive data, from personal photos and messages to crucial business emails. Let's dive in and ensure it's all safeguarded.
Venturing back into your Settings app, go ahead and tap on your name. Select 'iCloud', followed by 'Find My iPhone'. Here is where you'll bask in the plentiful options designed to fortify your device's protection.
Start by enabling the 'Find My network'. This option allows your phone to help locate other lost Apple devices, even when yours is offline. It's a handy feature that leverages the strength of the larger Apple community to recover missing devices.
Don't shy away from the next bit, 'Find My iPhone Alerts'. Switching this on is critical. It'll keep you in the know if anyone tries to remove your device from your iCloud account or deactivates 'Find My iPhone'. An alert will ping, putting you immediately into action.
Lastly, take the bold step to activate 'Share My Location'. This lets you share your spot with your family members or friends through the Find My app. It could be essential if you're in a situation where you need someone to find you or your device quickly.
Ensure you're also set up on iCloud.com. You'll be able to access these features from any device if your iPhone isn't available. Handy, right?
You're doing great with securing your iPhone. You've tackled 'Find My iPhone' settings and next up is managing your Touch ID and Face ID settings. These biometric security measures can add an extra layer of protection to your device. Let's carry on this journey of securing your iPhone and tap into the power of biometrics next.
Stick around; your iPhone's security is about to step onto a whole new level.
Conclusion
So, you've learned how to power up your iPhone's security by enabling Find My iPhone. You now know how to navigate through your Settings to iCloud, where you can customize your preferences. You've grasped the importance of features like the Find My network, Find My iPhone Alerts, and Share My Location. And remember, you can access these options from any device via iCloud.com. Now, you're ready to move on to the next level of securing your iPhone - managing Touch ID and Face ID settings. With these steps, you're not just protecting your device, but also ensuring the safety of your valuable data. Keep up the good work!
Frequently Asked Questions
What is the fifth step in securing an iPhone?
The fifth step in securing any iPhone involves customizing the settings of the 'Find My iPhone' feature. This can be done through the iCloud section in the Settings app on your device.
What features should I enable in the Find My iPhone settings?
You should enable the Find My network and Find My iPhone Alerts. Also, consider turning on the Share My Location feature. These will enhance the security of your phone and make it easier to locate if lost.
How can I access the Find My iPhone features?
These features can be accessed from any device by logging into your iCloud account at iCloud.com. This provides a convenient way to manage your device's security features from anywhere.
What is the next step in securing my iPhone after customizing the Find My iPhone settings?
The next step after customizing the Find My iPhone settings is managing the security settings of the Touch ID and Face ID features. These two steps substantially enhance the security of your device.
