Ever lost your iPhone and wished you'd enabled the 'Find My iPhone' feature? It's a lifesaver when you're in a pinch. But there are times when you might want to turn it off. Maybe you're selling your iPhone, or perhaps you're just not a fan of being tracked.
Turning off 'Find My iPhone' isn't as straightforward as you might think. It's hidden away in the settings, and if you don't know where to look, it can be a bit tricky. But don't worry, we've got your back!
Why would you want to turn off Find My iPhone?
While the Find My iPhone feature is incredibly useful, there are certain scenarios where you might want to turn it off.
One such instance could revolve around privacy concerns. Let's say, for instance, you've loaned your device to a friend or family member. During that period, you won't exactly want your iPhone broadcasting your location at all times. Disabling the feature provides you with the control of your own digital footprint.
Another possibility is if you're planning to sell or give away your iPhone. Before handing the device over, it's crucial to turn off this specific feature. Failing to do so can lead to the activation lock remaining active on your iPhone. Subsequently, the new device owner wouldn't be able to use the iPhone without your Apple ID and password.
The same recommendation applies if you're going to have your iPhone serviced. Technicians need unrestricted access to your device, and having Find My iPhone turned on might interfere with their work.
Finally, you might decide the feature is simply draining too much of your iPhone's battery life. Like any GPS-based service, it can be a significant power consumer. So if you're trying to extend your battery life or if you're in an area with limited charging options, you might choose to disable it.
In all of these scenarios, knowing how to turn off Find My iPhone becomes a useful skill. It's simple once you know the steps, and the following sections will guide you through the process with ease.
Remember, turning off the feature does not eliminate its benefits permanently. You always have the option to turn it back on when the situation changes.
Step 1: Open the Settings app

Your first move is a simple one. Much like starting a race, you just need to get off the blocks! So, tap that Settings app on your device screen. You're likely familiar with this one. It's got that grey gear icon and it's usually located on your home screen. If it’s not there and you're scratching your head, don’t worry. You can easily use the 'swipe down' function on your home screen and type "Settings" into the search bar to find it.
In the world of all things tech, this is your launch pad. It's from here that you'll drill down into the heart of your device - accessing all its key features. Finding and opening the Settings app is like stepping through a gateway to your iPhone’s inner workings.
But this journey is not just about getting under the hood. It’s also about mastering control of your device. By delving into the Settings app, you're taking charge. You're on your way to customizing your iPhone to suit your needs - turning off 'Find My iPhone' is just one of the many adjustments you can make here.
This initial engagement with your iPhone’s Settings app is more than just step 1 – it’s an empowering leap towards mastering your device. So, tap on that gear icon and step in with confidence.
Once you've done that, on to the next step, where you'll navigate through the menu till you spot something familiar - your Apple ID. Look out for that in the next section, presented simply as 'Step 2'.
Step 2: Tap on your name

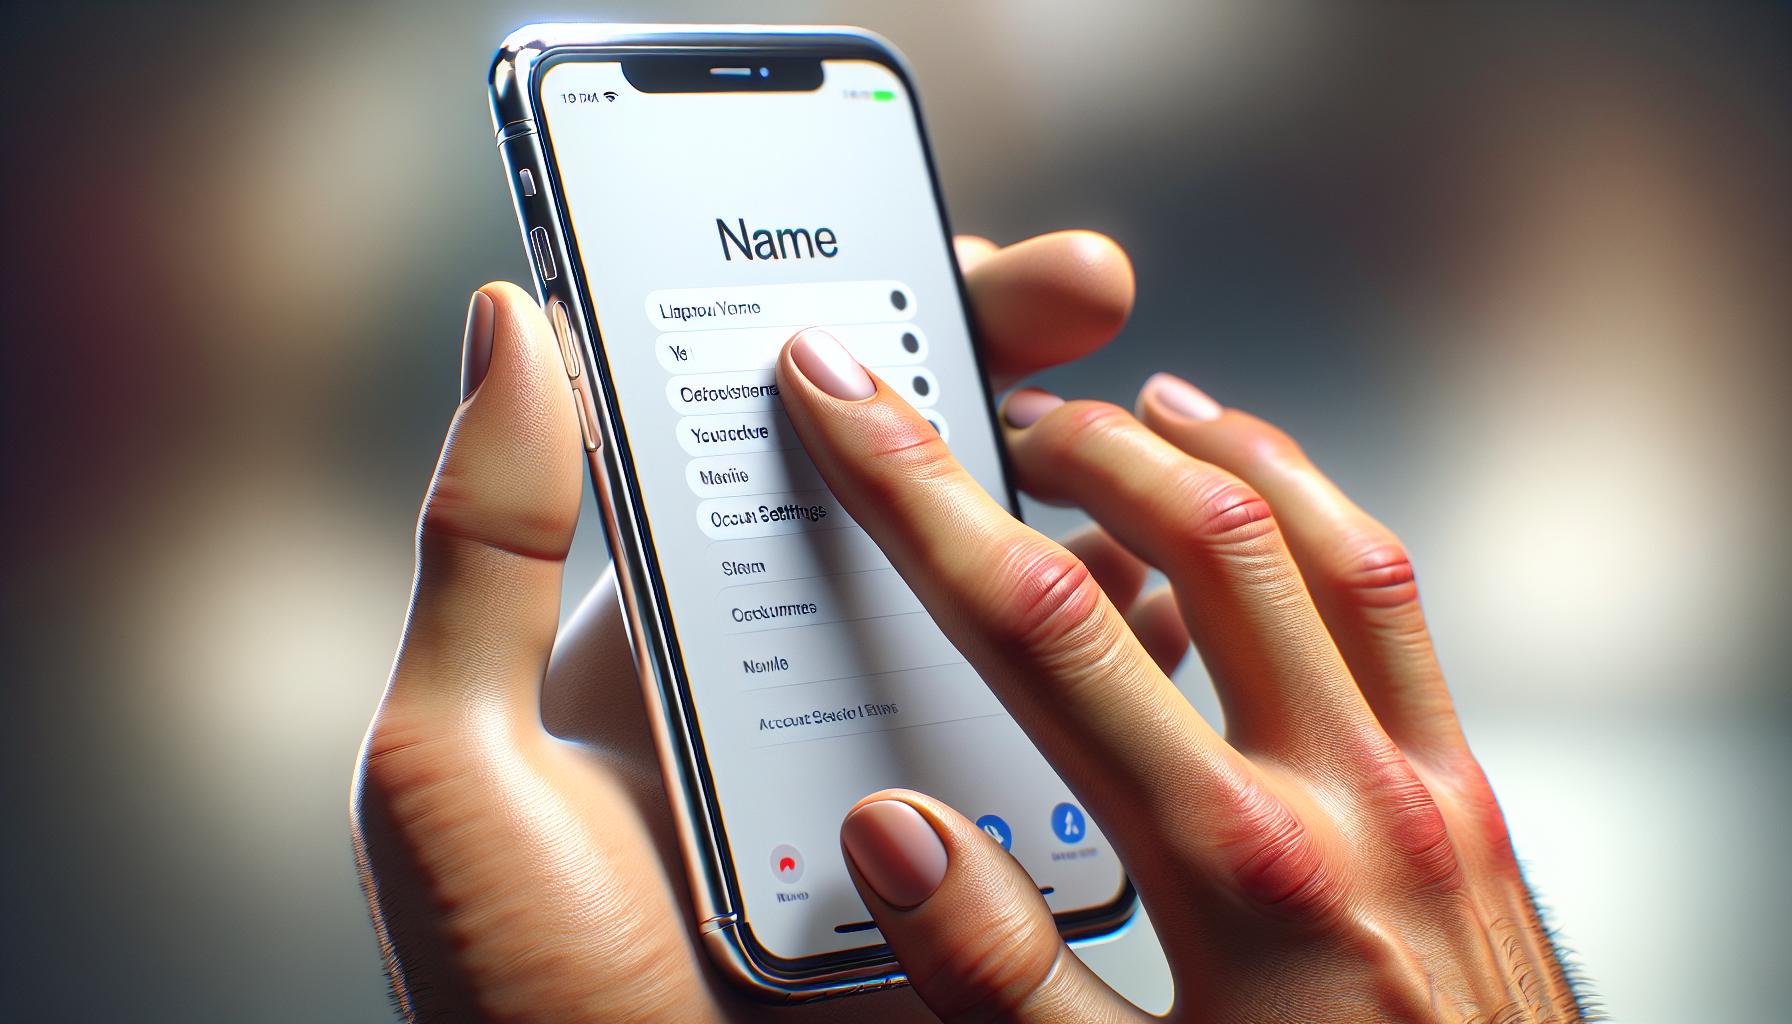
Following the initial opening of the Settings app, the next stage of the process is a brief one and just as simple to perform. With the app wide open and ready, all you've got to do is tap on your name displayed at the very top. This will provide access to your Apple ID and a series of settings related to your account.
Why is this important, you might ask? After all, you're looking to turn off "Find My iPhone," not modify your account settings. You need to understand that your Apple ID is not just a username—it's the gateway to everything Apple in your life. It links your device to essential services like iCloud, App Store, and yes, Find My iPhone. By tapping your name, you enter that gateway.
It's from this general area of the Settings app that you can control various aspects of your Apple account. Understanding this is crucial in effectively managing your device and its features.
As a user-friendly feature, you'll find the presentation of the account information very straightforward. Your name, Apple ID, and a few other pieces of information should be visible at the top. Right underneath that, you'll see a list of Apple services, like iCloud, iTunes & App Store, and Find My.
Remember, familiarity with your device doesn't stop at understanding its features. Knowing how to navigate these settings is equally important. This understanding includes being able to move through the Settings seamlessly, finding what you need, and knowing how to adjust those settings for a personalized experience.
Rest assured, you're well on your way to gaining the control you strive for with your devices. So go ahead, tap your name, and let's move to the next part of the process. Not to worry, you're doing great! We're here to guide you, step by step. There's more to discover as we embark on this journey together, exploring the depths of your iPhone's setting options.
Step 3: Tap on 'Find My'
Now, on to step 3. Once you've tapped on your name in the Settings app, opening your Apple ID settings, you need to locate and tap on the 'Find My' option. It should appear in the middle section of the screen. Your device's settings offers a range of options so don't get overwhelmed. Remember, we're focused on the 'Find My' feature right now.
Getting to know 'Find My' is essential. Why? Well, the 'Find My' feature is where Apple gives you the ability to locate, track, and control your device remotely. It's a brilliant and powerful security tool keeping your information and device safe.
When you tap on 'Find My', you'll be greeted with two options: 'Find My iPhone' and 'Find My network'. The 'Find My network' option enables the locating of your device even when it's offline. Handy, if you lose your phone and it runs out of battery.
For now, focus on the first option: 'Find My iPhone'. This is where you can control whether your device sends its location to Apple when lost. It allows you to play a sound to help locate it, lock it, or erase all your data. It's a potent resource for protecting your iPhone or iPad when you've misplaced it.
In our step-by-step guide we delve deeper into how managing these features can help you get more from your Apple device. Stay tuned!
- The 'Find My' option is accessed through your Apple ID
settings in the Settings app - 'Find My' is a user-friendly interface centralizing the security features of your Apple device.
- The 'Find My' feature provides two options: 'Find My iPhone' and 'Find My network'.
Step 4: Tap on 'Find My iPhone'
Once you've navigated to the 'Find My' option, your next action is engaging with the 'Find My iPhone' setting. Tapping into this gives you unmatched control over your device, particularly its security.
The 'Find My iPhone' option sits unassumingly among the list of tools at your disposal but don't mistake its simplicity for frailty. This one little button is a powerhouse of security features and capabilities that allow you to manage your Apple device remotely.
Contained within are tools that enable you to perform a multitude of actions. You could, for example, turn off the Find My iPhone feature. Alternatively, you're also empowered to erase all data on the device if it's fallen into the wrong hands.
What's particularly delightful about this feature is the impressive layer of security it applies to your device. With it enabled, thieves and malicious parties simply cannot disable it easily. The Find My iPhone feature is an delimiter that separates your vital information from anyone with dubious intent.
Of course, understanding the ins and outs of such a dynamic feature is crucial for optimal utilization. Under the 'Find My iPhone' tab, you'll find the options to:
- Enable or disable this feature
- Set up a Lost Mode function to lock your device remotely
- Allow your device to send its location right before the battery dies, known as Send Last Location
Now that you're in the driving seat, the power to decide how to secure your iPhone is at your fingertips. Whether you want to disable it permanently or keep it active for that extra layer of protection, make sure you familiarize yourself with all the options available to you. Delve deeper into this toolbox and uncover the real treasures within this intricate system of security.
The next step in this process will guide you on how to disable the 'Find My iPhone' feature. Remember, understanding how this works will enable you to dictate terms to your device rather than the other way around.
Step 5: Toggle off 'Find My iPhone'

Getting deeper into the settings of your iPhone, it's finally time for you to switch off the "Find My iPhone" feature. You're on your way to bolstering your tech-savvy reputation. Here's how you'll put this step into action:
- Navigate to the "Find My iPhone" settings.
- Notice an option labeled "Find My iPhone".
- Tap on the switch beside it.
Don't worry if it's your first time, you'll know it's off when the switch moves to the left and its right side turns white.
The "Find My iPhone" setting, now off, will no longer track your device's location or offer to erase its data remotely. It's crucial to remember this if you ever lose your phone, as deactivating this feature takes away your ability to locate or protect your data remotely.
To give you an idea of what this step looks like visually, here's a quick breakdown:
| Number | Action | Description |
|---|---|---|
| 1 | Navigate to "Find My iPhone" | Select the option within your settings |
| 2 | Look for "Find My iPhone" label | It should be easy to spot in the list |
| 3 | Tap on the switch | The switch should move to the left and turn white |
You are, of course, able to reactivate this feature whenever you please. If you decide to sell your phone or pass it along, deactivating 'Find My iPhone' is a must — or the new user won't be able to log in with their Apple ID.
Step 6: Enter your Apple ID password

A crucial part in disabling the "Find My iPhone" feature involves entering your Apple ID password. This step verifies your identity and ensures that only the rightful owner can make significant changes to the device's settings.
On your screen, you'll be prompted to type in your password. Ensure you're entering the same password associated with your Apple ID. If you've forgotten it, there's no need to panic. You can recover your password by visiting the Apple ID account page on your preferred browser.
An important point to note while carrying this out is that you need to be connected to a stable internet connection. Without this, the process may not be successful since the password verification happens online.
Here are some quick tips to ensure you successfully carry out this step:
- Double-check the Apple ID associated with the device before entering the password. You can view the ID under Account Settings.
- Avoid distractions when typing the password. Mistyping can lead to unnecessary error messages.
- If your password did not work, consider resetting it on the Apple ID page.
By entering your Apple ID password, you're one step closer to successfully turning off the "Find My iPhone" feature. It's an essential safeguard that ensures only authorized users can turn off vital functionalities in your iPhone.
Moving on to the next step, you'll get to see how you can finally disable the "Find My iPhone" feature. Stick with us, and you'll master the art of changing your iPhone settings in no time.
Conclusion
You've made it through the process and you're nearly there. Remember, entering your Apple ID password is a crucial step to ensure your iPhone's security. It's not just about turning off the 'Find My iPhone' feature, but also about confirming that you're the rightful owner. Don't rush this part. Be mindful when typing in your password and make sure you're using the correct Apple ID. By following these steps, you're not only learning how to disable a feature, but also understanding the importance of your device's security. Soon, you'll be able to confidently manage your iPhone's settings, knowing you've mastered yet another tech skill.
Frequently Asked Questions
What is step 6 of the process to disable "Find My iPhone"?
Step 6 involves entering your Apple ID password. This step is crucial as it verifies your identity and ensures that only authorized users can adjust the device's settings.
Why is it important to check the Apple ID associated with the device?
It is important to verify the Apple ID because this identifies the device's authorized user. Ensuring the correct Apple ID is associated with the device helps avoid potential issues during the process.
How can one successfully carry out step 6?
Success can be achieved by focusing on accuracy when entering your Apple ID password and avoiding distractions, thus reducing potential for error.
Will entering the Apple ID password turn off the "Find My iPhone" feature?
No, entering the Apple ID password only verifies the owner's identity. This is a step towards disabling the "Find My iPhone" feature, not the final step.
What will be discussed next after verifying the owner's identity using the Apple ID password?
The next part of the article will explain the final steps to disable the "Find My iPhone" feature.


