Ever found yourself locked out of your own iPhone? It's a common scenario that can send anyone into a panic. But don't fret! Even if you've forgotten your password, there's still a way to regain access.
In this guide, you'll learn how to reset your iPhone without a password. Whether it's because you've forgotten your password or you've acquired a second-hand iPhone with a locked screen, we've got you covered. It's simpler than you think, and you won't need any special technical skills to pull it off.
Why Resetting Your iPhone Without a Password is Necessary
You might be asking yourself, "Why do I need to know how to reset my iPhone without a password?" Well, it's more common than you think.
People forget passwords. It's a universal human experience. Despite our best efforts to remember or neatly jot them down somewhere safe, sometimes we forget. And when you can't access your valuable data or use your device, it can be incredibly frustrating.
At other times, you may acquire a second-hand iPhone. It's not uncommon to purchase used devices. Whether from a friend, family member, or reputable online platform, pre-owned smartphones are a great way to save money. However, these devices often have a locked screen from the previous user's password set up. Even if it's unintentional, it effectively blocks you from using your recently bought iPhone. Your only solution? Resetting it.
There’s also the scenario where your device starts behaving in an unexpectedly sluggish manner. If your iPhone’s performance lags or you’re visited by the infamous spinning wheel of death more frequently than you'd like, one solution is to reset your device.
Lastly, you might have to remove your personal data before selling or giving away your iPhone. It's paramount to clear any private information stored on your device. Resetting your iPhone without a password enables this.
A word of caution, though: resetting your iPhone should be your last resort, as it'll erase all data and render any unsaved work irrecoverable. It's always recommended to back up your information, just in case.
While these situations can vary, they all lead to one common resolution: resetting your iPhone without a password. Now that you understand why it’s necessary, let's delve further into how you can achieve this. The process is simpler than it sounds, and it certainly doesn't require any special technical skills.
Methods to Reset iPhone Without a Password

Stepped into a tricky situation where you need to reset your iPhone but don't have the password? No worries, we've got you covered. There are few customized methods for resetting an iPhone, each with its own set of processes.
Method One: Using iTunes
Before you begin, know that via iTunes is an efficient way to reset your iPhone. When you connect your device to a computer where you've previously synced your iPhone, it allows for a comprehensive backup and restore process, removing the need for a password.
- First connect your iPhone to the PC
- Open iTunes and sync your device
- After the sync, restore your iPhone
- When the setup screen appears, click "Restore from iTunes backup"
Method Two: Using Recovery Mode
iTunes not accessible? Not an issue. You've another option known as Recovery Mode. Especially useful when you haven't synced with iTunes, haven't used Find My iPhone, or if your iPhone is completely disabled due to incorrect password entries.
- Connect your iPhone to the PC
- While your iPhone is connected, force restart it
- Don't release the buttons when you see the Apple logo, wait until the recovery mode screen appears
- Choose "Restore"
Remember, this method will erase all your data completely, so use it as a last option only.
Method Three: Using Find My iPhone
You've another fantastic feature provided by Apple – it's Find My iPhone. It's an incredibly useful feature acting as a saving grace in situations like this. But remember, this method works only if you've Find My iPhone feature enabled on your lost/forgotten password iPhone.
- Go to iCloud.com and sign in using your Apple ID
- Click "Find iPhone"
- Select "All Devices" and then select your device
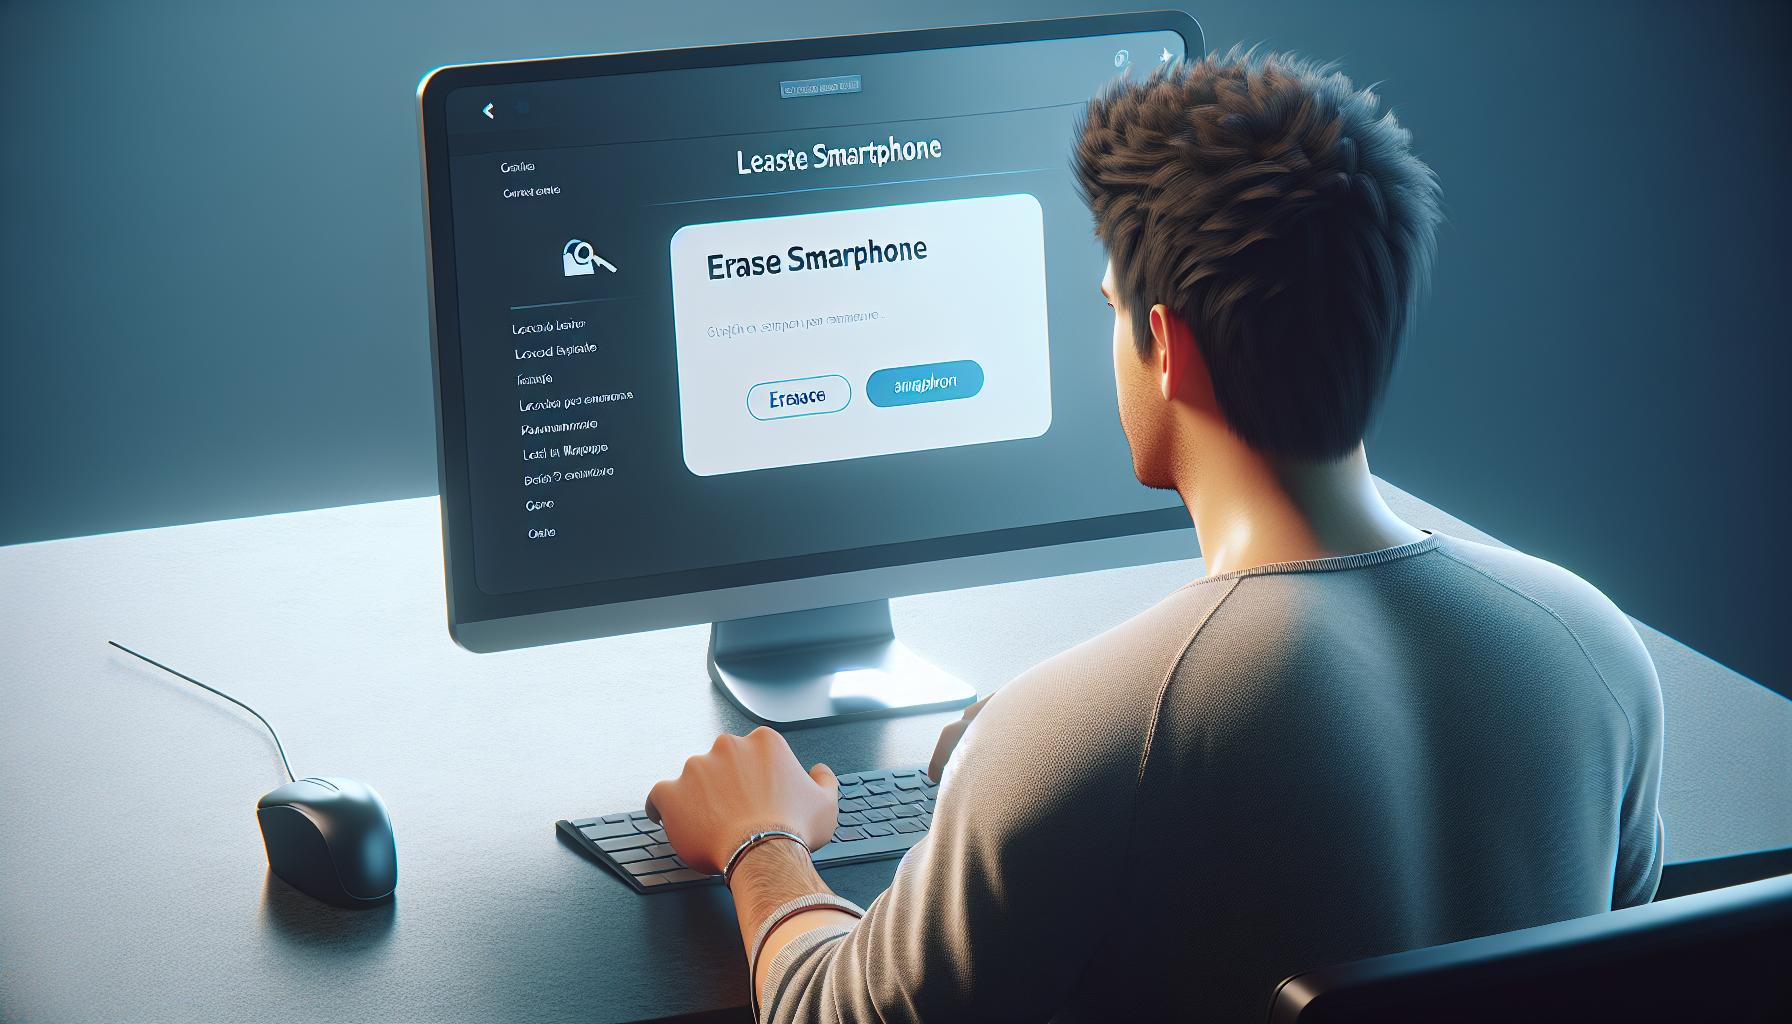
- Click "Erase iPhone"
Method 1: Using iCloud

In the face of triple-folded obstacles, an irreplaceable method involves using iCloud’s Find My iPhone feature to reset your device. Make sure that you have a solid Internet connection throughout this process, the last thing you wish for is connection problems interfering with your phone reset.
For starters, you'll need your Apple ID that's connected to the iPhone. Then, open a browser on any device and go to www.icloud.com. Apple’s site is user-friendly so the process shouldn’t pose much of a burden.
Log in with your Apple ID and password. Once you're in, navigate to 'Find iPhone'. Click on it, and in the upper middle section of the webpage, you'll find 'All Devices'. Make sure to click on it and select the iPhone you need to reset.
This will present you with numerous options from which you should choose 'Erase iPhone'. A prompt will appear to confirm the operation. Go ahead and confirm, thereby beginning the reset process.
It's worth emphasizing that resetting your iPhone using iCloud will completely erase all your data including photos, videos, applications, documents, and more. It is a necessary sacrifice to regain access.
In case you are on another iOS device, the process is even simpler, just use the 'Find My' app and the procedures are pretty much identical.
However, it's absolutely essential that you remember this method will only work if the 'Find My iPhone' feature was initially turned on in the device's settings.
The key strength of this method lies in the fact that it's free of any software requirements. Not having to download software emphasizes the undeniable convenience attributed to this method.
With iCloud, resetting your iPhone without a password has never been easier. Now that you're familiar with this independent method, use it to your advantage. Remember, having a backup is always a safe practice when handling sensitive data.
Method 2: Using iTunes
So, the first method didn't work out for you. Don't worry, there's another way. Method 2 involves using iTunes, a trusted Apple software tool, to securely and effectively reset your iPhone.
To pull this off, you'll need a reliable computer with the latest iTunes installed. It's also important to ensure your device is charged sufficiently for an uninterrupted process. Here's a step-by-step walk-through:
- Open iTunes on your computer.
- Connect your iPhone to the computer using a USB cable. You might be prompted to enter your device passcode or to trust the computer. Follow the prompts to continue.
- In iTunes, locate your iPhone device. It usually appears as a small icon at the upper-left side of the iTunes window.
- In the left column under settings, click on the 'Restore iPhone...' button.
- Confirm your action on the pop-up window that says 'Are you sure you want to restore the iPhone to its factory settings? All of your media and other data will be erased.
After confirming your action, iTunes will begin restoring your device. Note: This will erase all data on the iPhone. The process could take a few minutes, so sit tight and wait for it to finish. It's important not to disconnect your device during this process; otherwise, you risk impairing your device.
Post-restoration, you'll welcome a 'Hello' screen on your iPhone, suggesting that your device has been successfully restored to factory settings.
While this method is trusty, it's not bulletproof. If you encounter errors while attempting a reset with iTunes (ex: you can't connect your iPhone to iTunes, iTunes doesn't recognize your iPhone, or you're having issues completing the restoration process), don't lose your cool. You can always refer back to Method 1: Using iCloud's Find My iPhone or jump ahead to Method 3: Using Recovery Mode.
Remember, the goal here is to overcome the access barrier caused by a forgotten password. In the following sections, we'll be covering the other methods to breakthrough, so let's keep that momentum going.
Method 3: Using Recovery Mode
So, iTunes didn't do the trick for you? Don't fret. Recovery Mode is your next stop. This method is specifically designed to help with the restoration of iOS devices when iTunes isn't enough or simply can't be accessed.
To initiate Recovery Mode, you'll first need to ensure that your iPhone is completely switched off. Don't sweat it if you can't remember the standard way to do this – holding down both the Side button and either Volume button will bring up the power-off slider.
Once you've successfully powered off your phone, plug it into your computer while simultaneously holding down the Side button. Keep holding it until you see the recovery-mode screen. This displays an image of a laptop with a cable beneath it - a sign that you've entered Recovery Mode.
Breathe a sigh of relief. You've successfully navigated to Recovery Mode.
On your computer screen, a dialogue box will pop up with two options: 'Restore' and 'Update'. Opt for 'Restore'. This might take a while so make sure your device stays connected. iTunes will now wipe your iPhone, reinstall the iOS, and then prompt you to setup your iPhone as if it's brand spanking new.
Remember, during this process, it's key to keep your device connected and iTunes open until the setup gets completed on your iPhone.
While following the setup instructions, choose 'Set Up as New iPhone' to completely reset the device. If your concern is tied to forgotten pins or Apple ID password, this method should fix it. But let's not be too quick to celebrate. This road, too, might encounter bumps.
In an unfortunate turn of events, should you encounter any error or hurdle that renders this method ineffective, no need for alarm; the final method is yet to be tried. More on that as we venture into the next method which is, Method 4: Using iCloud. This forth method will offer an alternate solution to this overwhelming issue of resetting an iPhone without a password.

Secure your iPhone from unauthorized access to prevent situations like forgetting passwords, dealing with unwanted sign-ins, or, in the worst case, losing all your data. We've made a list of tips to help you keep your iPhone safe and sound.
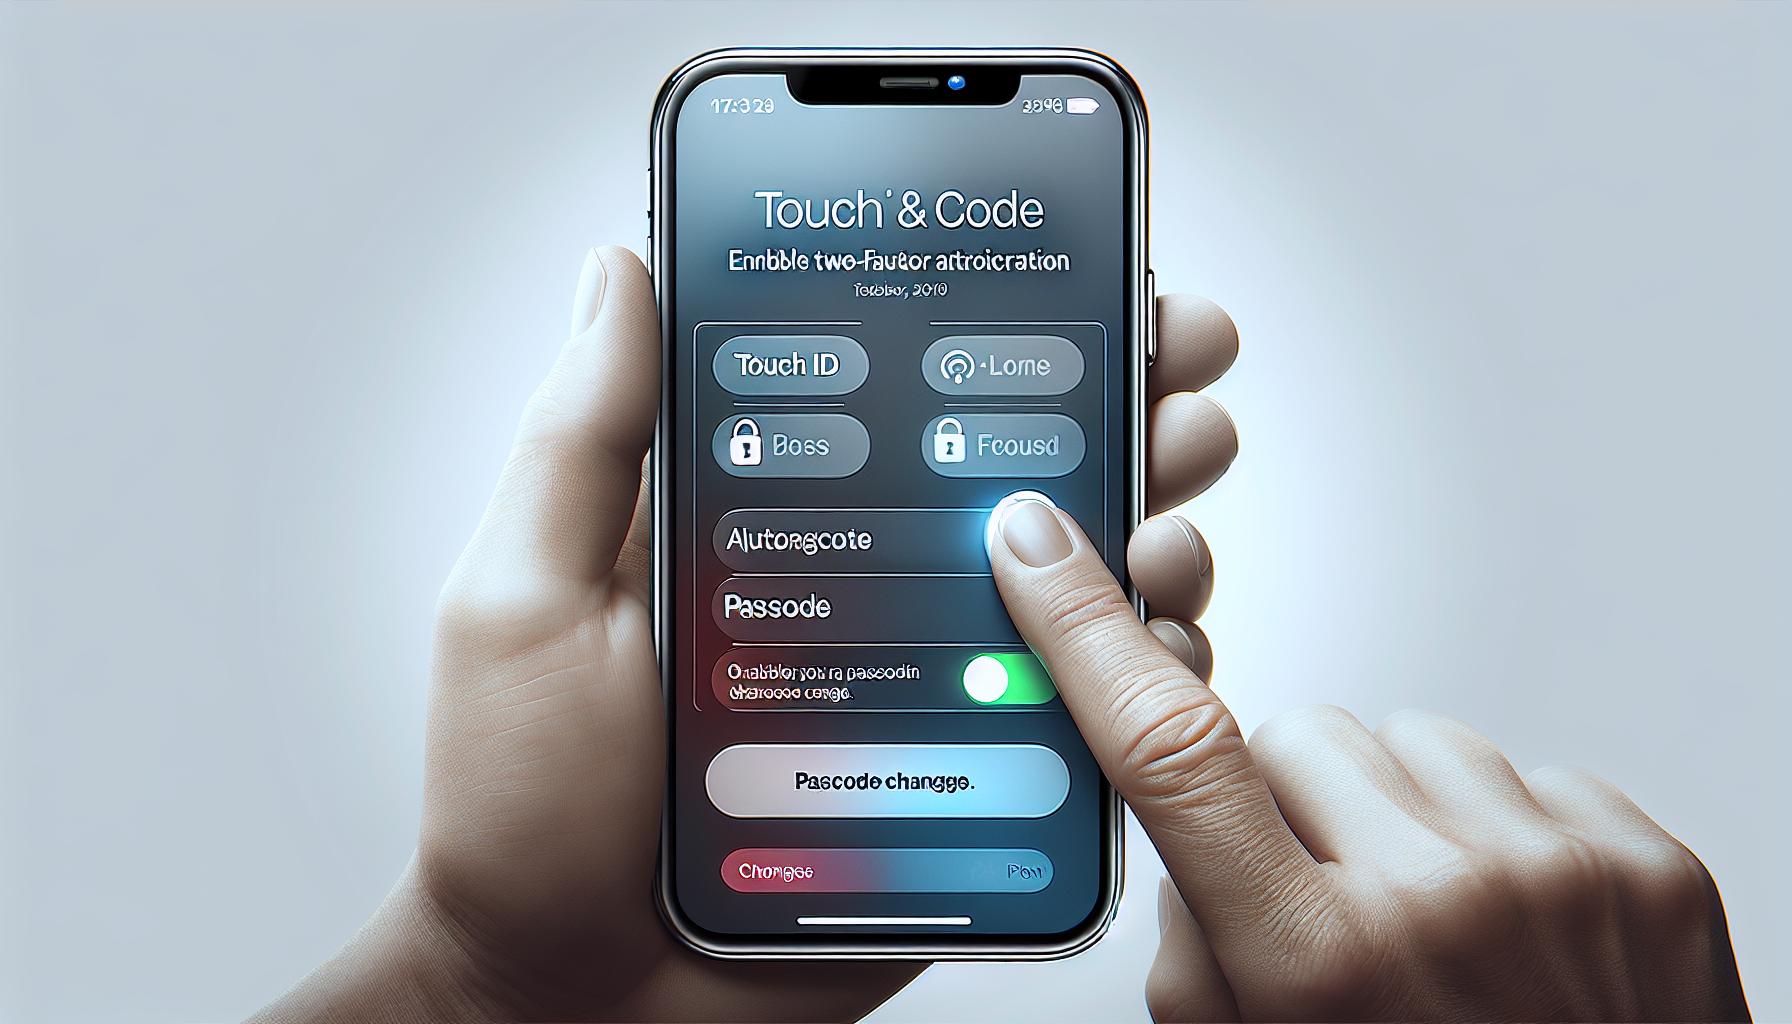
Use strong passwords: It's time you outsmart those prying eyes with a strong password. Opt for a six-digit passcode instead of the traditional four-digit one. It provides 1 million possible combinations, much higher than the 10,000 offered by a four-digit code. Go to Settings > Touch ID & Passcode > Change Passcode, and then tap on Password Options to set a six-digit passcode.
Enable two-factor authentication (2FA): 2FA adds an extra layer of protection to your Apple ID. After enabling this feature, you'll need to provide your password and a verification code when logging in from a new device. You can activate it via Settings > [Your Name] > Password & Security > Two-Factor Authentication.
Regularly update your iOS: Hackers often exploit outdated software versions. Regularly updating your iOS ensures that you've the latest security updates. To check for updates, navigate to Settings > General > Software Update.
Limit lock screen access: You can limit what's accessible from your iPhone's lock screen. Go to Settings > Touch ID & Passcode and under the 'Allow Access When Locked' section, disable the options that you don't necessarily need.
Remember, the preventive steps you take now can save you from the hassles of resetting your iPhone in the future. So before you go through with the next step which is using iCloud to reset your iPhone, take a moment to tighten your phone's security. You'll thank yourself later.
Conclusion
You've now learned how to reset your iPhone without a password. Whether you're using iTunes, Recovery Mode, or iCloud, you've got options. But remember, prevention is always better than cure. So don't forget to secure your iPhone with strong passwords, two-factor authentication, and regular iOS updates. Also, limit your lock screen access for extra safety. With these tips, you're not just resetting your iPhone, you're also making it more secure for the future. Knowledge is power, and you've got plenty of it now. Use it wisely, and keep your iPhone safe and secure.
Frequently Asked Questions
What are the three methods of resetting an iPhone without a password?
The methods are: using iTunes to backup and restore the device, using Recovery Mode if iTunes can't be accessed, and using iCloud for reset.
You can protect your iPhone by using strong passwords, enabling two-factor authentication, constantly updating your iOS, and limiting lock screen access for enhanced security.
What is the first step in resetting an iPhone with iTunes?
The first step is to backup your device on iTunes. Afterwards, you can use the restore option for the reset.
When should I use Recovery Mode for resetting my iPhone?
You should use Recovery Mode if you cannot access iTunes. This way, the device can be reset without requiring the password.
What is the last method for resetting an iPhone in the article?
The final method described in the article is using iCloud to reset your iPhone, which is handy if the other methods are not accessible for you.


