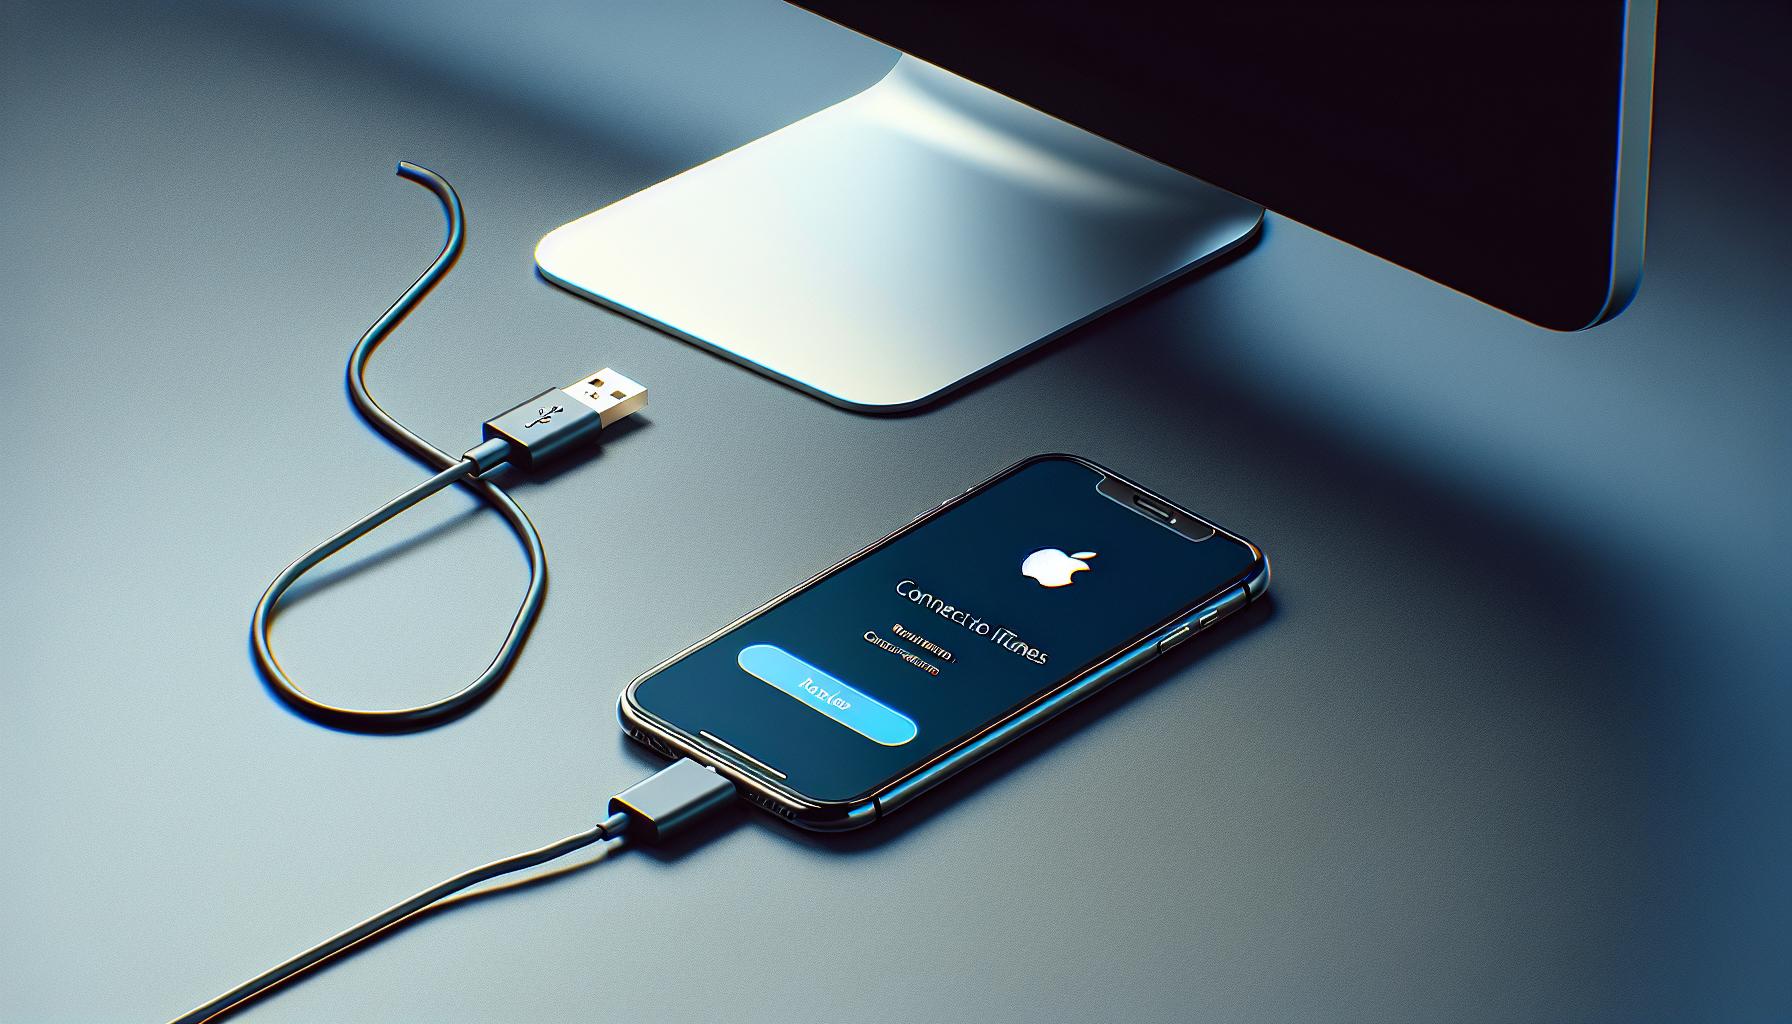
So, your iPhone's acting up and you've heard that putting it in recovery mode might just be the fix you need. But how do you do that? It's a question that's stumped many an iPhone user. Don't worry, you're not alone and we've got your back.
In this article, we'll guide you through the simple steps to put your iPhone into recovery mode. It's a handy trick that can help you resolve many common issues with your device. So, let's dive right in and get your iPhone back on track.
What is Recovery Mode?
Recovery Mode is a failsafe method in iOS devices, like your iPhone, designed to prevent the device from causing harm or damage to itself. It's a secure mode that loads only the absolute essentials needed to support your iPhone's core functionality.
When something goes wrong on your iPhone, and regular troubleshooting techniques don't work, Recovery Mode may be your answer. By placing your iPhone into Recovery Mode, the phone will run a scan on its own internal system, spot any problems that are causing instability, and consequently carry out the appropriate solution.
This process provides an avenue where software issues can be readily resolved, without delving into the iPhone's hardware. While the idea of placing your iPhone into Recovery Mode might seem like an intimidating undertaking, it is, in fact, a task designed with user-friendliness in mind.
Recovery Mode comes in handy in situations where you're dealing with:
- Continuous restart loops
- Forgotten passcodes
- Persistent app crashes
Recovery Mode may be an unfamiliar concept, but it's a tool created to help you restore your iPhone's stability when regular fixes don't do the trick. The steps to put your iPhone into Recovery Mode may differ slightly across different models, but the process remains generally consistent. And remember, you don't need to be tech-savvy to initiate this procedure on your iPhone. We'll guide you through it!
Certainly, the technicalities surrounding your iPhone's Recovery Mode are a testament to its capability to rescue your device from potential instability.
Step 1: Connect your iPhone to your Computer

The journey to restoring stability to your iPhone begins with this critical first step; connecting your device to a computer. This might seem simple enough, but it's a cornerstone of the Recovery Mode process. Ensuring a secure connection between your iPhone and computer lays the groundwork for the subsequent steps.
First, you're going to need a USB cable that's compatible with your iPhone. Most iPhones come with these cables when you purchase them. If you've misplaced it, you can readily find it online or at a tech store near you.
To establish this connection, ensure that both your iPhone and your computer are switched on. Take out your USB cable and connect one end to your iPhone and the other end to the computer. This will create a direct link between the device and the computer necessary for the Recovery Mode process.
It's worth noting that for this process to be successful, you're going to need the latest version of iTunes on your computer. If you don't already have iTunes installed, proceed to download and install it from the Apple website. If it's not up-to-date, make sure to run the update before starting the process. Having the most recent version of iTunes will ensure smooth sailing when trying to put your iPhone in Recovery Mode.
As you proceed, remember, this is not the time to rush. Make sure your iPhone is still, preferably on a flat surface. This will prevent accidental disconnections which can disrupt the Recovery Mode process.
In the next section, we'll be diving into the next important step you'll need to take: turning off your iPhone. But let's not get ahead of ourselves. For now, just focus on establishing that secure connection between your iPhone and your computer.
Step 2: Force Restart your iPhone
Now that you've completed the first step, it's time to move on to the next part of the process. Force restarting your iPhone is vital in the initiation of Recovery Mode. The method involves a little more than simply powering off your device. It's a calculated process tailored precisely for this situation, with the sequence varying depending on your iPhone model.
For iPhone 8 or Later Models
If you own an iPhone 8 or a later model, you'll follow a three-part button sequence.
- Press and quickly release the Volume Up button.
- Press and quickly release the Volume Down button.
- Finally, press and hold the Side button until you see the Recovery Mode screen.
It may take longer than a standard restart, but hang tight. It's well worth the wait.
For iPhone 7 Models
Rocking the iPhone 7? Here's your force restart technique.
Just press and hold the Volume Down and the Sleep/Wake buttons at the same time until you see the Recovery Mode screen.
For iPhone 6S or Earlier Models
For those sporting an iPhone 6S or an earlier model, the process is slightly different.
- Press and hold both the Home button and the Sleep/Wake button.
- Keep holding them until you see the Recovery Mode screen.
Note: This is where we utilize that steady surface. Don't risk your device tumbling off the edge.
Proceeding with these steps will land your device in Recovery Mode, allowing us to tackle the rest of the process. Be sure to execute each step meticulously to avoid any hiccups.
Step 3: Put your iPhone into Recovery Mode
Now that you're all set with a compatible cable, an iPhone that's nicely laid on a flat surface, and a computer that's switched on with the latest version of iTunes, let's dive right into the Recovery Mode process. The steps involved depend on your iPhone model. Hence, knowing which specific instructions pertain to your iPhone model is paramount.
It's reasonably clear that with different iPhone models, the sequence of buttons you need to press and release is different. Here, I'll guide you through specific sequences for different models.
For iPhone 8, iPhone X, and newer models, follow this sequence:
- Quickly press and release the Volume Up button
- Do the same with the Volume Down button
- Finally, hold the side button until you see the Recovery Mode screen.
If you own an iPhone 7 or iPhone 7 Plus, here's what you need to do:
- Press and hold both the Side (or Top) button and the Volume Down button at the same time
- Keep holding these buttons until you see the Recovery Mode screen.
Owners of the iPhone 6s or an earlier model should follow these steps:
- Press and hold both the Home and the Top (or Side) buttons at the same time
- Don't release these buttons until the Recovery Mode screen appears.
Throughout this process, make sure you press and release the buttons as described, ensuring you don't accidentally disconnect your iPhone. The Recovery Mode screen tends to display various options, including an ‘Update’ or ‘Restore’ option. Pay attention to these options as they'll guide your next steps.
Remember, patience is paramount during this process. If you don't see the Recovery Mode screen after a few attempts, restart your iPhone and try again. Above all, follow these instructions meticulously to avoid any device-related issues. Your iPhone's Recovery Mode is a powerful tool, and with the right steps, you'll be able to navigate it easily.
Proceeding forward in this guide, we'll explore what to do once your iPhone is in Recovery Mode, focusing on how to restore or update your device. So, stay with us to get your iPhone back up and running in no time.
Step 4: Update or Restore your iPhone

Once your iPhone's in Recovery Mode, the next focus should be on either updating or restoring your device. Choosing between these two options is largely dependent on your specific situation. Let's dive in and explore the steps toward each choice.
Updating Your iPhone in Recovery Mode
If you're battling a minor software bug or if your iPhone is facing performance issues, an update might be the ideal solution. Here's how it works:
- Once you've successfully put your iPhone into Recovery Mode, you'll see an option on your computer screen to Restore or Update. Choose Update. Your computer will then attempt to reinstall the iOS or iPadOS, all without erasing your data.
- Your computer will proceed to download the software for your iPhone. If this process takes more than 15 minutes, your iPhone will exit Recovery Mode. Should this happen, you'll need to repeat the earlier steps to put your iPhone back into Recovery Mode and then choose to Update once more on your computer screen.
Restoring Your iPhone in Recovery Mode
If your iPhone's issues are more severe, or if an update didn't resolve the issue, then restoring might be the next step. It's important to know that this will erase all data on your iPhone. However, if you have a recent backup on iTunes or iCloud, you'll be able to get most of your data back. Here's how to restore your iPhone in Recovery Mode:
- After successfully initiating Recovery Mode, your computer will present the option to Restore or Update. Select Restore. Your computer will then proceed to erase your iPhone and install the latest iOS or iPadOS.
- Depending on your internet speed, the download time for the software might vary. If it takes over 15 minutes, your iPhone will exit Recovery Mode, and you'll have to put it back in Recovery Mode before selecting Restore again.
In either process, after the update or restore, your iPhone will restart. You might then need to set it up again as if it's a new phone. Always remember to back up your iPhone regularly to minimize the risk of data loss.
Conclusion
You've now got the knowledge to put your iPhone into Recovery Mode. Remember, the key is to connect your iPhone to your computer, ensure your iTunes is up-to-date, and follow the specific force restart sequence for your iPhone model. Patience is crucial if the Recovery Mode screen doesn't appear immediately. Once in Recovery Mode, you can choose to update or restore your device. Always remember to backup your data regularly to avoid any loss. Now, you're equipped to tackle any iOS issues head-on. You've taken one more step towards becoming an iPhone power user. Keep exploring, keep learning!
What is the first step in the Recovery Mode process on an iPhone?
The first step you need to take to enter the Recovery Mode on your iPhone is to connect your device to your computer through a compatible USB cable. Make sure both devices are turned on.
Which software do I need on my computer to use Recovery Mode on my iPhone?
You need the latest version of iTunes installed on your computer to successfully use Recovery Mode on your iPhone.
How do I forcefully restart different iPhone models?
Force restarting an iPhone involves pressing and quickly releasing certain buttons in a specific order, and it varies among different iPhone models. Follow instructions meticulously for your specific iPhone model to successfully initiate Recovery Mode.
What should I be aware of when my iPhone is in Recovery Mode?
Pay attention to the options displayed on the Recovery Mode screen and be patient if the screen doesn't appear after the first few attempts.
What next once my iPhone is in Recovery Mode?
Once in Recovery Mode, you can choose to either update or restore your iPhone based on your specific situation. Always remember to back up your iPhone regularly to avoid data loss.
How do I update or restore my iPhone in Recovery Mode?
Detailed step-by-step instructions have been provided in the latter part of the article to guide you in updating or restoring your iPhone once it is in Recovery Mode.


