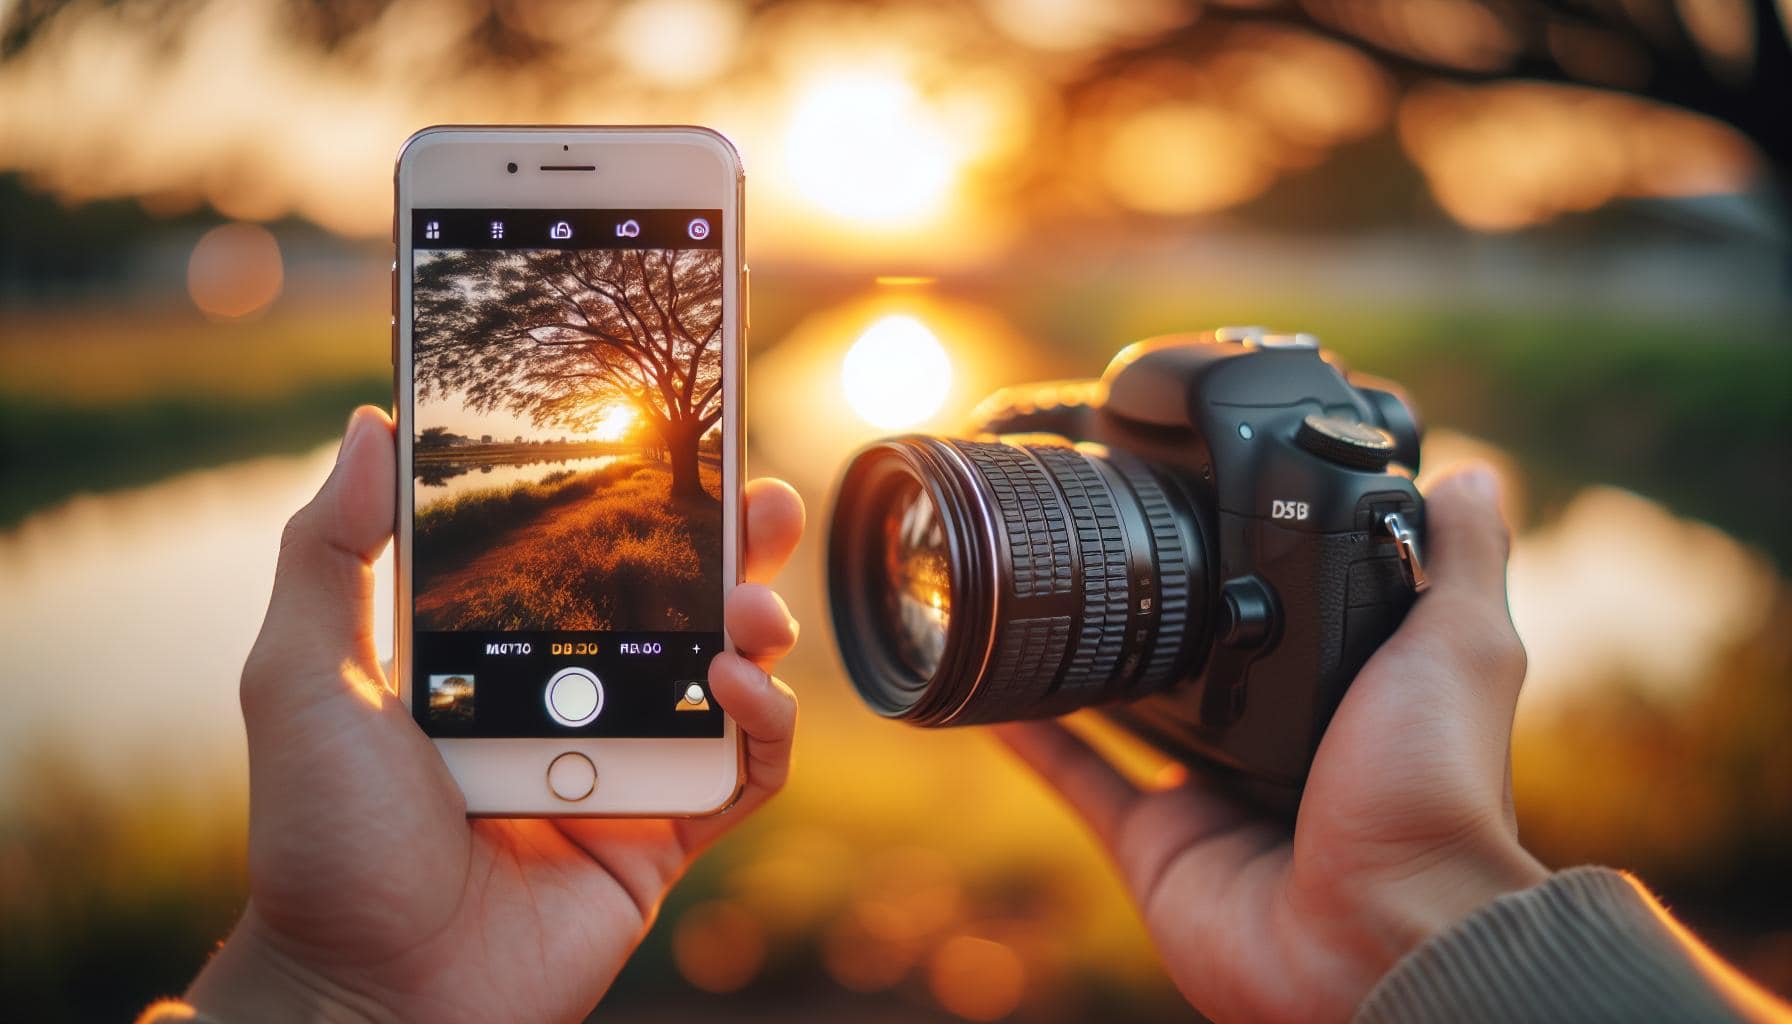
Ever wondered how to blur the background on your iPhone? It's a handy trick that can turn your photos from average to professional in just a few taps. With the right settings, you can highlight your subject and add a soft, dreamy touch to the background.
You don't need to be a pro photographer to achieve this effect. Your iPhone's built-in camera app has all the tools you need. It's all about knowing where to look and what to adjust. So, let's dive right in and learn how to blur the background on your iPhone.
Understanding the Portrait Mode on iPhone
You've probably heard of Portrait Mode if you're an iPhone user. Introduced with the iPhone 7 Plus, this camera feature is Apple's answer to professional DSLR cameras. It allows you to take amazing photos that set your subject apart from the background.
Let's dive a bit deeper into Portrait Mode to give you insight into its working principle. By using dual lenses, the iPhone camera can analyze the depth of an image. From there, it determines what elements are in the foreground, thereby focusing on them. Everything else becomes out of focus, leading to the blurred background effect, also known as bokeh.
However, not every iPhone version offers the same Portrait Mode capabilities. Here's a quick summary of how different models stack up in terms of this feature:
| iPhone Model | Portrait Mode |
|---|---|
| iPhone 7 Plus | Introduced Portrait Mode |
| iPhone 8 Plus and newer | Improved version featuring Lighting options |
| iPhones with single lenses (iPhone XR, SE) | Unavailable (computer simulated effects) |
For a successful Portrait Mode shot, remember these tips:
- Natural Light is Key: While you can get the blur effect indoors as well, it's ideal to utilize natural light as much as possible. Avoid harsh light directly on the subject.
- Watch your Distance: Try to stand about 2-8 feet from your subject for the best results. The camera app will let you know if you're too close or too far.
There's so much more to learn and experiment with this feature. When you become more comfortable with it, you'll be able to create attractive pictures with great ease. Now that you understand how Portrait Mode works, let's move on to the specific steps you should follow to blur the background in your photos.
Adjusting the Depth Effect

After you've successfully taken your Portrait Mode shot, there's still room for improvement. That's right, with your iPhone in hand, you can optimize the depth effect to your liking. An optional but recommended step, adjusting the depth control can bring the image quality up a notch.
To get started, open the 'Photos' app and tap on the picture taken in Portrait Mode. Here, you'll see the 'edit' button on the top right corner of the screen, tap it. Look for the depth slider, typically shown with a small square with f-numbers. This slider allows you to adjust the strength of the background blur. By sliding to the left, you increase the blur effect; sliding to the right reduces it.
Do remember, less is more when it comes to the f-stop scale. A lower f-number will result in a stronger blur effect, while a higher number will make your background appear sharper. It's all about finding that sweet spot that goes perfectly with your image. After all, it's these minute adjustments that can turn a good photograph into a great one.
Additionally, bear in mind that this feature works best under ample light conditions. Good lighting can significantly increase the effectiveness of the depth control, making your subject stand out even more against the blurred background.
Yet another impressive way to use depth control is through the 'Aperture' setting. Those with newer iPhone models can use this feature to alter the depth of field post-shooting. You just have to swipe up on your photo in edit mode to access this setting. While this feature is not available in all models, those who have it are certainly in for a visual treat.
Once you've tinkered and found your perfect setting, you're not done yet. There's always more to learn, explore, and experiment with when it comes to iPhone photography. So don't rest on your laurels, instead, keep evolving and broadening your skills. After all, mastering the art of photography is a process, one that’s full of discovery and excitement.
Using the Natural Lighting feature
Next in line, let's guide you through another fantastic feature of your iPhone: Natural Lighting. Surprisingly many iPhone users are unaware of it or don't use it to its fullest potential, yet it has a major impact on the quality of your photos, especially those taken with Portrait Mode.
Harnessing this feature isn't as complicated as you might think. Did you know, using natural light to your advantage could be as simple as facing your subject toward the light source? When you take the shot, ensure that your subject is adequately lit, rather than having the light source behind them. By doing this, you'll enhance the depth of the photo and make the subject truly stand out against the blurred background.
Let's get a bit more technical. Another way to utilize natural light is by controlling the light settings. Once you're in Portrait Mode, on opening the camera, you'll see different lighting options at the bottom of the screen. The options include Natural Light, Studio Light, Contour Light, Stage Light, and Stage Mono Light. Each of these settings influences how the light affects your photo and how much of the background gets blurred.
Experimenting with these different settings can lead to stunning results. The Natural Light option is a great start as it uses the actual ambience of your surroundings and doesn’t add any extra effects. If you wish to add more dramatic effects, other light settings can be tried. Just remember, whichever option you pick, always keep your focus on the subject. The key here is balance, not only for the blur but also for light and shade.
Mostly it’s about trial and error as you learn the nuance of Natural Lighting. However, one secret which pro photographers swear by: when it comes to working with natural light, timing is everything. Take advantage of the "Golden Hours", typically the first hour of light after sunrise, and the last hour of light before sunset. During these times, the light is soft and can create beautiful effects on your photos.
Infusing this knowledge into action, shaded areas are also fantastic for shooting. They provide sufficiently even, subdued light, which not only adds depth to your photos but also helps your Portrait Mode to shine.
Enhancing the blur effect with third-party apps
One thing you'll appreciate about your iPhone is its compatibility with third-party applications. While the in-built background blur feature is quite impressive, you can take it a notch higher using apps specifically designed to enhance this effect.
One such app is Tadaa SLR. This app gives you the ability to adjust the amount of background blur, also termed as depth of field, on your photos more intensely. You can choose where the blur starts, ends, and just how blurred you'll like it to be. It's your creativity at the helm.
Another good option is FabFocus. It takes portraiture photography a level higher with its advanced depth-of-field effects. We're talking about bokeh, blur radius, mask feathering, and adjustment of foreground. FabFocus gives you control over every little detail for that ultimate aesthetic touch.
Experience dynamic photo editing with the AfterFocus app. Boasting a smart focus area selection tool, this customization powerhouse helps you draw more attention to your subjects by blurring the background. You also get to decide the level of blur intensity with updated brush tools provided.
But let's not forget Focus Effect. If you're a fan of selective focusing (foreground blurred, subject in focus), this is your app. A few taps and swipes give you the power to switch attention between subject and background by customizing the depth of field.
Keep in mind, though, each app comes with its unique features and different learning curves. It wouldn't hurt to try them out and see which one appeals to your photographic instincts the most.
Remember, all Photography, including that which you get from your iPhone, is a mix of the right light, perfect timing, suitable exposure, and the correct use of technology at your disposal. Your ability to skillfully utilize these tools has a significant influence over the quality of your photos.
In this regard, third-party apps can extensively enhance your control over the blur effect on your iPhone shots and add an edge to your photography game.
Tips and tricks for achieving the best results

While using third-party apps such as Tadaa SLR, FabFocus, AfterFocus, and Focus Effect can give you additional control over the background blur in your photos, there are a few fundamental tips and tricks that can help achieve the best results.
One crucial aspect you should never overlook is lighting. It's the key element to capture a fantastic image. Natural lighting, in particular, can give your photos a vibrant, organic feel. Try to shoot during the golden hours – the time shortly after sunrise or before sunset. During those hours, the light typically casts a golden glow and is softer, which makes for some beautifully illuminated subjects with a nicely blurred background.
You'll also want to consider timing. Some shots might require you to be quick. Others might require you to be patient and wait for the perfect moment. Apply these techniques as needed. You'll soon realize the payoff is worth it.
In the realm of iPhone portrait photography, mastering the exposure is essential as well. Don't forget you can adjust the exposure on your iPhone by simply tapping on your screen and swiping up or down. This can brighten or darken your image, respectively.
Additionally, the proper use of technology will significantly-up your photography game. Familiarize yourself with your iPhone's built-in camera features and the options offered by different apps. Maximize their usage according to your preference and subject.
Here's a quick reminder though: the most sophisticated tech or advanced app cannot substitute good, old-fashioned photographic expertise. So, continue exploring, practicing, and learning. You'll be amazed at how far you can go with just your iPhone and creative spirit.
Conclusion
So, you've journeyed through the art of blurring backgrounds on your iPhone. You've learned the importance of lighting, timing and exposure, and how to use third-party apps to enhance your photos. Remember, nothing beats the blend of technology and your photographic expertise. Keep shooting during those golden hours for that vibrant feel, and don't forget to exercise patience when needed. Continue to explore, practice, and learn. With time, you'll master the subtle art of blurring backgrounds, creating stunning iPhone photos that'll leave everyone in awe. Happy snapping!
Frequently Asked Questions
What is the recommended timing and lighting for taking photos?
It's suggested to shoot during the golden hours (shortly after sunrise or before sunset) for a vibrant and organic feel. Also, depending on your subject, remember that some shots require quick action and others require patience.
Which aspects are essential to mastering background blur in iPhone photos?
Mastering the exposure is a significant component of achieving a great background blur effect. Understanding and utilizing the built-in camera features and options provided by different third-party apps also play an important role.
Can technology substitute for professional photographic expertise?
No, technology can't substitute for photographic expertise. Despite the various features and options offered by third-party apps, practicing your photographic skills and continually exploring and learning are still key to getting the best results.


