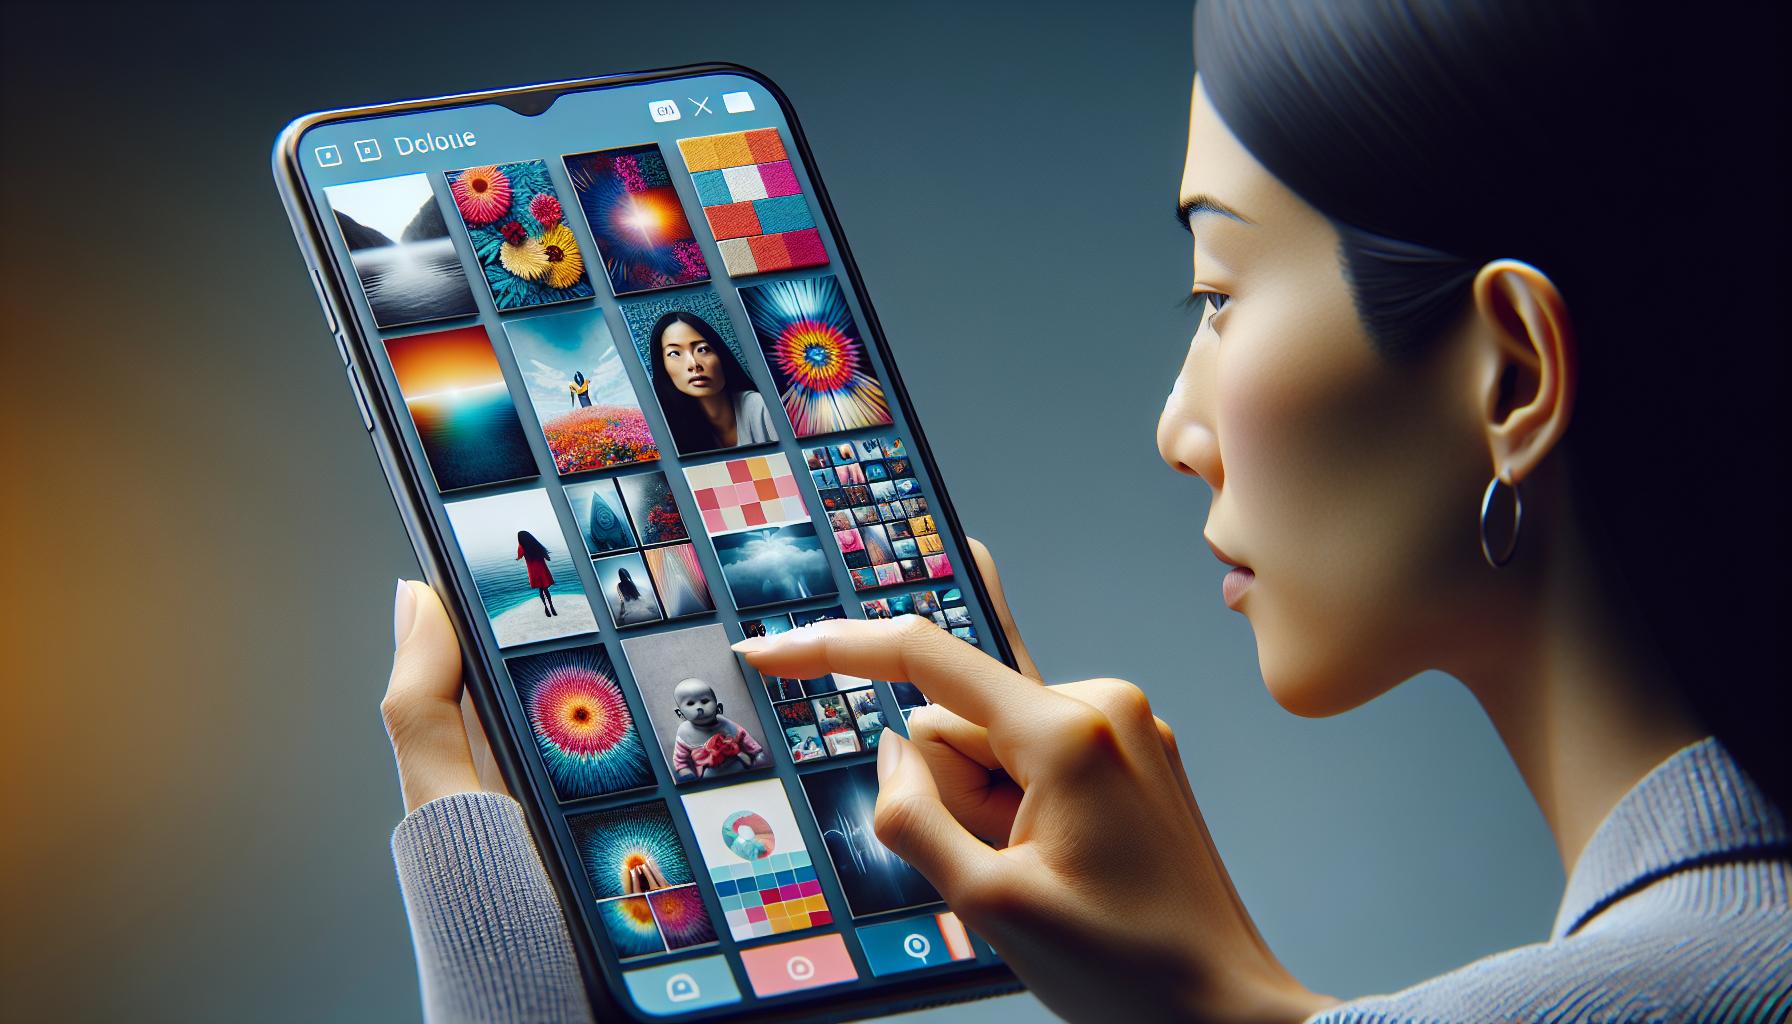
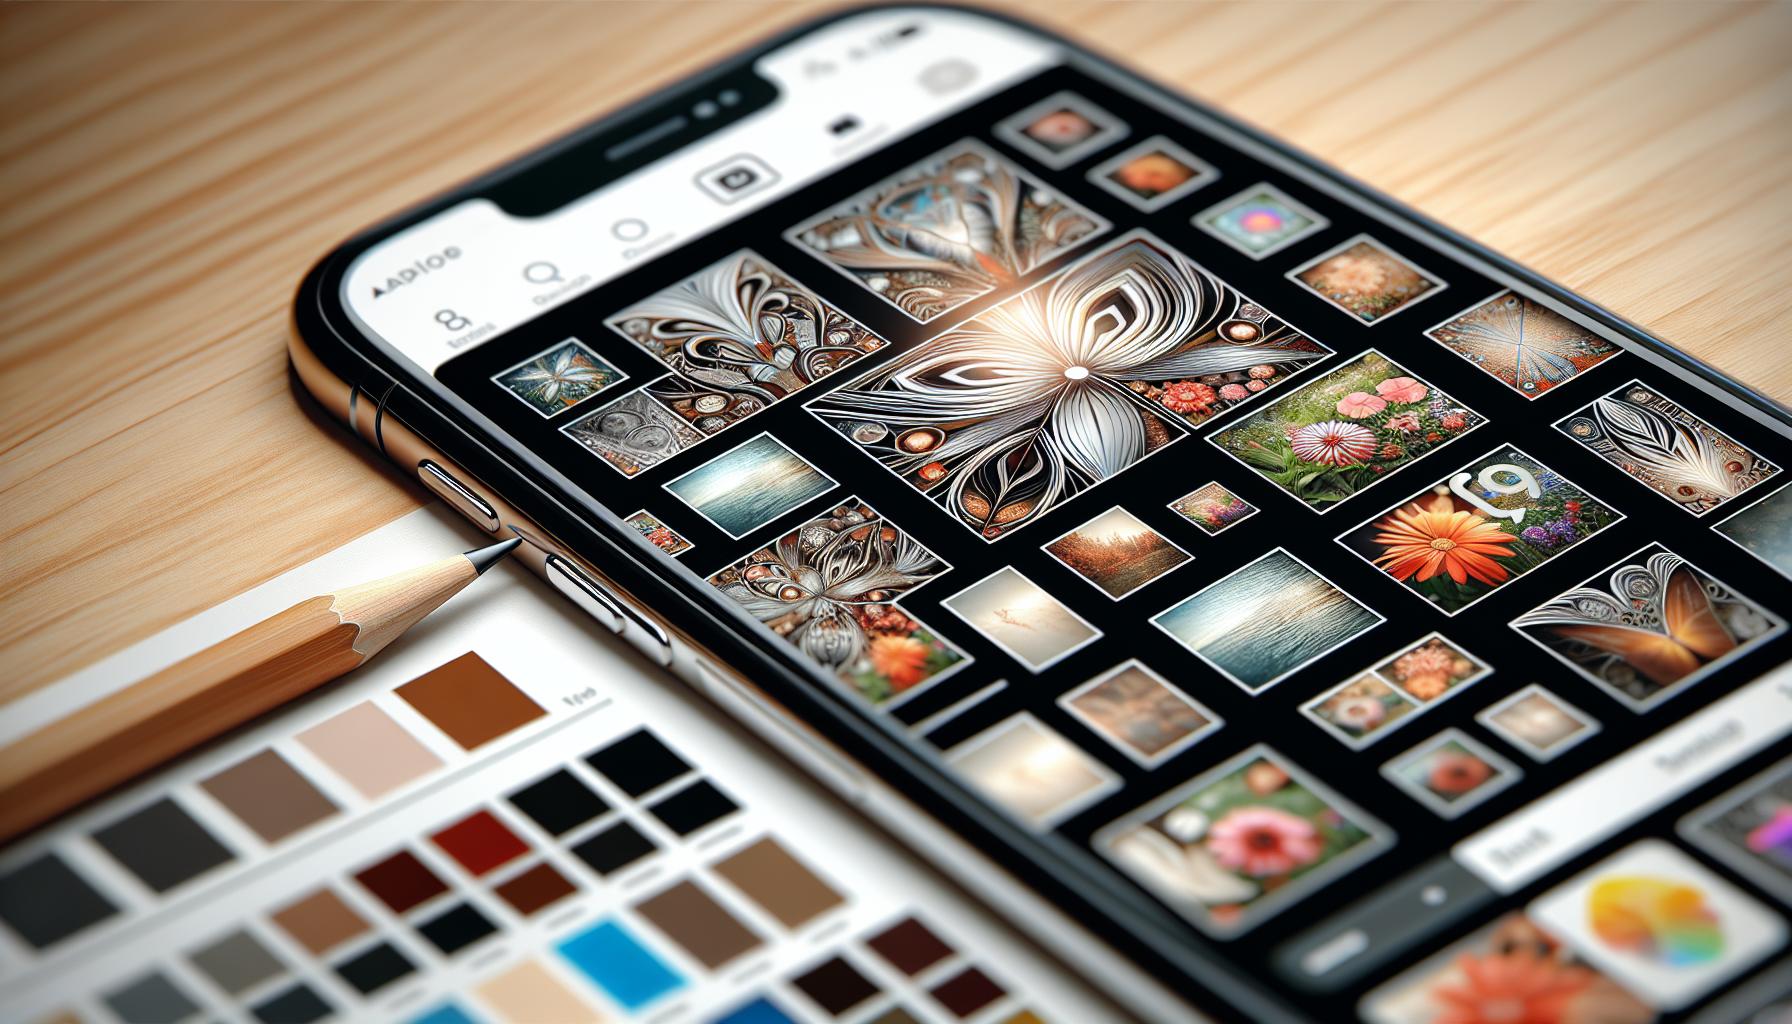
You've snapped a ton of photos on your iPhone, and now you're wondering how to showcase them all in one single masterpiece. Well, you're in luck! It's easier than you might think to create a stunning collage right on your iPhone.
Whether you're looking to compile your favorite vacation snaps, or want to put together a creative birthday gift for a friend, a collage is a great way to tell a story through images. In this guide, we'll walk you through the steps to create your very own collage on your iPhone.
So, grab your iPhone, get your creative juices flowing, and let's dive in! You'll be a collage-making pro in no time.
Why Make a Collage on iPhone?
You might ask why should you make a collage on your iPhone? Let's dive into the reasons. First off, it's another form of self-expression. We often have tons of photos sitting unviewed on our smartphones. Compiling these shots into an aesthetic collage lets you share your memories in a unique and creative way.
Beyond that collages offer an easy and meaningful method of storytelling. Rather than sharing a single photo, a collage gives you a platform to relay an entire event or experience. Say you're showcasing a road trip. With a collage, it's not just about that one stunning sunset shot. You can add pictures of the quirky motel you stayed in, the delicious meals you had, or the scenic trails you discovered. The story becomes more about the journey and less about one singular moment.
Plus, posters aren't the only things you can create from collages. Turn those fond memories into customized calendars, greeting cards, or even coffee table books. It all adds a personal touch which cannot be replicated with just one photo.
Also, let's not forget the convenience aspect. Making a collage on iPhone is pretty straightforward. The in-built tools and numerous third-party mobile apps make it a breeze to gather your pictures in one place, style them as per your liking, and even add a sprinkle of pizzazz with filters and stickers.
More so, using your iPhone for creating collages means you're practically carrying a creative studio in your pocket. No need for high-end software or professional graphic design skills. Inspiration can strike anywhere, and with your iPhone at the ready, you're set to transmute those concepts into artistic realities.
One thing to remember here is that like any other skill, collage-making requires practice. So why wait? Start exploring, experiment with different styles, blend in elements that resonate with you. In no time, you'll be crafting splendid collages right on your iPhone.
Benefits of Making a Collage on iPhone

Isn't creativity an incredible thing? It's boundless, exciting, and so much more. When it's combined with technology, like your handy iPhone, the possible outcomes are endless. Let's take a moment to highlight why creating a collage on an iPhone is an unparalleled adventure.
Express Yourself
Isn’t it liberating when you can express yourself without restrictions? Making a collage on your iPhone allows just that. It's a digital canvas for all your emotions and ideas. You can play with color, experiment with unique combinations, and design eye-catching layouts using different photos. Each collage you create becomes a tangible representation of your creativity and style.
A collage isn't merely a collection - it's storytelling. You can recall a memorable vacation, a special event, or even a montage of the seemingly mundane by putting together relevant images. Your iPhone enables you to bring together photos taken over time to make an evocative narrative more powerful than a standalone image.
Utilize Collages for Personalized Gifts
Another fantastic benefit of making a collage on an iPhone is the ease with which you can turn these digital creations into personalized gifts. Whether it's a custom calendar for the new year, a greeting card for a dear friend's birthday, or a unique coffee table book - collages can transform regular gifts into unforgettable ones. And remember, anything handmade carries that extra charm.
Convenience and Accessibility
Lastly, don’t overlook the sheer convenience. The iPhone, a tool that’s always at your disposal, brings collage-making right into your pocket. You can create a collage while commuting, during breaks, or simply when inspiration strikes. No need for fancy equipment or software, just your iPhone and a sparks of creativity.
And there it is – a glimpse into the myriad benefits of making a collage on your iPhone. Of course, these are only the tip of the iceberg. Creativity has no limit, and with your iPhone, you can delve deeper into the world of collage-making anytime, anywhere. So, what are you waiting for? Start exploring now, and let your creative journey lead the way.
Planning Your Collage

When carving your own course in the world of iPhone collage-making, planning is a crucial first step. It's where you get to decide on the essence of your collage. Indeed, each collage is a canvas to paint your story, to depict a mood, or express your individuality.
For the collage to tell a full story, it's essential to think about the narrative you want to convey. Maybe you want to capture the essence of a family trip or highlight a close friend's birthday. You get to set the scene and the tone, and as an artist, this is your golden opportunity to experiment and personalize.
One vital element to remember is selecting the overall look and feel of the collage. This could mean choosing between a bright, cheerful palette or a muted, vintage-style color scheme. Do you want your images to blend seamlessly together, or would you prefer distinct borders? How about adding text or other graphical elements to make your collage stand out?
After establishing the general theme, you'll want to choose your photos carefully. Quality is key here. High-resolution images make for a better collage, resulting in a more smooth and enjoyable viewing experience. Strive for a good balance of close-up shots and wider, landscape photos. Include photos that exemplify the mood you're aiming to convey.
These strategic considerations will help shape your creative process and make for a more effective and meaningful collage. So, let those creative juices flow and bring your vision to fruition on the platform of your iPhone. Keep this planning phase in mind as we plunge deeper into the actual steps of creating your collage. You're on the brink of a creative adventure, so fasten your seatbelt and prepare for a colorful journey.
Step 1: Choose and Gather Your Photos
Your next essential step in making a collage on your iPhone is to choose and gather your photos. This step is pivotal as the images you choose directly illustrate the story you're aiming to tell. Your decision should be influenced by the narrative you've sketched out in your planning stage.
With literally thousands of photos tucked away in your iPhone's camera roll, selecting the key images to use in your collage might seem overwhelming. But don't panic! Look at this as an opportunity to enjoy revisiting memories as you sift through your photo library.
One tip to keep in mind: aim for high-resolution photos. These will give your collage a sharp, professional look, while low-resolution images may appear blurry or pixelated, detracting from your collage’s visual impact.
Table 1 shows the comparison of poor quality vs. high-quality images:
| Quality | Resolution | Appearance |
|---|---|---|
| Poor | Less than 1024 x 768 | Blurry or Pixelated |
| Good | More than 1024 x 768 | Sharp and Clear |
You’re not restricted to just one type or style of photo either. Your collage can feature landscapes, close-ups, candid shots, styled snaps – the choice is yours. There's no rule stipulating that all photos have to come from the same event or the same day. Keep this in mind while selecting your photos! You could select images that span weeks, months, or even years to record a longer, more profound narrative.
To gather your chosen photos, you’ll need to create a new album in your iPhone's Photos app. It's a straightforward process:
- Open your Photos app.
- Tap on the '+' symbol in the Albums tab.
- Give your new album an appropriate title and add your selected images.
And voila! Your images are now gathered together, ready for the next stage of collage creation. Always remember that part of the fun in creating a collage is the process itself - unearthing and deciding on your most treasured moments to share with others. Now, you're one step closer to making your customized iPhone collage.
Step 2: Select a Collage App
Having selected and gathered your high-resolution photos for your iPhone collage, you're ready to move onto the next critical stage - choosing the right collage app. Do remember, the choice of an app is not a trivial task. The collage app you select defines the layout, style, and overall aesthetic of your collage.
There's a broad range of collage apps available in the App Store making it easier for you to find one that aligns with your vision and creative goals. From the app's user-friendly interface to its offer of various collage templates, splash of effects or the diversity of text and sticker options, it’s essential to assess each feature.
Let's take a detailed look at a few top collage apps that aesthetically appeal and are user-friendly:
- Canva: This app isn't just about collages. It's a versatile design platform that provides access to numerous customizing options. You'll appreciate Canva for its robust selection of design elements like shapes, fonts, and backgrounds.
- PicCollage: This collage-focused app is simple and intuitive. With a plethora of collage formats, backgrounds, and stickers, PicCollage keeps it fun while providing you with all the creative tools you need.
- Fotor: For fine-tuning your images, Fotor offers easy-to-use editing tools alongside its collage function. It presents a unique balance between being a photo editor and a collage maker.
- Layout from Instagram: If you're a fan of clean, minimalist design, you’ll find this app intriguing. Layout from Instagram offers a straightforward approach to collage-making.
Remember to choose an app with easy sharing options. It should make it a breeze for you to share your final collage on social media or with family and friends. Try out a few apps, get a feel for their features, and choose the one that's best for you. You're now one step closer to creating your visually stunning collage on your iPhone.
Step 3: Arrange and Customize Your Collage

It's at this stage the essence of collage making truly unfolds. Once you've downloaded your chosen app and have your images gathered, it's time to arrange and customize your collage.
Remember, one of the abiding principles of creating a compelling collage is storytelling. The arrangement of your images should be more than just aesthetically pleasing, it should tell a story or convey the mood you're aiming for.
Start by selecting a layout that compliments your narrative. Canva boasts an array of unique pre-designed templates that allow you to play around with arrangement. If you're using PicCollage, on the other hand, you could opt for Freestyle mode and let your imagination roam free.
Once your layout's been chosen, go ahead and fill those spaces with your high-resolution photos, ensuring each image is in its rightful place to enhance your story.
Let's delve into the fun part - Customization! You'd be amazed by the assortment of visual treats that can be incorporated into your collage. This can range from applying filters, adjusting brightness and contrast, to adding snippets of text or perhaps a touch of doodle.
Layout from Instagram offers a jumble of filters that'll help the colors and details in your images really pop, enhancing the overall aesthetic of your collage. Fotor, on the other hand, would've you spoilt for choice with its vast selection of customizations that interface seamlessly with your creativity.
Don't forget, customization is as much about adding, as it is about restraining. It's easy to be swept off your feet by the choices available and load up your collage with filters and doodles. But remember, simplicity is beauty; you don't want to overshadow the narrative of your collage.
Step 4: Add Filters and Effects
Adding the right filters and effects can take your collage from ordinary to extraordinary. It's a balancing act between enhancing your visuals and maintaining the natural look of your photos. When used correctly, you'll find that filters and effects can significantly elevate the overall aesthetic of your collage.
When you're deciding on which filter you want to use, consider how it complements the storyline or mood of your collage. Pay attention to how the filter changes the colors, contrasts and details of your photos. Dramatic, Vibrant and Noir are some popular ones worth trying. Experiment with different options until you find one that suits your narrative. Remember, you can use different filters for different photos. This approach will give your collage a unique, sublime look.
Apart from filters, there’s also a multitude of effects available in your iPhone's collage-making app. Some apps offer effects like blurring, pixelating, mirroring and vignetting. Others even allow for adjustments with opacity, light leaks, double exposure and more. Explore these offerings until you find your preferred set of effects. Not every effect will work for every photo, so it will require some trial and error to strike the right blend.
In this process, the objective is to supplement and not suppress your main narrative. It's easy to go overboard, but often less is more. The power of restraint is significant - the magic lies in subtlety. So while you’re experimenting with different filters and effects, always keep your overall storytelling objective in mind.
Note: Don’t rush this step. Giving yourself plenty of time to play around and experiment with different filters and effects can yield surprising results. While learning how to make a collage on your iPhone, realize that it's a creative journey that should be enjoyed in progress, rather than hastily arrived at its end.
Remember, creating a compelling collage is as much about skill as it is about eye-catching visuals. With a little patience, time, and practice, you’ll soon master this art and confidently handle your collage-making process with style.
Step 5: Finalize and Save Your Collage

After arranging, customizing, and applying various filters and effects to your collage, you're almost there. The final step in your collage-making journey is to finalize and save your creation. Don't rush this step. Carefully inspect your masterpiece before calling it complete.
Evaluate your work with a keen eye. Is the layout balanced? Do the applied filters enhance the mood of the collage? Is there a coherent story that resonates with the viewer? If not, take this opportunity to tweak those elements until you're satisfied. You don't want your efforts to fall flat because of minor, overlooked details.
Once you're completely happy with the results, it's time to save the collage. If you're using an app, there are usually a few options available for you. Typically, you can save the picture directly to your iPhone's photo library, or you can decide to share the collage on social media directly from the app itself. Double-check to ensure the quality remains intact after saving. For example, ensure that the resolution is high and the images aren't pixelated. Keep in mind that some apps may lower the quality during the saving process.
And there you have it. Creating a collage on your iPhone isn't a daunting task after all. It's all about exploring your creativity, mixing and matching different elements, and taking your time to put everything together. It's a fun, creative process that you're now equipped to handle.
Conclusion
So, you've journeyed through the creative process of making a collage on your iPhone. Remember, it's all about the final check - inspecting the layout, filters, and the story your collage tells. Don't forget to save your masterpiece, either to your photo library or share it directly from the app. Keep an eye on the quality, ensuring high resolution and no pixelation. With time and practice, you'll master this fun, creative process. Now, it's time to let your imagination run wild and create collages that capture your memories in a unique and artistic way. Happy collaging!
What is the final step in creating a collage on an iPhone?
The final step in collage creation on an iPhone involves finalizing and saving the collage. It includes a careful inspection of the layout, filters, and overall story of the collage.
How can I save my collage?
You can save your collage in the iPhone's photo library or directly share it from the app on social media platforms. Remember to check the quality before sharing or saving.
How to ensure the saved collage has high resolution and isn't pixelated?
Ensure the quality of your collage by double-checking the resolution after saving. If the images appear pixelated, it may require adjustments.
Is creating a collage on an iPhone a complicated process?
Creating a collage on an iPhone is not complicated. It is a fun and creative process that can be mastered with time and practice. Keep experimenting, and soon you will be creating beautiful, high-resolution collages.


