Ever found yourself stuck in incognito mode on your iPhone, unsure of how to switch back to the regular browsing? You're not alone. It's a common issue faced by many iPhone users. But don't worry, getting out of incognito mode is easier than you might think.
In this guide, you'll learn the simple steps to exit incognito mode on your iPhone. Whether you've accidentally opened an incognito tab or you're done browsing privately, we've got you covered. This tutorial is designed to be straightforward and easy to follow, so you can get back to your regular browsing in no time.
So let's dive right in. By the end of this article, you'll know exactly how to switch off incognito mode on your iPhone, and you can put this minor inconvenience behind you for good.
Understanding Incognito Mode on iPhone
Before we delve into the process of getting out of incognito mode, it's crucial to understand what it is and how it functions on your iPhone. Incognito mode, often referred to as Private Browsing mode on iOS devices, is a handy feature when you want to search the web without leaving a digital footprint.
When you switch to incognito mode on your iPhone, Safari, Apple's default web browser, ceases to record your browsing history. That's right, no trace of the pages you visit. Cookies aren't stored, and information isn't left behind that can be picked up by websites or other users who might have access to your device.
This doesn't mean, however, that your activity becomes invisible or untraceable altogether. Incognito mode doesn't conceal your online activity from your internet service provider. a potential hacker or law enforcement agencies can still observe what you're doing online if they so desire.
On your iPhone, switching between regular and incognito mode is seamless and can be done effortlessly with minimal steps involved. Having this understanding of what incognito mode is will significantly help with properly managing your browsing settings based on your requirements and avoiding any confusion when navigating through your web browser.
Why Would You Want to Exit Incognito Mode?

Before we delve into the subject of how one might exit incognito mode, let's first tackle why you would want to get out of it. There are a handful of reasons, each making sense depending on the situation, and they're all important to consider.
One primary reason is access to personalized settings. In regular browsing mode, the websites you visit often store information that tailors the browsing experience to your liking. For instance, items you add to shopping carts stay there, and site layouts and preferences remain unaltered – not the case with incognito mode. When you're incognito, it's as though you've never visited the site before, every time – no memory mean no customized experience.
Secondly, consider the differences in search engine results. Search results lean on personal data history to deliver relevant, customized results. In incognito mode, search engines display general results that ignore your previous interactions, which might not be helpful if you're searching for something specific tied to your own browsing habits.
Lastly, the lack of access to saved passwords is another restriction inherent to incognito mode. On normal browser mode, frequently visited sites with stored login data auto-fill your usernames and passwords. The convenience of not having to remember or dig up passwords every time you log in is nowhere to be found in incognito mode.
All these factors starkly contrast the convenience and ease of browsing experience in the regular mode, making the switch back appealing. Following, we'll dissect the step-by-step guide to navigating out of incognito mode on your iPhone and back to the comfort of your online home.
Step 1: Open the Safari App

Breaking from incognito mode on your iPhone starts with a simple but crucial step, opening the Safari app.
Locate the Safari icon on your iPhone. You'll find it on the home screen but remember that you might have moved it to a folder or another page, depending on how you've customized the layout of your iPhone. Safari's icon showcases a compass, symbolizing exploration; it's predominantly blue in color.
Once you find the icon, tap on it. By doing so, you're launching the default browsing app of your iPhone, known as Safari.
Here, you need to check whether you're already in incognito mode or not. If your Safari interface is black or dark instead of the usual white or light theme, you're indeed in incognito mode. The dark color scheme serves as a reminder that you're browsing privately, without leaving a trace of your internet history.
This first step, while simple, paves the way for the following actions. It sets the path to switch from private browsing, offering a more personalized and convenience-filled browsing experience.
Step 2: Locate the Tabs Button

On every iPhone, the Safari app has a uniform layout. At the bottom of the app, there is a collection of icons that simplify your browsing. In the mix, there's one specific icon crucial for this operation. The Tabs Button looks like two overlapping squares and typically sits at the far right side of your screen.
Spotting the Tabs Button isn't hard, it's in plain sight and always within your reach - thumbs or fingers. Remember, the aim is to switch from incognito mode to a regular browsing mode, allowing a more personalized and convenience-filled browsing experience.
In the sea of buttons at the bottom of your Safari screen, you need to focus on the Tabs Button. This button, often overlooked, plays a pivotal role in managing your browsing experience.
The Tabs Button serves as an intuitive way to keep tabs on... Well, your tabs. Whether you're deep into research or just casually browsing, keeping track of your tabs is essential. But it's also the gateway to switching between browsing modes.
So, you've located your Tabs Button. What's next? This is where the magic happens - where incognito mode shifts back to regular, comfortable browsing on your iPhone. Hold up though, we're not quite there yet. The next step, after identifying the Tabs Button, guides further into this switch.
It's crucial to remember this step as an important bridge to the next. You might feel like you're halfway there but rest assured, there's more to come. So, now that you've spotted the two overlapping squares, you're primed and ready for the following steps.
Keep in mind, settings can sometimes vary between iOS versions or device models. While this advice is applicable to most iPhones, if you're having trouble locating the Tabs Button, it may be worth looking up your specific device for more tailored guidance.
Step 3: View All Your Open Tabs

Having located the Tabs Button, the next course of action is to get a top-down view of all your open tabs. Understanding how to manage your tabs is essential when you want to switch from Incognito mode to regular browsing. Let's walk through this crucial step.
Tap on the Tabs Button you've just located. Upon clicking, a set of cascading windows, showing a preview of every open page, becomes visible. This panoramic view is your key to easily manage all the pages you've visited. Don't worry about a cluttered view if you've been indulging in multi-tab browsing. Each window is compact yet clearly showing the important details.
On the lower right, there's an option to close each tab individually. While this might seem tedious at first glance for busy surfers, it's actually an easy way to declutter your digital space. Clear out any unnecessary tabs before you proceed.
For users with the iOS 12 update and newer, Apple has got you covered with an option to close all open tabs at once. iOS 11 users, don't fret, you're just a system update away from this efficient feature.
Here's a quick summary of the differences:
| iOS Version | Closing All Tabs at Once |
|---|---|
| iOS 12 & Newer | Yes |
| iOS 11 & Older | No |
It's time for a spot of tab hygiene before we explore the final step in leaving the shadows of incognito and stepping back into the sunlight of regular browsing mode. We promise it doesn't end here. Your journey to regain the perks of personalized settings, access to saved passwords, and a tailored browsing experience is just around the corner. Buckle up and let's dive into the next part of your digital expedition.
Step 4: Close the Incognito Tab(s)
Time to kick-start the final action. After having all your tabs in view, the next step involves closing the Incognito tabs. Let's break it down – it isn't as tough as it may initially seem.
So, you want to switch back to regular browsing. Putting an end to the Incognito tabs is the way to go about it. To do this, choose the Incognito tab you wish to close. You will likely find a 'x' symbol often situated at the left corner of each tab. Clicking this 'x' will close that specific Incognito tab and won't leave a trace of the pages you've visited.
Remember, the goal is to prevent a digital footprint of your browsing activity. Once the tab is closed, it's history that won't find its way back.
What if you're in a hurry and don't have the time to close individual tabs? No worries! The iOS version comes with a quick tab close function. This lets you close all Incognito tabs at once. To access this function, locate the 'Close All Tabs' option usually found at the bottom of the screen.
We'd like to remind you though, closing all tabs at once is a double-edged sword. It's fast and convenient, as it vaporizes all tabs in an instant. But, there's a catch. In one fell swoop, all the tabs you have open—whether you were done browsing them or not—will be lost without a trace. So it's best to ensure you've finished perusing every important webpage before using the 'Close All Tabs' option.
Step 5: Switch Back to Regular Browsing

Moving on from closing your incognito tabs, let's dive into how you switch back to regular browsing on your iPhone. After all, it's the final pivotal point in reversing from private mode and basking in all the benefits of a regular browsing experience.
To switch back to regular browsing, tap the "Tabs" icon located at the bottom right corner of your screen. You'll notice that the private tabs screen is dark. You're still in private browsing mode at this point. What you're aiming for is a light-colored screen that signifies regular browsing.
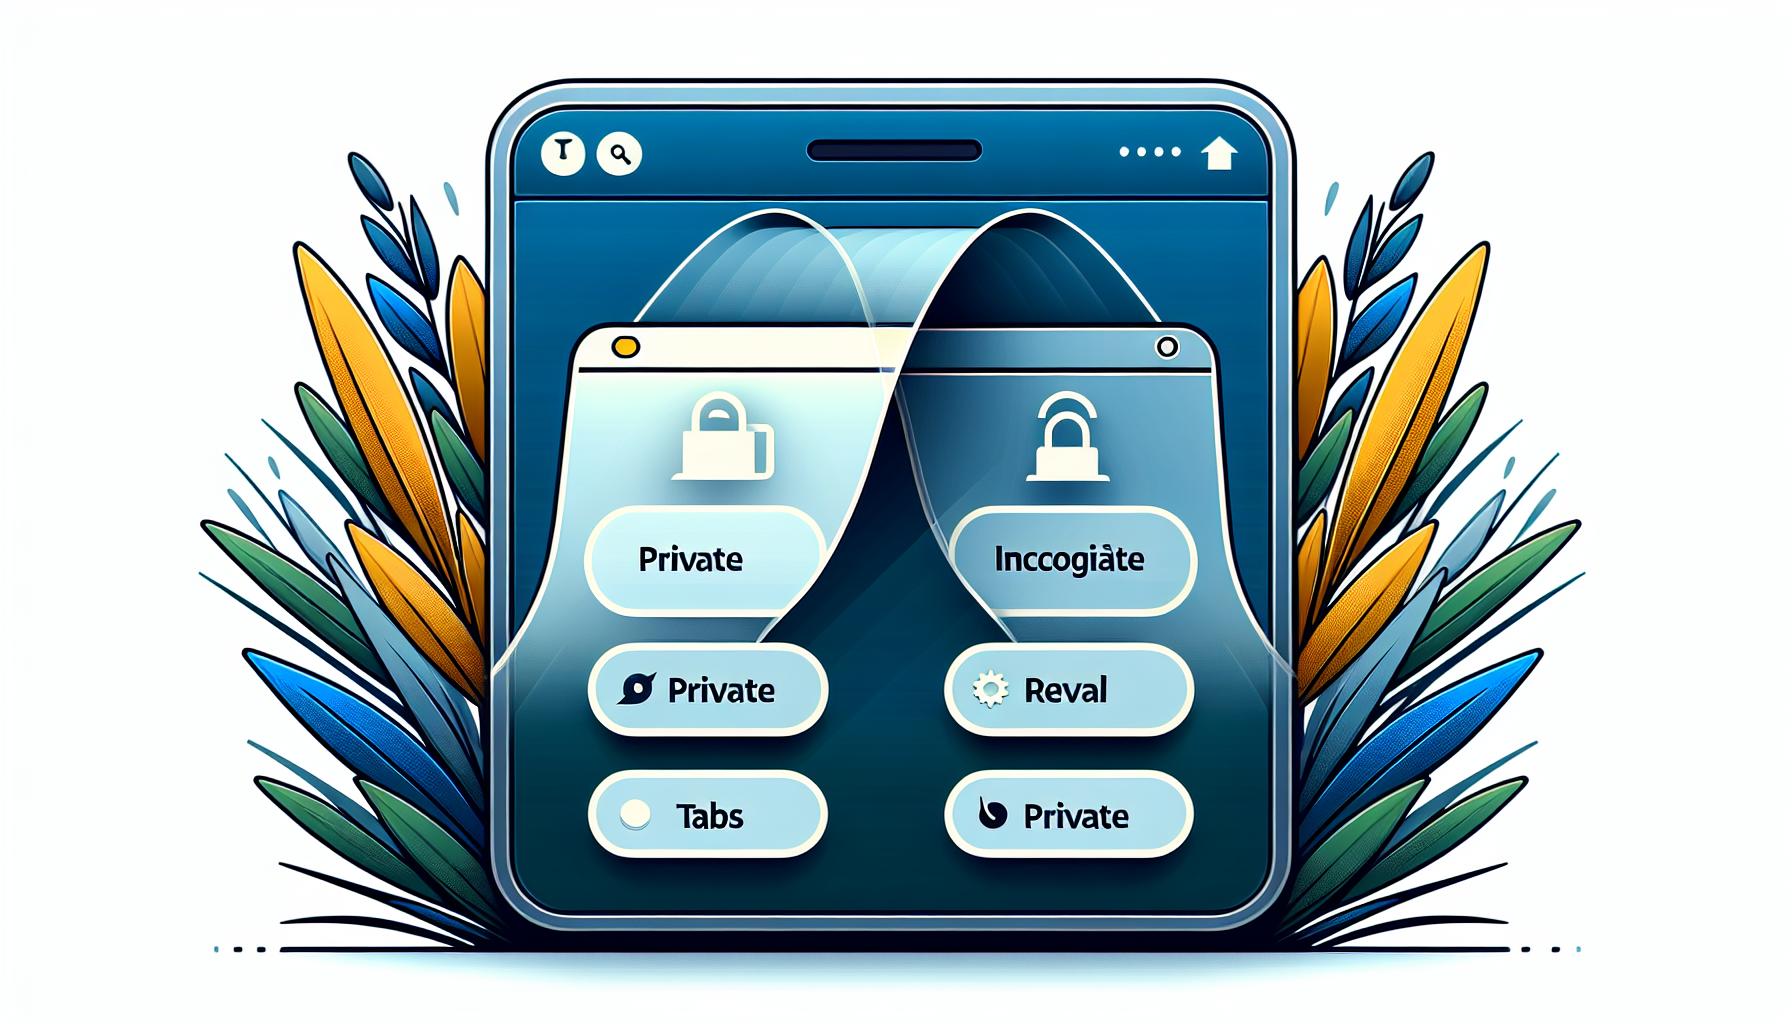
By tapping the Private button at the lower left corner of your screen, you'll soon notice that the background color changes from the darker theme of incognito mode to the lighter theme of regular browsing. Don't be alarmed, this color change is normal and simply Apple's way of indicating the different browsing environments. So don't forget, light equals regular, dark equals private.
At this juncture, you're almost home. Now it's the moment you've been moving towards. With the touch of a button, you'll re-embrace the practical benefits of personalized web browsing. Remember, your personalized settings, previously saved passwords, and autofill suggestions all come flooding back once you're in regular mode.
This simple yet transformative process of returning to your regular browsing experience is often overlooked. It's important to remember this step as it can drastically influence your online navigation.
In the next section, we will look at why you might need to occasionally pop back into private mode from time to time. Even though you're now versed in switching back to regular browsing, knowing when to utilize incognito mode can be just as impactful.
Remember: Don't shy away from stepping back into the dark of incognito mode when the situation calls for it. Being a savvy web navigator is all about adapting to your browsing needs and wielding the functionality of your browser to your advantage. Stay tuned.
Tips for Avoiding Incognito Mode in the Future
Incognito browsing can be useful under specific circumstances but there are times when you would want to avoid it. Here are a few tips to help you stay out of Incognito Mode in the future and enjoy the personalized browsing experience that regular mode offers.
Understand the Difference: The first step is understanding the difference between Incognito Mode and Regular Mode. While Incognito Mode lets you browse the web privately, it doesn't offer the same personalized experience as Regular Mode. For instance, search engine results are generic rather than customized to your preferences in Incognito Mode.
Set Default Browser to Regular Mode: Most browsers, including Safari, default to Regular Mode when you open them. If that's not the case with your browser, check the settings and adjust as necessary. This step ensures that every time you launch your browser, it opens in Regular Mode first.
Avoiding Private Sessions: If you continuously find yourself accidentally in Incognito Mode, it might be because you're selecting 'New Private Tab' instead of 'New Tab' when opening a browser session. Be conscious of this and make a habit of choosing 'New Tab' for your browsing sessions.
When it comes to predictable browsing with access to saved passwords and data, stick to Regular Mode. This will not only save you the time of having to switch out of Incognito Mode but also allow for a smoother, more personalized browsing experience.
In the next section, we'll dive into some scenarios where using Incognito Mode can be beneficial. Stay tuned for insightful details that will help you navigate your online world with a better sense of when to use regular browsing and when to opt for a private session.
Conclusion
So, you've learned how to toggle off incognito mode on your iPhone and return to regular browsing. You've also picked up some tips to prevent slipping into incognito mode unintentionally. Remember, regular browsing offers perks like personalized settings and saved passwords, making your web experience smoother. While incognito mode has its uses, knowing when and how to exit it gives you more control over your browsing. Keep exploring, keep learning, and make the most out of your iPhone's features.
Frequently Asked Questions
What is the main difference between incognito mode and regular mode?
Incognito mode does not store browsing history, cookies, or site data after you close the session. On the other hand, regular mode saves this information, thus providing a more personalized browsing experience.
How can I switch back to regular browsing from incognito mode on an iPhone?
The article provides a detailed, step-by-step guide to assist you in switching from incognito mode back to regular browsing on your iPhone.
How can I set my default browser to regular mode?
Aside from making the switch manually, you can also adjust your settings to make regular browsing your default mode. The article covers how to do this in detail.
Why might I want to avoid private sessions?
Private sessions, while protecting your privacy, lack the convenience of personalized settings and saved passwords offered in regular mode. If these features are important to your browsing experience, you might want to avoid private sessions.
In what scenarios might incognito mode be beneficial?
While the article predominately covers regular mode, it also highlights scenarios where incognito mode can be useful. These situations generally center around when you want to browse without leaving a trace in your history or when you want to avoid personalized ads.


