So, you've got a shiny new Apple Watch, and you're eager to pair it with your iPhone? You're in the right place! This guide will show you how to connect your Apple Watch to your iPhone with ease.
Pairing your Apple Watch with your iPhone not only unlocks the full potential of your smartwatch but also makes your daily life more convenient. Whether it's receiving notifications, making calls, or tracking your fitness, everything becomes a breeze once you've connected these two devices.
Step 1: Turn on your Apple Watch
Out of the box, your Apple Watch might be off or in a dormant state. Firing up your Apple Watch is the critical first step in connecting it to your iPhone. But how do you switch it on?
Locate the Side button on your Apple Watch. This button is typically found right below the Digital Crown, on the right side of your Watch. Press and hold the Side button until the Apple logo appears. Your Apple Watch has now come to life.
Make sure you've got enough battery juice in your gadget. If it's low, it's a good idea to get it on a charger right away. Your Apple Watch uses a magnetic charging cable for refueling. Attach the charger to the back of your Watch. It will snap into place thanks to the built-in magnets. Plus connecting your Watch to a power source accelerates the boot-up process.
The process of turning on your Apple Watch is rather straightforward. It's the kickoff to accessing its wide range of features, which become increasingly available once connected to an iPhone. The steps ahead will guide you through that pairing process.
Once you’ve turned on your Apple Watch, you're on the right track to benefit from its multiple convenient features, such as receiving notifications, making calls, or even tracking your daily fitness achievements. Next, you will need to bring your iPhone into the mix to start the syncing procedure. Stay tuned for the section on preparing your iPhone for paring with your Apple Watch.
Step 2: Open the Apple Watch app on your iPhone
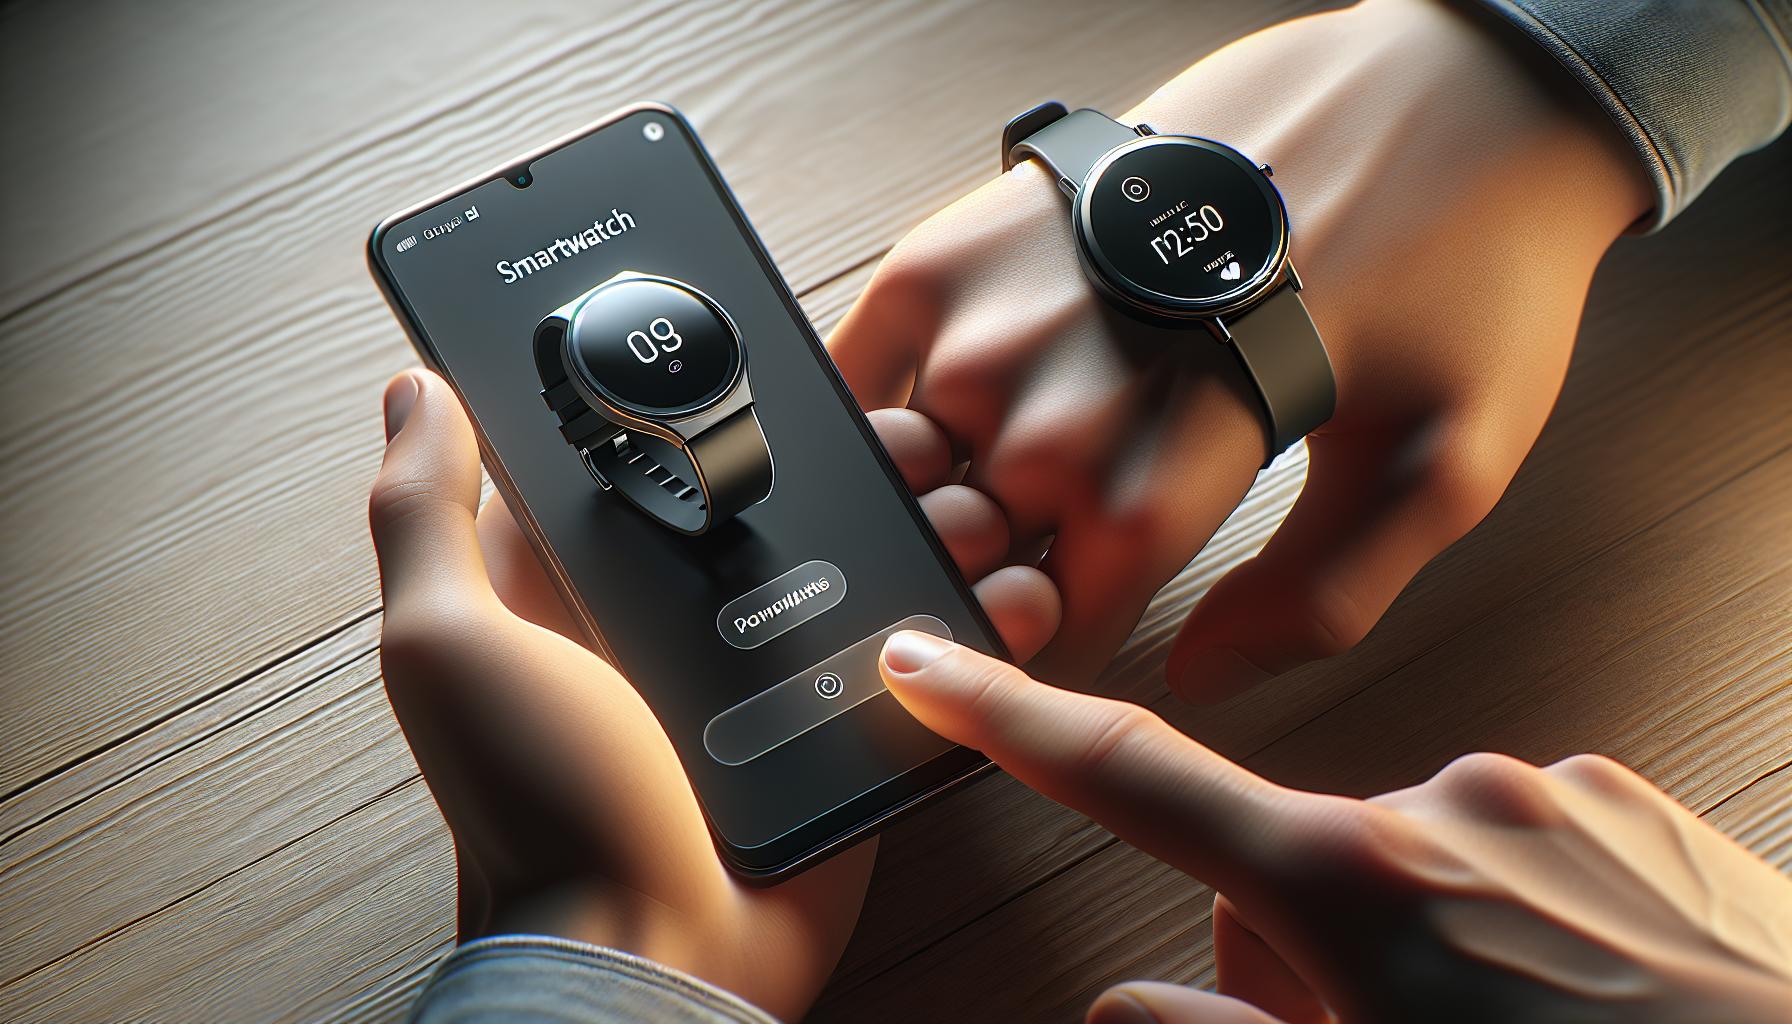
Now that your Apple Watch is powered up, it's time to unlock the magic. Grab your iPhone and let's dive into the next step. Don't worry; it's as straightforward as can be.
Your first mission is to locate the Apple Watch app on your iPhone. It's pre-installed on all iPhones. Look for an icon that resembles a watch, displaying a black circular shape with an image of a white watch in the middle. It’s usually grouped within an Apple Apps folder on the home screen.
Tap the Apple Watch app to open it. You'll be greeted with the Apple Watch app interface. It's here you'll start unleashing the power of your new companion.
This app is the gateway to your device's potential. It gives you a quantifiable look at the various features, benefits and capabilities of your Apple Watch. Inside, you'll find everything from activity tracking to health and fitness monitoring.
Maintain your focus. Your objective: initiating the connection between your iPhone and your Apple Watch. Look for a button that suggests pairing. The app interface is user-friendly, so spotting this shouldn't be much of a challenge.
Stay with us, as you're about to experience the power of technology at its best. It's fantastic, isn't it? That feeling of integration. Your next adventure in the Apple ecosystem is just around the corner. Before you get too excited, remember; you've only taken the second step in this process. Stay tuned and let's journey together through the wonders of technology. Up next, let's explore the process of actual pairing and everything that alludes to.
Key takeaway: Understanding how to navigate the Apple Watch app on your iPhone is essential for a successful pairing.
Step 3: Tap on "Start Pairing"
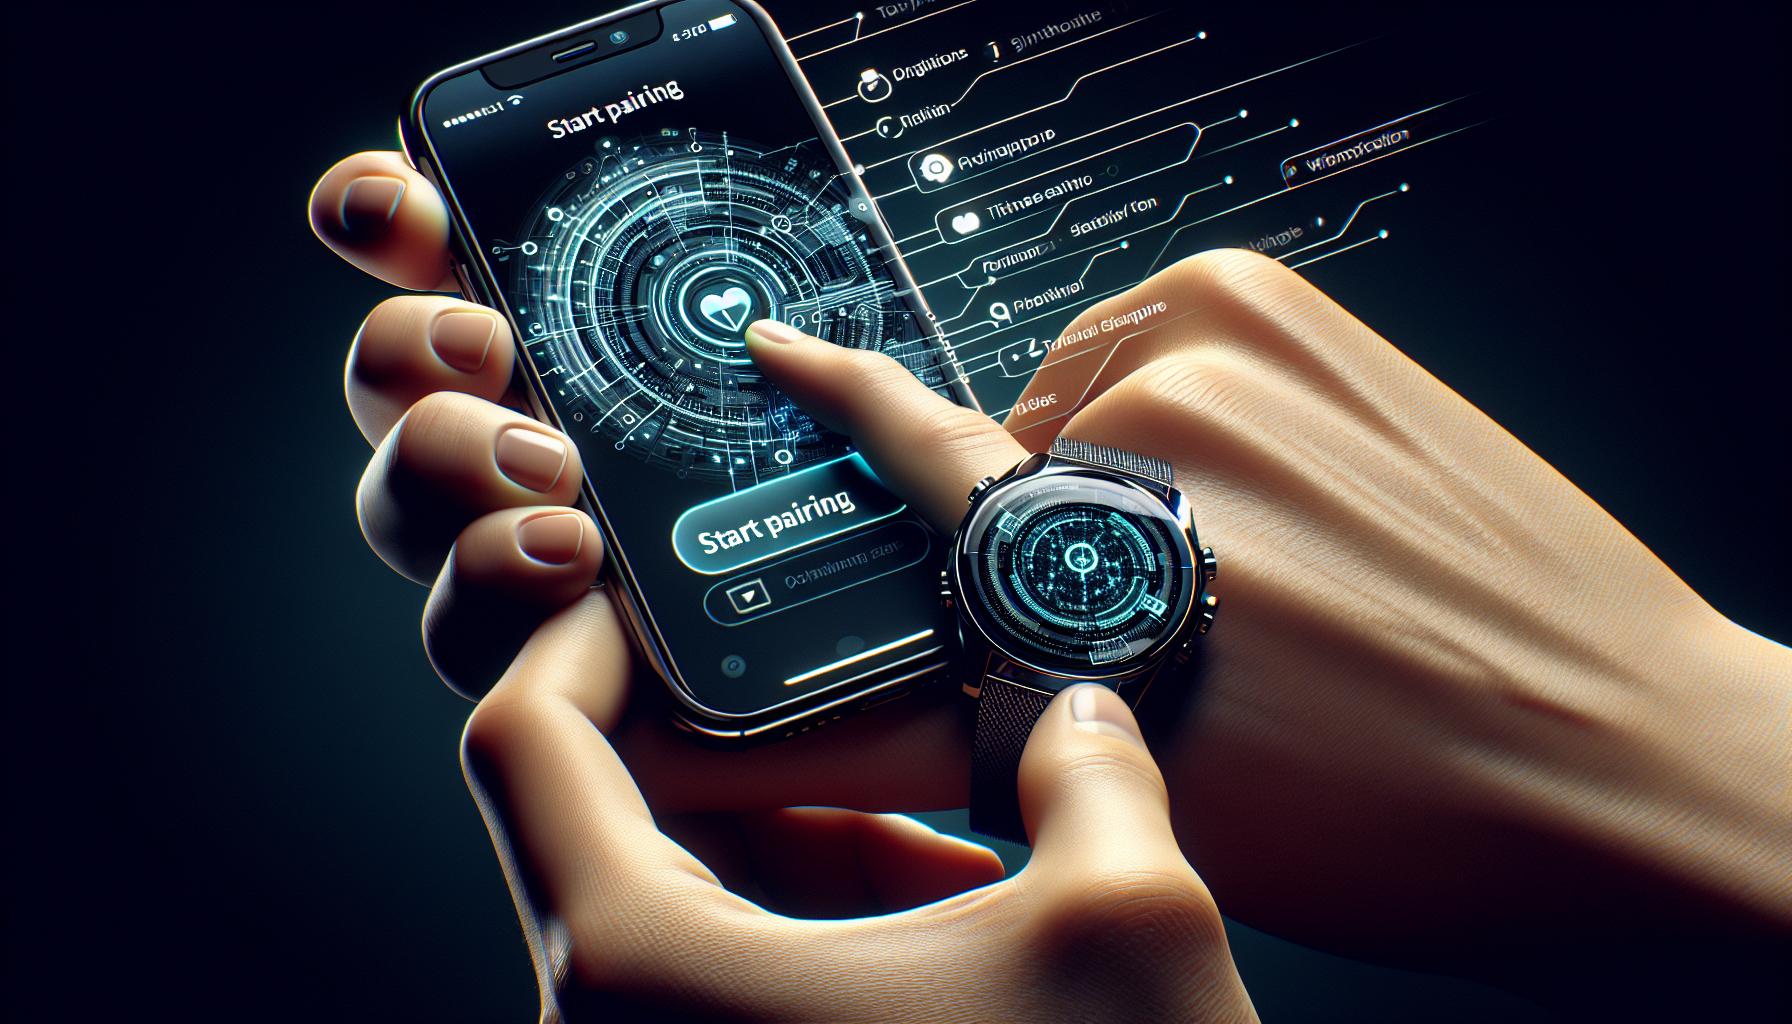
Once you've navigated your way through the initial steps, you’re ready for the next crucial part of the process: pairing. You’ll see the words "Start Pairing" on your screen. Don't be hesitant, just give it a tap!
While you might think it's complicated, Apple has worked hard to streamline the pairing process. It's made to be as simple and straightforward as possible for an optimal user experience.
On your iPhone, open the Apple Watch app, then tap Start Pairing. This will initiate the communication between your iPhone and Apple Watch. Before this step, they were two separate entities. After this step, they start working in synergy, complementing your digital life.
At this point, you'll be prompted to hold your iPhone over the Apple Watch. Do it until you see a message that reads "Your Apple Watch is Paired". This pairing process employs Apple’s visual-based pairing system. You'll literally see your two devices start to recognize each other and communicate, shaping a seamless continuum between your iPhone and Apple Watch.
If you don't see the pairing message, don't worry. Simply check both devices have Bluetooth turned on. Also, ensure they're close enough to establish a connection. Be patient - sometimes it takes several seconds or even a couple of minutes for the devices to recognize each other and fully establish the connection. In the rare case your devices still aren't pairing, turn both your iPhone and Apple Watch off, then restart them.
Rest assured, pairing your Apple Watch with your iPhone is a secure process. Both devices employ encryption to protect your data, whether you’re making a call, sending a text, or checking your health metrics.
Remember to stay focused. In the next section, we'll dive deeper into the process, helping you customize your Apple Watch settings to suit your personal needs and lifestyle.
Step 4: Hold your iPhone over the animation on your Apple Watch
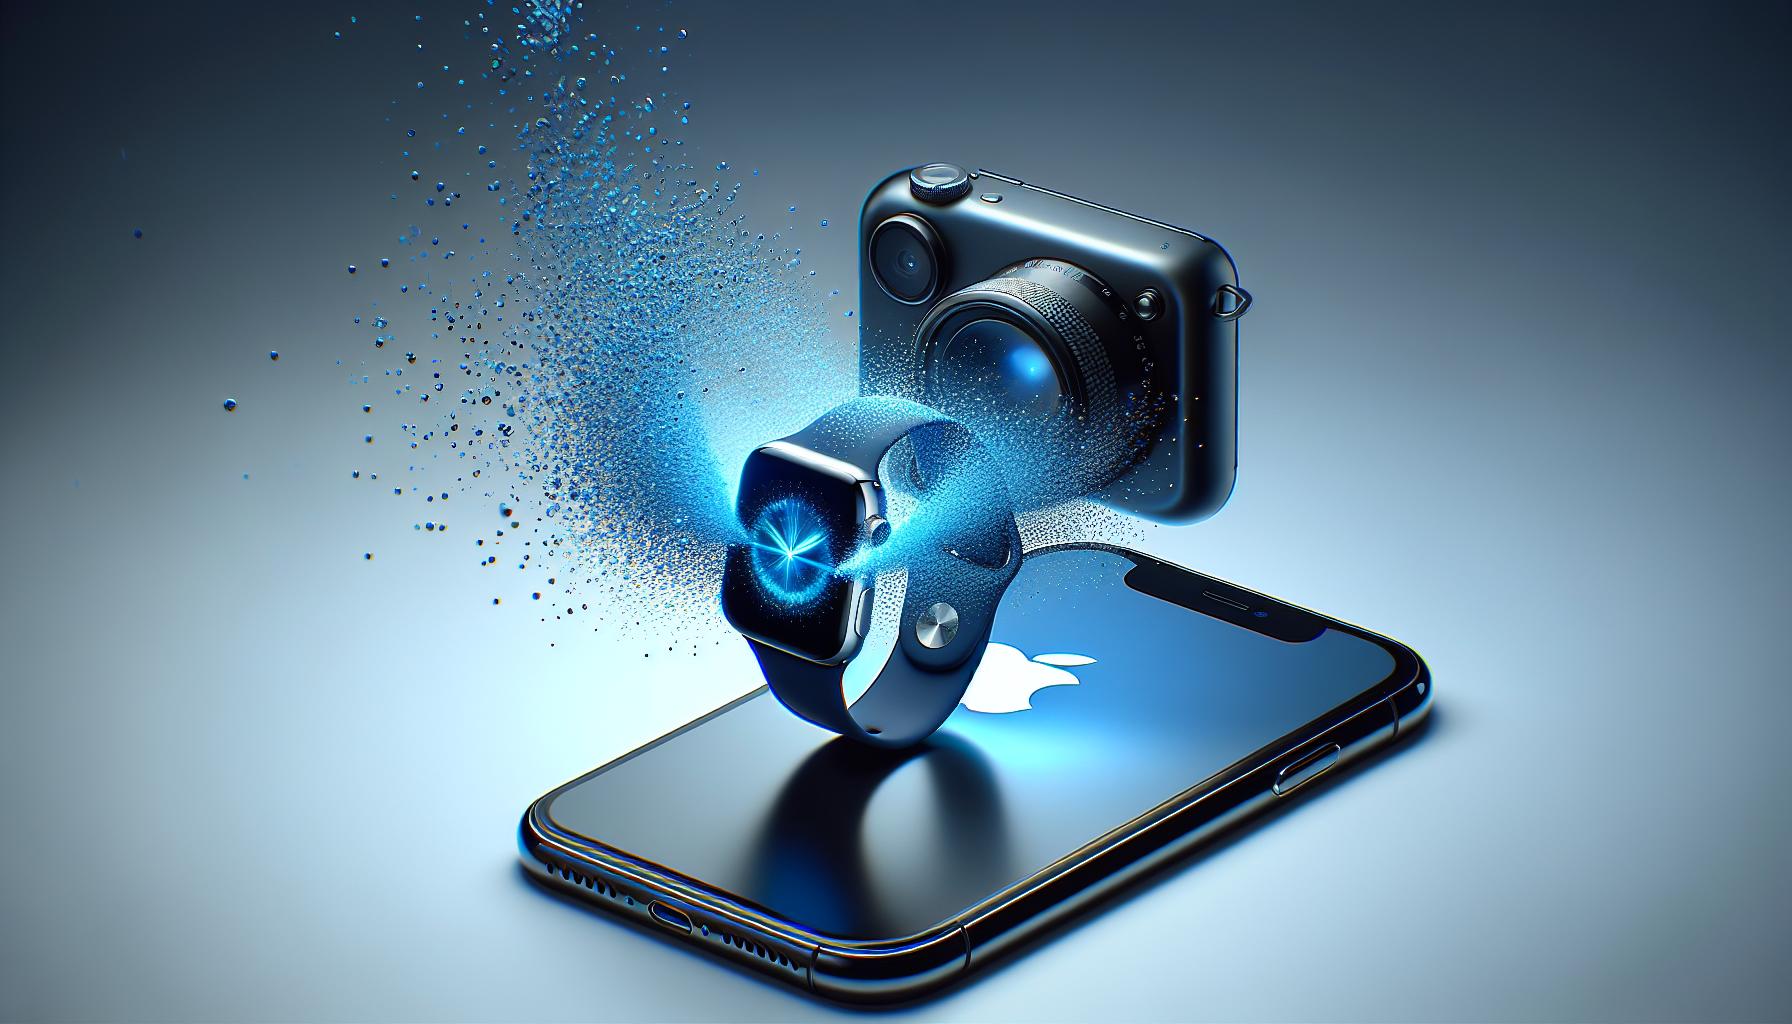
Yes, you heard it right - animation. That's another fascinating part of this tech pairing. After tapping on "Start Pairing" on your iPhone, a swirling, nebulous cloud animation will appear on your Apple Watch. This isn't just for fun, it's an integral part of securely pairing your devices.
This process might seem like you're in an unseen tech sci-fi movie, but trust us, it’s reality and all about enhancing your user experience. Now, here's what to do.
Swipe up or down, scrolling through your iPhone till you find the camera app. Open it.
Point Your iPhone at your Apple Watch
The next step reminds you of QR code scanning, doesn't it? Indeed, that's exactly what it simulates. Orient your iPhone in such a way that the Apple Watch appears in the camera viewfinder. As you do this, make sure the animation on your Apple Watch fits within the yellow-lined box shown on your iPhone's screen.
Wait for the Magic
Your screen will fill with an array of blue particles. It's like something out of a visual effect; this indicates your devices are beginning to recognize each other and form the link. Once this link forms, you'll move onto customizing the settings of your newly paired Apple Watch.
Pairing Apple devices may be a futuristic experience, but remember, it's crucial for both devices to be close enough for the process to work.
Step 5: Enter the passcode on your iPhone
Congrats! You've made it to the next critical stage in the pairing process - entering your unique passcode onto your iPhone. You might be wondering if this step is really necessary. It's not just about adding an extra layer of security but also about ensuring a successful pairing. Let's deep dive into this process, shall we?
When you see "Enter Passcode" on your iPhone’s screen, don't fret. It's quite simple. A six-digit code will appear on your Apple Watch. All you have to do is enter that exact passcode on your iPhone. "Mistyping", you think? No worries. You can always tap 'Try Again' if you mistype a digit.
Why is this code so important? It's part of Apple's Two-Factor Authentication (2FA). 2FA is a security mechanism that adds an extra layer of protection to your Apple Watch. Apple does this to protect you from potential threats and keep your data secure. An essential point to note - always remember your passcode. If by any chance you forget it, Apple has a solution for that too. Apple allows you to reset your passcode by erasing your watch. Don’t worry, your data won't be lost - it’s all backed up on your iPhone.
Now you may ask, "What if I don't see the passcode option?" or "What if I entered the wrong passcode too many times?" Well, these might be signs of a couple of problems:
- You may have reached the maximum number of failed attempts.
- Your Apple Watch might be running on the old software.
- Maybe there's an issue with your iPhone.
For these scenarios, Apple recommends resetting your Apple Watch or updating the software.
Step 6: Choose your wrist preference
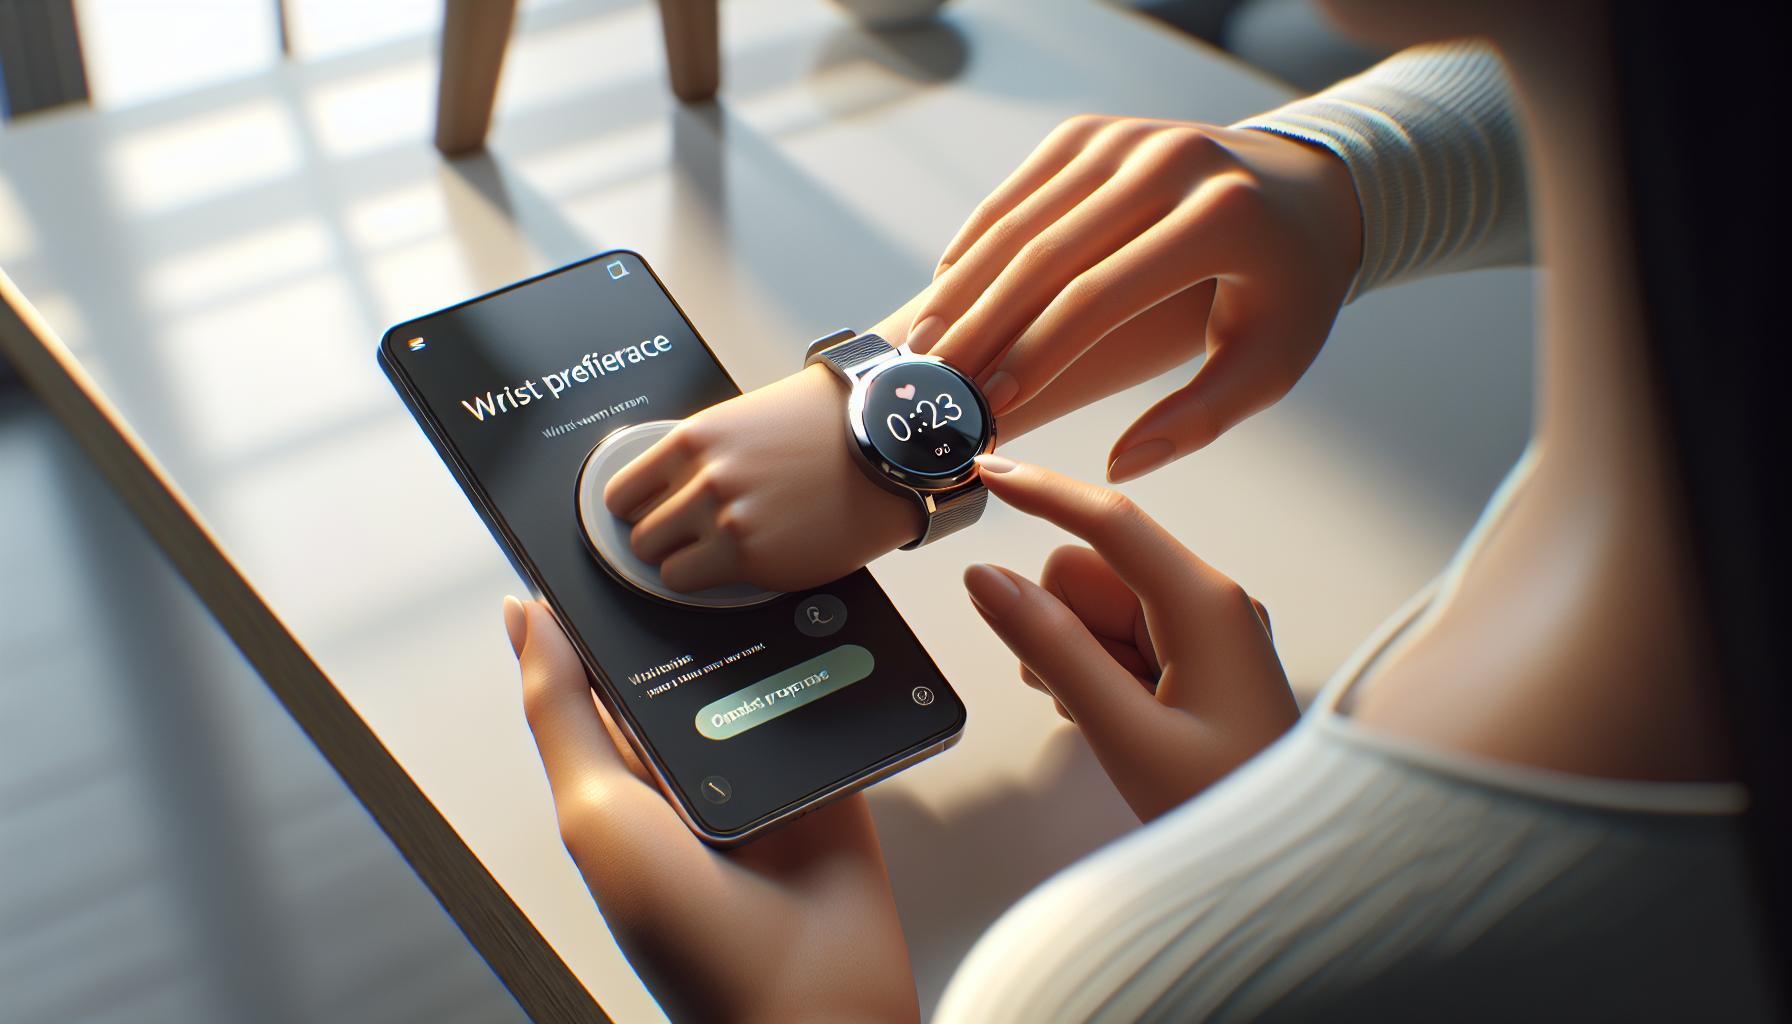
After ensuring you've keyed in the correct passcode, it's time for you to set your wrist preference. This is a significant step as most people have a preferred wrist they wear their watches on. This step is vital because the Apple Watch has an orientation setting that takes into consideration your preferred wrist. Let's delve into the process.
In the setup process, the Apple Watch app on your iPhone will ask you a pretty straightforward question: "Which wrist do you wear your Apple Watch on?" Here's where you get to decide whether you'll wear your watch on your left or right wrist. The choice is solely yours to make. Making the right choice ensures that you get the most out of your Apple Watch's features.
The watch is smart. It uses the wrist preference information to orient itself and ensure that the crown and button are on the most convenient side for you to use. It's essential to get this right because, it determines how your Apple Watch handles gesture controls and the direction the screen faces.
Your Apple Watch counts steps, monitors your heart rate, and delivers notifications among other functions. These data are affected by the wrist you wear your watch on due to the design of certain sensors and functionalities.
For instance if you're a lefty and you wear your watch on your right wrist, the sensor positions will be different compared to wearing it on your left wrist. That might affect data accuracy. The difference might be negligible but when it comes to tracking health and fitness data, every little detail matters.
Note that it's easy to change your wrist preference later on should you choose to switch wrists. You can do this by going back into Settings > General > Watch Orientation on your Apple Watch at any time.
Choosing your wrist preference is a simple, yet vital part of setting up your Apple Watch. The wrist you choose will decide how your watch behaves, and ultimately affects your overall experience.
Step 7: Sign in with your Apple ID
Moving forward to the next crucial phase of connecting your Apple Watch to your iPhone, it's time you sign in with your Apple ID. This step is significant as it gives you the keys to the universe of Apple services.
Consider your Apple ID as the bedrock of your interaction with Apple's ecosystem. From purchasing an app on App Store and syncing your Apple devices to access iCloud, and being part of the Apple Music universe, your Apple ID plays a pivotal role.
It is quite simple. When you see a screen bearing the title "Sign In", do the needful. Key in your Apple ID and password. You'll typically find the sign in option beneath the 'Start Pairing' screen on your iPhone. Simply tap it and you'll be prompted to enter your Apple ID and password.
Remember your Apple ID is typically an email address, like example@apple.com. So, it's vital to put it in exactly the way it was created. Also, note your password which is case sensitive and ensure to enter it properly with correct upper or lower case.
In case you've forgotten them, there are easy routes to retrieve your Apple ID or reset your password.
While you're at it, ensure that your Apple ID is protected with Two-Factor Authentication. This is an additional layer of security, a feature which asks for a verification code whenever someone tries to sign in. You are the only one who can access your account, even if someone knows your password.
Don't worry if Two-Factor Authentication seems confusing. You'll find helpful tips on the Apple Support website. It's a cinch once you get the hang of it.
By signing in with your Apple ID, you're granting the Apple Watch access to several features and services, including health and fitness data, Apple Pay, make calls and send messages. Does it seem like you're all set? Well, not quite yet. There are still steps to follow to make sure the process is complete. Let's move forward then, and keep things rolling.
Step 8: Select the apps you want to install on your Apple Watch
By this stage in the setup process, you're getting close to having your Apple Watch and iPhone working in sync. Now, it's time to select the apps you want to install on your Apple Watch.
On your iPhone, you'll notice a list of compatible apps. What's important about this list is it shows every app on your iPhone that has a version for the Apple Watch. In essence, you're deciding which features from your iPhone you'd like to extend to your wrist.
Seeing this list and knowing you can add any or all of these apps to your Apple Watch offers a distinct feel of personalization. Avoid the tendency to add all apps just because they're available. Instead, reflect on what's useful for you. Remember, your wrist space is limited, and excessive notifications from too many apps could potentially overwhelm you.
When selecting apps for installation, keep in mind the convenience factor. Consider which apps you'd appreciate having at a glance, without having to pull out your iPhone. Possibilities might include fitness apps, reminders, music, messages, and maps.
Follow these steps to install apps on your Apple Watch:
- Check off the apps you want to add.
- Select "Install" to add them immediately, or "Choose Later" to add them at a different time.
Once you've made your decision and tapped on 'Install', those apps will start copying over to your Apple Watch.
In the same way your Apple ID is critical for enhancing your experience with Apple's ecosystem, the apps you select can greatly improve the convenience and functionality of your Apple Watch. As you use your watch more and more, you'll discover which apps are truly essential for you, and which you can do without.
Until then, you're well on your way to making the most of what your Apple Watch has to offer. Up next, we'll continue with the setup process, making sure your Apple Watch and iPhone are a perfect pair.
Step 9: Wait for the pairing process to complete
This critical step can't be rushed—patience is key here. It's during this time that your iPhone begins to connect to your Apple Watch. This process may take a bit. Don't worry as it's normal. The period may vary based on different factors like your devices' models, internet speed, and the number of apps you've chosen to install.
As you eagerly wait, you might see a progress wheel on your Watch's display. This wheel is a good sign as it indicates that the pairing is ongoing. The will only disappear once the setup has been completed. Don't forget to keep your iPhone and Apple Watch close by while you wait. Proximity is key in this pairing process.
During this time, it's essential to bear in mind that attempting to use your phone or watch may interfere with the pairing. That's why it's best to just wait and let the technology do its thing. Taking your mind off it might make the wait seem less tedious. Maybe grab a cup of coffee or dive back into that book you've been putting off reading. Before you know it, your devices will be paired and ready to use.
Once the circle disappears, it's time to explore the next part of setting up your Apple Watch.
Conclusion
You've now got the knowledge to pair your Apple Watch with your iPhone. Remember, patience is key during the pairing process. Don't rush it; let it take its course to ensure a successful connection. Your Apple ID is your gateway to Apple's ecosystem, so protect it with Two-Factor Authentication. Once you've completed the pairing, you're all set to delve into the exciting features of your Apple Watch. It's not just a watch; it's a lifestyle accessory that opens up a world of possibilities. So strap on your Apple Watch, explore its features, and make the most of this remarkable piece of technology. You're now part of the Apple ecosystem - enjoy the ride!
How do I connect an Apple Watch to an iPhone?
To connect your Apple Watch to your iPhone, follow a step-by-step guide. Important stages include entering a passcode during the pairing process and signing in with your Apple ID.
What is the role of an Apple ID in the setup process?
The Apple ID is crucial for interaction with Apple's ecosystem. It provides access to various features and services. Setting up your Apple Watch involves signing in with your Apple ID.
How can I protect my Apple ID?
Protect your Apple ID by enabling Two-Factor Authentication. This adds an additional layer of security to your account to prevent unauthorized access.
What should I do while my Apple watch is pairing with my iPhone?
During the pairing process, be patient and avoid using your phone or watch. Any interaction might interfere with the pairing process.
What happens after the pairing process is complete?
Once the pairing is complete, you can proceed to the next part of setting up your Apple Watch and explore its features and capabilities.
