Ever found yourself accidentally triggering the SOS feature on your iPhone 13? It's a common issue and can be quite annoying. But don't worry, there's a simple solution to turn off this feature.
The SOS function is designed as a safety feature. It's there to help you in emergencies, but if it's causing more trouble than it's worth, you might want to disable it. In this article, you'll learn exactly how to do that.
Remember, turning off SOS on your iPhone 13 doesn't have to be a daunting task. With a few quick steps, you can easily manage this feature to suit your needs. So, let's dive in and guide you through the process.
Why Turn Off SOS on iPhone 13
In recent times, many iPhone 13 users have experienced unwarranted triggering, sending everyone into a mild panic. Does it signify an emergency? What's the problem? Then it turns out to be a false alarm, a result of accidental SOS activation on the iPhone. In such instances, the SOS feature seems more like a troublemaker than a safety tool.
Let's dive deeper into the issue. The iPhone 13's inbuilt SOS feature is designed with safety in mind. It's supposed to act as a quick-access emergency call function, allowing you to swiftly contact the authorities in the event of an emergency. However, if it's being triggered accidentally more often than not, it tends to lose its core purpose and becomes an annoyance.
For instance, if you're just trying to silence an ongoing call or accidentally press the power button three times, you might inadvertently enable the SOS feature. Repeated incidents like these can alarm the emergency services who will respond thinking you're in genuine trouble. This not only wastes their time but also renders the service unavailable for someone who might need it the most.
For the above reasons, turning off the SOS feature on your iPhone 13 might be an advisable option. The next section will guide you on disabling the SOS function on the iPhone 13, ensuring you’re in control when it comes to managing this safety tool.
Steps to Turn Off SOS on iPhone 13
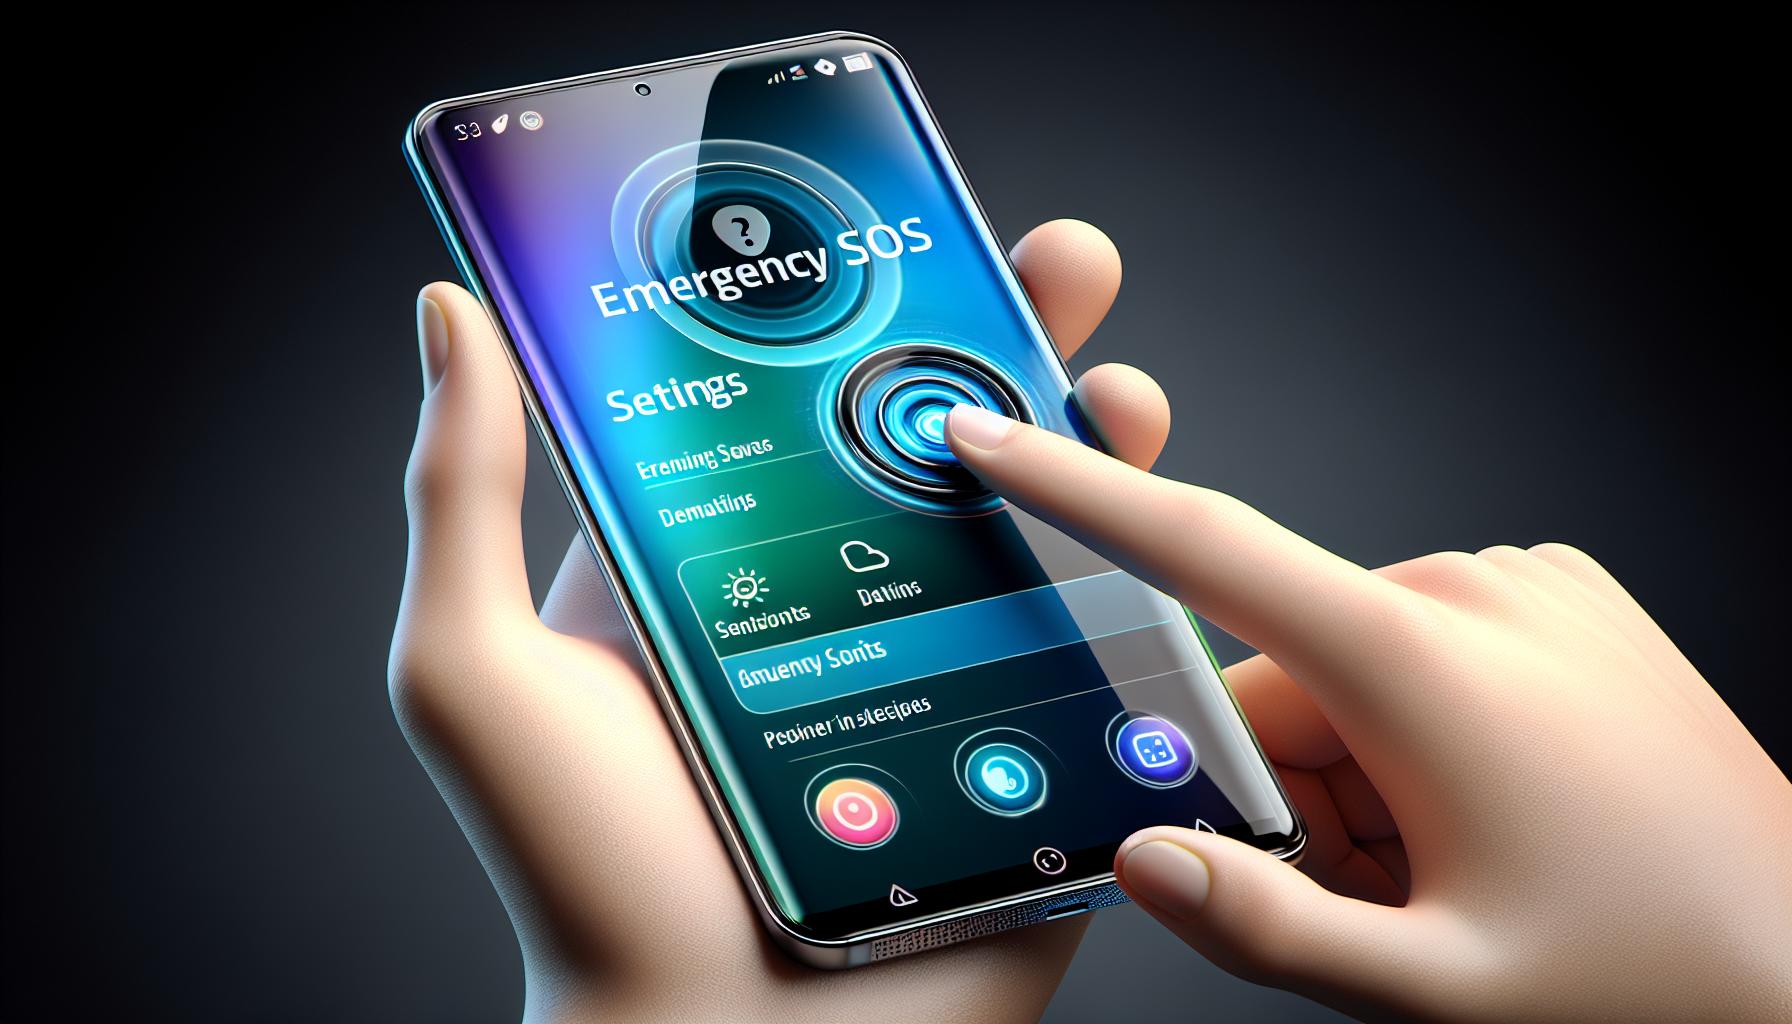
Let's delve into the step-by-step guide on how to disable the SOS feature. Always remember, this feature is an important safety tool. If you're faced with some nuisances, consider turning it off.
First, go to your settings. It's where all the magic happens. It's the gear icon that's color grey and contains an array of other fascinating features. Look at your iPhone screen and locate it swiftly.
Following your redirection to the settings, scroll down to the 'Emergency SOS' option. You'll find it amidst other options as you scroll down. One great feature of iOS is its intuitive user interface and arrangement of setting's options chronologically. You won't need to break a sweat searching.
Once you've clicked through to the 'Emergency SOS' section, look out for the 'Call with Side Button'. It's probably turned on— that's why you're here. Get your solution by turning off the switch.
Bear in mind, selecting 'off' ceases the SOS feature from sending out distress signals when the side button is pressed. It doesn't eradicate or tamper with the SOS feature. Your iPhone's system functionality is never interfered with, and you can easily reactivate it if any need arises.
Have you done that already? Good. You've just tackled the issue. "Accidental SOS activation— solved!" could be your new catchphrase.
Remember, you can always revert the settings if you feel the need to restore the SOS feature. It's right there, waiting for you to flip the switch back on.
Step 1: Open the Settings App
Essentially, the key to modifying your iPhone's features lies within the Settings app. It's a pre-installed application where you can tailor your iPhone’s functionalities, including managing the SOS feature. To get started with disabling the SOS function on your iPhone 13, first, you'll need to access this important, user-friendly interface.
Unlock your iPhone 13. After successfully unlocking your device, from the home screen, navigate to the Settings app. It's easily recognizable by its gear-like symbol and is often found on the first screen due to its vital role in managing your phone's functions. A single tap on this icon opens up a plethora of options, giving you control over your device's various features and settings. Pay close attention, the next steps will principally guide you on interacting with these options.
While exploring, be thoroughly prepared for many nested lists and subsections. For those unfamiliar with the structure, it might seem overwhelming initially. But it's organized in a way that makes sense once you start using it. You could say that the longer you spend with it, the easier it becomes to bend the iPhone's behavior to your will.
So, don't give in to the initial incredulity - it's perfectly normal to feel a tad confused. We're here walking each step of the way with you. The more you tinker around, the more comfortable you'll get with the setup. This step is just the initiation phase; it's about opening the door and stepping into a world full of possibilities.
Step 2: Tap on Emergency SOS
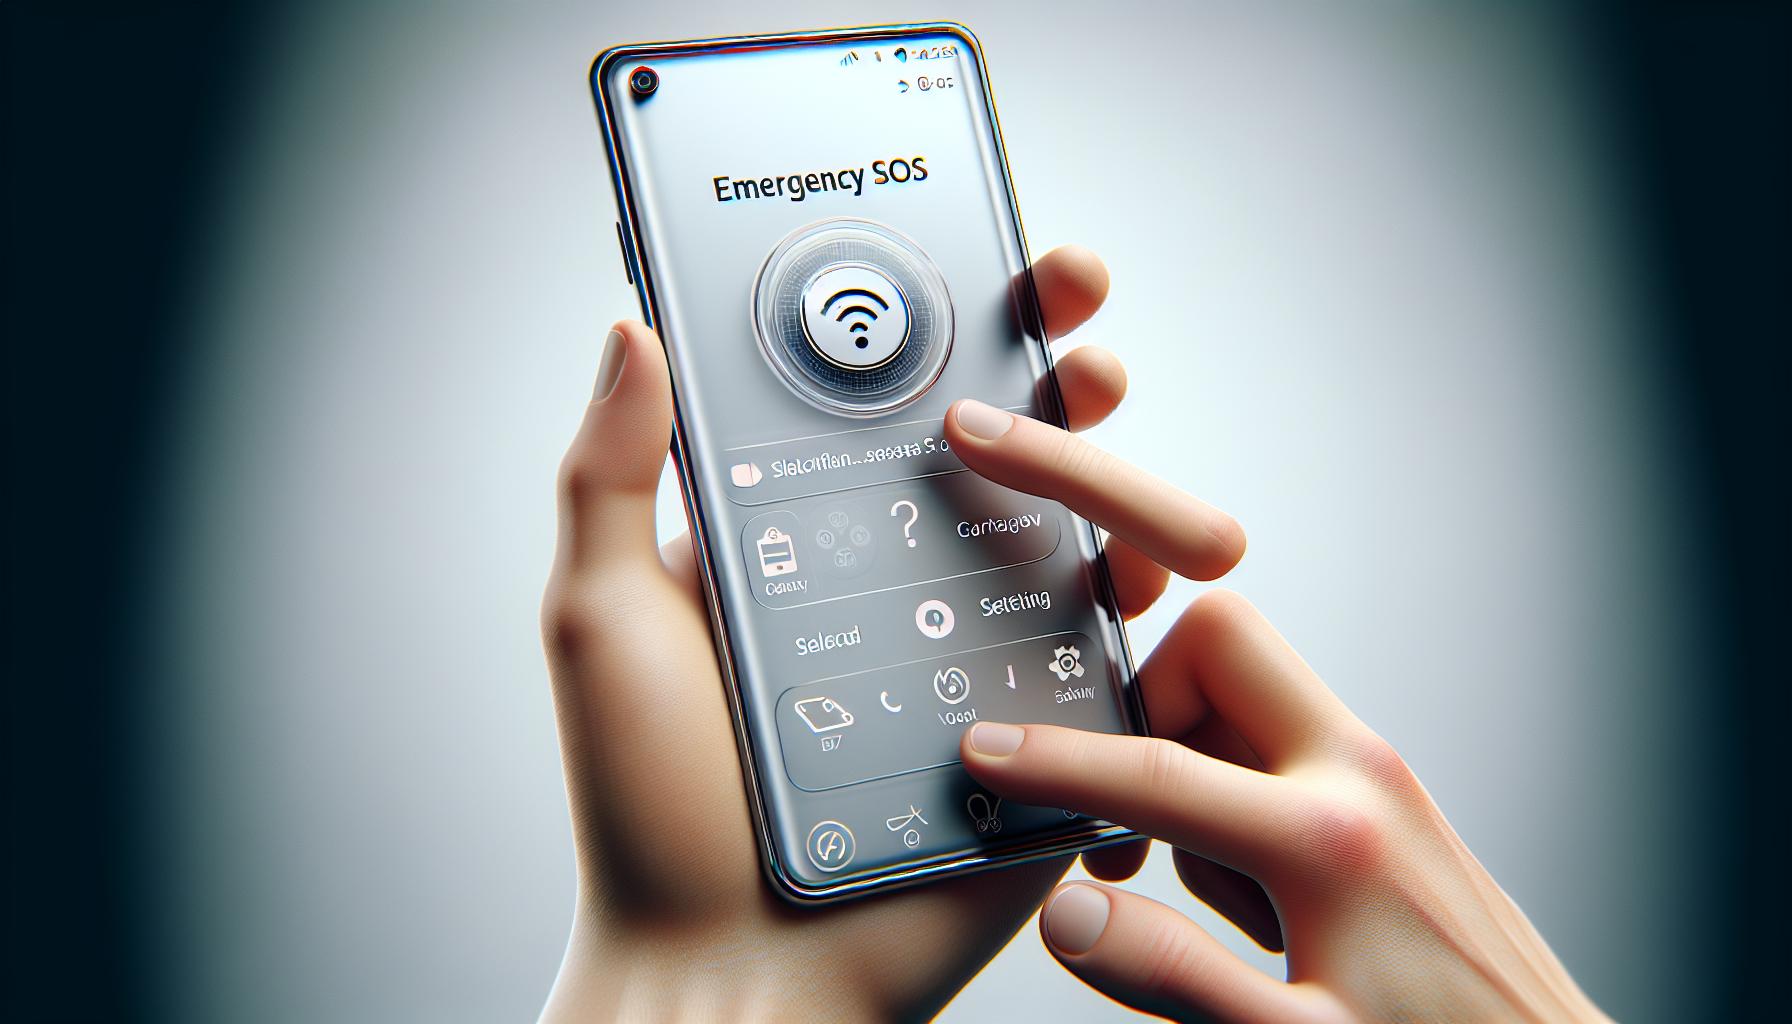
After launching the Settings app on your iPhone 13, the next step involves locating and selecting the Emergency SOS option. This particular setting is an essential part of the iPhone's features and holds paramount importance in times of emergency. Yet, if incorrectly triggered, it could create unnecessary panic which is why you might want to modify it.
Scrolling down through the list of options, you'll find the Emergency SOS option sandwiched between Privacy and Battery. Now, don't rush this part, you might accidentally toggle the wrong option. Once you've located this, tap on it to access more options.
Being on the Emergency SOS screen for the first time could seem a bit intimidating, with numerous sliders and settings. We don't want you getting overwhelmed so it's important to pay attention to the one marked "Call with Side Button." This is the nuisance-maker that triggers the SOS feature when you rapidly press your iPhone's side button.
As you navigate these settings, remember it's all about personalizing your iPhone to suit your needs. Whether it's turning off the Call with Side Button feature or changing how the auto call functions, your iPhone 13 offers enough flexibility and customization potential to ensure a hassle-free experience.
Keep in mind that even without the side button SOS call, the emergency functions of your iPhone are still accessible. They are not altogether eradicated but simply made less easy to trigger accidentally. This optimization can give you the confidence to fully utilize the advanced features of your iPhone without any unintended mishaps.
In the grand scheme of the iPhone's configuration, this setting change may seem minor, but when it comes to your peace of mind and avoiding potential false alarms, it carries substantial weight. As always, the power to customize and control is in your hands. So, take your time, understand the changes you are making, and make the most of your iPhone 13's features.
Step 3: Disable the "Call With Side Button" Option
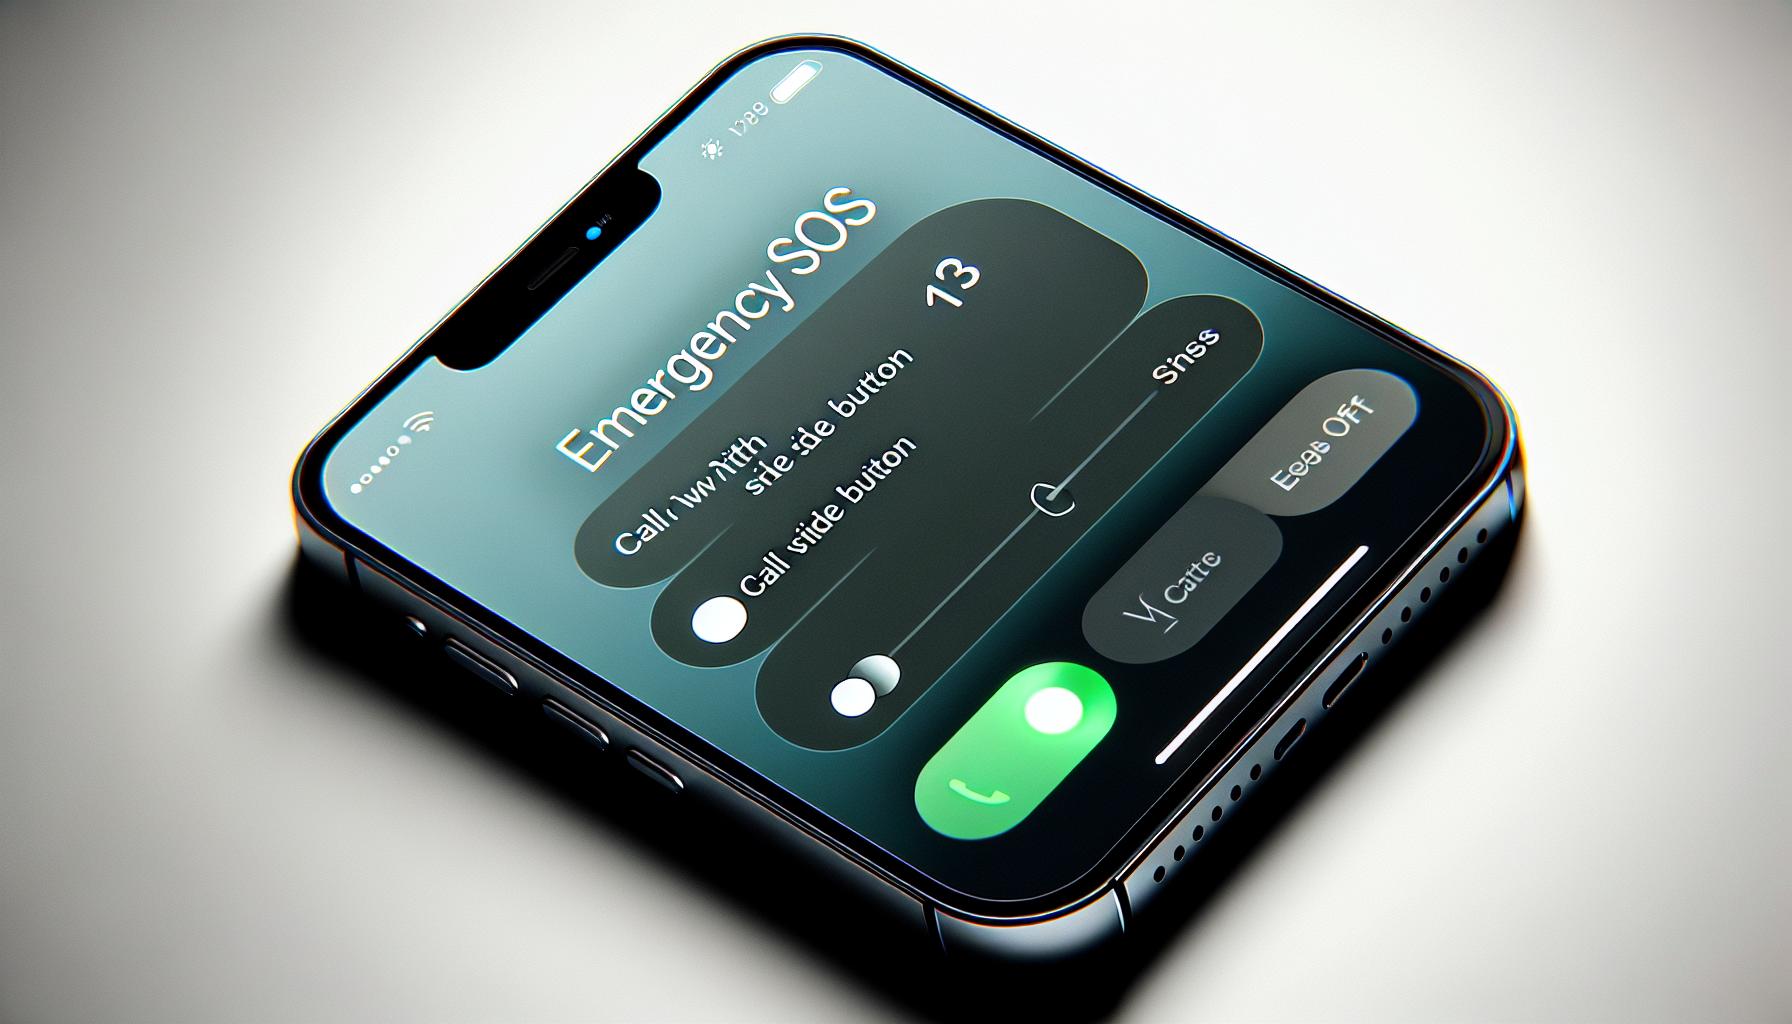
After accessing the Emergency SOS settings, you'll find the Call with Side Button option. This is the feature responsible for triggering the SOS signal when you press the side button on your iPhone five times in quick succession.
Tap the slider next to the "Call with Side Button" option, turning it from green (active) to gray (inactive). This action disables the function, allowing you to fumble around with your phone in your pocket without sounding the digital equivalent of an airhorn in the middle of a quiet coffee shop.
Remember, though, that safety is crucial. This means you should consider your daily routines and how often you end up with your phone in a potentially button-pressing scenario. If you find yourself often triggering the SOS function accidentally, then this option is a great solve.
Take note! Once the "Call with Side Button" feature is turned off, the SOS function is not. Your iPhone still has the ability to contact emergency services if you find yourself in a bind. Instead of pressing the side button five times, you should hold the side button along with either volume button. This will bring up the power off and SOS slider, which allows you to manually swipe to contact emergency services.
However, we should mention that even with this function off, the "Auto Call" feature still exists. If you'd rather not run the risk of triggering an SOS call accidentally, but still want your iPhone to dial emergency services if you hold the buttons too long, keep the "Auto Call" feature on. That said, it's all about finding the middle ground that offers safety without the undue annoyance of unintentionally set off SOS signals.
Think carefully about your habits and routines, the places you frequent, and how often you're likely to accidentally activate the SOS call. Personalizing your iPhone settings in this way will go a long way in letting your device adapt to your needs. That's the beauty of advanced technology - you tailor it to your lifestyle, not the other way around.
Step 4: Turn Off "Auto Call"
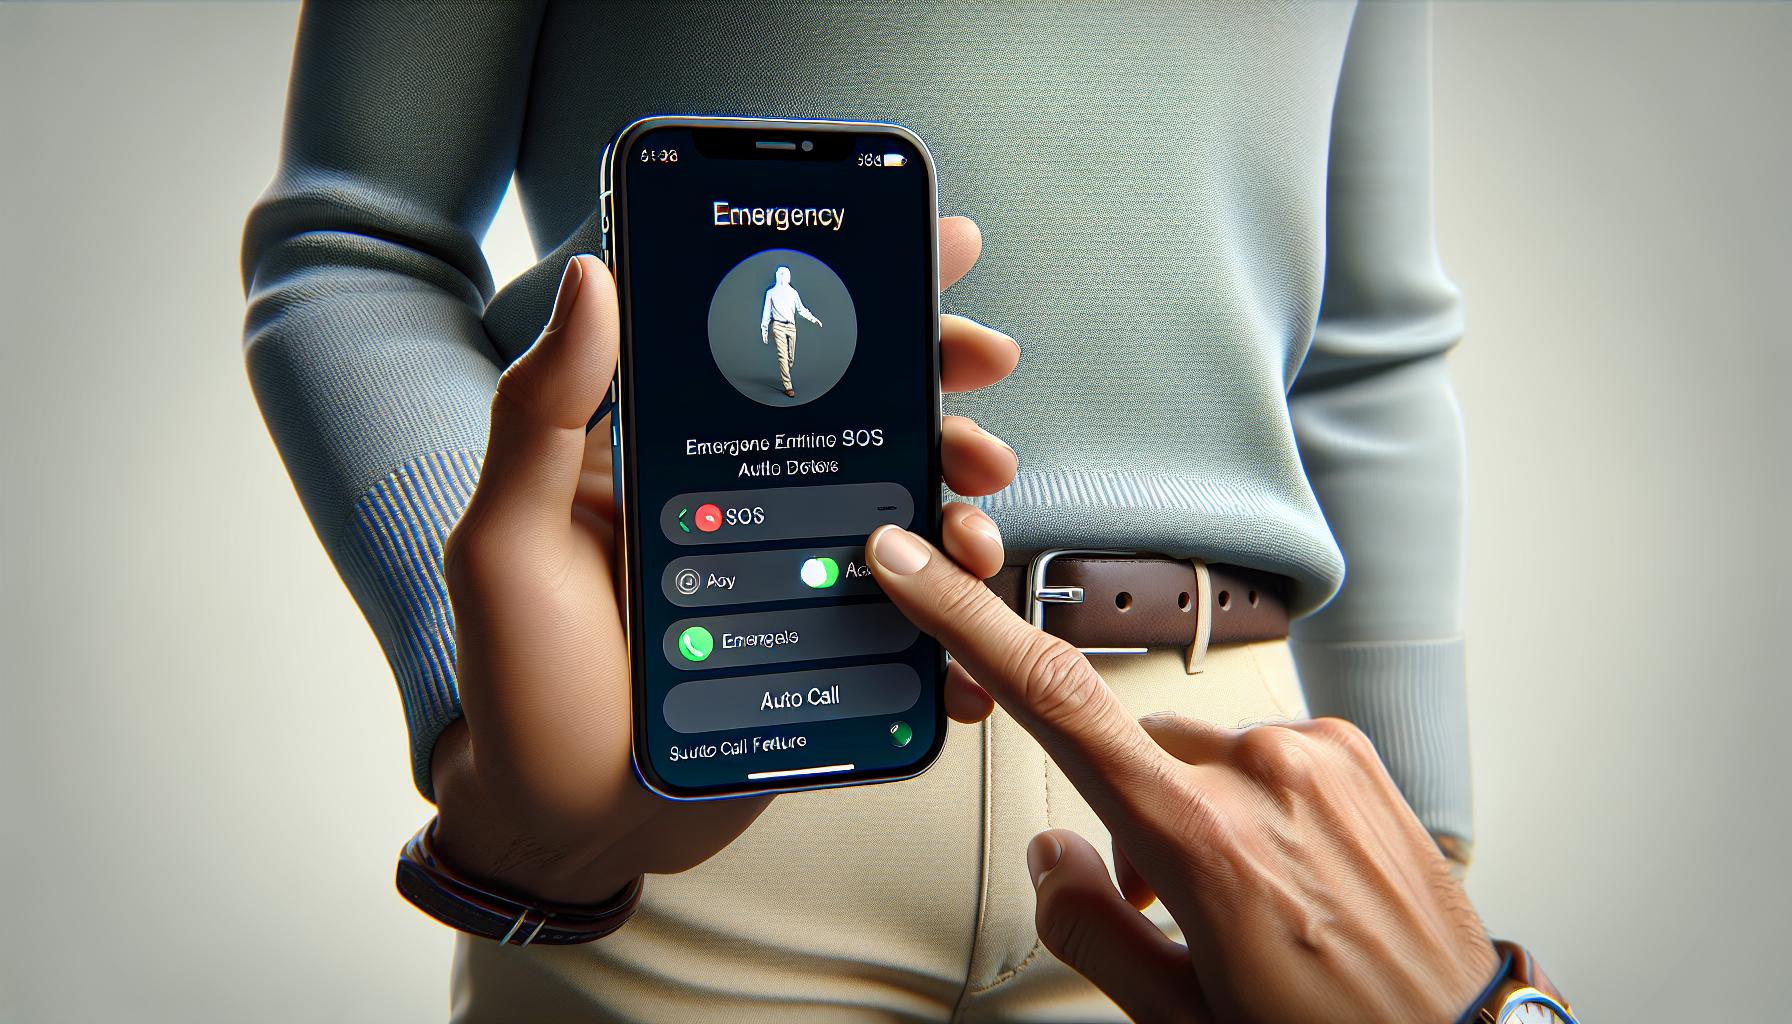
Disabling SOS on your iPhone 13 is just half the battle. "Auto Call" is another related feature. This iPhone 13 feature automatically dials emergency services when you press the side button five times fast. Like SOS, it's a safety feature thoughtfully integrated into the iPhone, designed to facilitate immediate emergency assistance when required. Still, unintentional triggering can result in unnecessary panic or inconvenience.
You can turn off the "Auto Call" feature by diving back into your iPhone's settings. Look for the Emergency SOS option in the settings menu. Tapping on this selection will bring up the list of features nested underneath it. Here, you'll find the "Auto Call" setting.
Switching off this setting is as simple as tapping the green switch icon next to "Auto Call". When the green disappears, you've successfully turned off Auto Call. However, remember, by disabling this feature, you won't be able to automatically dial emergency services by merely tapping the side button of the iPhone 13. Therefore, it's important to consider your habits, routines, and personal emergency plans before making the decision and personalizing your emergency settings.
The "Auto Call" feature comes with an additional setting, the "Auto Call Countdown Sound". This alarm gives away a loud warning sound while your iPhone is on the verge of dialing an emergency number. This sound may help prevent accidental calls but can also alert potential threats in risky situations.
Adapting your phone settings to best suit your needs and everyday routines is the key! With the multitude of options provided by the iPhone 13, you can tailor a safe environment without the worry of unintentionally triggering distress signals or auto dialing on emergency numbers.
Step 5: Configure the "Send Location" Option
The final phase in fine tuning your iPhone 13's Emergency SOS settings is to understand and customize the "Send Location" option. If enabled, this feature will automatically send your current location to the emergency services when an SOS signal or call is initiated. Apple developed this feature to provide extra assistance during possible emergencies.
For many, the ability to instantly provide their location can be a lifeline in severe situations. However, some users feel uncomfortable with it due to privacy concerns. The decision to activate or deactivate this function largely depends on your personal preference and perceived safety needs.
Accessing the "Send Location" setting is straightforward. Open the "Settings" application on your iPhone 13 to start. Tap on "Emergency SOS" followed by "Send Location". Once you're at this particular setting, you'll see a toggle switch.
If the switch is green, this signifies that your iPhone will automatically share your location in the event of an SOS. However, if you wish to switch off this operation, tap on the toggle switch. When it turns grey, the "Send Location" feature is off. Note that turning off this feature does not disable your GPS or other location services.
As you make changes and adjustments, you will further personalize your iPhone to match your habits and desired level of safety. This optimizes your iPhone experience, letting technology and convenience blend seamlessly. Remember, personalizing device settings like these can greatly enhance your comfort and confidence while using your iPhone 13.
Step 6: Customize the Emergency Contacts
Just as crucial as making alterations to your SOS functions, is ensuring up-to-date emergency contacts. Your iPhone 13 enables you to configure up to five emergency contacts. These individuals receive an alert when you trigger an SOS call. Here's how you can manage your contacts to ensure the right people get notified during emergencies.
Firstly, head over to the Health app on your iPhone 13. This app comes pre-installed, and it's typically used for tracking fitness and health data. However, it also houses your emergency medical information and contacts. Tap on it to open.
After opening the Health app, look for your profile picture located in the upper right-hand corner of the screen. Tapping on it will take you to your profile page. From there, choose Medical ID. This is where you can access and update your emergency contacts.
On the Medical ID page, scroll down to the Emergency Contacts section. This is where all your designated emergency contacts are listed. Tap on Edit in the top right corner to make changes.
On the Edit page, you can add or delete emergency contacts as needed. To add a new contact, tap on Add Emergency Contact, and select a contact from your address book. You can then specify their relationship to you. To remove a contact, tap on the - button to the left of the contact's name and then Delete.
Familiarising yourself with these important steps helps ensure the right support network is reached during emergencies. Remember, these individuals will be automatically alerted when you initiate an emergency SOS call.
Note: Do consider discussing this function with your intended emergency contacts, so they're aware that they could receive an alert.
Maintaining your iPhone 13's emergency contacts list is part of a balanced safety strategy – it combines technology with your personal support network for an added layer of protection. Don't forget to review and update your emergency contacts regularly, so your safety net is always current. By finding this equilibrium, you're enhancing your personal safety without compromising your phone's SOS function.
Stay tuned for the next step on customizing your iPhone 13's settings.
Step 7: Test and Verify SOS is Turned Off

After customizing your emergency contacts and adjusting the SOS feature settings as per your preferences, it's now time to test and verify that SOS is actually turned off on your iPhone 13. This is a healthy habit when adjusting significant settings on your device, ensuring functionality aligns with your expectations.
To do this, simply quick-press the Side button five times in quick succession. If you've successfully turned off the SOS feature, you won't see the Emergency call slider. Instead, your phone should remain on the screen it was before you pressed the side button. Remember, if at any point you actually need to make an emergency call, you can always press and hold the side button along with either of the volume buttons to bring up the power off screen and the Emergency call slider.
Engaging in these verification steps proactively safeguards against unwanted surprises and ensures your device functions exactly the way you want it to. Moreover, it makes you more familiar with your device settings and features, promoting better overall usage.
Understanding how to disable the SOS feature on the iPhone 13 enhances control over your device and personal security settings. If you wish to revert or make any changes at a later stage, you can always navigate back to Settings > Emergency SOS > Call with Side Button and switch this feature back on. Allowing the SOS feature to be flexible helps you to balance technology with your personal support networks for increased security.
Next, we will look at the process of enabling the "Auto Call" feature. This setting, when enabled, automatically dials your emergency contacts when an SOS is triggered. Having multiple options for assistance in emergencies can provide additional peace of mind. It's yet another important feature to explore on your iPhone 13, so stay tuned as we delve deeper into this topic in the upcoming section.
Conclusion
You've successfully navigated through the steps to turn off the SOS feature on your iPhone 13. It's crucial to remember that while technology offers numerous safety features, it's equally important to establish and maintain personal support networks. Your iPhone 13 is a powerful tool, but it's your understanding and customization of its features that truly enhance your personal safety. Don't forget to check that the SOS feature is indeed turned off and make sure your emergency contacts are up-to-date. With these steps, you've taken control of your iPhone 13's emergency features, ensuring they work best for you.
What is the main focus of the article?
This article provides a comprehensive guide on how to disable the Emergency SOS feature on the iPhone 13.
How do I disable the Emergency SOS feature?
The article explains that you can disable the Emergency SOS feature by accessing the 'Emergency SOS' option in the 'Settings' app and then switching off the 'Call with Side Button' setting.
Why would I want to customize emergency contacts?
Customizing emergency contacts ensures that in case of emergency, the people you trust most are alerted and can respond appropriately.
How do I test if the SOS feature has been turned off?
You can verify that the SOS feature is off by pressing the side button on your iPhone 13. If done correctly, no emergency calls will be made.
What is the importance of balancing technology and personal support networks?
Balancing technology and personal support networks ensure one can efficiently respond to emergencies, maximizing the benefits of both technological tools and human support.
