Ever wondered how to turn your iPhone's location services on? It's simpler than you might think! This quick guide will show you how to navigate your iPhone's settings to enable location services.
Knowing how to turn on location on your iPhone is crucial, especially for apps that rely on your whereabouts. Whether it's for navigating a new city with Google Maps, checking the weather, or sharing your location with friends, this feature is a must-know.
Why is turning on location important on an iPhone?
Think about this: you're trying to use Google Maps to find your way around a new city, or perhaps want weather updates specific to your area. Maybe, you'd like to check in to a place on Facebook so your friends can see your exciting new locale. The common denominator here? All these functions need location services to function correctly.
Without location active, many of your favorite apps would fail to perform their best.
Google Maps, weather apps, fitness trackers, ride-hailing services, social media apps, and even some games heavily depend on location services. These applications use your location data to provide you with accurate, personalized experiences.
For instance, if you're using an app like Uber or Lyft, location services allow these apps to find where you are and send a car to your exact spot. Additionally, in the case of emergencies, certain apps and services use the GPS on your iPhone to provide crucial assistance.
Here's a quick glance at some popular apps and how they leverage location services:
| App | Use of Location Services |
|---|---|
| Google Maps | Provides accurate navigation |
| Weather Apps | Offers local weather updates |
| Uber, Lyft | Facilitates pick-up and drop-off |
| Fitness Apps | Tracks and maps your runs or walks |
| Social Media | Enable personalized content and check-ins |
Furthermore, it's not only about apps. The Find My iPhone feature, a lifesaver if you ever misplace your device, requires location to be turned on to function correctly.
Next up, we'll guide you through easy steps to enable location services on your iPhone, ensuring your apps and features work exactly as they should. You'll realize how straightforward it is to have these services at the ready when you need them.
Step-by-step guide to turning on location services

Let's dive in and guide you through the process of turning on location services on your iPhone. Don't worry, it's a relatively straightforward process.
First off, unlock your iPhone and click on the Settings app icon, usually resembling a grey cog. In Settings, scroll down to find the Privacy option. Click on Privacy and it will redirect you to a new screen.
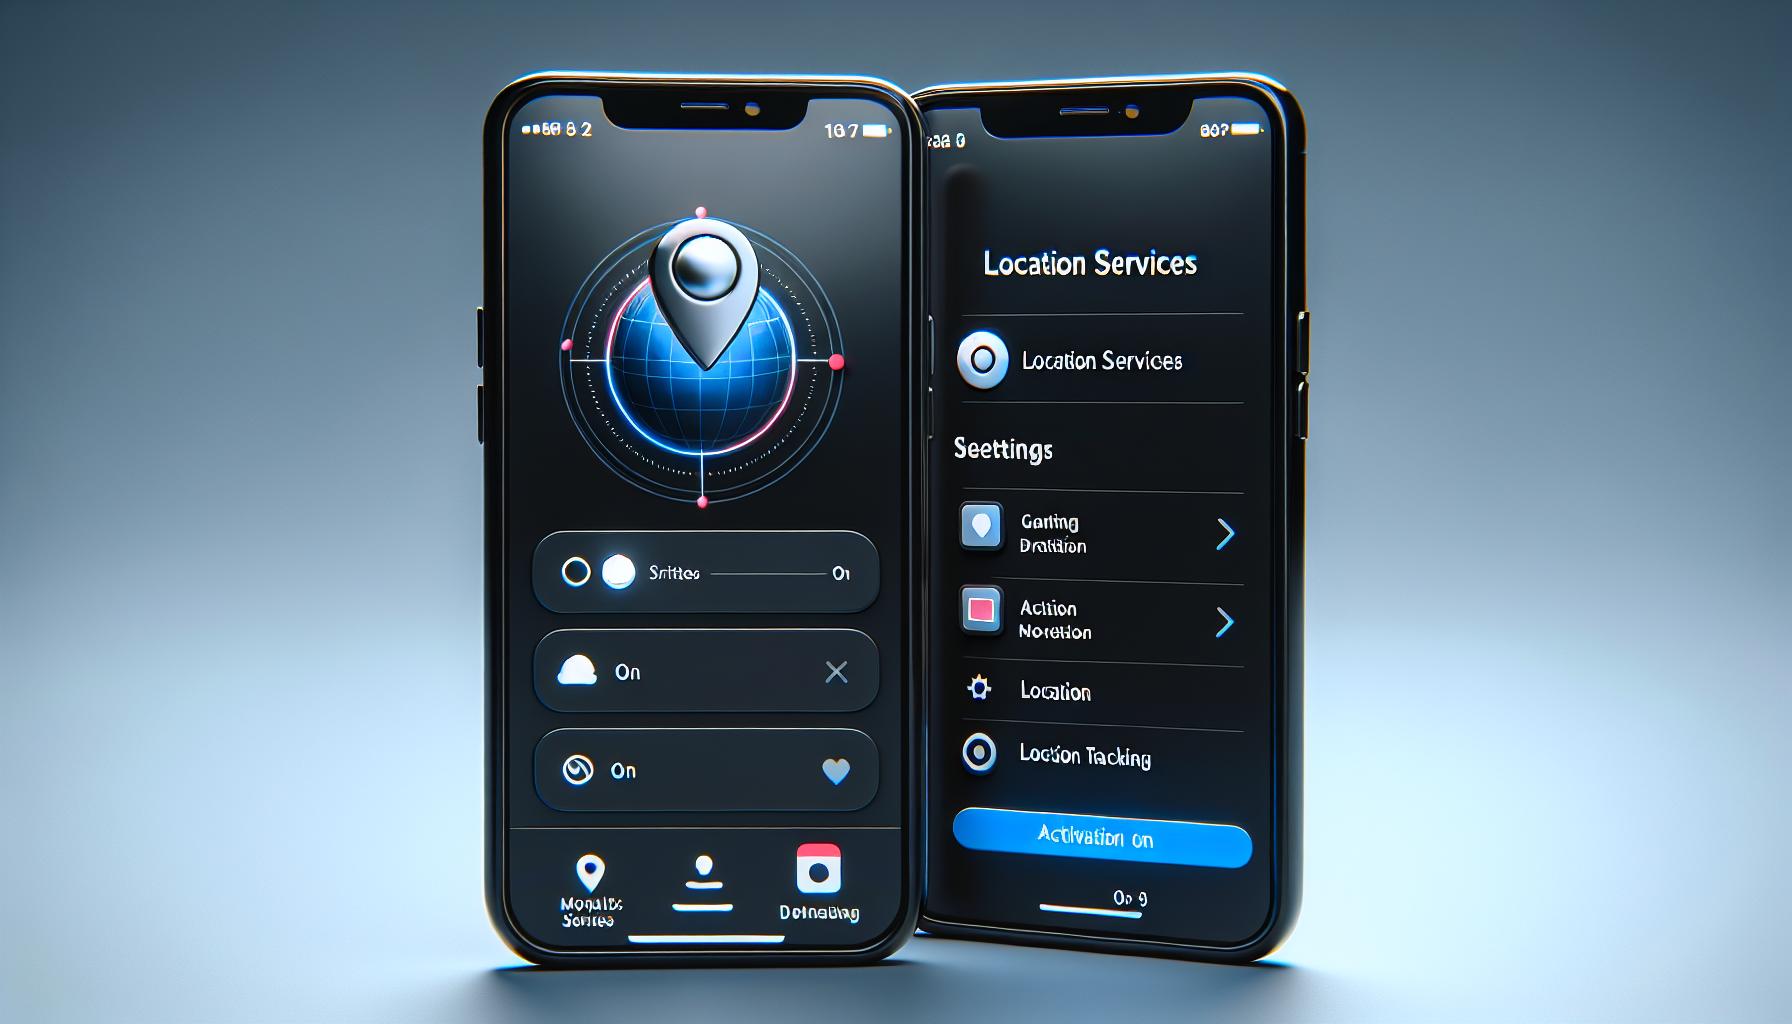
Once you're in the Privacy settings, you'll notice the Location Services option at the top of the screen. By default, Location Services is turned off on your iPhone. To activate it, simply click on "Location Services" which will lead you to a toggle button.
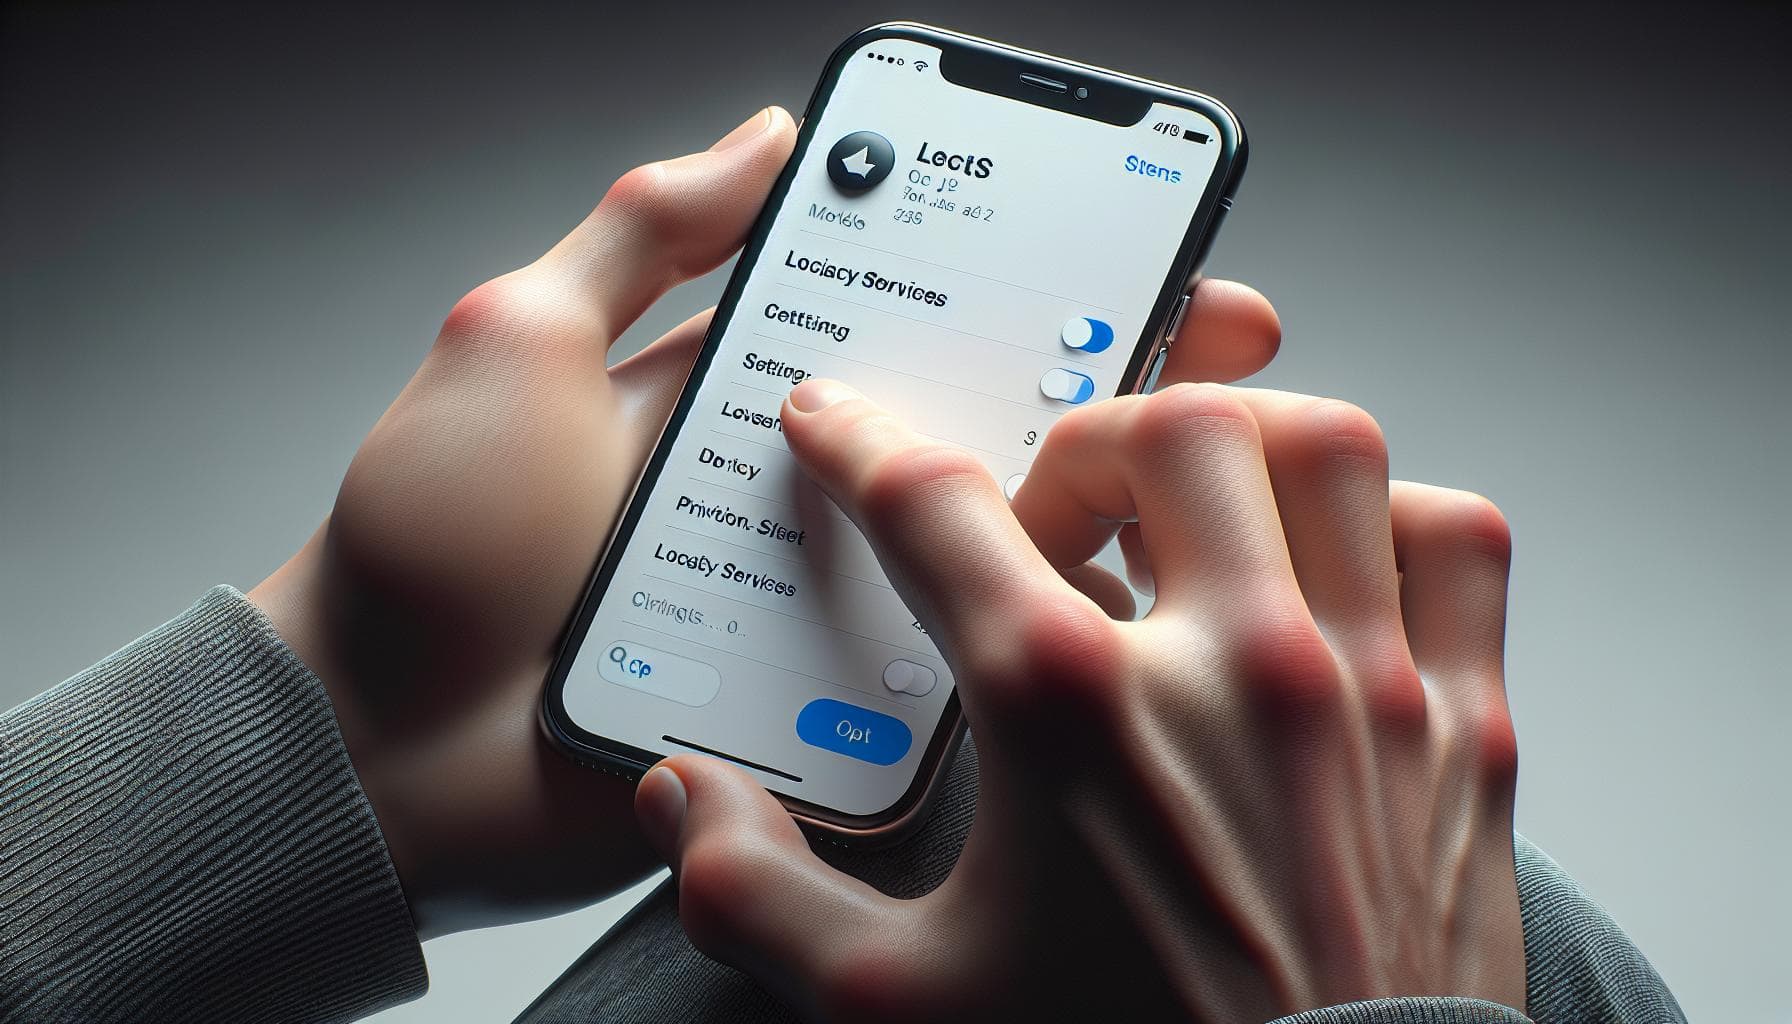
Just move the toggle button to the right and this turns on the Location Services on your iPhone. Easy as pie, right? This will allow all apps on your iPhone that require location services to access your location.
Please be aware that each app on your iPhone might ask for varying levels of access to your location. Like never, while using the app, or always. So, consider your preferences before you grant permission.
But wait, that’s not all. You also have the option to customize which apps can use your location and when they can use it.
Under the same "Location Services" page in the "Privacy Setting", a list of all the apps installed on your iPhone that request to use your location appears. By clicking on each app, you can customize whether you'd like them to access your location while you're using the app, all the time, or never.
And there you have it! Now you can enjoy the personalized experience that comes with enabling location services on your iPhone. Remember, you always have the control to limit or allow location access. Consider the benefits you gain from each app by enabling location services. It's a balance of privacy and convenience to provide you with the best user experience.
Finding the settings app on your iPhone

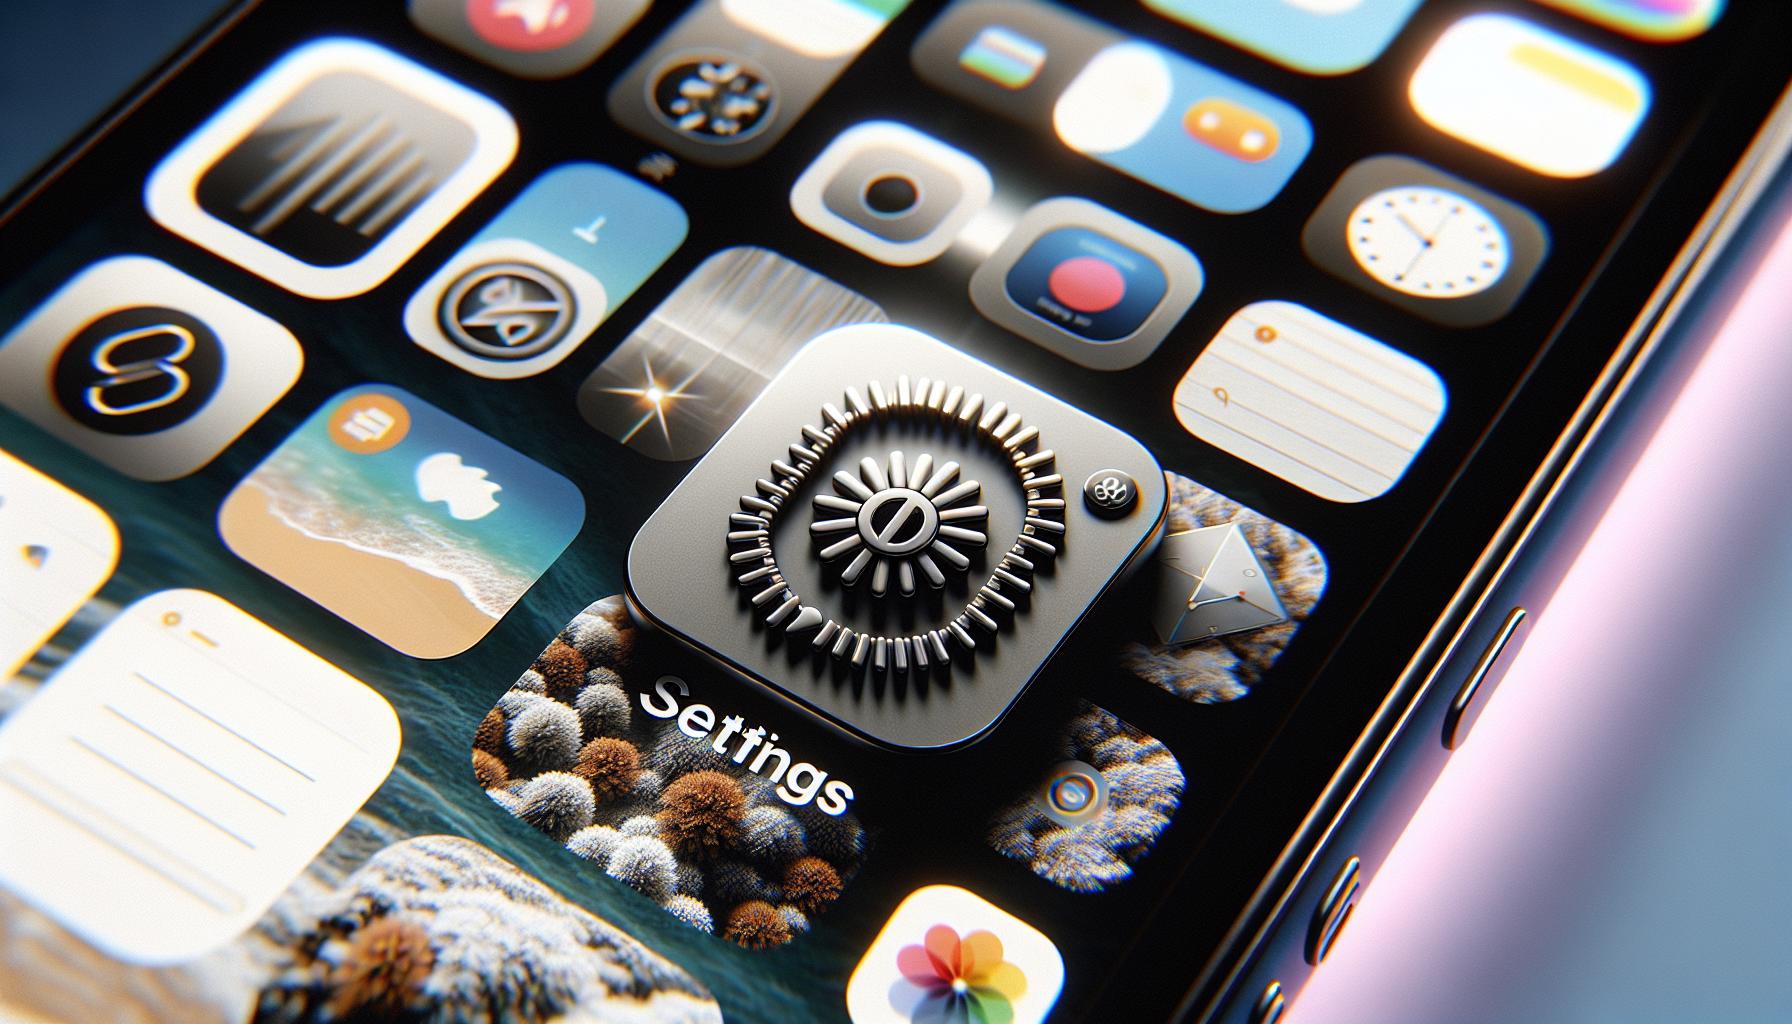
Your journey to control your location services begins with finding the Settings app on your iPhone. Unlike other apps that you've downloaded, the Settings app isn't one you can uninstall or move to the App Library. It's a permanent fixture on your home screen. To locate it, simply swipe left or right until you find an icon featuring silver gears on a grey backdrop. That's the Settings app.
Once you've opened the Settings app, you'll notice a variety of options at your disposal. Don't be intimidated by the myriad of selections. Your focus is "Privacy". It’s this key section that grants you complete control over location services.
Clearly, the road to managing your location services doesn't have to be complex or confusing. After all, Apple designs its iPhones with user-friendliness in mind. And the straightforward navigation to the Privacy settings attests to this commitment.
But, before you proceed any further, it's crucial to remember - privacy settings are not just about turning location services on and off. It's about maintaining balance - a balance between sharing what’s necessary for convenience and retaining what’s essential for your privacy. Make thoughtful decisions about whether to share your location, considering factors like app necessity and personal comfort. For example, you surely want your weather app to know where you are for accurate forecasts, but does a gaming app really need that information?
You're now one step closer to owning your location services on your iPhone. Take a deep breath, and let’s move on to unlocking the full potential of your device's privacy settings.
Accessing the privacy settings

Getting to the privacy settings on your iPhone is straightforward. From your home screen, tap on the settings app icon. This icon is grey and depicts gear wheels. It's typically found either in your dock - the bottom bar sticking around even as you swipe between pages - or on your main home screen. If you can't find it, you can also swipe down from the middle of your screen to reveal a search bar. Simply start typing "settings" and the app should appear.
After opening the settings app, scroll down until you spot the Privacy option. This should be located towards the bottom of the settings options. Tap this to open your iPhone's privacy controls. Within the Privacy menu, you'll see a long list of items that might have access to your personal info, like contacts, calendars, photos, and your physical location. These settings are the cornerstone of your privacy on your iPhone, directly impacting which information is accessible to applications.
Here's where you'll find the location services settings. The first option in the privacy list should be Location Services, denoted by a small arrow. Tapping this will take you to the settings for these services. This is where you'll control which apps can see where you are.
Customizing Your Location Services
With the Location Services settings page in front of you, you'll see a list of apps. Each one of these has requested access to your location in the past. It's here where you can choose which apps have access, and when.
On the Location Services page, you're also given an array of options to customize how Location Services works. Consider your personal comfort and necessity when personalizing these settings. Take control of your location access in your own hands! Guard your location information and wisely decide whether or not you'll share it.
This customization is crucial for maintaining a balance between convenience and privacy. It's your call on how location-aware you want your iPhone to be.
Remember, careful decisions in sharing our location information can help optimize our app experiences while protecting us from unwittingly oversharing personal data.
Enabling location services for specific apps
Now that you've mastered the basics of toggling Location Services on your iPhone, let's dive a bit deeper. iPhone allows you to customize permissions of individual apps, allowing them to access your location only when necessary. Not every app on your phone needs to know where you are at all times, so it's smart to manage this closely.
To start customizing, open the Settings app, and then tap Privacy. From there, you'll see Location Services. Once inside this menu, you'll find a list of apps that have asked for permission to use your location.
You've got a few options when it comes to granting permissions:
- Never: The app will not access your location.
- Ask Next Time: The app needs to ask each time it wants access.
- While Using the App: The app may access location only while you're using it.
- Always: The app can access your location at all times.
In addition, some apps offer the "Precise Location" feature, allowing them to pin down your location with high accuracy. If comforted by a broad estimate, turn this feature off.
Remember, managing these permissions not only protects your privacy but also saves your battery! Manual control helps resources go to the apps that truly need them.
Let's not forget about system services and important features like Find My iPhone or Emergency Calls & SOS which require constant access to your location. These are located in System Services, found in the Location Services menu. It's best not to disable location services for such features unless it's absolutely necessary.
Moving forward, by understanding and effectively managing Location Services on your iPhone, you can enjoy a balanced blend of functionality, convenience, privacy, and battery efficiency.
Conclusion
You've now got the knowledge to control location services on your iPhone. You know where to find the settings, how to turn them on, and the power to decide which apps can access your location. Remember, it's about striking a balance between convenience and privacy. You're in control of your data, so consider the implications before sharing your location. Also, don't forget that managing location services can also help save your battery life. So, go ahead, optimize your iPhone experience while keeping your personal data secure. It's all about making your iPhone work for you, in a way that suits your lifestyle and comfort level.
How do I turn on location services on my iPhone?
You need to open the Settings app, click on 'Privacy', and then enable 'Location Services' by moving the toggle button to the right.
How can users customize their iPhone's location services?
Users can set specific preferences for each app under 'Location Services'. The options for each app include 'Never', 'Ask Next Time', 'While Using the App', or 'Always'.
Where can I find the Privacy settings on my iPhone?
To access your iPhone's Privacy settings, first open 'Settings'. From there, tap on 'Privacy'. Here, you can adjust your preferences for Location Services and other features.
How can I manage permissions for Location Services?
Manage permissions by going to 'Settings', selecting 'Privacy', then 'Location Services'. Choose an app to see its options: 'Never', 'Ask Next Time', 'While Using the App', or 'Always'.
What should I consider when enabling location services?
Consider your personal comfort and necessity, balance between functionality and privacy. Remember, indiscriminate use can negatively impact battery life.
What are the benefits of controlling Location Services on my iPhone?
Controlling Location Services allows you to protect your privacy, optimize app experiences, and save battery life.


