Upgrading to a new iPhone? You're probably wondering how to transfer all your data from the old one. It's a common concern, but don't worry, it's easier than you think.
Whether it's photos, contacts, or apps, there's a simple process to get everything moved over. You don't need to be a tech whiz to do it either.
In this guide, we'll walk you through the steps to transfer your data from one iPhone to another. You'll be up and running with your new device in no time. Stick with us, and you'll see just how straightforward it can be.
Why Transfer Data?
There are several good reasons to transfer data from your old iPhone to your new one. There's a good chance you've spent years building up your collection of apps, photos, messages, and contacts. You wouldn't want to lose all of that when moving to a new device, would you?
Movin' all your stuff to a new device lets you keep everything you've known and loved. Not only that, but it also ensures continuity and seamless usage. Avoid the inconvenience of manually entering contacts, reinstalling apps, or redownloading media.
Adding to these, let's say you've personalized your iPhone, tailoring settings to your taste. Settings such as brightness levels, notification settings, or home screen layouts. Personalization makes your iPhone unique to you, and transferring these saves time re-configuring them.
Achieving continuity isn't the only advantage. Data transfer also means you're up and running quicker. Downloading and reinstalling apps can take a substantial amount of time based on internet speeds and size of apps. If you're transferring game data, this is an additional element to consider. All these factors can be time-consuming without data transfer.
Finally, the haft that can't be overlooked is discarding an old device. Difficult to believe, but worthwhile to mention. Even if you're passing your old device to someone else, securely erasing your data before you do so is a must. Data transfer ensures you've saved all your essential data before this step, preventing accidental data loss.
In a nutshell, transferring data from your old iPhone to a new one simplifies the transition and gets you back to normal operation faster. This process enables you to maintain all of the valuable data that you've accumulated over the years on your new device.
Rather than having to start from scratch, you're able to pick up right where you left off on your old device with all your apps, information, and personal settings intact. Allowing you the luxury of an uninterrupted digital life. So the answer to "Why Transfer Data?" couldn't be more obvious and pertinent. After all, your data is a reflection of you, and it would be a shame to lose all of that in the transition to a new device.
With that in mind, let's dive into the practicalities and get into the actual process of data transfer.
Prerequisites

Before you begin the transfer process, there are essential steps to ensure a seamless data migration from your old iPhone to your new one. Adhering to these prerequisites won't just make the process smoother but also secure your valuable data effectively.
First up, back up your data. It's imperative to secure all your data, from photos to contacts, messages to apps, on iCloud or your computer. A current backup reduces the risk of data loss during the transition. iCloud offers up to 5GB of free storage, but you might need more space depending on the size of your backup. For extra storage, you can always opt for iCloud's paid plans.
Next, ensure both your iPhones are updated. Having the latest version of iOS on both devices guarantees compatibility during the data transfer process. Plus, it also makes sure you're getting the best features and security updates from Apple.
Another crucial step is to establish a solid Wi-Fi connection. You'll need this when you're restoring from an iCloud backup or using the Quick Start method for data transfer. If your Wi-Fi is unstable, you might encounter interruptions that could potentially affect the successful completion of the transfer.
Lastly, know your Apple ID and password. Keep these handy as you'll need them multiple times during the data transfer, such as when signing into iCloud or confirming your identity during the migration process. It's your ticket to accessing your apps, purchases, and personal settings on the new iPhone.
To sum it up:
- Backup your data
- Update both iPhones
- Establish a strong Wi-Fi connection
- Know your Apple ID and password
Take the time to meet these prerequisites. It may seem like extra work, but it's a surefire way of experiencing a hassle-free data transfer from one iPhone to another. Remember, your valuable information deserves the best care and attention. Time spent on preparation isn't lost but invested in securing the continuity of your digital life.
Method 1: Transfer Data using iCloud

Transferring data from your old iPhone to your new one using iCloud is not as daunting as it may seem. iCloud is Apple's cloud-based storage system that seamlessly synchronizes data across all your Apple devices. It's a reliable and secure method to move all your valuable information from one iPhone to another.
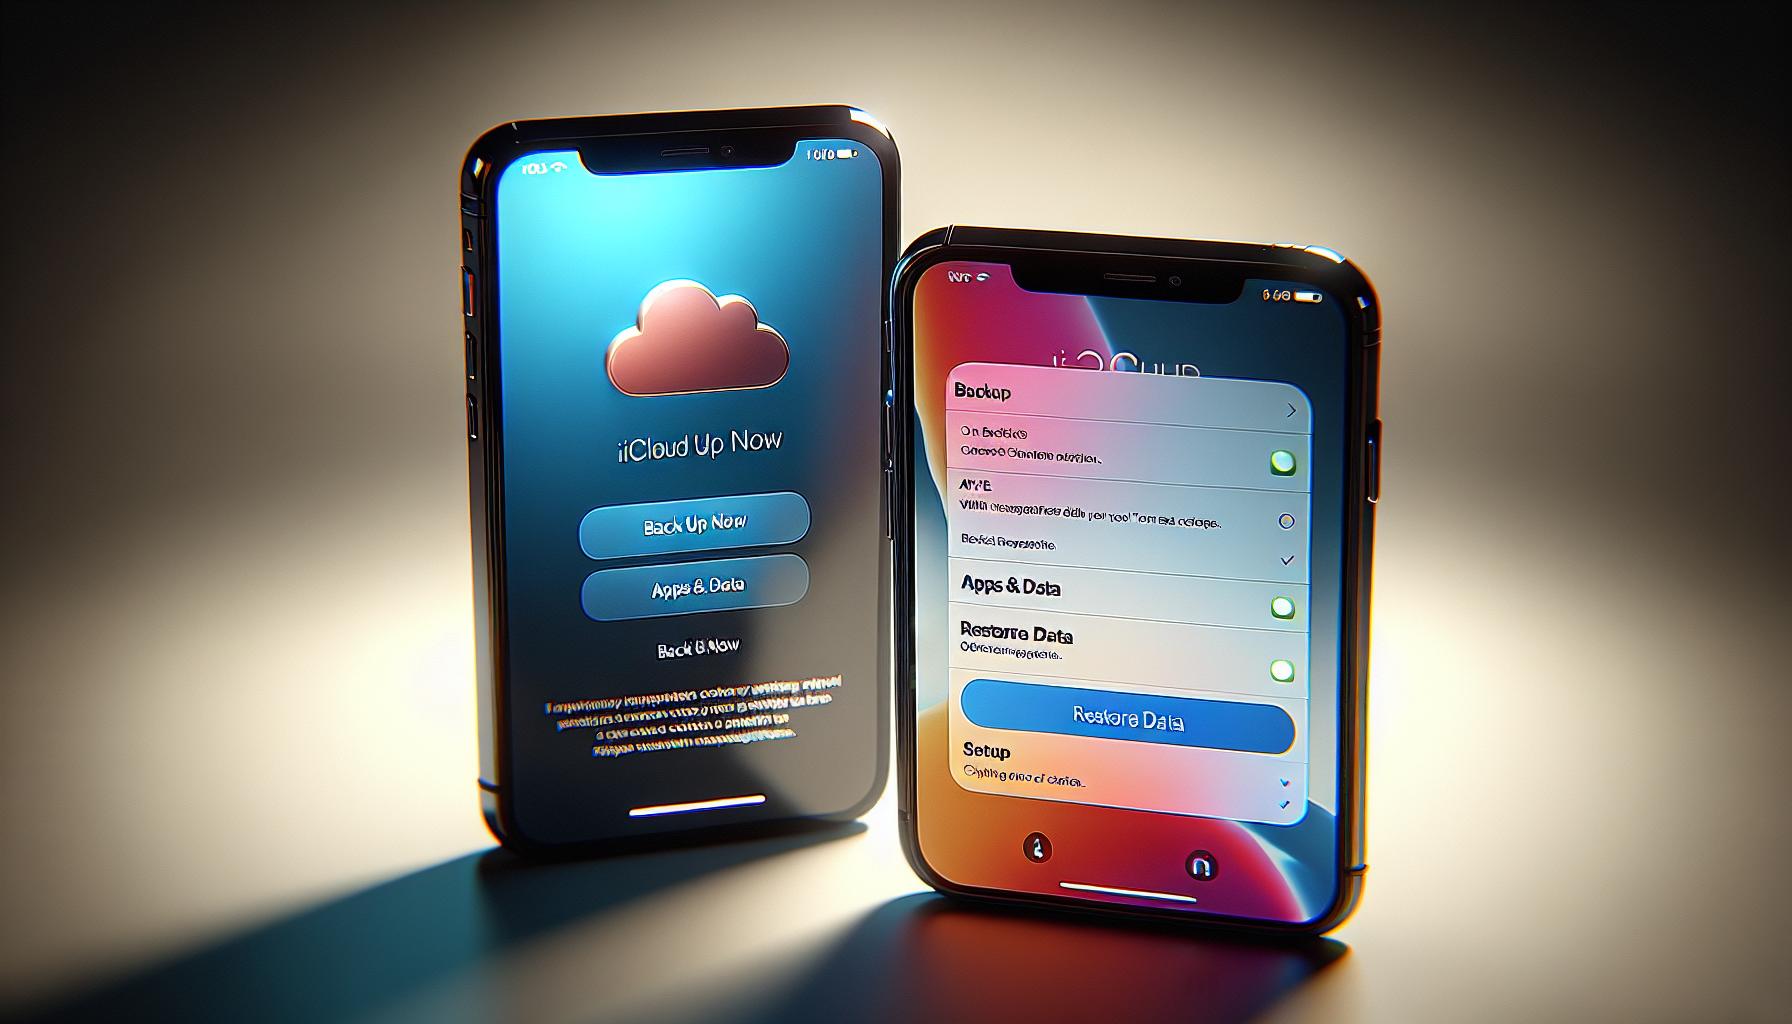
The first step in utilizing iCloud for data transfer is to take a backup of your old iPhone. Connect your iPhone to a Wi-Fi network, then head to Settings and tap on your Apple ID at the top. Select iCloud and then iCloud Backup. Make sure that the iCloud Backup is enabled, and then tap on "Back Up Now".
After successfully backing up your old iPhone, it's time to transfer the data to your new iPhone. Switch on the new iPhone and follow the on-screen setup steps until you reach the "Apps & Data" screen. On this screen, choose "Restore from iCloud Backup". Sign in to your iCloud account using your Apple ID and password, the same that you used for backing up your old iPhone.
Following this, you'll see a list of your recent iCloud backups. Choose the one corresponding to your old iPhone. The data will then start downloading onto your new device.
Remember, the time it takes to restore from an iCloud backup largely depends on the size of your backup and the speed of your Wi-Fi connection. Also, all settings and accounts are restored from the iCloud backup, so you won't have to manually reconfigure them on the new device.
In a nutshell, iCloud not only procures your data but also ensures your new iPhone is set up exactly like your old one.
And don't worry - we'll look into some alternative methods for data transfer in the subsequent sections of this guide. After all, iCloud is just one part of the data transfer puzzle.
Method 2: Transfer Data using iTunes
iTunes represents another robust and dependable avenue for data transfer between iPhones. If you're unfamiliar with using iCloud or simply prefer a wired connection, then you'll find it helpful. Additionally, if you've already tried using iCloud to transfer your data and found that it's not working or it's too slow, iTunes can be an exceptional alternative. Now, let's get down to the steps for transferring your data using iTunes.
To start, ensure you have the latest version of iTunes on your (Windows or Mac) computer. If not, go ahead and download it from the Apple Store. Once downloaded and installed, open iTunes on your computer.
Second, connect your old iPhone to your computer using a USB cable. iTunes should automatically detect your device, and it will appear on the application interface.
Third, to ensure all data is backed up, select the "Back Up Now" option on the summary page for your iPhone. This might take a moment, so be patient. This is a critical step to safeguard all your data from your old iPhone.
Fourth, once the backup process concludes entirely, unplug your old iPhone and connect your new one using the USB cable. From here, you'll need to follow the on-screen steps to set up your new iPhone. When prompted, select to restore from iTunes backup.
In the last step, select the device and choose the most recent backup of your old iPhone to restore. Your new iPhone will then start to load all of the data from your old device.
Keep in mind, this method requires both of your iPhones to be within close proximity of the computer as they'll need to connect via a cable. You also may have to disable "Find My iPhone" before the process can proceed. Don't worry if you've not used iTunes before; it's a relatively user-friendly and intuitive platform.
The following method will explain the data transfer process using third-party apps.
Method 3: Transfer Data using Quick Start

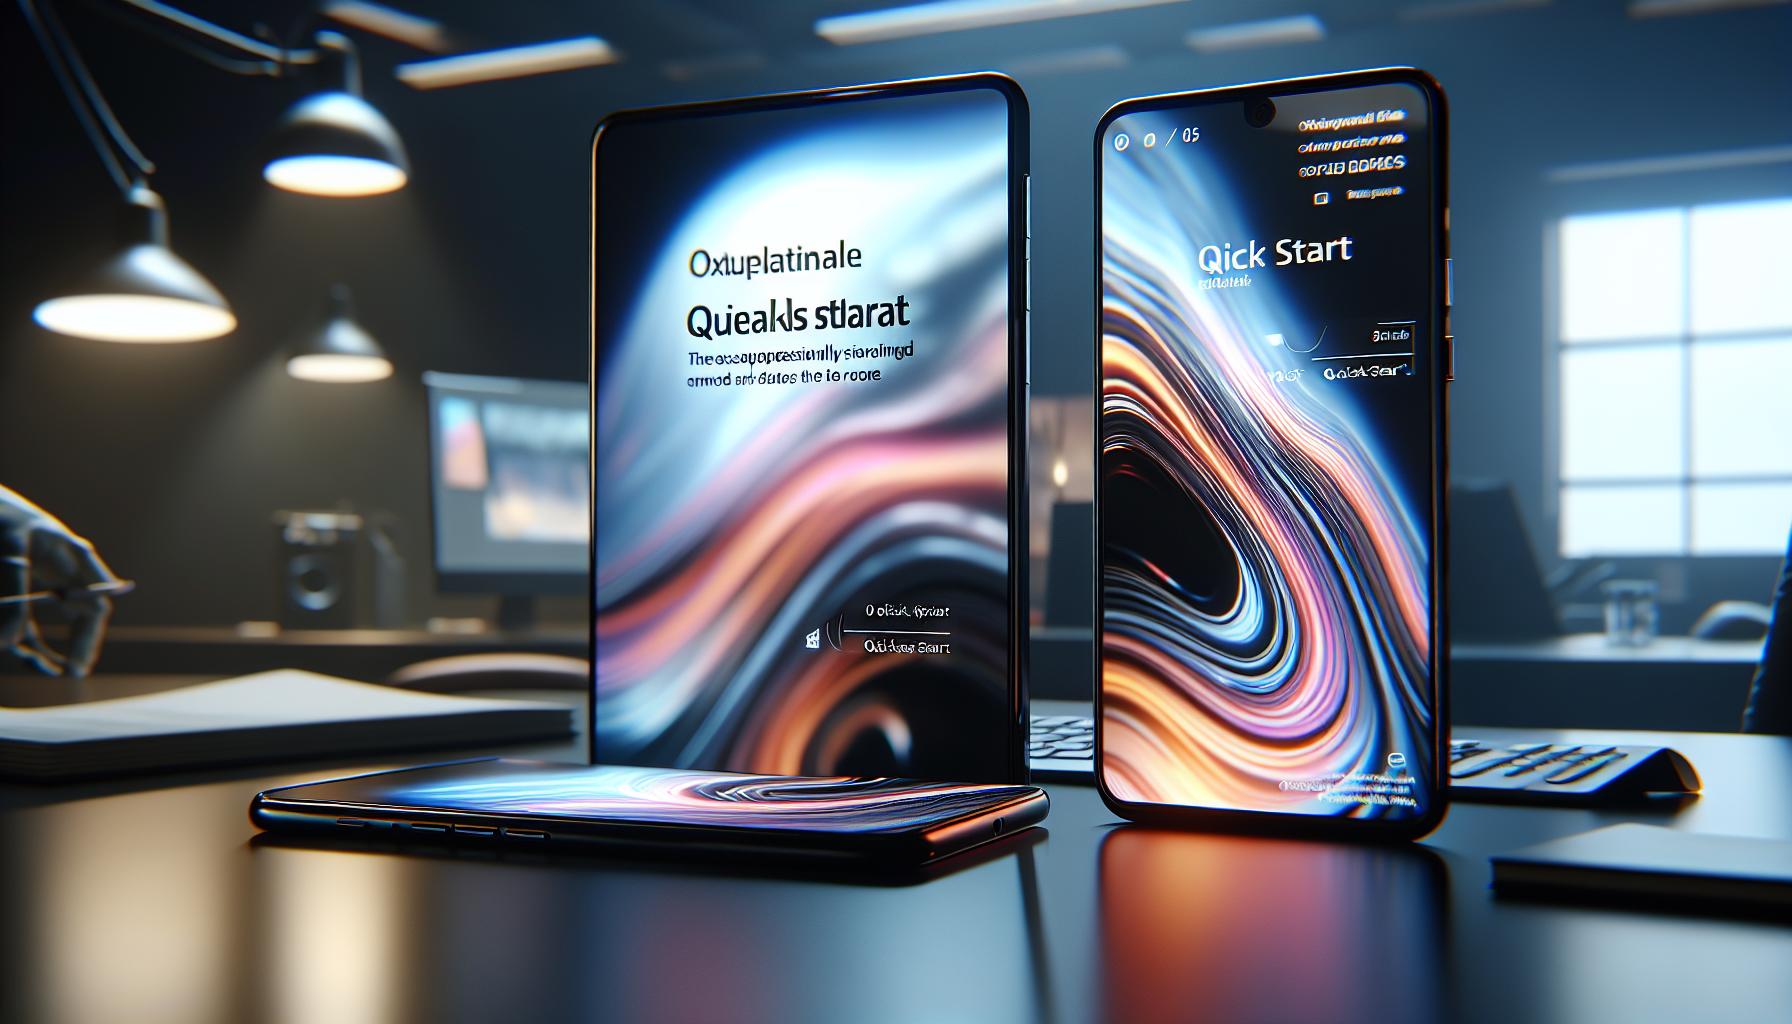
Are you in a rush to get your new iPhone up and running? Quick Start is the solution. It’s a lightning-fast, wifi-supported way to transfer everything—apps, data, settings—from your old iPhone to your new one. This method doesn’t require cords or extensive menu navigation. Just a few taps and you're done!
First, bring your new device near your current device running iOS 11 or later. The Quick Start screen appears on your current device and offers the option of using your Apple ID to set up your new device. Make sure that it's the Apple ID that you want to use, then tap Continue. If you don't see the option to continue on your current device, make sure that Bluetooth is turned on.
An animation should appear on the new iPhone. Hold your current device over your new device, center the animation in the viewfinder. Just like magic, your data starts transferring. Enter your current device's passcode on the device you're setting up and setup your new device with the same settings as your current device.
Finally, restore your data and content from your iCloud backup or update your new device to the latest version of iOS and start downloading. Remember, if you have an Apple Watch and you're setting up a new iPhone, you'll be asked if you'd like to transfer your Apple Watch data and settings.
Quick Start, in most cases, is the fastest way to move to your new iPhone. Even busy individuals can handle it with ease. Now you can switch to a new device without the fear of losing precious data.
In the next segment of this article, we'll explore a different method that involves using third-party apps.
Tips and Troubleshooting
Does the migration process give you trouble? Don't worry. Here are some valuable tips and common issues you might encounter when transferring data from one iPhone to another, via iCloud, iTunes, or Quick Start.
Sometimes, iCloud backup couldn't be completed. You might've plenty of storage but get stuck with this issue, causing a hiccup in the data transferring process. However, it's usually rectified by toggling off and on the iCloud Backup option in your settings. If that doesn't work, you can always reboot your iPhone and try again.
Moving on to iTunes, one common issue you could face is that iTunes can't recognize your iPhone. When you've both iPhones connected and iTunes fail to detect them, check if you've installed the latest version of iTunes. Outdated software might get in the way of recognizing your iPhone. Also, cross-verify that you're using the original Apple cable and not a low-quality knock-off.
Using Quick Start, one can sometimes experience issues with unsuccessful data transfer attempts. If you find yourself stuck on a specific step, it's often due to an unstable Wi-Fi connection, so ensure you have a strong and stable internet connection. Your iPhone's proximity to each other can also affect the process, so remember to keep them close together during the transfer.
Transferring data using third-party apps can come with its own set of problems. Certain apps might not be compatible with your iPhone model, or the instructions and user interface can be too complex for an average user. It's crucial to choose an app that has positive user reviews, easy-to-follow instructions, and good customer support for the best results.
Keep in mind, patience is the key. Sometimes, data transfer can take more time than you'd expect. That's perfectly fine. There's a significant amount of data to process, and rushing it could lead to errors or incomplete migration.
In the next segment, we'll delve deeper into the secrets of data transfer.
Conclusion
So, you've now got the knowledge you need to transfer data from your old iPhone to a new one. Whether you choose to use iCloud, iTunes, or Quick Start, you're equipped with the right steps and tips to ensure a smooth data transfer. Remember, if you encounter any issues, the troubleshooting advice provided can be a lifesaver. Stay tuned for our next segment where we'll delve into a different method using third-party apps. Armed with these methods, you're all set to enjoy your new iPhone with all your important data right where you want it. Happy transferring!
Frequently Asked Questions
Q1: What are the three methods to transfer data from an old iPhone to a new one discussed in this article?
The article covers three ways to transfer data from your old iPhone to a new one: using iCloud, using iTunes, and using Quick Start.
Q2: How does the iCloud method work for data transferring?
To use the iCloud method, you primarily need to backup your old iPhone to iCloud, then restore that backup on your new iPhone.
Q3: What's the process involved with the iTunes method?
The iTunes method involves backing up your old iPhone using iTunes, then restoring the backup to your new iPhone via iTunes.
Q4: Can you briefly explain the Quick Start method?
The Quick Start method enables you to set up a new iPhone using information from your current iPhone. It automatically transfers your data.
Q5: What are some issues and their solutions as discussed in this article?
The article discusses solutions to common issues like iCloud backup failures, iTunes not recognizing the iPhone, and unsuccessful data transfer attempts using Quick Start.
Q6: Will the next segment discuss other data transfer methods?
Yes, the next segment of the article will explore another method of data transfer using third-party apps.


