Ever wondered how to capture your iPhone 13 screen in real-time? Well, you're in the right place. This article will guide you through the simple steps to screen record on your iPhone 13.
Whether you're looking to create a tutorial or just want to share a cool game moment with your friends, knowing how to screen record is a handy tool. And guess what? It's easier than you might think.
Why Screen Recording on iPhone 13 is Useful
To understand why screen recording on the iPhone 13 is handy, you need to look at what it offers you. You can capture real-time activities happening on your screen. It's like having a digital camera in your pocket that records not only sounds but every swipe, tap, and text.
Screen recording on your iPhone 13 can be the answer to your numerous needs. Creating tutorials is one of these. With the rise of remote working and online learning, visual tutorials have become essential. You can guide your colleagues or students on how to use a specific app or platform by recording the necessary steps on your iPhone 13. It's a simpler, more convenient method than writing lengthy, time-consuming descriptions that might still leave them confused.
Another everyday use of screen recording is sharing gaming moments. Whether you're a gaming influencer trying to build a following or you simply want to share a hilarious in-game moment with friends, screen recording gets the job done. By capturing your gaming exploits, you can better communicate your strategies and victories.
This feature also comes in handy in professional settings. Suppose you need to report a software bug or demonstrate a process to a remote team member. In that case, you can quickly start a screen recording, perform the steps, and share the video. It's clearly more interactive and thorough than taking multiple screenshots or explaining via text.
See? There are countless ways to utilize the screen recording feature on your iPhone 13. It's a powerful tool that only enhances your smartphone experience. But how do you use this feature? Fear not, as the next section will provide a step-by-step guide to mastering this function. Whether you're new to iOS or a seasoned veteran, you'll find this guide beneficial for making the most of your iPhone 13's screen recording capabilities.
Remember, it's all about making your digital interactions easier and more efficient. And with your iPhone 13 in your hands, you're ready to leverage the advantages of screen recording.
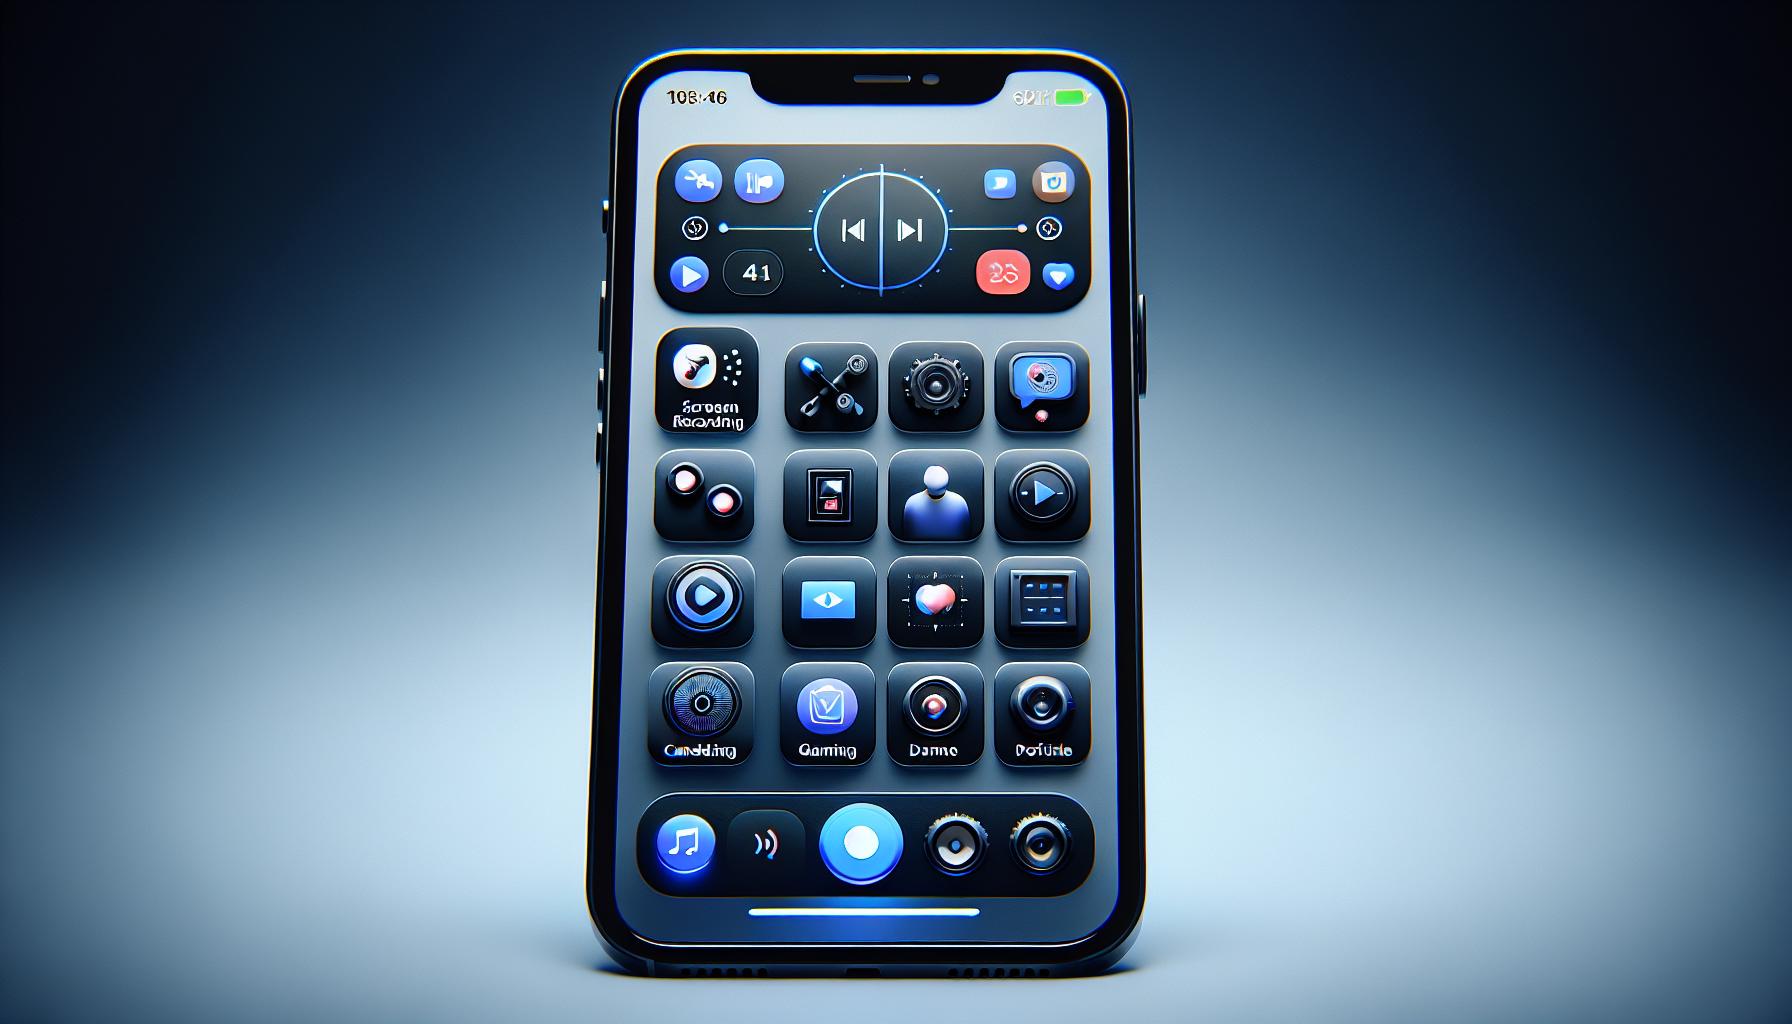
How to Enable Screen Recording on iPhone 13

Screen recording isn't turned on by default, so you'll first need to add it to your Control Centre. Don't fret, this isn't as complex as it may sound! Follow these simple steps and you'll be recording your iPhone 13 screen before you know it.
To start, go to your Settings application. Once there, you should see a list of options. Find and select Control Centre. In the Control Centre setting, you'll notice a list of items that you can add or remove from your Control Centre shortcuts. The one we're interested in is Screen Recording.
Tap the little green '+' icon next to Screen Recording. Once you've done this, Screen Recording will appear in your Control Centre. Brilliant! Now you've got the Screen Recording right at your fingertips for whenever you need it.
Remember, this doesn't immediately start recording your screen. Instead, you've just enabled the option to do so. Once you've added it to your Control Centre, you can easily access it to record whenever you want!
Activation from Control Centre
Now you're asking, how can I access this Control Centre? It's simple, swipe down from the top-right corner of your iPhone's screen (the area around the battery icon) and voila! You’re in the Control Centre.
Notice the two-ringed icon? That's your Screen Recording tool. Tap it, and you're on your way to capturing whatever you want on your iPhone 13 screen.
Remember, before you start recording, a countdown will appear giving you enough time to navigate to where you want the recording to start. After the countdown, your recording begins.
Now that you've enabled and found how to activate screen recording, you can use this tool to enhance your smartphone experience. Whether it's for gaming, tutorials, or work purposes, screen recording brings a new dynamism to your iPhone usage.
Step 1: Access the Control Center

Before you dive into screen recording, it's vital to understand just how to navigate your iPhone 13. The Control Center is your base point for many features. One of which, is the coveted screen recording tool.
To access the Control Center, follow these straightforward steps. It doesn't matter if you're a seasoned user or a first timer; you'll find it's as easy as swiping downwards from the top-right corner of your smartphone's screen. As simple as that!
Don't be overwhelmed with the variety of options displayed as soon as you've pulled up the Control Center. You'll spot common controls like the airplane mode switch, WiFi, and rotation lock. Yet the screen recording button might still be missing. But don't worry - you're on track!
It's pivotal to remember, however, that the steps to access the Control Center may vary slightly based on your particular device settings. For instance, if "Reachability" is enabled on your iPhone 13, you'll have to swipe down near the middle of your screen instead. Thus, understanding your personal settings can prove beneficial.
Step 2: Customize the Control Center

After familiarizing yourself with accessing the Control Center on your iPhone 13, you'll need to customize it. Checking which features are available and adding those you frequently use can significantly improve your smartphone experience.
To customize the Control Center, open Settings on your device, then tap Control Center. You'll now see a list of additional controls you can include.
To add the Screen Recording tool:
- Tap on Customize Controls.
- Scroll down till you find Screen Recording.
- Tap the Plus Icon (+) next to Screen Recording. This action moves Screen Recording from the section of "More Controls" to "Include," indicating it’s now accessible via the Control Center.
Remember, the order of the control settings here reflects how they'll appear in your Control Center. If you want Screen Recording at the top of your Control Center for quick access, ensure it's at the top of your "Include" list.
Just tap and hold the hamburger icon (three horizontal lines) next to Screen Recording under the "Include" section and drag it to your desired position.
Adding and adjusting the controls in this manner helps to tailor the iPhone 13 Control Center to suit your personal requirements. you'll find the enhancement in usability can be remarkable once you've fully adapted the Control Center to your needs.
Step 3: Add Screen Recording to Control Center
The task at hand is sombre and straightforward - adding the Screen Recording tool to your iPhone 13 Control Center. Do not fret; it's a simpler process than you might think.
With your iPhone 13, hit up the 'Settings' icon that traditionally rests on your home screen. Within your settings, scroll down until you reach the 'Control Center' option. Make your presence felt by giving it a quick tap.
Entering the Control Center Settings, you'll observe an array of handy gadgets labeled under 'Included Controls'. However, it's the section called 'More Controls' that grabs your attention. Here, you will spot 'Screen Recording' standing unassumingly amongst a list of other potential panel dwellers.
Raring to promote 'Screen Recording' to the primacy of the 'Included Controls'? Simply tap the green '+' sign beside it, and voila! The Screen Recording tool swiftly jumps the queue and secures its spot in its new abode - the 'Included Controls.'
One of the beauties of the Control Center is its flexibility of organization. You can reshuffle your control lineup according to your preference for easy access.
Hold down the three horizontal lines to the right of your newly added Screen Recording control. Drag it up or down to sweep it into your desired position. Consider placing it towards the top if you plan to utilize screen recording fairly often.
And there it is! You've just made a potent addition to your Control Center. Your iPhone 13 is one step closer to facilitating seamless screen recordings. The process appears daunting at first glance, but with every successful attempt, you're bound to realize how truly uncomplicated it is.
In your next stride towards mastering iPhone 13 screen recording, you'll dive into the exciting world of starting and stopping a screen capture. But if you're ever in two minds or face a hitch, remember, this guide is here to steer your ship in the right direction.
Step 4: Start Screen Recording

After you've customized your Control Center and added the Screen Recording tool, you're geared up to start recording. Activating the feature is simpler than you think.
All you need to do is swipe down from the upper right corner of your iPhone 13's screen to unveil the Control Center. If you've arranged your icons according to preferences, spotting Screen Recording shouldn't be a tough task. Once located, tap the icon and you're on your way to record whatever is happening onscreen.
Your screen will blink thrice and show a countdown timer of three seconds. Now, each activity on your screen is getting recorded. You can open applications, scroll through your photos, or even record your gameplay.
Now here's a pro tip for you. If you want to include audio—like voiceovers, music, or app sounds—in your screen recording, you need to turn on the microphone. To do this, long-press the Screen Recording icon until more options appear. You'll find a button with a microphone icon; just tap it to include audio in your recording. Remember, the microphone is off by default, so you have to turn it on every time you want to capture audio.
The moment you start recording, the time on the upper left corner of the screen will turn red. This helps indicate that recording is ongoing. You can also quickly navigate to the Control Center while recording, and the Screen Recording icon will be red, reinforcing that recording is active.
Coding your iPhone 13's capabilities effectually, you're now equipped to document your onscreen activities, may it be for your next YouTube tutorial or for a bug you wish to report. We'll soon move on to understanding how to stop recording and how to view the final output. You're acing iPhone 13 screen recording one step at a time.
Step 5: Stop Screen Recording
So, you've successfully started your screen recording and now you're wondering how to stop and save your output? You're in the right place!
Stopping screen recording on iPhone 13 is as simple as it sounds. All you need to do is to click on the red time indicator at the top of your screen and a pop-up window will appear asking if you want to stop recording.
This is your notification that the screen recording is actively taking place. It's important, however, to be careful not to stop recording accidentally as this can disrupt your content creation process. This is especially crucial if you're recording for professional purposes like a tutorial, gaming session, or work presentation.
Now you might be thinking, "What if my phone gets locked?" No worries, your screen recording won't stop if your phone gets locked. Isn't that handy?
When you are ready to finish recording, simply click the red time indicator at the top of the screen again. A pop-up window will ask you to confirm if you want to stop recording. So whenever you're satisfied with what you've captured, just give it a tap!
Now about saving your recording. The good news is your recording will automatically be saved to your Photos app as soon as you stop recording. Yes, it's that effortless! You can access the recording in your Photos app at any time and it's ready to be shared, edited, or viewed at your leisure.
No need to fumble through the settings or worry about losing your video. iPhone 13 has got you covered on this front.
Don't forget, the quality of screen recording is very high on an iPhone 13 compared to other devices- you'll definitely appreciate this feature once you start to utilize it more.
Let's now move to the next step, which is all about viewing the screen recording.
Tips for Successful Screen Recording

With a firm grasp of how to screen record on the iPhone 13, stepping up your recording game wouldn't go amiss. Here are key tips to enhance your screen recording experience.
Be Conscious of What’s on Screen: When you hit the record button, everything that appears on your screen gets recorded — app notifications, incoming messages, calls, etc. Therefore, it’s crucial to ensure your display is clear of any sensitive information. Activating the ‘Do Not Disturb’ function can minimize disruptions during recording.
Optimize Storage: Screen recordings can consume a substantial chunk of your phone's storage, especially for long durations. It's crucial to regularly delete unwanted recordings or to transfer them to another device or the cloud for safekeeping.
Prepare Your Phone: Ensure your iPhone is fully charged or connected to a power source to avoid disruptions during recording. Ensure your device has ample memory as low storage can degrade the quality and performance of the screen recording.
Add Audio: Remember, you can screen record with audio. Whether you're recording a game, a video call, or a tutorial, consider capturing the sound to enhance the quality of your recording. However, be wary of capturing sensitive or confidential conversations.
Leverage AssistiveTouch: An alternative way to start and stop recordings without having to access the control center is through AssistiveTouch. Once activated, it offers a more comfortable way to manage your recordings.
As you delve deeper into screen recording, you'll discover more techniques to create high-quality content. Get ready to take your screen recording experience to the next level!
Conclusion
You've now mastered the art of screen recording on your iPhone 13. With these steps and tips, you're ready to create your own high-quality content. Remember, it's not just about hitting the record button. It's about understanding what's on your screen, optimizing your storage, and preparing your phone for the task. Adding audio and using AssistiveTouch can take your screen recording to the next level. So go ahead, start capturing your gaming exploits, creating engaging tutorials, or even recording important work sessions. Let your iPhone 13's screen recording feature enhance your smartphone experience in ways you've never imagined. Happy recording!
How do I enable screen recording on iPhone 13?
You can enable screen recording on iPhone 13 by adding the screen recording tool to the Control Centre in settings. The article provides a step-by-step process detailing how to activate this feature.
Is screen recording turned on by default in iPhone 13?
No, screen recording is not enabled by default on iPhone 13. You need to manually add it to the Control Centre through your iPhone's settings.
What can I use screen recording for on iPhone 13?
Screen recording can be used for a multitude of purposes such as recording gameplay, creating tutorials, work meetings, or any other activities on your iPhone screen.
Any tips for successful screen recording?
The article provides several tips for successful recording. These include being aware of what's on the screen during recording, optimizing your phone's storage, preparation, adding audio, and using AssistiveTouch functionality to enhance recording experiences.
What’s AssistiveTouch in iPhone 13 screen recording?
AssistiveTouch is a feature on iPhone that helps you record screen with minimal interruptions and provides an easy way to control your device without pressing buttons. It is especially useful for screen recording.


