Ever found yourself wishing you could capture what's happening on your iPhone screen? Maybe you're trying to create a tutorial, or you want to record a bug to show tech support. Whatever the reason, we've got you covered.
Screen recording on an iPhone is easier than you might think. It's a built-in feature that doesn't require any extra apps or tools. In this guide, we'll show you the step-by-step process to get you screen recording in no time.
What is screen recording?
Before you get started with screen recording, it's crucial to understand what this feature is about. Screen Recording on your iPhone lets you capture what's happening on your screen in real time. Everything from scrolling through Instagram feeds, capturing game achievements, to recording step-by-step tech guides can be effortlessly documented with this handy feature.
What makes screen recording outstanding is the background audio recording ability. Have you ever wanted to catch a witty joke on a podcast, or record your own tutorial complete with voice instructions? It seems Apple was head of the curve, understanding that visuals and audio hold equal prominence in digital storytelling.
Unlike taking screenshots, which only captures a still, screen recording records a sequence of events. This brings new dimensions to your content, enabling you to share nuanced engagement, personalized tutorials, or broader views of your virtual activity, in ways a single screenshot just can't pull off.
Enabling screen recording on your iPhone doesn't require any third-party apps, so you need not worry about trawling App Store for the right software. As far as iPhones go, this built-in feature is as native as it gets.
With screen recording, you can become more expressive and communicative in the digital world. Whether it's for business, education, or personal content creation, understanding how to screen record on your iPhone is a skill worth having in today's digital age. If you haven't explored this incredible feature yet, you are missing out on its immense offerings. Screen recording, in essence, is the key to your digital story.
Why would you want to screen record on an iPhone?

With the digital age moving at an unprecedented pace, your iPhone capabilities should too. The screen recording feature is one such tool that's both valuable and versatile. Why would you use it? Let's break it down for you.
Most commonly, screen recording is used for capturing live happenings on your device. Are you keen on sharing your gaming skills? Want to relive and share that thrilling moment you reached a new personal best? Screen recording's got your back. With screen recording, you can effortlessly document and share those achievements.
One of the many uses of this feature goes beyond gaming. Screen Recording aids virtual communication. With the upward trend of remote work and digital collaboration, screen recording helps you discuss ideas, present information, and troubleshoot issues. Instead of snapping multiple screenshots or writing lengthy explanations, you can show what’s happening on your screen in real time.
Another worthwhile use of screen recording is the opportunity to create personalized tech guides or tutorials. Have you ever tried walking someone through a process over a call or text? It's challenging, right? This feature eliminates the struggle. You can easily record a step-by-step guide, adding your own voiceover to personalize and simplify the procedure.
Screen recording isn’t just visual; it captures audio too. Whether you're watching a webinar, video chatting with a loved one, or streaming a live concert, screen recording can capture it all, sound included. This tool brings an added layer of engagement to your content, which is fantastic!
Remember that all of these benefits come without needing any third-party apps. These are just a few amongst the many ways screen recording can be utilized. Knowing how to use this feature effectively opens up a spectrum of practical potential. Explore and experiment to discover even more ways screen recording can enhance your digital experience.
How to enable screen recording on your iPhone
Contrary to common beliefs, screen recording on your iPhone isn't as daunting as it seems. Apple, being highly sentient to its user's needs, has embedded this feature within your iPhone's control center. But first, it's crucial to understand how you can make this option available.
Initially, navigate your way to the 'Settings' application on your iPhone. Here, you'll encounter a horde of options but fret not. Tap onto the 'Control Center', following which, you'll need to click 'Customize Controls'.
You'd now observe a list of utilities among which lies 'Screen Recording'. Seize the plus symbol located beside it. Doing so will transfer this option to your 'control center'.
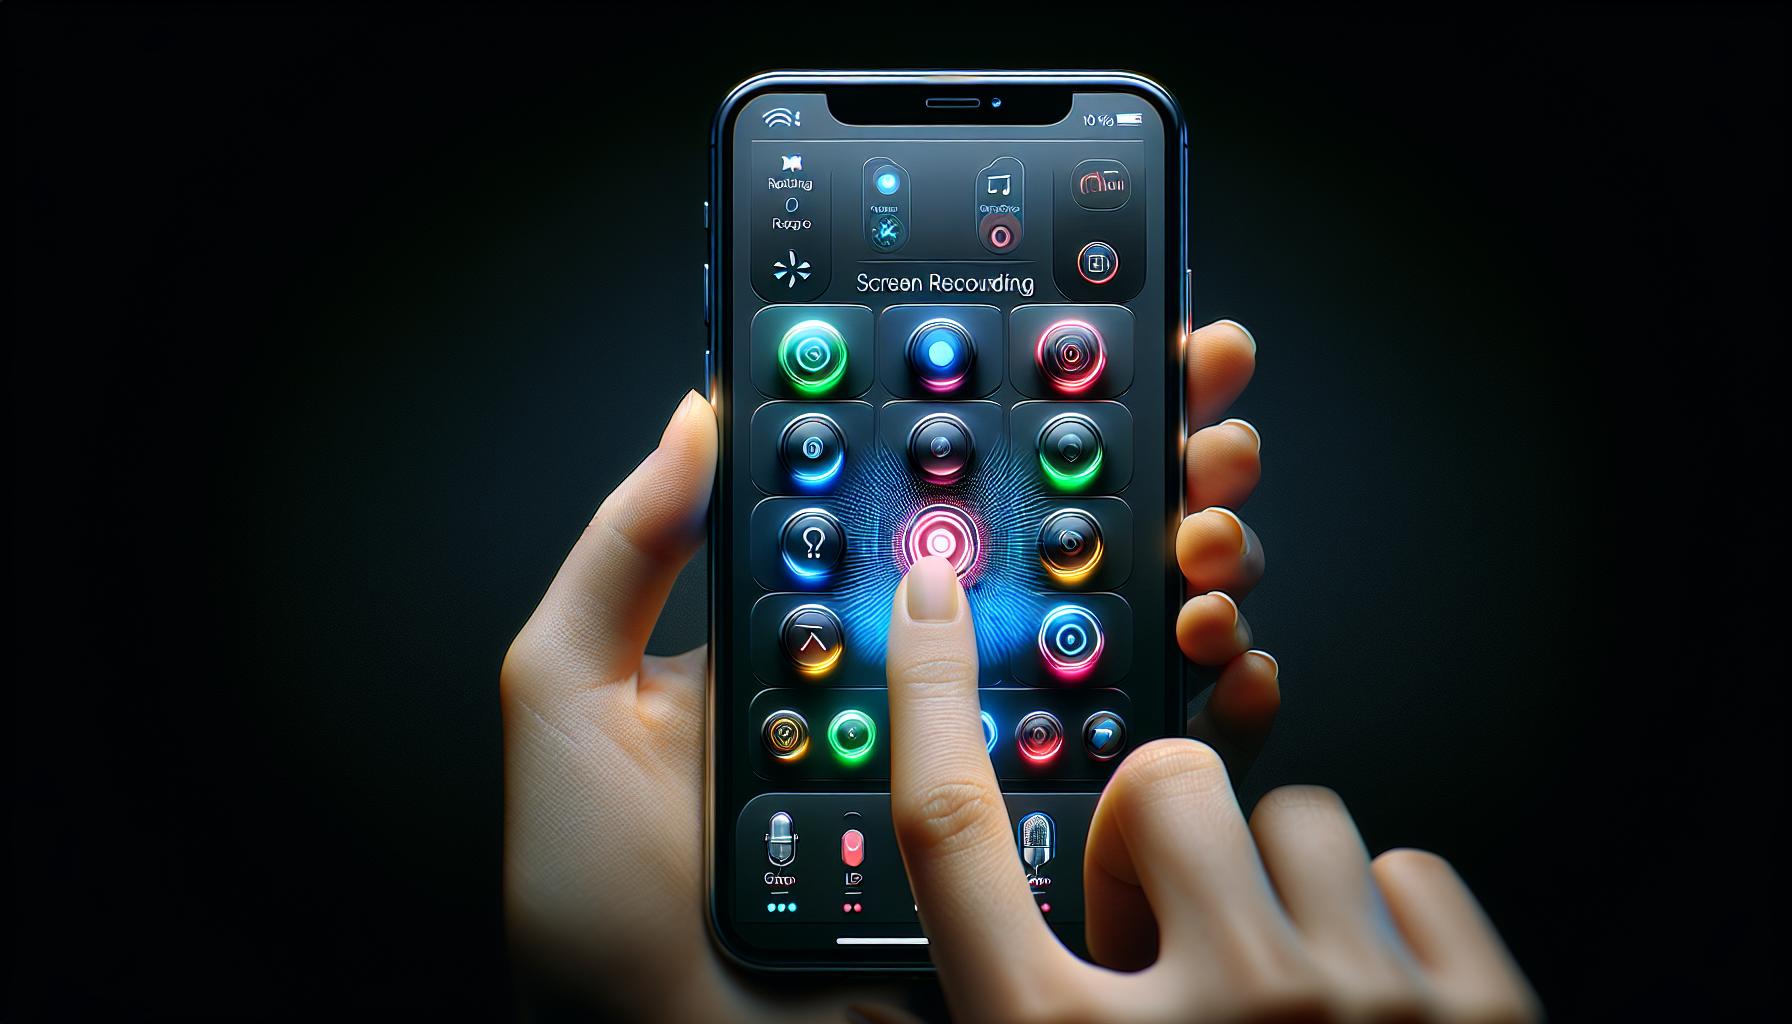
Now that you've enabled the feature, you can easily initiate screen recording. Swipe up from your screen's bottom (for iPhones without a home button, swipe down from top-right corner). You'd find the 'Screen Recording' symbol, represented by two concentric circles.
To begin screen recording, simply touch the symbol. In case, you're looking to capture auditory content using the microphone, perform a prolonged press on the icon. This provides you with a 'Microphone On/Off' option. Turning on the microphone will enable the recording of both visual and auditory information providing a comprehensive screen recording experience.
Remember to swipe the control center away to dodge it from being captured in the recording!
These steps are fairly simple and easy to execute. Once mastered, this tool can act as a great aid in multiple scenarios spanning from gaming achievements to providing visual aid during troubleshooting.
- Customize Controls: This option in your iPhone settings allows you to choose what shortcuts appear in your control center.
- Screen Recording: An inbuilt feature in your iPhone which helps to capture visual content.
- Microphone On/Off: The option that lets you decide if you wish to record audio along with the video during screen recording.
Your journey to effectively use screen recording on your iPhone has just begun. Practice these steps, try out the feature and you will be a pro in no time! Your screen recording tool is now ready to use at your fingertips. Screen recording can surely add a new dimension to your digital experience on the iPhone, the possibilities are immense.
How to start and stop a screen recording
Your iPhone packs a suite of powerful features and tools, one of them being the ability to record your screen. Screen recording can be very useful, especially if you need to create a tutorial or document a process on your device.
Start by heading into your Control Center. Here, you'll find the screen recording icon, which looks like a circle within a circle. This is where the magic begins.
Initiating a screen recording couldn’t be more straightforward. You'll simply tap the screen recording icon. Notice how it changes to a vibrant red? This is your signal that the recording is now active. You can then navigate away from Control Center and whatever you do on your screen from hereon out will be recorded.
Sometimes, you might want to include audio as part of your screen recording. Before you start recording, touch and hold the screen recording icon. A new menu will pop up allowing you to toggle the Microphone Audio on or off.
Interrupting your digital journey to stop recording can be a bit of a distraction. But fear not, Apple has thought of a handy solution. When you're ready to stop recording, a red banner will be visible at the top of your screen, indicating that a recording is in progress. Just tap this banner and then tap “Stop”. Your screen recording will end and the video will be saved to your Photos app.
You'll find your brand-new screen recording safely stored in your Photos app. From here, you can view, edit, share or delete the screen recording as you see fit. This way, you'll have full control over your digital narratives, right at your fingertips.
While it can take a bit of time to get going, learning to use this feature effectively will open up a world of digital possibilities. So why not give it a try?
How to view and edit your screen recordings

After you've embarked on your screen recording journey, you'll want to know where these videos are stored and how you can modify them, if necessary. Let's delve into viewing and editing your screen recordings on your iPhone.
Finding your screen recordings is as easy as pie. All your screen recording videos automatically get stored in your Photos app. You'll have to launch the app and tap on the Albums tab, located at the bottom of the screen. Scroll down until you see the Media Types section. Here, you'll find the Screen Recordings album.
Feel like tweaking your videos to perfection? Your iPhone has got you covered. Basic video editing can be achieved within the Photos app too. Tap on your selected video and the editing icon, which appears as three horizontal lines with circles on them at the top right corner of your screen. Now it's time to adjust your video to your liking. Here are a few things you can do:
- Trim the video
- Crop the video
- Add filters
- Customize exposure, brightness, contrast and saturation
- Mute the video
Remember, you must make sure to click "Done", then "Save as a New Clip" to avoid overriding the original video with your edits.
Got a third-party app that you're more comfortable with for intricate video editing? Not a problem at all. Using the share button just below the video, you can export your video to any other app on your iPhone. This opens up endless possibilities to explore and play around with your screen recorded videos.
But don't stop here! There's still so much you can do with your screen recordings. Stay tuned to continue this enriching digital journey of exploration and creation with your iPhone.
Conclusion
So, you've now mastered the art of screen recording on your iPhone. It's a handy tool, isn't it? You can capture videos right from your screen, record audio, and even edit your videos straight from the Photos app. Don't forget, you can always tailor the control center to your liking by adding screen recording as a shortcut. And remember, if the in-built editing features don't suffice, there's a myriad of third-party apps waiting for you. So go ahead, start exploring, and let your creativity flow with your newfound screen recording skills. After all, it's not just about capturing your screen; it's about creating something unique from it. Happy recording!
How do you enable screen recording on an iPhone?
Screen recording can be enabled on an iPhone via the Control Center. You can customize the feature to appear as a shortcut for easy access.
Can you record audio with the video during screen recording?
Absolutely, the iPhone screen recording feature allows you to record audio along with video. Make sure to select this option before initiating a screen recording.
How can you access and manage recorded videos?
Recorded videos can be easily accessed and managed in the Photos app. From there, you can organize or delete the recordings as desired.
Where are the screen recordings stored on iPhone?
All screen recordings on iPhone are stored in the Photos app, where they can be easily accessed and viewed.
Can you edit screen recordings on iPhone?
Yes, basic video editing can be performed within the Photos app itself. This includes trimming, cropping, adding filters, adjusting exposure, and muting the video. For more intricate editing, third-party apps can be used.
Can third-party apps be used for screen recording editing?
Indeed, third-party apps can also be used for more detailed editing of your iPhone screen recordings.
What can one do after recording their screen on an iPhone?
After recording your iPhone screen, you can view and edit your recordings, share them, or use for personal or professional presentations. Furthermore, the post encourages users to continue exploring and creating with their screen recordings.


