Ever faced pesky network issues on your iPhone that just won't go away? You're not alone. Sometimes, the best solution is to reset your network settings. This process can help fix those stubborn problems that keep you from connecting to Wi-Fi or your cellular network.
Resetting network settings on an iPhone is a straightforward task. You don't need to be a tech guru to get it done. In a few simple steps, you'll have your iPhone back online and running smoothly.
We'll guide you through the process, ensuring you understand each step. So, let's dive in and get your iPhone's network settings back on track.
Why reset network settings on your iPhone?
There are many reasons why you'd want to reset the network settings on your iPhone. Network issues can sneak up on the best of us. You'll know it's time to troubleshoot when you consistently face unusual difficulties while connecting to the cellular network or Wi-Fi, or if your Bluetooth connections become consistently unstable.
Cellular and Wi-Fi troubles can manifest in many ways. You might notice slower internet speeds than usual, frequent disconnection from the Wi-Fi, inability to join a Wi-Fi network, or a sudden drop in cellular network bars. Bluetooth issues aren't any less frustrating. You might be having trouble pairing your iPhone with other devices, or your Bluetooth headsets might keep disconnecting unexpectedly. That's not ideal when you're in the middle of an important call or jamming to your favorite tunes!
Resetting network settings has potential benefits that make it worth considering as a solution. It's a simple task that does not require any special skills or tools. All it does is take your iPhone back to its original network settings - like a factory reset but only for networks. This means wiping all Wi-Fi, cellular, and VPN settings, and removing all paired Bluetooth devices. It does not affect your personal data or apps.
By now, the big question bubbling in your mind is likely: Will resetting my network settings fix my connection issues? Well, since this process takes everything back to square one, the chances are high that the bugs causing the issues will be squashed. It's like having a spring clean - out with the old, in with the new.
But be aware. Resetting your iPhone's network settings should be your last resort after trying basic troubleshooting steps like turning off and on your Wi-Fi or cellular data, restarting your phone, or updating the software.
Step-by-step guide to resetting network settings on your iPhone

Doubtlessly, resetting network settings on your iPhone is a fix-it trick that should be in your arsenal. It's straightforward, doesn't need expertise, and here's how you go about it.
Reach the Settings
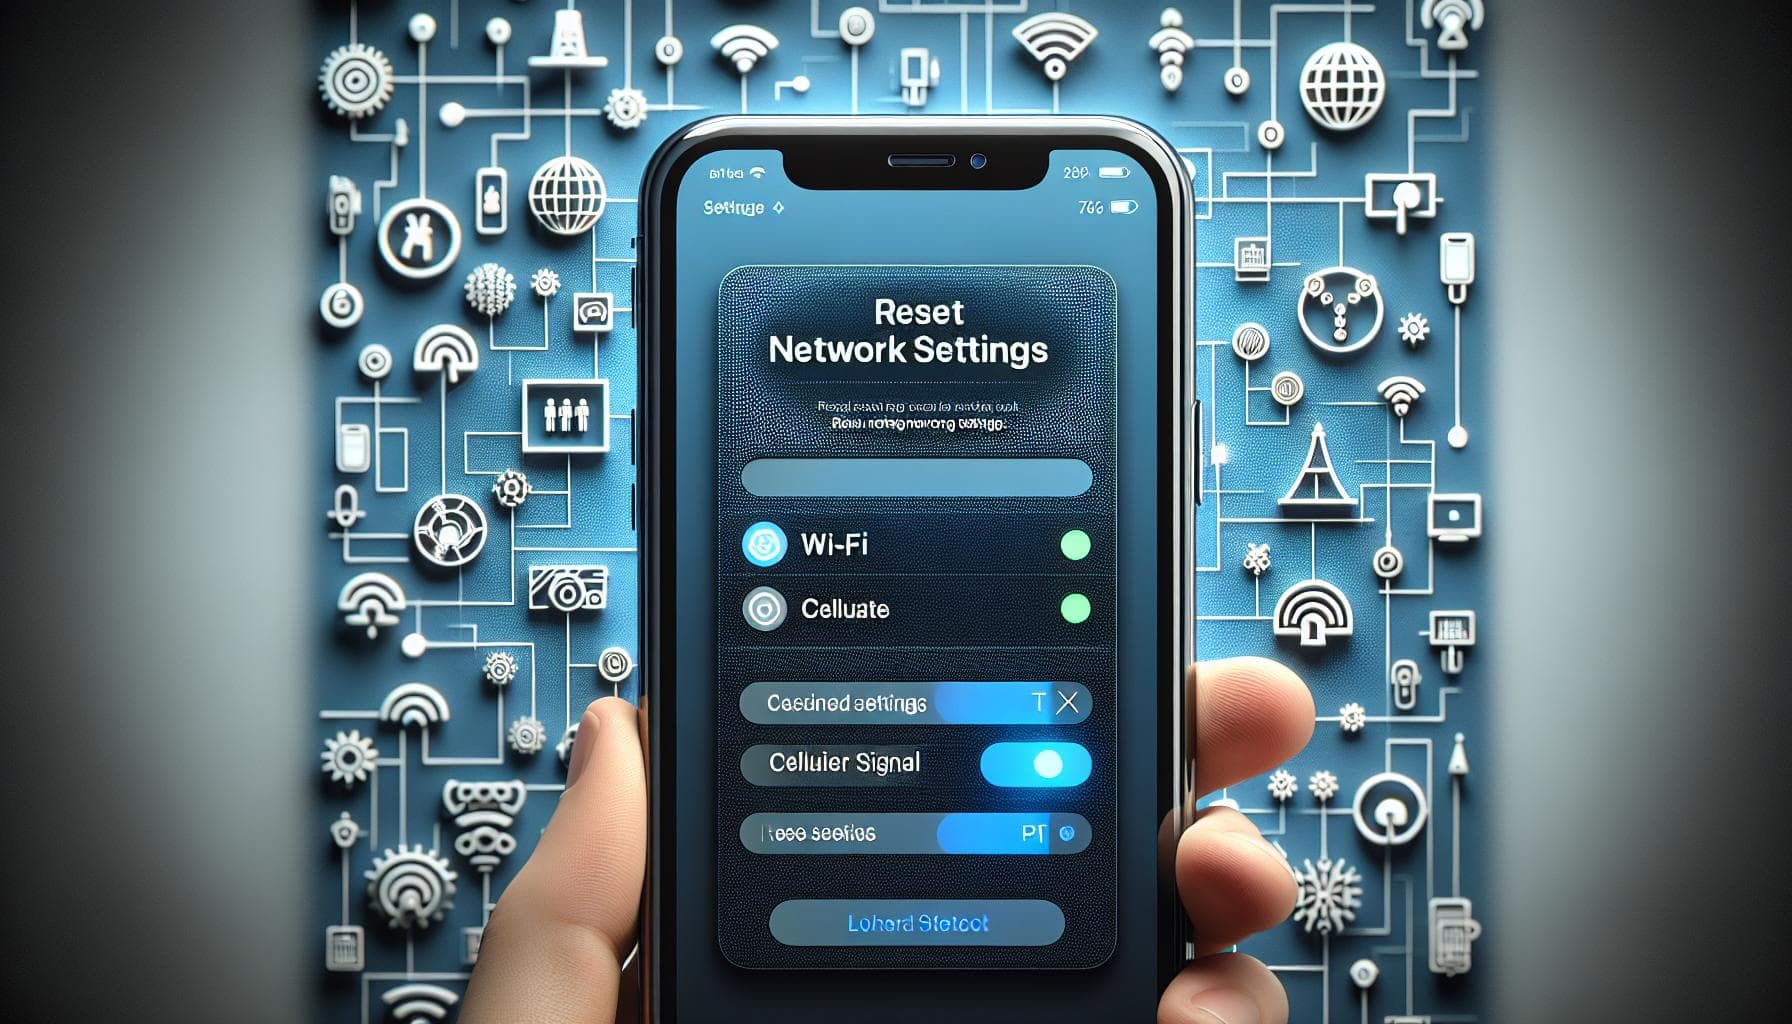
Navigate your iPhone screen and tap on the Settings icon. From the settings menu, select "General", from which you will access the Reset section right at the bottom.
Choose to Reset Network Settings
After getting via the reset menu, you'll see a couple of different options. Choose "Reset Network Settings". This action will reset all network settings, including Wi-Fi, cellular data, and Bluetooth.
Provide your Passcode
As an additional layer of security, your iPhone will ask you to input your passcode before proceeding. This ensures you're the rightful owner of the device and you're aware of the implications of the network settings reset.
Confirm your Action
Once you've input your passcode, you'll be prompted once more to confirm your choice. Again, tap on "Reset Network Settings" to verify your action. Your iPhone will then start the reset process.
- Resetting your network settings will erase all network-related information on your device.
- This includes any saved Wi-Fi networks and passwords, cellular settings, and VPN and APN settings.
Nevertheless, personal data and apps will remain untouched. You will need to reconnect to Wi-Fi networks and pair any Bluetooth devices to your iPhone once more after the reset. It might seem inconvenient, but it's a necessary step to ensure network glitches aren't chucked down with your device.
This step-by-step guide gives you all the steps needed to carry out a network settings reset and potential fixes to your network connection issues. Now armed with this guide, wave those troublesome network problems farewell.

Why hide behind technical jargon when the process to reset your iPhone network settings can be as simple as navigating the settings? If you've been experiencing network issues on your iPhone, the first real stride to resolving them involves accessing the settings menu.
Initially, wake your iPhone. It's essential to point out that regardless of the iPhone model you're utilizing - be it an iPhone 4, 7, X, or even the latest 13 - this first step remains the same.
Move past the lock screen, and familiarize yourself with the home screen’s landscape. Among the medley of apps, there's one in specific - Settings. Distinguishable by its gear icon, this is the gateway to customization, and in our scenario, troubleshooting. Are you wondering where it is? It should be tailored to your own iPhone setup, and it's typically found on the primary home screen.
Proceed to tap on the Settings app. As the digital portal unveils its initial layer, you'll notice a list of options that govern your iPhone's functionality. Debunk the myth that this area is off-limits - it's your iPhone, and surely, you're its commander.
It's important to absorb these steps as they form the foundation of how you can adjust and manage your iPhone's network settings. From resolving network issues to pre-configuring connectivity choices, what lies beyond this point holds the key to the optimized control of your device.
Given the unlikely event of not locating the Settings app - don't fret. A quick spot of help from Siri, Apple's built-in virtual assistant, can easily rectify this. Summon Siri by pressing and holding the side (or home) button and say Open Settings. Just like that, you're at the threshold of your iPhone's heartbeat. The stage is set, and you're ready to delve deeper into accessing precise settings in the following steps.
Remember, it's all about getting back to that peak iPhone performance, shaken but not derailed by a forgettable bout of network issues. The gears are in motion, and with the stage set, it's time for you to take control.
Step 2: Locating the "General" option

After you've managed to open your Settings app, your eye will naturally be drawn to a smorgasbord of options. Now, don't fret. It's essential that you take a breath. The next part of the process, locating the "General" option, lies just around the corner.
The "General" tab is usually situated right in the middle part of your iPhone's settings menu. With a gray gear icon to the left and an arrow on the right, you won't have to scroll too far to find it. If you've opened the "Settings" app and you don't immediately see the "General" option, try slowly scrolling down. Remember, your iPhone's Settings menu is organized alphabetically.
Sometimes, text size and display settings may cause it to be not immediately visible. But it's always there, just a gentle scroll away. Spotting the "General" tab doesn't require a magnifying glass. What you'll need, instead, is a little bit of patience. It's okay to take your time.
With a swift but careful tap on "General," you'll be led to a whole new list of options. You're now one step closer to resetting your network settings, but that's for the road ahead.
In focusing on the "General" tab, you're becoming more familiar not only with the ins and outs of your iPhone's settings but also with the delicate intricacies of navigation and optimization. This is where the power lies. It's in the ability and the knowledge to navigate through your Settings menu with ease.
Notice how the process of resetting network settings unfolds step by step. It's not a giant leap, but a series of smaller, manageable steps. In following each step, you're gaining more control over your device.
So remember, the next time you're faced with a list of options on your iPhone, don't get overwhelmed. Tap on "General." It's a significant next step in the journey of mastering your device's network settings. It leads onto a path of solutions for network-related issues that await your attention. Time to scroll onwards.
After accessing the "General" tab, you're halfway through the process of resetting your iPhone's network settings. Now, it's time to locate an important feature in this general section - the "Reset" option.
Upon opening the General tab, you should note a list of options displayed in order. While it might get tempting to explore these various settings, stay focused on the task at hand. You'll need to scroll down until you reach the bottom of your screen, where you’ll find the Reset feature.
Showing a dexterous fingers-to-screen relation, swipe your finger upwards on the screen. Similar to an elevator ascending in a skyscraper, your list of options will shift upwards as well.
Closely watch the settings while you scroll. You’ll see settings for Siri & Search, Date & Time, Keyboard, and more. Don’t stop till you've swept past these locations, and you catch sight of the Reset setting. It's a critical marker signifying you're near the end of the settings list. The Reset option is usually formatted in bold letters, making it easy to spot.
As soon as the Reset tab comes into view, give it a tap. This action will usher you towards another section filled with several reset options ranging from resetting the home screen layout to resetting location and privacy settings. The critical part of this section for our course is Reset Network Settings.
While on this journey through the settings, it's crucial to adopt patience as your traveling companion. Rushing through, you might unintentionally alter a different setting, taking your iPhone on a different trajectory. The careful, considered navigation will ensure that all your iphone's network settings reset accurately, and deftly inculcate an understanding of this section.
As the next step unveils, you'll unlock the full potential of the Reset function, driving the network setting reset operation to its final stages. So keep going, you're only a step away from accomplishing this process.
Step 4: Choosing the "Reset Network Settings" option

Now that you're in the "Reset" section, you'll notice a list of reset options. Here's where the crucial part of the process comes in—choosing the "Reset Network Settings" option. Among the list, "Reset Network Settings" stands out as an option specifically designed to deal with network issues on your iPhone.
With a gentle tap, you'll choose "Reset Network Settings." A prompt will appear on the screen, providing you with a brief description of what will occur once the process is initiated. It's vital to note that this action will erase every aspect of your device's network settings. The clean slate you're about to create includes wiping all Wi-Fi networks, passwords, cellular settings such as preferred roaming lists, VPN, and APN settings.
Remember, personal data, other settings, and apps stay intact. So there's no need to worry about losing any non-network-related data. This specific iPhone feature ensures that your music, photos, apps, and files remain right where they're supposed to be. Providing you with the confidence that although your iPhone may forget its networks, it won't forget the things you love most.
Reassured and ready, your finger hovers, prepared to initiate the reset. But before you tap to confirm, one final warning will pop up. "This will delete all network settings, returning them to factory defaults" it's a typical scary message. But you, equipped with knowledge and understanding, know to look beyond the intimidating words. Opting to reset network settings is not about deleting, but about fixing. It's a bold step toward a reliable, seamless connection.
At this point, you're one step away from a fresh start for your iPhone's network settings. The next move is simple but crucial: Confirming the reset. But that's a chapter for another section of this step-by-step guide. Stay tuned.
Step 5: Confirming the reset
Before you hit the final punch, let's ponder for a moment. iPhone will ask you to confirm the reset. This step is basically your last fortress before all network settings are wiped out clean. It's vital to remember that this action cannot be undone. Once gone, you'll need to reconfigure your Wi-Fi, cellular settings, VPN and APN specifications manually.
You'll see a prompt that pops up with the title Reset Network Settings. Underneath the title, there'll be a warning message that highlights the consequences of this operation. You'll be notified that this action will remove all of your network settings. You don't have to worry about personal data or existing applications.
The end is near! Just a gentle tap on Reset Network Settings in the prompt, then voila! Now, don't be in a rush. You need to hard-press it until it turns red. It's apple's way to ensure that you're fully aware of the action you're about to take. This color change is a cognitive signal for users to avoid accidental taps.
Post the color shift, the system will once again ask for your passcode (if set). It adds an additional layer of security to ensure that this operation is executed by the owner of the device, not someone else.
After entering your passcode correctly, you'll need to tap the red Reset Network Settings again to finalize the process. Now hold tight! Your iPhone will take a short hiatus, it'll reboot. This reboot is part and parcel of the process as the phone is applying new (or rather, resetting) settings.
Once your device gets back from its quick nap, you'll find it to be in its factory default state concerning network settings.
What happens when you reset network settings on your iPhone?

Let's delve deeper into what exactly occurs when you opt to reset network settings on your iPhone. Essentially, resetting network settings is like giving your phone a clean slate in terms of network connectivity. It eradicates all previous settings and attempts to establish fresh connections with nearer networks.
Primarily you'll notice that all saved Wi-Fi networks and passwords are wiped out. Your iPhone won't automatically connect to familiar Wi-Fi networks anymore because it won't remember any. You'll have to manually search and connect to your preferred networks, once again entering the passwords. It's a slight inconvenience, but may be necessary when troubleshooting stubborn network issues.
Moreover, all cellular settings are reset. This encompasses all your current settings for voice and data connection, roaming, and all network-specific settings established by your carrier. Thus, if you've made any alterations to these settings, you'll need to reapply them post-reset.
Your VPN and APN settings aren't spared either. They're cleared during a network settings reset. If you're actively using such services, be prepared to enter these specifications again once the reset is completed.
It's vital to understand this reset action is irreversible. But take a sigh of relief! Your personal data like photos, videos, messages, and apps will remain intact. Restarting the network settings does not initiate a total factory reset.
Here's a quick recap of all that information in table format.
| Actions | After Reset |
|---|---|
| Saved Wi-Fi networks | Will be deleted, need to reconnect manually |
| Cellular settings | Reset to default, any changes need to be redone |
| VPN and APN settings | Cleared, need to be put in again post-reset |
| Personal data and apps | Stay untouched, no data loss |
Moving on, let's explore why resetting network settings might be a necessary step for you.
Important things to note before resetting network settings

Making sure you're fully informed before resetting network settings is crucial. Some consequences of this action may be irreversible, but you can mitigate their impact by being prepared. Here are some vital things to keep in mind:
- Wi-Fi Networks and Passwords: When you reset your iPhone's network settings, all saved Wi-Fi networks and passwords will be erased. You'll have to manually reconnect to your preferred networks and re-enter their passwords.
- Cellular Data, VPN, and APN Settings: Your device's cellular settings, VPN configurations, and APN details will also be reset to their default settings. This means you'll have to reconfigure these settings after the reset is complete. If you're unsure about this process, make sure you consult a tutorial or the manual provided by your service provider.
Expect some potential downsides, like the hassle of manually reconnecting to Wi-Fi networks or reentering network settings. However, don't let these potential issues deter you. Most users find it's completely worth the effort to solve persistent network connection issues. It's also crucial to note that no personal data will be lost during this reset process. All your photos, music, applications, and other files will remain untouched and safe.
Before proceeding, ensure that you have access to all the necessary information you will require post-resetting. This includes Wi-Fi passwords and the necessary information for configuring VPN and APN settings. Use the list below as a guideline:
- Wi-Fi network names and passwords.
- Mobile network settings.
- VPN configuration details.
- APN settings details.
The next section of this article will guide you through the steps to reset network settings on your iPhone. Please ensure that you are ready to follow each instruction carefully, having noted all the vital details mentioned above to prevent possible stress post-reset. Once you hit the reset button, there's no going back. So, make sure you are ready.
Conclusion
Now you're equipped with the know-how to reset network settings on your iPhone. It's a straightforward process that can solve those pesky connection issues. Remember, resetting wipes out all network-related info, so be prepared to re-enter Wi-Fi passwords and reconfigure your cellular, VPN, and APN settings. But don't worry, your personal data stays safe and sound. With this guide, you're ready to take control of your network settings and ensure your iPhone stays connected. So go ahead, give it a shot and experience the difference.
What is the purpose of resetting network settings on an iPhone?
Resetting network settings can fix connection issues. The process will erase all network-related information, like saved Wi-Fi and VPN settings, requiring reconfiguration post-reset.
What type of information is erased when the network settings are reset?
Resetting the network settings will erase all saved network-related data. This includes Wi-Fi networks, passwords, cellular settings, and VPN and APN settings.
Will resetting network settings affect personal data on my device?
No, personal data will not be affected. While network-related settings and data will be deleted, your personal files, apps, and other content will remain intact.
What should I do after resetting my iPhone's network settings?
After a network reset, you will need to reconnect to Wi-Fi networks manually and reconfigure your cellular, VPN, and APN settings.
Where can I find a guide on how to reset network settings on an iPhone?
The rest of the article discusses this in detail, providing a step-by-step guide on how to reset network settings on your iPhone.


