Ever missed an important call because you're too busy, or your iPhone's just out of reach? Don't sweat it. You can always set up call forwarding and never miss a beat. It's a handy feature that lets you redirect incoming calls to another number. It's pretty simple, and we're here to guide you through it.
Got your iPhone ready? Great! We'll walk you through the process, step by step. Whether you're a tech newbie or a seasoned pro, you'll find it's a breeze. With a few taps here and there, you'll be all set. So, let's dive in and get those calls forwarded, shall we?
What is call forwarding on iPhone?
Getting a handle on call forwarding is simpler than you might think. If you're a frequent traveller, located in an area with spotty service, or simply want to manage calls when your iPhone isn't at hand, this feature is a lifesaver.
The iPhone's in-built feature allows your device to channel incoming calls to another chosen number. You're in absolute control, so important calls are never missed. This solution's perfect for when you're busy, low on battery power or need to receive calls on a different device.
Call forwarding isn't just about redirecting calls. It's an essential tool for effective communication management. You can forward your calls to a home phone, a coworker's line, voicemail or another mobile device. The benefits are limitless - you could be hiking in the mountains while your iPhone at home forwards important business calls to your office line.
The process of setting up call forwarding is straightforward. With just a few taps on your iPhone, you can direct incoming calls to any number of your choice. Let's delve into the how-tos of setting it up.
Remember, call forwarding is a feature that's available to you regardless of your cell service provider. Whether you're with Verizon, AT&T, T-Mobile, or any other carrier, you'll find call forwarding a handy tool in your arsenal.
Are you intrigued by the prospects of never missing a call? Let's dive into the step-by-step instructions on how to set up call forwarding on your iPhone. Ignite your experience with unrivalled connectivity and be the master of communication at your fingertips.
Why should you use call forwarding?

Think about call forwarding as your personal assistant. It's tireless, thorough, and available 24/7. It's working for you even if your iPhone isn’t within reach. Whether you're caught in a meeting, on a trip, or your phone's battery has drained, call forwarding ensures that those important calls are still within your grasp.
In today's digital era, everyone seems to be laser-focused on communication efficiency. Finding ways to improve responsiveness is on everyone's minds, and rightfully so. In such a bustling landscape, call forwarding stands out as a valuable asset. It's not merely about rerouting calls, it's about streamlining your communication, about efficiency, and about that peace of mind knowing that you won't miss important calls.
Surely, you've felt that pang of frustration when you've missed important calls because your phone wasn’t accessible. It's frustrating, If not alarming. When you're into business, missing a crucial client call could mean a blown opportunity. For professionals, it could mean a missed project deadline. Call forwarding prevents these unnecessary hassles, establishing a net of efficient communication.
Another compelling reason is network issues. Anyone who uses a cellphone has most likely experienced some kind of network snag. In areas where the signal strength is poor or unpredictable, important calls can easily get lost. With call forwarding you can redirect calls to a number with a stable network, ensuring continuous communication.
So, it’s apparent that call forwarding doesn't just have one dimension. Its aim is to keep you connected irrespective of your situation, location, or network stability. It's about effective communication management. Remember, communication makes or breaks relationships - personal or professional. In the grand scheme, call forwarding plays a vital role, bringing the empowerment right to your fingertips by making you more reachable, more reliable. This isn't a feature to underestimate or overlook – it's a robust tool, ready to transform your world of connectivity.
How to enable call forwarding on iPhone

In today's interconnected world, you'd want to ensure that no calls go unanswered, especially major calls. Thankfully, iPhone's call forwarding feature simplifies this. You might be wondering about activating this feature on your iPhone.
Let's delve into the step-by-step guide to enable call forwarding on your iPhone.
First, you'll start by opening your iPhone's settings. Just tap the grey "Settings" gear icon on your device's home screen.
Next, scroll down until you find the "Phone" settings option. It's usually somewhere near the middle of your screen. Tap it to open phone settings.
Here, you'll see the "Call Forwarding" option. It's usually found under the "Calls" section. If it's grayed out, it means that call forwarding is currently off - which is about to change.
The next step involves turning on the call forwarding feature. To do this, you'll tap "Call Forwarding" switch to reveal a new page with a "Call Forwarding" switch. Tap this switch, and you'll notice the button turns green. When it lights green, it signifies that the call forwarding is activated.
For the final step, you'll want to input the number you wish your calls forwarded to. A new screen will appear with a "Forward to" field, and this field is where you'd input the forwarding number. Remember to click "Back" to save the number.
But what if your circumstances change and you'd like to disable the call forwarding? It's just as simple as flipping the "Call Forwarding" switch back to the off position.
It's evident that Apple made it straightforward for you to control your communication, ensuring that you don't miss any important calls. In business, if a call gets missed, it's not just a call, but potentially a missed opportunity. By setting up call forwarding, you're establishing a backup for yourself, ensuring that you're reachable, even when it's inconvenient.
Call forwarding doesn't just enhance connectivity; it empowers you in the world of communication. The capacity to manage your calls is in your hands – literally. However, the benefits of call forwarding aren't restricted to this but also extend to areas with fluctuating network signal strength. By embracing call forwarding, you're taking a step forward towards improved communication management.
Step 1: Open the Phone app

Let's dive right in! Grab your iPhone and unlock it. From the home screen, identify the green icon symbolizing a telephone. That's your Phone app. Click on it. Expert tip: if you can't find it on your home screen, swipe downwards and type 'Phone' in the search bar - your iPhone will pull it right up for you.
The Phone app is your hub of all things call-related, whether it's making and receiving calls, reviewing voice mails or setting up call forwarding. For such an essential function, it's a straightforward, user-friendly app, making call management an uncomplicated task.
On opening the app, you'll be faced with four options at the bottom of the screen: Favorites, Recents, Contacts, and Voicemail. As comprehensive as this is, call forwarding is tucked away a little deeper into the settings.
You're on the right track to mastering call-forwarding! Up next, we venture into the settings, where the real magic happens. You're one step away from ensuring you never miss an important call again, amplifying productivity, and maintaining connections no matter your network signal strength.
Step 2: Tap on the "Settings" tab

At this point, you've successfully opened your Phone app. But where does call forwarding hide within the confounding labyrinth of iPhone settings? The answer is simpler than you might have initially imagined.
The first step in digging out this elusive function is tapping on the "Settings" tab. This usually features a gear-like icon and is instinctively more straightforward to find. Its position may vary slightly depending on your specific device model and iOS version.
Upon tapping the "Settings" tab, you will be graced with a multitude of options. These are all organized into sections for ease of navigation. You might be tempted to get lost within the sea of settings and configurations at your disposal. However, stay focused for now. The end goal is to find that precious "Call Forwarding" menu. It's akin to finding a gem within a well-stocked jewelry store.
We're navigating the sea of settings with a particular destination in mind - the "Phone" settings. Don't get distracted by other enticing settings. No matter how alluring the "Display & Brightness" or "Sound & Haptics" menus might look, they're not the path you're seeking. You will have plenty of opportunities to explore everything else at a later time.
But for now, stay laser-focused and scroll down until you locate the "Phone" settings. The icon for this specific setting is readily identifiable with a green background featuring a white, old-fashioned telephone. Once you've spotted this icon, you are just one step closer to unlocking the treasure that is call forwarding.
Don't worry about missing out. Remember, this guide is designed to help you master call forwarding in your quest for uninterrupted connection. This paints a clear picture of how useful and surprisingly user-friendly iPhone's settings truly are.
Get ready for the next phase of your call forwarding quest. It's akin to pulling back the curtain and revealing our grand finale. The next step will expertly guide you through activating the call forwarding feature on your iPhone, keeping you connected no matter where you are.
So let's dive into the next step, shall we?
Step 3: Select the "Call Forwarding" option
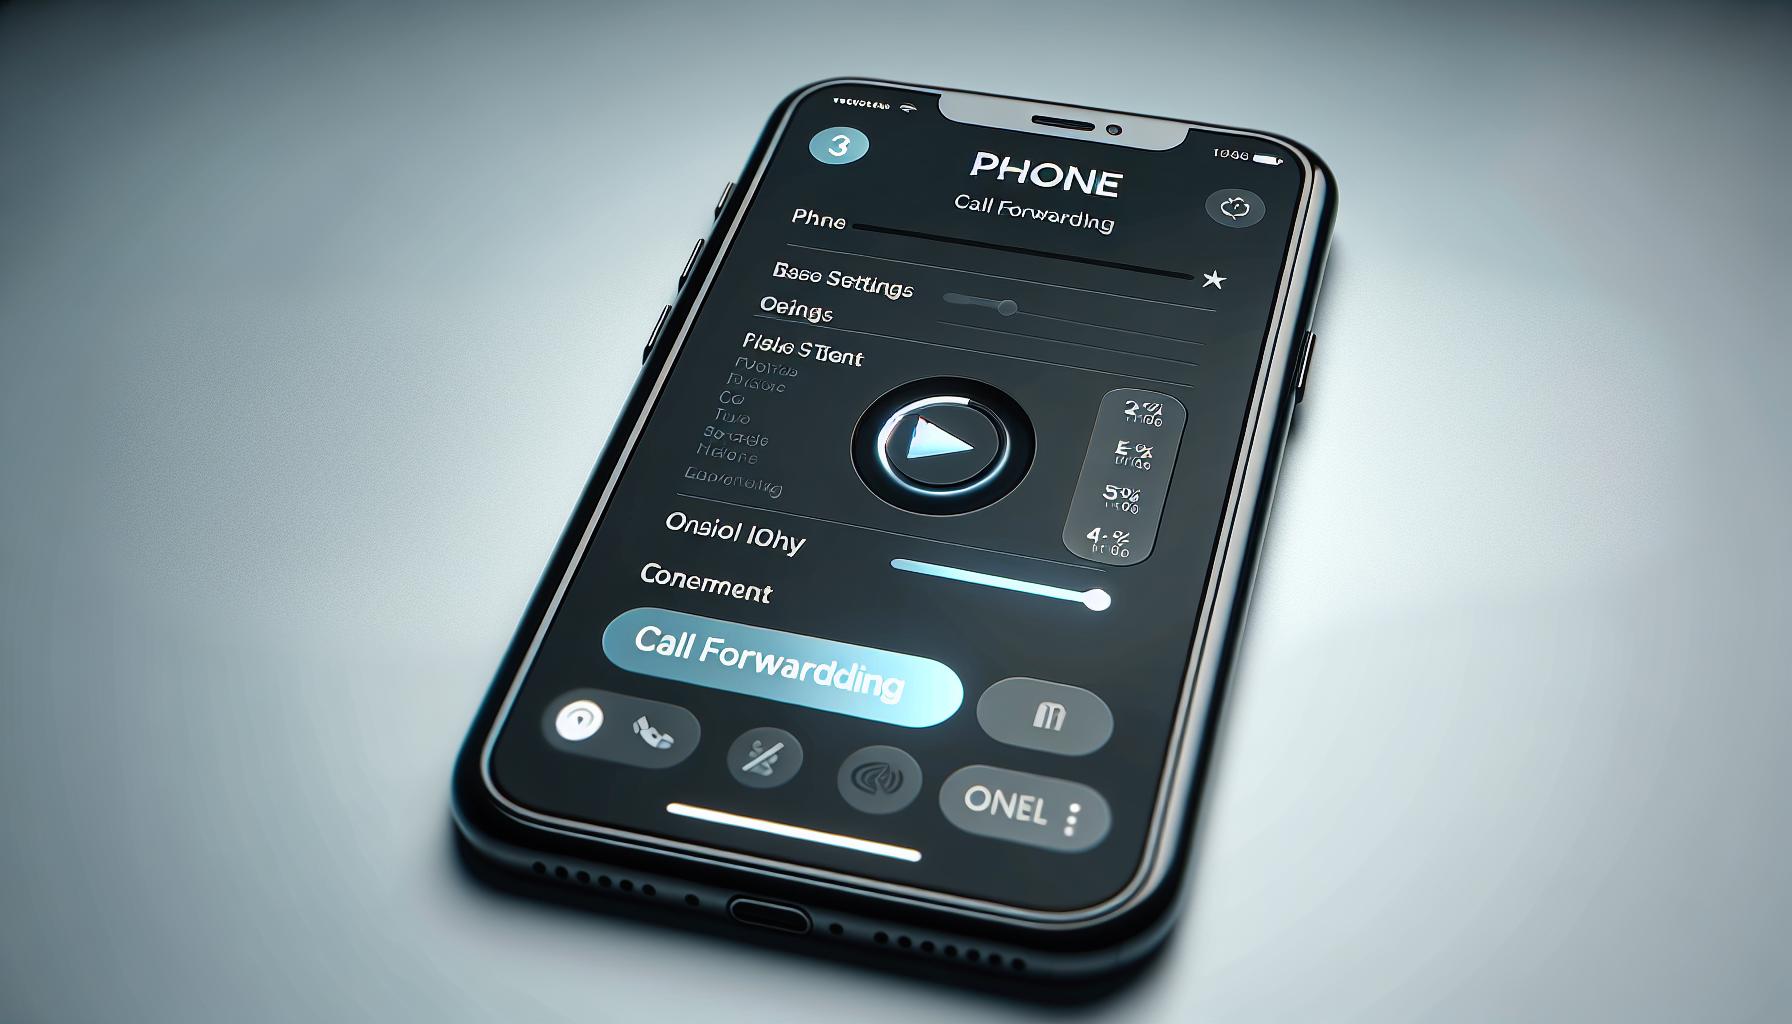
After tapping on the "Settings" tab, your task now is to locate the ever-important "Call Forwarding" option. It's usually listed under the "Phone" menu, somewhere between "Announce Calls" and "Respond with Text." Remember, your iPhone categorizes its settings, and these names may change slightly depending on your phone’s model or the iOS version. It's good to familiarize yourself with your phone's layout to make navigating through these menus a breeze.
Really take your time as you scroll through these settings. Absorb as much information as you can – knowledge is power, after all. Perhaps down the line, some of these settings could aid your daily phone usage. Once found, tap on the "Call Forwarding" option. It might initially be turned off, and that's perfectly fine. You're about to embrace the magic of never missing a crucial call, no matter the location or situation.
At first glance, "Call forwarding" seems deceptively simple. You might think, "Oh, I’m just redirecting my calls to another phone." But it's so much more than that. Call forwarding is an immensely useful tool that can transform the way you manage your call flow, especially if you're juggling multiple tasks or commitments.
The moment you tap on that "Call Forwarding" toggle, a whole new array of opportunities unravels. Suddenly, you're not bound by a single phone or location. Your communication can be as mobile and flexible as you are. So here's to harnessing the full power of your iPhone and enhancing your productivity while ensuring you stay connected in this digital era. Awesome, isn't it? Now, let's get down to the specifics.
The next step in the guide is to enter the phone number you want your calls forwarded to. So, you're ready to take that leap into a more convenient and reliable form of communication. Let’s move on to the next stage of call forwarding.
Step 4: Enable call forwarding
Now that you've successfully located the Call Forwarding option on your iPhone, it's time to turn it on and get started. This step is simple enough and you'll find that your iPhone's user interface makes the whole process quite seamless.
First, make sure you've opened the Call Forwarding option. Remember - It's under Settings > Phone > Call Forwarding. After you've clicked the Call Forwarding button, you'll notice that it's turned off by default. There's a small switch beside the option - go ahead, turn it on. It's as easy as flicking that switch.
Once the switch turns green, you'll know you've successfully enabled Call Forwarding. Your iPhone will prompt you to enter the phone number to which the calls should be forwarded. Remember, this can be any number - your home, office, or another mobile number. Choose a number wisely, one where you won't miss any urgent business calls or important family updates.
Enabling Call Forwarding is a crucial step in making sure you don't miss any calls. It's an essential feature, helping to reduce missed opportunities in business, or not missing that important family call when your primary device isn't within reach or in an area with poor network coverage.
Now that you've enabled Call Forwarding on your iPhone and set up a secondary number, you're just one step away from ensuring you're always reachable, regardless of where you are, or where your iPhone is.
Step 5: Enter the number to forward calls to
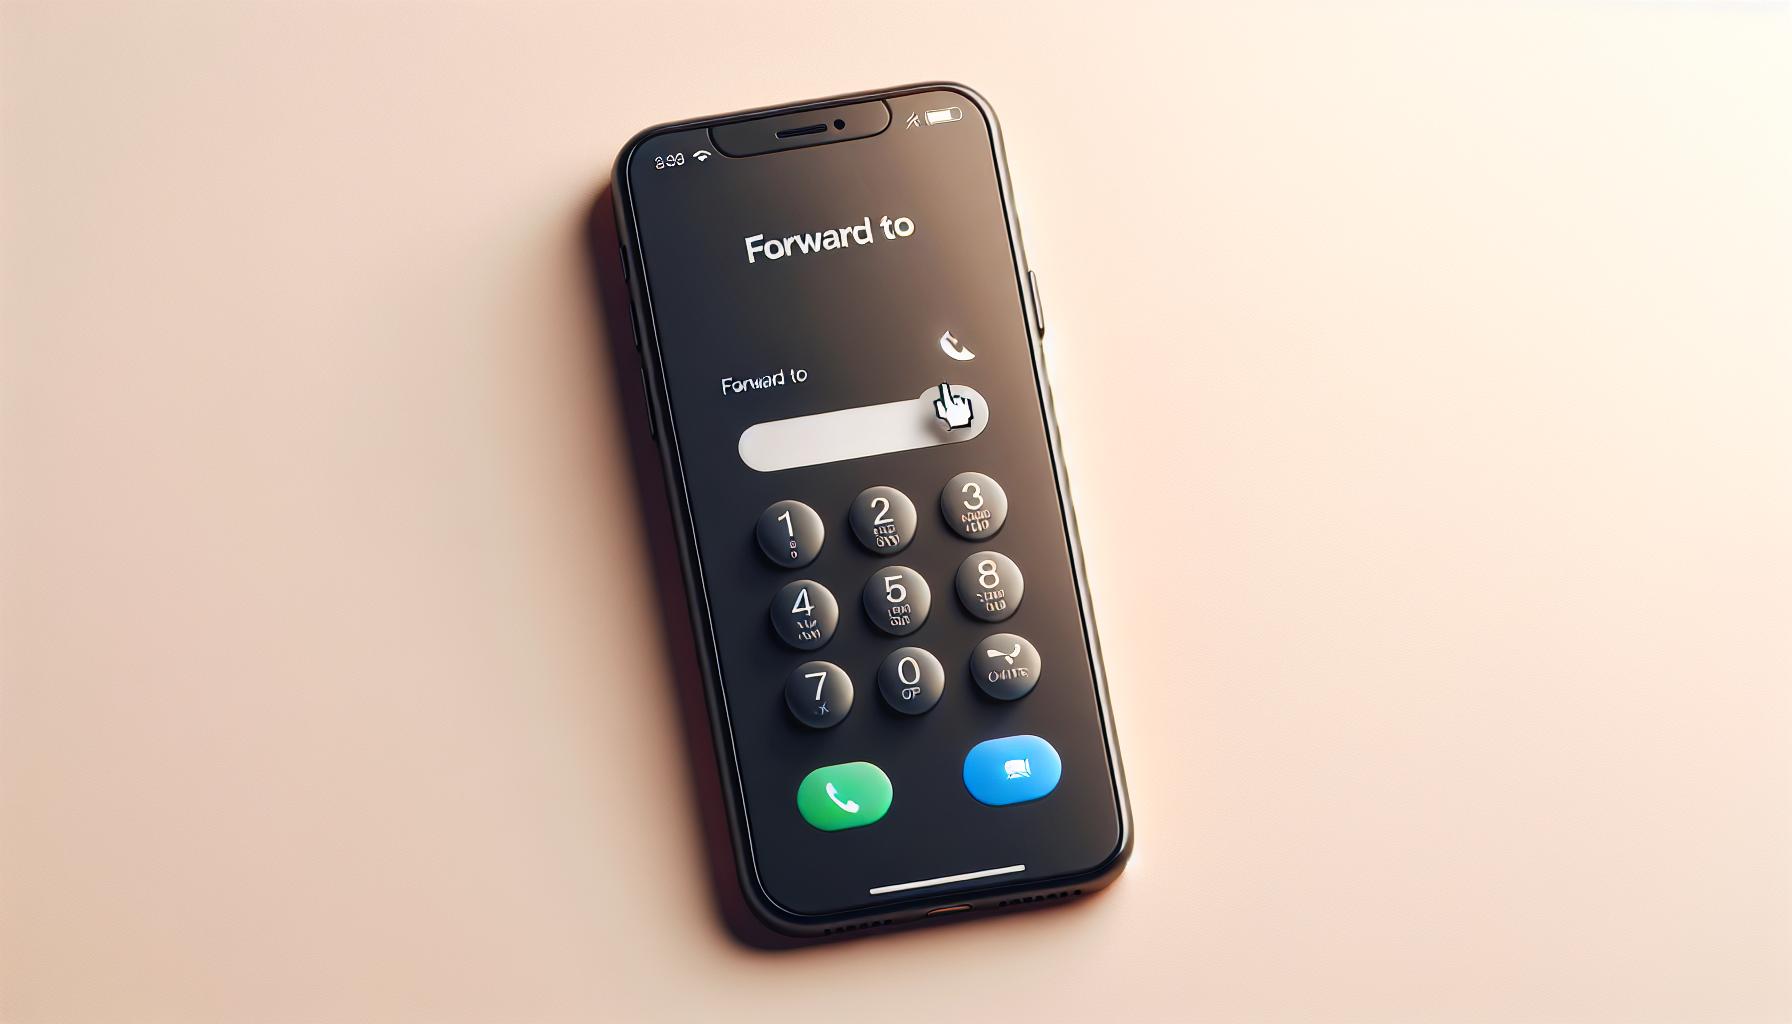
Now that you've successfully navigated the iOS settings maze, it's time to input the phone number you'd like your calls forwarded to. This may be your office landline, home phone, or an alternate mobile number. Remember: you're designating this number as your catch-all for incoming calls when you're unavailable or out of range.
To set the number, tap on 'Forward to' or a similar prompt. A blank field will appear where you'll input the number. Ensure the number's correct: typos could mean forwarded calls might end up in the wrong hands or an unused line, defeating the whole purpose of setting up call forwarding.
Consider the number you're using very carefully. Are you comfortable with every call coming to this alternate device or location? If you're using a shared line, does everyone on that line have consent to answer your calls? These considerations can help you select the most suitable number for your needs.
It's also worth noting that call forwarding doesn't discriminate between callers. This means every call, regardless of who it's from, will be rerouted to the chosen number. This feature can be both a blessing when you're out of service or don't have your iPhone on you, and a potential inconvenience if the chosen number is shared or public.
Once you've chosen the number, tap on the 'Back' button to go back to the 'Call Forwarding' screen. You'll notice the status has changed from 'Off' to 'On'. Now, any incoming calls will go straight to that number you've indicated. Should you want to cancel forwarding, return to the 'Call Forwarding' menu and slide the toggle switch back to 'Off'.
After you've completed these steps, suppose it happens that you're unable to answer an incoming call. In that case, the call will promptly be forwarded to the specified line, ensuring that you're always reachable.
Tap on 'Save' in the top right corner to confirm the changes, and voila! You've successfully set up call forwarding on your iPhone. Now all your iPhone calls will go to the specified number when you can't pick up the phone. While it requires a bit of setup, it's genuinely an invaluable feature that lets you stay connected, no matter where you are or what you're doing.
Step 6: Save the settings
After entering your phone number, you'll now navigate to the finale of this process. Saving the changes. A crucial yet often overlooked step, saving the settings affirms your actions and puts your changes into action. Ideally, without saving the settings, your previous effort will count for naught, leaving your calls unforwarded.
To save your settings, simply click on the 'Back' button located at the upper left part of your screen. Following the press, your iPhone will take a brief moment to register the alterations, signaling the successful accomplishment of call forwarding. Notice the 'Call Forwarding' bar has now turned green. This color variation indicates that the call forwarding feature is active and running.
Proudly, your iPhone is now programmed to help you stay connected, no matter the circumstances surrounding your location or availability.
To ensure your call forwarding feature is operating actionably, you may want to run a quick test. You could ask someone to call your number and see if the call redirects according to your configured direction. It's a great way to verify the setting and make sure everything works as intended.
An incredible iPhone feature, Call Forwarding, is a must-know for any ambitious iPhone user. Making the best of this function, you’ll never have to worry about missed calls or inaccessibility anymore. So, continue mastering your favorite iPhone and stay ahead of the game with its rich and user-friendly features.
Seeing the green prompt on your screen, breathe in relief knowing you've successfully enabled call forwarding on your iPhone. Remember, it's not about where your iPhone is, but where your calls end up.
Step 7: Test call forwarding

Now that you've set up call forwarding on your iPhone, it's essential to test whether everything is functioning as expected. You want to ensure that all incoming calls are correctly forwarded to your specified number. Let's walk you through how to conduct this test effectively.
To test call forwarding, you'll require a second phone to call your iPhone from. This could be your friend's phone, your home phone, or even your office phone. Don't overcomplicate it - any other phone will do for this process.
Dial your iPhone's number from the second phone. Here, your iPhone shouldn't ring – instead, your forwarded number should receive the call. If the call comes through, then you can confidently say that your call forwarding works well.
If your iPhone rings instead of the forwarded number, something isn't right. You'll need to go back and repeat the previous steps in this guide. Remember, it's about inputting the correct number, ensuring you're in an area with good signal strength, and saving the settings right after.
Though it might seem like a lot, these steps are crucial to confirm that your call forwarding feature is perfectly set up. Now that you've tested this, you're one step closer to never missing an important call again.
Troubleshooting common issues
Now that you're all set up, you might encounter some bumps along the way. Here are some of the most common issues you might face when forwarding calls on your iPhone and how to troubleshoot them.
Let's start with a classic: you've set up call forwarding, but it's not working. Don't panic! It's a common issue and typically caused by inaccurate setup. Here's what to do:
- Double-check the forwarding number: Ensure that the number you've entered is accurate, without any additional characters or spaces.
- Check for network availability: Ensure your device has cellular signal, else call forwarding can't be activated.
- Reboot your iPhone: Sometimes, a quick reboot can help resolve minor issues.
Another common issue is calls not being forwarded to the right number. If this happens, recheck the forwarding number and make sure it's the correct one. Also, it's crucial to remember that, when you update the forwarding number, the changes won't take effect until you disable and then re-enable call forwarding.
You might also come across an issue where call forwarding gets deactivated automatically. In most cases, this occurs when your iPhone switches between different networks, particularly if moving through areas with unstable network signal. In such situations, it's recommended to manually enable call forwarding again.
Additionally, call forwarding could lead to added expenses, particularly when forwarded to international numbers. It's advisable to be aware of your operator's charges for call forwarding before you start using this feature.
Despite these common problems, call forwarding is a powerful feature to ensure you're always reachable. A little troubleshooting can clear up any issues, putting you back in control of your calls. Stay ahead with your iPhone's features, keep exploring, keep learning. You never know what you'll find.
Conclusion
You've now got the know-how to forward calls on your iPhone, a feature that'll ensure you never miss an important call again. Whether it's a business opportunity or a call from a loved one, you're now equipped to handle it. And remember, even if you're in an area with poor network signal, call forwarding has got you covered. You're also aware of the potential issues you might face and how to troubleshoot them, keeping you one step ahead. So go ahead, make the most of this feature and keep exploring your iPhone's capabilities. The world is at your fingertips, quite literally!
How do I enable call forwarding on my iPhone?
To enable call forwarding on your iPhone, navigate to the 'Phone' app, select 'Call Forwarding', then tap 'Turn on'. Input the desired number you want the calls to be forwarded to and confirm your selection.
What are the benefits of using call forwarding?
Call forwarding ensures you do not miss any important calls, particularly beneficial for business communications. It can also be helpful in areas where network signal strength might be weak, enabling you to receive calls on a different device.
What are common issues when forwarding calls on iPhones?
Common issues include call forwarding not working, calls not being forwarded to the correct number, and call forwarding getting deactivated automatically. Consult with Apple's support resources or your network provider for troubleshooting help.
Can I incur extra charges for using call forwarding?
Yes, call forwarding can potentially lead to additional charges, especially when forwarding calls to international numbers. Always consult with your service provider to understand the potential expenses before setting up call forwarding.
What should I do if call forwarding stops working on my iPhone?
If call forwarding stops working, first ensure your network connectivity is stable. If it still doesn't work, disable and then re-enable the feature. If the issue persists, contact your service provider for assistance.
Is call forwarding a useful feature of the iPhone?
Yes, call forwarding is a versatile feature of the iPhone. It allows you to manage your calls effectively, ensuring you do not miss important calls and providing flexibility to receive calls on different devices.
