Are you struggling with storage space on your iPhone because of too many photos? Don't worry, you're not alone. It's a common issue that many iPhone users face. Deleting all photos from your iPhone can be a daunting task, but it's easier than you might think.
In this guide, we'll walk you through the simple steps to get rid of all those unwanted photos and free up some much-needed space. Whether you're planning to start fresh, or you need to clear out old memories for new ones, we've got you covered.
Why Should You Delete All Photos?
At first glance, you may question the logic behind deleting all of your photos. After all, these often represent memories. Yet, there are several compelling reasons why deleting all images from your device may not be such a bad idea after all.
Your iPhone's storage space is finite. With every snap you take, a portion of your device's memory is consumed. Some photos can take up more than 10MB of space each. If you're someone who snaps pictures regularly, you'll find your storage space diminishing fairly quickly. Imagine all the storage taken up by photos that you probably won't look at again. Wouldn't it be better to allocate that space to something else? By deleting unnecessary photos, you're making space for new apps, videos, and of course, more memories.
Keeping your photos sorted also becomes a hefty task when there are thousands. If you've ever tried to find a specific photo among the sea of images, you'll know how quickly it can become a time-consuming task. By maintaining a clean photo library, you won't lose time searching for images in the future.
The potential security risks can't be ignored either. In the unfortunate event your phone gets stolen or hacked, having fewer photos can limit the amount of personal information that falls into the wrong hands.
Lastly there's the issue of performance. As your iPhone’s storage space gets closer to its maximum capacity, you might start noticing a slow down in performance. Keeping a healthy amount of free space on your device can ensure it works in top shape.
Now that you've realized the benefits of deleting all your unneeded photos, the natural next step is to know how to do it. But remember, it’s always a good practice to back up photos before doing a massive delete. That way, you preserve those precious memories while also ensuring your device is more efficient, organized, and secure.
Backup Your Photos

Now that you're aware of the benefits of decluttering your iPhone, it's time to delve into securing your memories before you start the cleanup process. Backing up your photos is an essential step before deleting because it's not just about freeing up space on your iPhone, but also about preserving your treasured moments.
Deciding to backup your images means giving them a new home. There are a number of routes you can take:
- iCloud
- iTunes
- External hard drives
iCloud
The most straightforward way to backup your iPhone photos is through iCloud. This method is as convenient as it is swift. Make sure your Apple account is in place, and then navigate to Settings > [your name] > iCloud > Photos. Turn on the iCloud Photos switch. This ensures that your pictures are safely stored in the cloud till you need them.
iTunes
iTunes too serves as a potential backup tool. To make the transfer, establish a connection between your iPhone and computer. Open iTunes, choose your iPhone, and select Photos. You can now choose to sync. Just remember iTunes only offers one-way synchronization - from your PC to your iPhone.
External Hard Drives
If you desire extra security and prefer physical storage, external hard drives could be your go-to option. Connect your iPhone and external hard drive to your computer at the same time to begin the process. You can then copy the photos from your device and paste them on your hard drive.
Choosing the optimal back-up method depends on your convenience and need for accessibility. iCloud is excellent if you're always on the go. iTunes can be a suitable choice if you frequently work on your computer. On the other hand, a hard drive is best if you're more comfortable with tangible storage.
Understanding the process of backup gives you the confidence to let go of the digital clutter. With your photos safe and sound, we'll now move onto the main event: deleting your photos from the iPhone.
Organize Your Photos
Now that your photos are backed up, it's time to get organized. You'll realize that arranging your images isn't only beneficial for aesthetics, but it's also a practical way to gain quicker access to your desired files. You may be surprised how much clutter you can remove simply by organizing your photos, thus freeing up valuable storage space on your iPhone.
Creating albums in your Photos app is a splendid starting point. Create categories like Family, Vacation, or Pets. This way, you can easily locate these photos later. Not to mention, it's quite easy to do. Go to the Albums tab, tap the plus sign, give your album a name, select the photos you want to add, and you're done.
It's essential to delete duplicates or use a third-party app for weeding out the similar photos. As you flip through your myriad of photos, you'll find that you've unintentionally clicked the shutter button a couple more times than necessary. Each duplicate you delete is an extra bit of room you are making for new memories.
Another valuable practice is the use of Favorites. If you have photos that are more important to you, use the heart button to mark them as your favorite. This trick will put them all together in one place for quick access, saving you time when you're in a rush.
Furthermore, utilizing the search bar at the top of the Photos app can be very helpful. It’s equipped with smart technology that understands keywords like 'beach', 'New-York', or 'sunset' and it can show you all the related images based on your search.
Next up, we'll be moving on to the essential section - how to delete all your photos from your iPhone, leveraging these organization strategies for efficient photo management. So, stay tuned...
Using iCloud Photos
To delete all photos from your iPhone, iCloud Photos is a game-changer. It not only keeps your photos and videos secure but allows you to access them across all your Apple devices. After organizing your albums, marking favorites, and clearing duplicates, the next step in achieving a clean, clutter-free gallery is mastering this handy tool.
Enabling iCloud Photos can be your best bet. It's easy. Go into the 'Settings' on your iPhone, click on your name at the top, then go to 'iCloud'. From there, select 'Photos' and finally switch on 'iCloud Photos'. You've just unlocked a powerful tool in photo management.
When iCloud Photos is turned on, all your images and videos automatically upload and store in iCloud. Any changes you make are reflected on every linked device. Here's what this means for you: if you delete a photo from your iPhone, it's gone from other devices too.
But wait, deletion sounds irreversible, right? That's not necessarily the case! iCloud Photos helps facilitate recovery of inadvertently deleted photos. Deleted photos sit in the 'Recently deleted' album for 30 days. Now, isn't that a lifesaver?
Alright, you're ready to sweep clean your iPhone's gallery using iCloud Photos. But remember, storage isn't unlimited. You start with 5GB of free space, which can quickly fill up. There are easy upgrade options though:
| Plan | Cost per Month |
|---|---|
| 50GB | $0.99 |
| 200GB | $2.99 |
| 2TB | $9.99 |
If you're a heavy photo and video user, upgrading may be well worth it. Decide your plan based on your budget and needs. As for the photos waiting to be organized and deleted from your iPhone, they're about to get the iCloud Photos treatment. Isn’t this great when it comes to deleting iPhone photos confidently? With iCloud Photos, the control is at the tip of your fingers.
Using the Photos App

Having discussed iCloud Photos, let's not forget about your iPhone's native Photos app. It's an intuitive tool designed for efficient photo management. With just a few taps, you can take control of your image library's clutter.
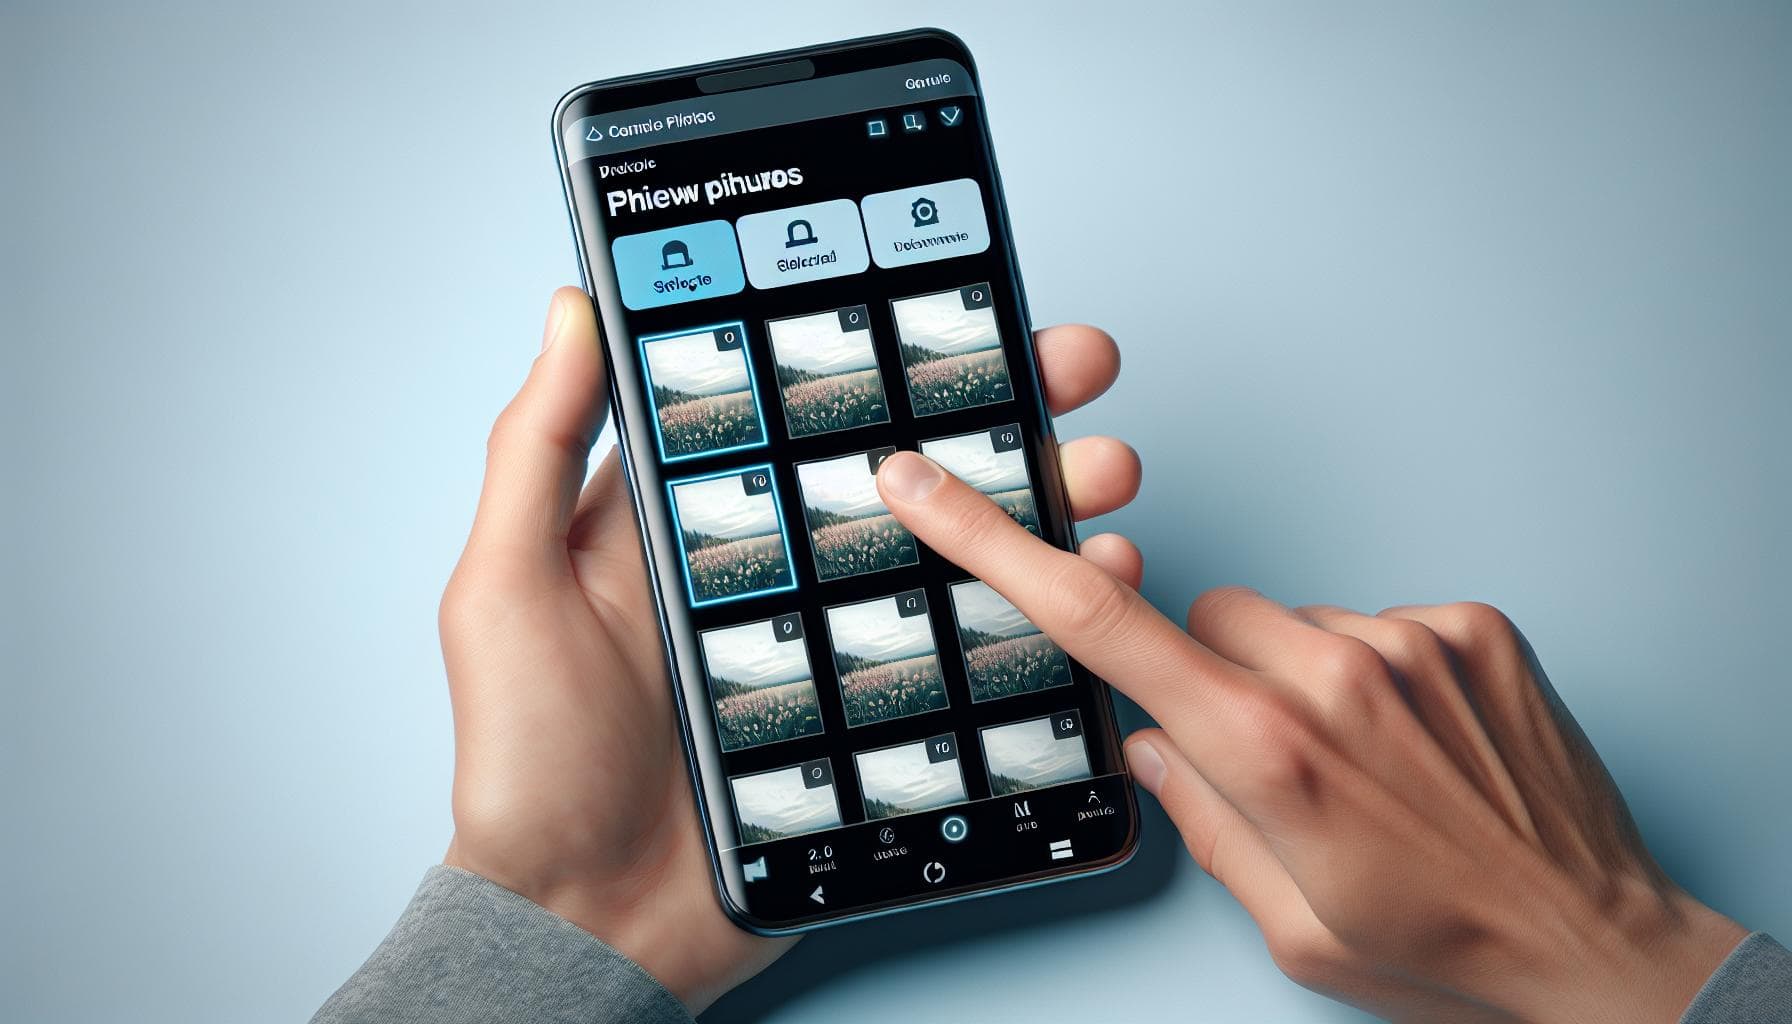
Your first instinct might be to tap-select each photo individually to delete them. But, that'd take a good chunk of your time if you've got thousands of pictures lying around. An easy trick exists to select and delete all your photos at once.
To get started, tap on the Photos app icon. Now, select the "Photos" tab located at the bottom of your screen. In this tab, your photos are arranged chronologically. You'll see clusters of photos by year, month, and day.
Bulk Deletion Tip: Stroll down to the "Years" using your finger and tap on the year that you wish to purge. Don't worry, this doesn't obliterate the entire year's worth of photos yet! It narrows down your field of view to that specific year. Repeat this step by selecting the month and day until you’re looking at all the photos from a specific day. Then hit “Select” and sweep your finger across the photos to select them all swiftly. Now, you just have to tap the trash bin icon at the bottom right corner of your screen, and voila! You've successfully deleted an entire day’s worth of photos in a single swoop.
The Photos app may have a simpler interface than iCloud Photos, but it's packed with features. The above method for bulk deleting pictures is a perfect case in point. Yours to explore are the other functionalities like Face and Scene recognition, Intelligent Search, and the "For You" tab with AI-curated memory trips.
Take your time to familiarize yourself with these features. Let them serve as a reminder that managing your photo clutter doesn't always have to be a cumbersome task.
Conclusion
You've got the power to keep your iPhone photo library in check. With the tricks you've learned, you can swiftly select and delete all photos, freeing up valuable storage space. Remember, the Photos app is more than just a gallery. It's a smart tool that offers features like Face and Scene recognition, Intelligent Search, and AI-curated memory trips. So, don't shy away from exploring and making the most of it. Managing your photo clutter is no longer a daunting task, it's as simple as a few taps on your screen.
Frequently Asked Questions
How can I select and delete all photos at once on iPhone?
You can quickly bulk select and delete all your photos using the native Photos app. The article describes a simple trick to hold and drag your finger across the photos to select multiple images at once.
What unique features does the iPhone Photos app offer?
The iPhone's native Photos app boasts several standout features, including Face and Scene recognition, an Intelligent Search function allowing you to sift through your images effortlessly, and AI-curated memory trips, among others.
Is managing photo clutter a difficult task?
No, managing photo clutter doesn't have to be a tedious job. With the utilitarian features offered by the iPhone's Photos app, you can easily organize, categorize, and discard photos, saving time and decluttering your storage space.
What does AI-curated memory trips mean?
AI-curated memory trips is a useful feature of the iPhone's Photos app. It utilizes artificial intelligence to identify and group related photos, creating short video presentations, much like a trip down memory lane. This is especially enjoyable for reminiscing and sharing special moments.


