Ever found yourself with a video on your iPhone that's just not quite right? Maybe there's too much background or an unwanted element that's distracting from the main subject. Don't worry, you're not alone and it's easier than you think to fix.
With today's technology, you can crop your videos directly on your iPhone, no fancy software or technical skills necessary. Whether you're a social media enthusiast wanting to post the perfect clip or just looking to tidy up your personal videos, this guide's got you covered.
We'll walk you through the simple steps to crop a video on your iPhone, making it a breeze to focus on what matters most in your footage. So, let's dive in and start turning those not-so-perfect videos into polished, share-worthy content.
Why Crop a Video on iPhone?
You're probably wondering, why should I bother to crop a video on my iPhone? Well, the reasons are quite compelling.
Firstly, it's all about enhancing your video content. When you shoot a video, you might unintentionally capture unnecessary or distracting elements. Cropping allows you to cut out these distractions and focus on the key subject of the video. You get to decide what makes it to the final cut and direct your audience's attention where you want it.
Moreover, cropped videos are more share-worthy. Ever noticed how well-framed photos get more likes and shares? The same principle applies to videos. When your video is aesthetically pleasing, you grab attention instantly. This means more views, more likes, and more shares.
Cropping your videos on iPhone is also about making your content social media ready. Different platforms have different requirements. Instagram prefers square videos, while YouTube and Facebook support a wider aspect ratio. By cropping, you can make your video fit any social platform's requirements and prevent any crucial content from being automatically cut off.
In addition, cropping can give your videos a professional touch. Remember, you don't need a black belt in video editing to create a great video. Simple tweaks like cropping can make a ton of difference. It shows that you care about the details and are thoughtful in your presentation.
Lastly, cropping videos on your iPhone allows for convenience and ease of use. You don't need special software or expertise. You can do it right on your device, and once you've got the hang of it, it'll only take a few taps.
So while cropping may seem like an extra step, it's worth it. With a little practice, you'll find it a valuable tool in your iPhone video toolkit.
Step 1: Open the Photos app
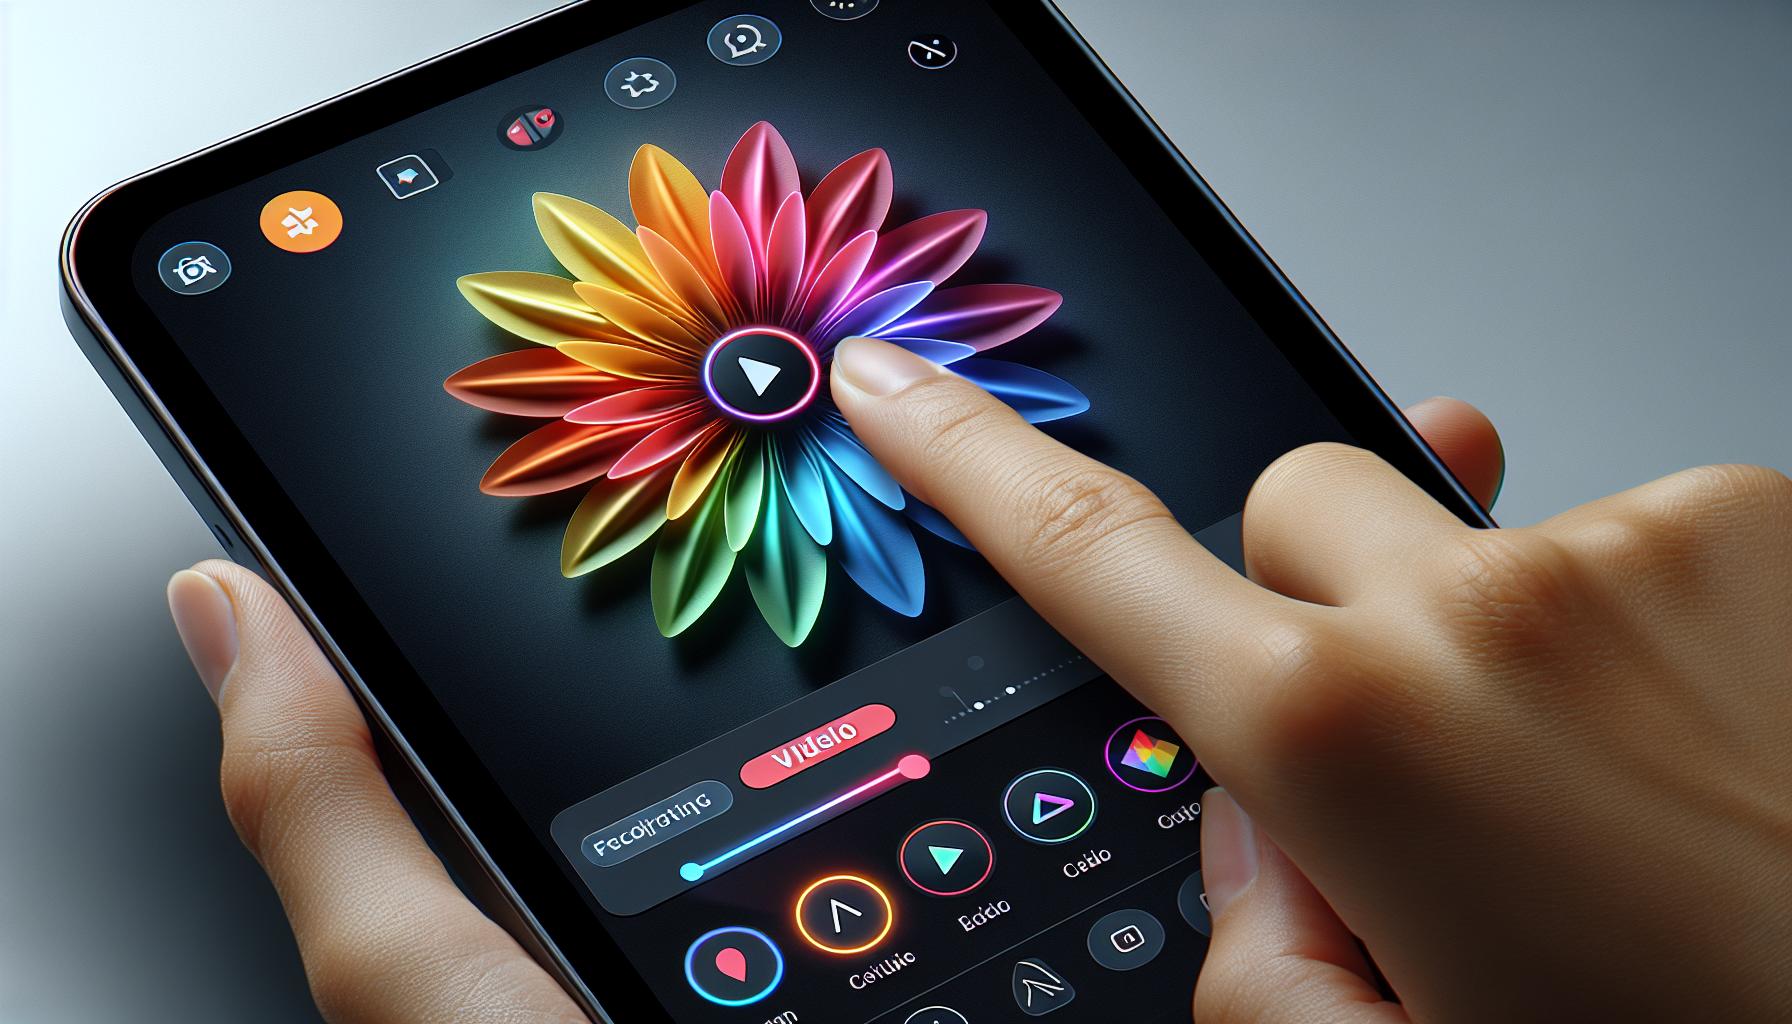
Embarking on your cropping journey begins with a very simple task - opening the Photos app on your iPhone. This is where you'll find all your media files stored. Don't be flummoxed by the sheer volume of videos and photos you might have. It's normal for most iPhone users to have a massive collection.
From your iPhone's home screen, swipe up or down to open the full list of applications. Look for the Photos app. It’s the one with the multicolored flower on a white background. Tap it and you're halfway there for the first step.
Once the Photos app opens, you'll find a range of albums such as 'Recents' or 'Favorites'. 'Recents' is where you'll find the bulk of your latest videos and photos.
To find the video file you want to crop, simply scroll through the 'Recents' album or use the 'Search' function. With the 'Search' functionality, you can locate specific videos using keywords, dates or locations. It's much easier and quicker to find the video you need using this powerful tool.
Having located your video, go ahead and tap on it to open. Your video is now ready to be cropped, bringing you another step closer to achieving that perfect, polished content you are aiming for. Notice the variety of editing options below the video. Here, you’ll find 'Edit'. That’s your next stop.
Your journey through the Photos app not only familiarizes you with your iPhone's multimedia library, but it also sets the stage for understanding the importance of each step in the cropping process. Despite its simplicity, opening the Photos app is the cornerstone to video cropping on your iPhone.
Step 2: Select the video you want to crop

Now we're moving on to an important step of the process: selecting the correct video. After launching the Photos app, you'll find yourself in an array of thumbnails. While it's easy to get lost in the memories, it's crucial to stay on track and select the video you wish to crop.
When you've successfully opened the Photos app, your next destination is the 'Recents' album. This album typically stores your most recently captured or downloaded media files. Scrolling through 'Recents' tends to be quicker than searching through your entire library. However, if your video isn't recent, feel free to use the 'Albums' or 'Search' options in the bottom menu to promptly find and select your video.
After locating your video, tap on its thumbnail for a larger view. Please ensure it's the video you want to crop. Watch the video once if you're unsure. Mistakes can easily be reversed, but why not save time by doing it right the first time?
Remember: If you mistakenly start cropping the wrong video, just hit 'Cancel' and reselect. No changes are permanent unless you confirm them. So, you can experiment without fear of irreversibly altering your video.
The next big step after selecting your video is cropping it. In the following section, you'll learn the ins and outs of the iPhone video cropping interface. Interestingly, you can customize the video's frame to your liking within a few seconds. Get ready to dive deeper into the world of iPhone video editing.
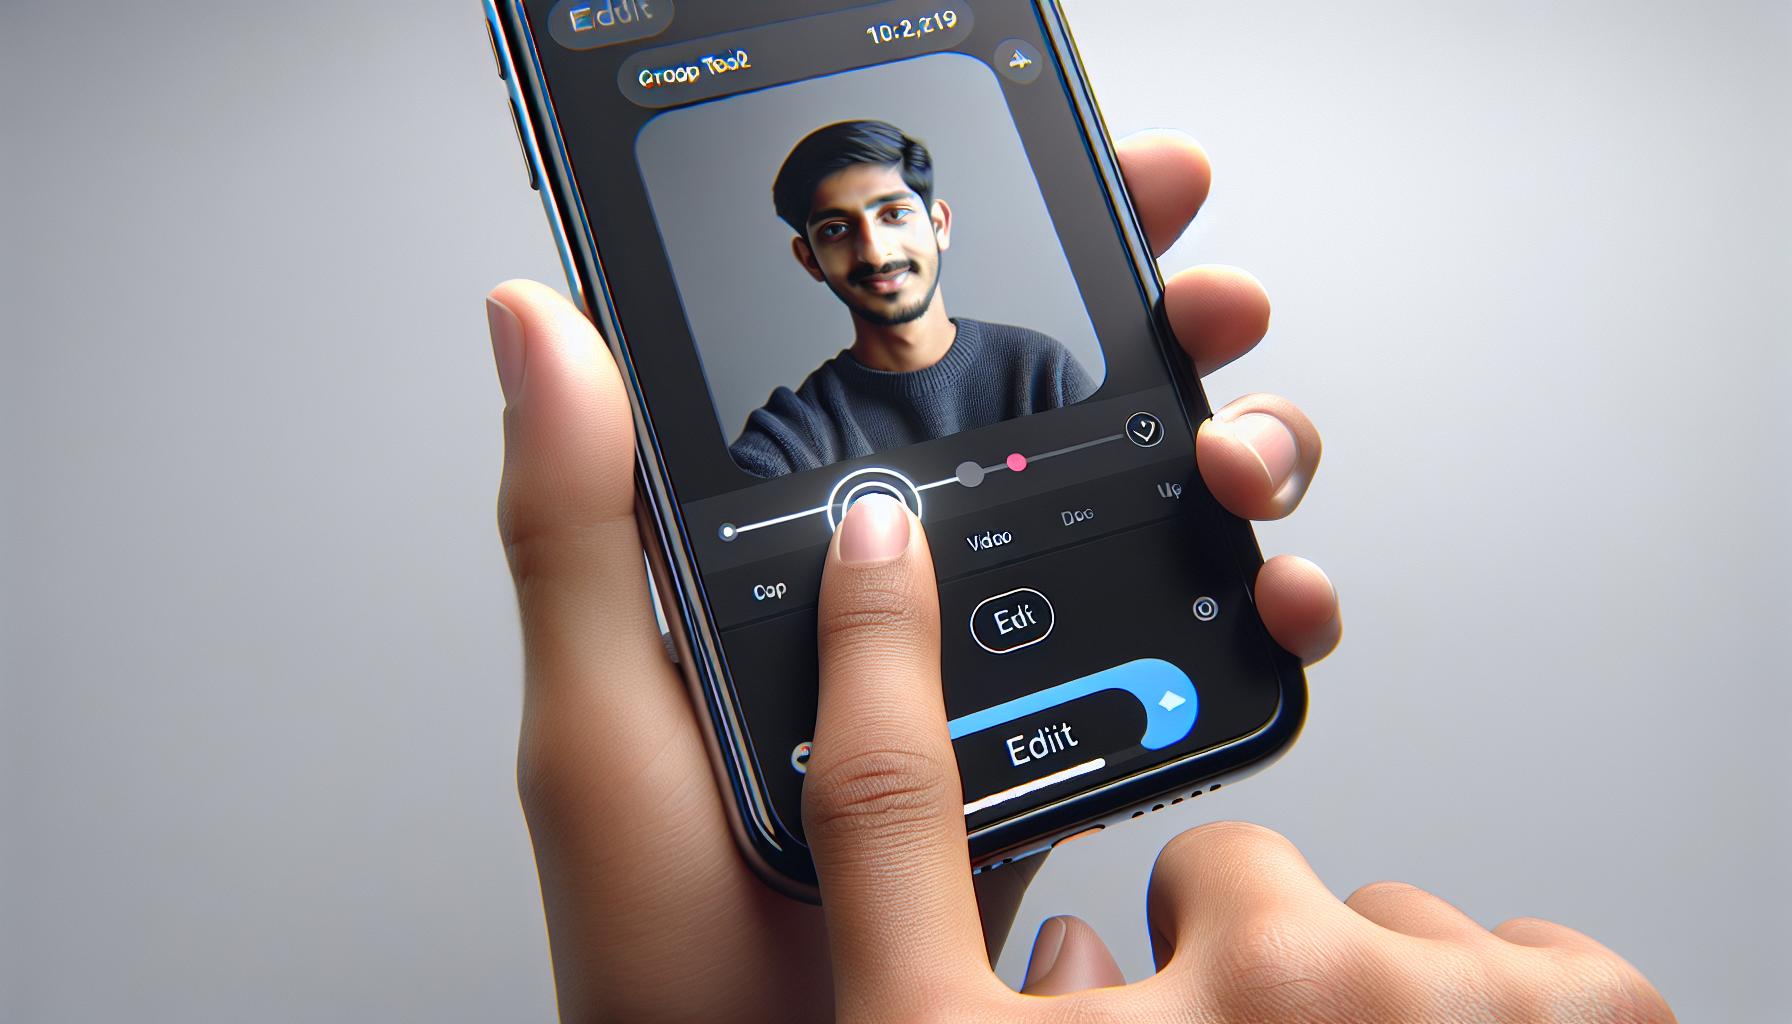
After you've found your video and you're ready to roll, the next step is tapping on the "Edit" button. You'll find this option on the top right corner of your screen once the selected video is opened. It's an essential part of the process to crop videos on an iPhone efficiently, ensuring the smooth flow of your editing work.
Let's take a look at what happens when you tap on the "Edit" button. iPhone interface immediately changes gears from just any other smartphone to a mini editing suite. Right on your fingertips, there's an array of tools to alter your video just the way you'd like.
When you're in the edit mode, look for the crop icon at the bottom of the screen. This icon, represented by two overlapping right angles on most iPhones, symbolizes the crop function and should become your focus now.
Of course, if you tap the wrong button no need to worry as iPhones are very forgiving. Just tap on "Cancel" and you're right back where you started, without any permanent changes to your video.
The edit mode also lets you do a multitude of things around the video file, so don't be afraid to explore a little. Remember, no changes are permanent until you hit "Done," which serves as the green light for all your changes.
Next, let's figure out how to use the cropping tool after it has been selected.
Step 4: Crop the video
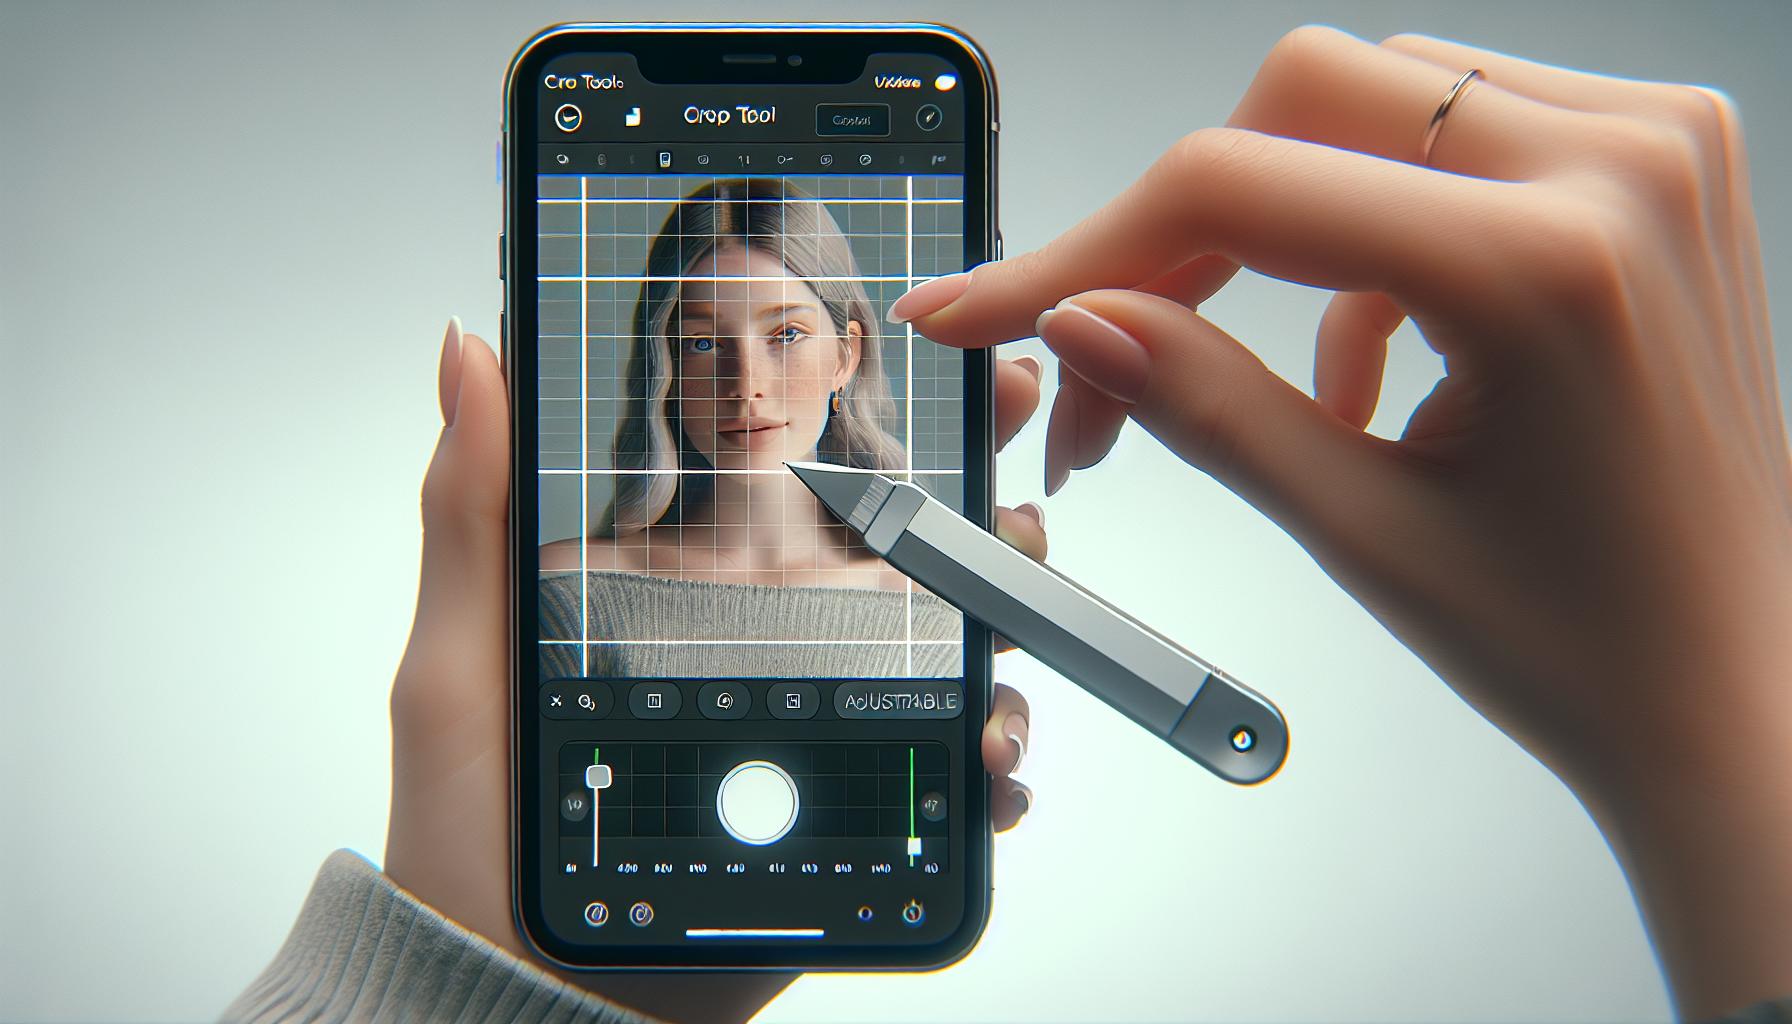
After tapping the Edit button, you'll find yourself in the editing interface. Here, you'll see a plethora of tools for transforming your video content. Ignore the rest for now - we're focused on cropping.
Locate the crop tool. This handy feature is usually symbolized by two right-angle triangles or squares interlocked at the corners - think of a frame-like shape. Tap on it, and you'll open up your cropping options.
An adjustable grid overlay will appear on your video. It's here that you have complete control over what stays in the frame and what gets chopped. Manipulate the grid by dragging the corners and edges according to your preference. You can crop a video either in landscape mode (width greater than height) or portrait mode (height greater than width), the choice is yours!
If your video fits a specific dimension then there's a ratio-oriented crop option too. Tick the Aspect Ratio option and choose from predefined formats like square (1:1), widescreen (16:9), or others that suits your needs.
Sometimes, you might capture a video in the wrong orientation. If it's a mistake, it's the easiest one to fix. Select the Rotate tool (usually indicated by a rounded arrow), and get your video in the perfect viewing angle.
Remember, all these changes are not permanent at this stage. If you're not happy with the results, select Revert to undo all your edits and start from scratch. The beauty of the iPhone video crop feature is in its simplicity and flexibility, letting you experiment without worry.
Now that you've mastered the art of video cropping on an iPhone, then what's next?
Step 5: Adjust the crop boundaries
Now that you've initiated the cropping process, time to get hands-on with the nitty-gritty. Adjusting your video's crop boundaries is the next important step to take.
Just hit the corner of the grid overlay and drag it inward or outward. Dragging it inward will decrease the crop area, effectively trimming off more parts within the frame. Move it outward to increase the crop area and contain more of the video in the frame. This way, you've got real-time variable crop control at your fingertips.
But hold up! Remember that thing about aspect ratios? Let's dive back into it. On the upper-right side of the screen, you'll notice an icon looking like a pair of nested rectangles. Tap on that and you'll see a list of common aspect ratio presets:
| Aspect Ratio | Descriptive Name |
|---|---|
| 1:1 | Square |
| 16:9 | Widescreen |
| 4:3 | Standard |
Select the one that best suits your output requirements. Cropping your video to a particular aspect ratio can ensure it'll display correctly on specific devices or platforms.
Go ahead, move those crop boundaries around. Play with different aspect ratios. Remember this is a non-destructive editing process. Anything you change can be reversed just by tapping "Cancel" in the top left corner.
Feel free to take your time here. Often, it's the minor adjustments that can make the most noticeable impact on your final product. Try it out, explore your options and find the balance that works just as you want. May you make the most out of every pixel you've captured in your video.
Step 6: Save the cropped video
You've now reached the final step in this process – saving your freshly cropped video.
After making all your adjustments, it's important to remember that changes won't apply until you verify them. You've put in all the work, now it's time to reap the rewards and store the final version.
Tap on the 'Done' option in the bottom right corner of your screen. This will initiate applying all the changes you have made to the video including pixel adjustments and changes in aspect ratio. The process might take a few moments. Patience, as they say, is a virtue.
There are two options when hitting 'Done': 'Save as a New Clip' or 'Save Video'. The 'Save as a New Clip' options lets you preserve the original video in its initial state, providing a safe fallback option in case you're not fully satisfied with the end product or wish to make additional edits in the future. On the other hand, going with 'Save Video' permanently modifies the original video, so ensure you're completely happy with the edits before choosing this option.
Understanding these options and finally, deciding which works best for you is crucial. Don't rush it, take a moment to consider what you need.
With these steps, you've got a newly cropped video ready for export or sharing. Go ahead and open your Photos application to witness the gleaming fruits of your labor. Combining your skills with your iPhone's built-in tool set really does bring satisfying results.
Armed with this knowledge, you're now equipped to crop your videos like a pro – straight from your iPhone. And don't forget, practice makes perfect. Keep honing these skills, keep exploring your iPhone’s capabilities and watch your editing skills sky-rocket. Your journey to becoming a savvy video editor right from your mobile device continues.
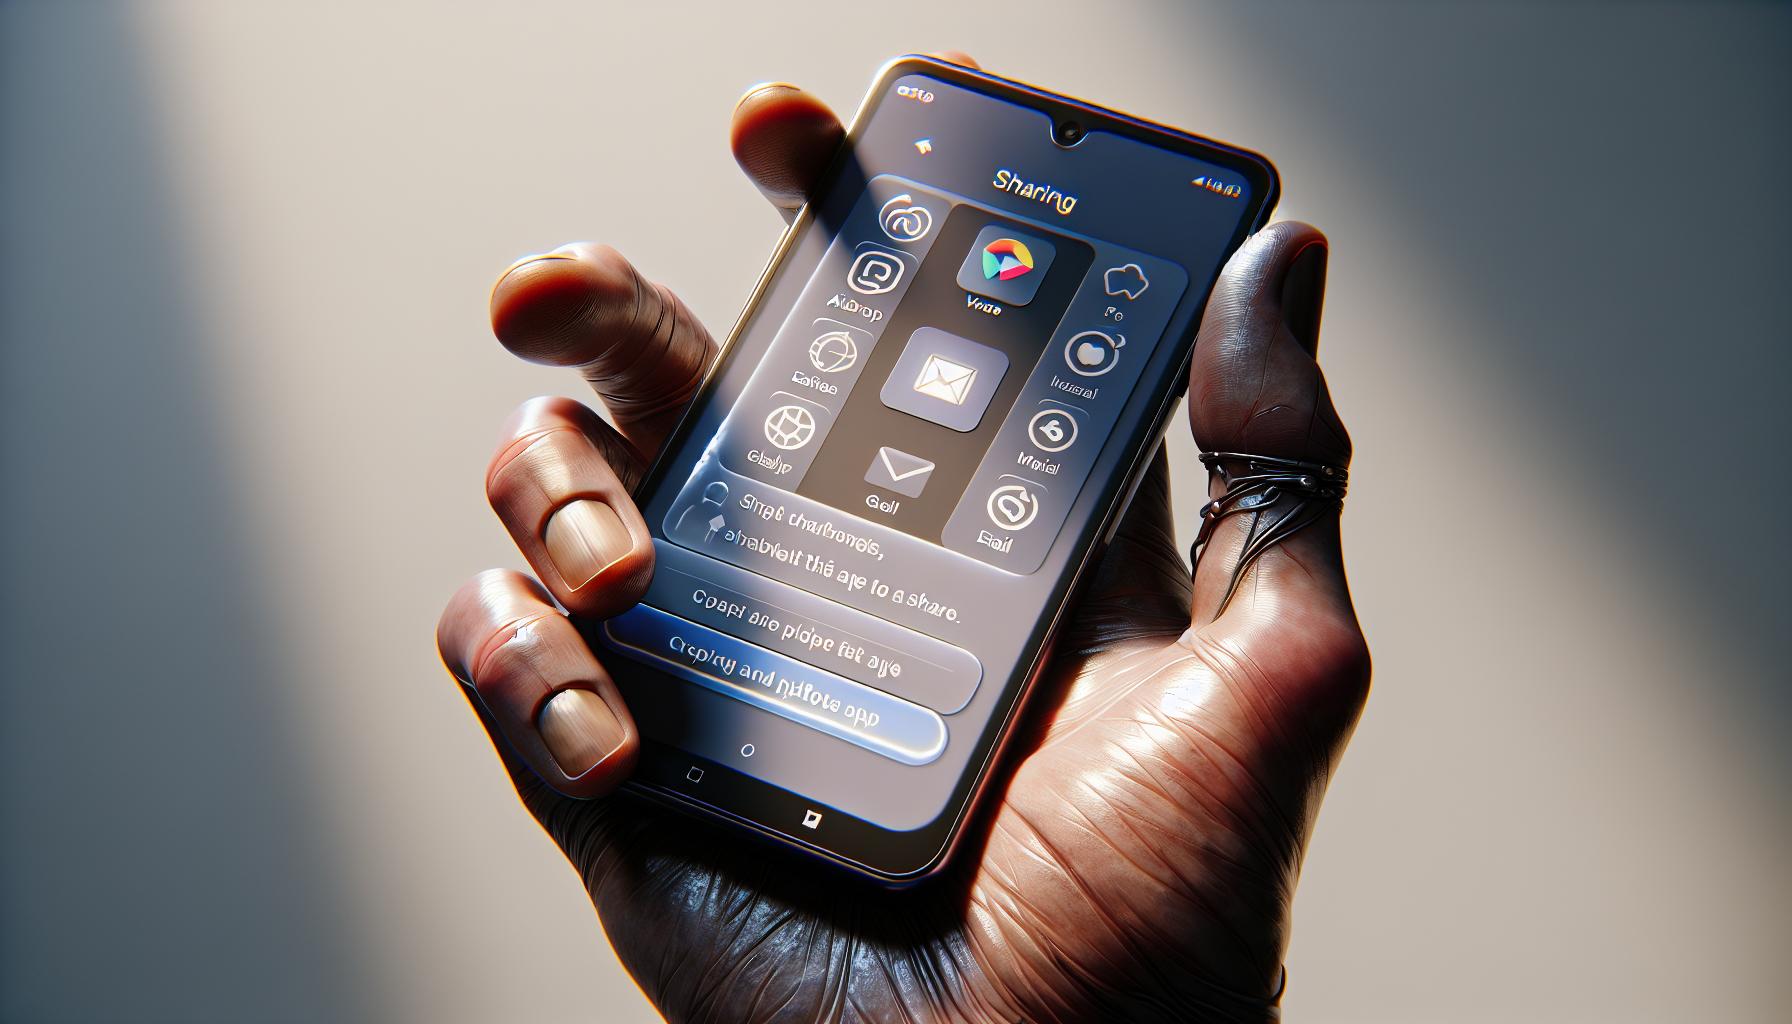
What good is a perfectly cropped video if you don't share it? Whether you want to showcase it on your social media platforms or send it directly to your contacts, sharing your edited masterpiece is a breeze with the iPhone’s built-in features.
After saving your cropped video, it's immediately available for sharing. To do this, return to the 'Recents' album or your chosen video album in the Photos app. Here you can locate and select your newly edited video.
Once you've selected your cropped video, tap on the square with the up arrow - this is the 'Share' button. You'll be presented with an array of options for sharing your video. You can choose to:
- AirDrop it to other Apple devices nearby
- Message or mail it directly to your contacts
- Post it to your social media platforms like Instagram or Facebook
- Add it to your shared iCloud album
- Or even send it via third-party apps like WhatsApp or Slack
In the sharing window “Options” at the top allows you to choose how to send your video. Meaning, you may choose whether to send as an individual file or as an iCloud link.
Tips for Cropping Videos on iPhone

In your quest to become a savvy iPhone video editor, understanding key tips and tricks can pave the way to supreme satisfaction and ease. The iPhone's inherent user-friendly interface hides layers of functionality, and exploring these might be daunting, but it's worth the endeavor. Here are some invaluable tips you'd want to keep in mind when cropping videos on your iPhone.
Preview Before Saving
It's critical to always preview your video before hitting that "Done" button. It ensures that your video looks as desired and that no critical scenes are unknowingly left out during the cropping process. With time and practice, you'll find that this one simple step can dramatically increase the precision of your edits.
Consider the Aspect Ratio
Always pay attention to the aspect ratio. A video's aspect ratio determines how the image fills your screen and different platforms support different ratios. Study the medium of your video's intended destination before deciding on the ratio. Predetermined settings on your iPhone like square (1:1), widescreen (16:9), and others can make this process a breeze.
Use Guides
Don't forget to use the guides, those helpful grid lines that are designed to improve the composition of your video. Just like a seasoned photographer makes use of rule of thirds, your video editing can benefit substantially from these guides. They lead the eye and create a visual balance.
Explore Other Features
Maximize the usage of your iPhone's built-in resources. While your primary focus is on cropping, don’t miss out on the additional features. Experiment with filters, exposure, saturation, and brightness settings. Create a distinctive style for your videos, making them standout from the crowd.
Conclusion
So, you've mastered the art of cropping videos on your iPhone. You've learned to fine-tune your edits, consider the aspect ratio, and even play with filters and exposure settings. You've seen how the iPhone's built-in tools can take your video editing skills to the next level. Sharing your work is just as easy, whether you choose to send an individual file or an iCloud link. Now that you've got the know-how, it's time to put it into practice. Start cropping and shaping your videos to perfection. Remember, practice makes perfect. So don't be afraid to explore and experiment. Happy editing!
Frequently Asked Questions
How can I crop a video on my iPhone?
You can crop your video using the iPhone's built-in editing tools. This includes the ability to adjust the aspect ratio, use guides for composition, and more.
Do I need to preview my video before saving it?
While not required, it's always recommended to preview your video before saving to ensure it looks the way you want it after the edits.
What should I consider when cropping a video?
When cropping, take careful note of your video's aspect ratio and composition. Also, fine-tune other settings like filters and exposure as needed.
What other features does the iPhone offer for video editing?
Beyond cropping, the iPhone enables users to apply filters, adjust settings like exposure levels, and make precise edits for a satisfactory final product.
To share the cropped video, you can use the iPhone's sharing features. You can either send the video as an individual file or share it via an iCloud link.
