Ever found yourself sending the same text to multiple people one by one? It's time to simplify your life with group texting. Your iPhone has a built-in feature that allows you to send a single message to several contacts at once. Perfect for organizing events, sharing news, or just keeping in touch with your circle.
In this guide, you'll learn the step-by-step process of creating a group text on your iPhone. It's easier than you might think, and once you've got the hang of it, you'll wonder how you ever managed without it. Get ready to streamline your communications and save time with this handy feature.
Whether you're an iPhone newbie or a seasoned user, this guide will help you master the art of group texting. So, let's dive right in and start exploring this incredibly useful feature.
Why You Should Use Group Texting on iPhone
Group texting on iPhone has a host of benefits that can make your life easier and more efficient. This is especially true if you're someone often needs to communicate with friends or colleagues collectively. It's simple to use, and can drastically reduce the time and energy you'd normally spend sending individual messages.
Imagine if you're planning a family get-together or a friendly outing. Traditionally, you'd need to message each person individually, wait for replies and repeat the process. With group texting, these inefficiencies are no longer a problem. You can send a single message to a chosen few or everyone at once, streamlining the plan-making process. Everything you need is in one exclusive thread, making it easy to track responses and keep everyone in the loop.
Group texting on iPhone isn't just efficient, it's also a space for bonding and connecting with your circle. The comfort of being able to share news, updates, and casual conversations in a common grounds brings people closer together.
For those concerned about privacy, your group text will only include the people you choose. Everyone in the group will know who else is in it and can see each other's replies. So, it's transparent, unlike replies to email lists or social media posts, which can be seen by everyone.
The ability to create a group text on iPhone is a boon for business professionals too. Collaborate more effectively with your team, share important updates, or schedule meetings more efficiently. It's a tool designed to save time and boost productivity in the professional sphere.
So, see it as a perfect balance of functionality and ease of use that fits neatly into your daily life, improving communication and efficiency.
Let's not just praise it, get into the "how to" part and learn how to actually initiate a group text. Luckily, with an iPhone, this straightforward process can be learned in the next section.
Step 1: Open the Messages App

Alright, so you're ready to dive into the world of group texting on your iPhone. The first thing you'll need to do might seem obvious: open the Messages app.
But it's not just about tapping the app icon. You need to be familiar with the app and know your way around it. You're not just sending a solo one-on-one text here; you're orchestrating a conversation with a group. It's like conducting your own personal symphony of communication right from your smartphone.
You'll find the Messages app easily enough. Look for the app on your home screen. It's the one with the green icon, featuring a white speech bubble inside it.
Once you've opened the app, take a moment. Get to grips with where everything is. You'll find your ongoing conversations stored in neat little rows. Any unread messages? Those blue dots next to the conversations give you a nudge to catch up on what you haven’t seen yet.
The app is easy to navigate, even for those new to iPhone. It's deliberately designed to be user-friendly.
But why bother with group texting? It's all about efficiency and ease of communication. Imagine you're planning an event. Rather than sending individual messages to each person, you're able include everyone in one group text. All your news, updates, and general chatter goes directly to everyone involved. It saves time, and it keeps everyone connected.
Professionally, it reaps rewards as well. Need to brainstorm ideas with your team or share meeting details? Just type it out once, hit send, and you're done. Everyone gets the information simultaneously.
There you have it. You're getting the hang of this. Step 1 complete. You've opened the Messages app and you're ready for the next stage: creating your group text.
Stay tuned for the next step in your iPhone group texting journey. Let's move to the next steps or facets which make group texting a wonderful utility on your iPhone.
Remember, practice makes perfect. Explore, experiment, text, receive, repeat until you're comfortable. One step at a time.
Step 2: Create a New Message

Now that you're ready, it's time to craft that new message. This phase is as straightforward as it gets, thanks to the user-friendly design of the Messages app on your iPhone.
To kick things off, launch the Messages app. You'll find it with ease on your home screen unless you've stored it in a folder. It's the green icon with a white speech bubble inside. Once you tap on it, you'll land on the main Messages screen. Here, you'll see all your past conversations neatly organized in one place. The list includes both individual and group messages. But don't worry, creating a new message won't disturb any of your existing threads. An added advantage is that you'll be able to reference past conversations at a glance while composing your new message.
Now at the top right corner of the screen, there's a pencil icon. Tap on it. This simple action cues your iPhone to open a new, blank text message. See how seamless that is? The design of the Messages app really does aim for maximum convenience and minimum fuss.
In the opened conversation, you'll find the "To:" field. This is where you fill in the recipients of your message‚ be it one person, two people, or twenty. The possibilities are vast. Just start typing a contact's name or phone number, and your iPhone will swiftly pull up a matching contact. How handy!
You've got the basic steps down but hesitate not to revisit them as needed. Like any skill, proficiency in group texting on iPhone gets better with practice!
We'll move onto selecting your contacts and composing your group text in subsequent sections. These tips and tricks will have you orchestrating vibrant group conversations on your iPhone in no time.
Step 3: Add Contacts to the Group
Next up, it's time to connect people to your group text. This process isn't complicated at all, but it's important you get it right to ensure you're reaching the right folks.
Firstly, on the new message screen, you'll notice a blank field atop the keyboard that reads "To:". This is where recipients' names, phone numbers, or email addresses go. Start typing a contact's name, and the IOS software will anticipate your contacts. Alternatively, you can key in a phone number or an email address manually.
If your contact's name appears in the suggestion box, click it. By clicking the name, it'll be added to the recipient field. Remember, you're not limited to just one. To add more contacts to your group text, simply repeat the process as many times as needed. It's as easy as that!
Let's say you haven't added someone's contact detail to your phone yet. There's another way to include them in the group text. Just enter their phone number or email address directly into the recipient field. It's a bit more typing work, but it makes sure they aren't left out of the group conversation.
Have a long list of contacts to add to a group text? Try this little trick: Instead of adding each contact separately, start typing the first few letters of a group name you’ve created in Contacts. Your iPhone will suggest the complete group, and it'll speed up the process considerably. Wondering how to create contact groups on iPhone? We will cover that in one of our upcoming sections.
This part of creating a group text on an iPhone is crucial. It's where the assembly of your group takes place. So ensure you've got everyone you need in the group before you proceed to draft the message.
Step 4: Give Your Group a Name

With all your desired contacts added, it's time to personalize your group. Many overlook this function, yet naming your group is an essential step in organizing and managing your group texts effectively. It allows you to easily identify and locate past messages, making your conversation tracking hassle-free. Let’s guide you through this quick, yet important step.
On your iPhone screen, tap on the ‘i’ or 'info' icon at the top-right corner of your group text. Here, you'll find the "Enter a Group Name" field. The simplicity of the iPhone's messaging app shines here, as no complex steps or tricky maneuverings are necessary. You just type in the suited name for your group and voila! - it's set. Remember, making it descriptive will help you differentiate it from other group messages.
Sidenote: Names can be fun too. You're not restricted to boring, professional titles. Feel free to get a little creative and make the title unique to your group. Whether it's "Saturday Soccer Squad" or "Team Power Lunch," it's all up to you.
Handy Tips While Naming Your Group
Consider these tips when deciding on your group name:
- Maintain a connection: The group name should connect with the meaning, purpose or context of the group. Like "Monthly Budget Meeting" for a group involving office financials or "Family Reunion Planning" for a family get-together event chat.
- Keep it concise: Remember, longer isn't always better. People will glance at this name regularly so keep it short and easy to read.
- Don't make it offensive: You're partaking in a group text not a roast session. Refrain from derogatory or offensive language. Respect feels great, doesn't it?
As soon as you have your new group name, you're set to move onto drafting your message. Use this opportunity to put your best foot forward, as you'll find in the following section where we dive into style and approach.
Step 5: Start Group Texting
Here, we are! It's time for you to start the actual task - group texting. With all your contacts added and your group named, you're ready to kickstart your conversations.
Before you get typing, keep in mind, group texting on an iPhone is identical to sending an individual text. You'll find the same user-friendly texting interface you're accustomed to. The minor variation? Your messages will appear in the group thread now, reaching all members simultaneously.
From sharing information about your next work project to discussing your weekend plans, this feature will bring everyone together digitally. Here's how you go about it.
Open the group you've created and tap on the text field at the bottom. The keyboard will appear promptly, and you can start inputting the content of your message. Once you're satisfied with your text, hit the 'Send' button, and your message will be dispatched to all the members in the group.
Just as you do in individual texting,
- You can incorporate media files
- Add emojis and GIFs
- Use special features like 'React' or 'Tag'
All these features aim to make your group chatting experience as versatile and interactive as possible. Remember, the same rules for texting apply to group texting. Always communicate with respect and use appropriate language.
From there, everyone in your group can respond, and their replies will show up in the same thread. All the contextual conversations are held in one place, providing an impeccable experience of group communication.
There you have it: the primary fundamentals to start a group text on your iPhone. Easy, isn't it? Now that you know the ropes, you're all set to enhance your communication. With group texting, you've taken a step forward in making your digital conversation a lot more organized and efficient. So, go ahead, start group texting, and enjoy simplified communication at your fingertips.
Tips for Group Texting on iPhone
Now that we've set the stage for how to create a group text on an iPhone, let's delve into some tips to improve your group texting experience. Group texting is a handy tool, but there are a few ways you can get more out of this feature.
One top tip is to use a descriptive name for your group. When you name your group, it makes the conversation easier to find in your Messages app, especially if you're juggling multiple group conversations at once. To name your group, simply tap on the group name at the top, then select 'Info' and then tap 'Change Name and Photo'.
A common challenge in group texting is keeping track of who’s who. To resolve this, you can assign each person in your group an individual ringtone or text tone. That way, you’ll know just by the sound of the notification who the message is from. You achieve this by going to 'Contacts', selecting the contact you want to customize, and then choosing 'Ringtone' or 'Text Tone'.
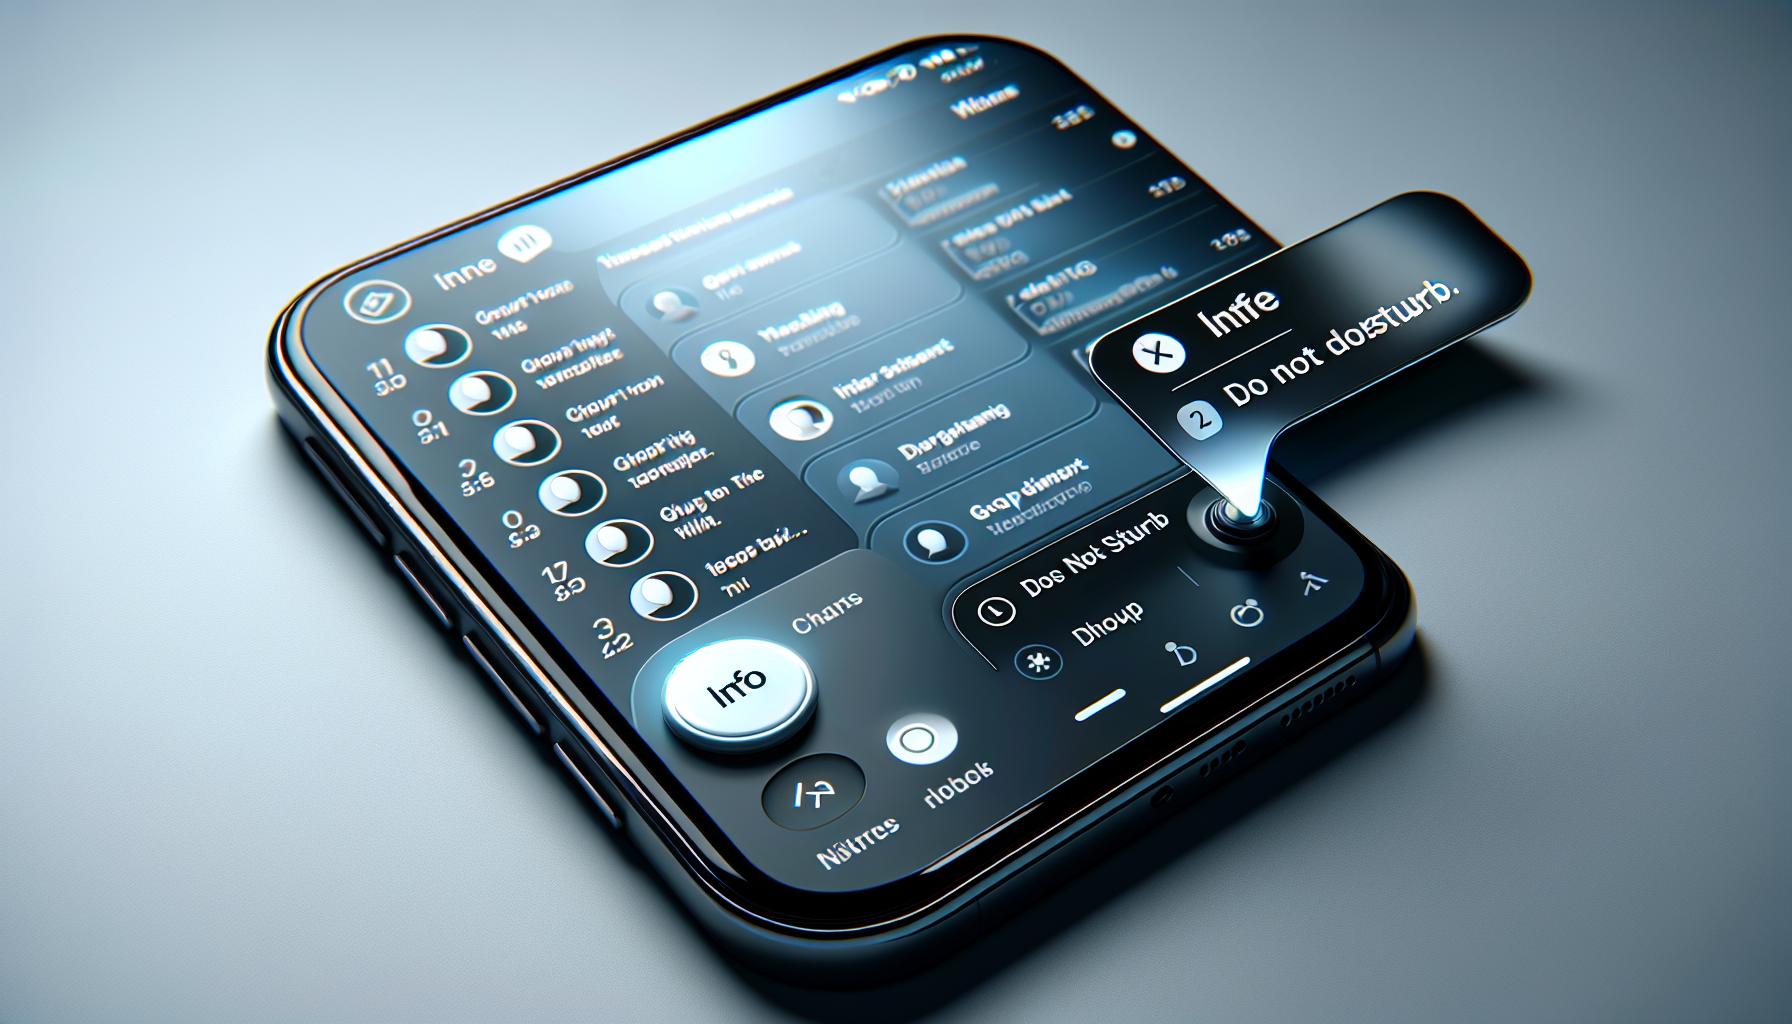
Physical notifications can be overwhelming, particularly in very active group chats. To manage this, turn on the Do Not Disturb setting for a specific group. When you enable this, you won't receive alert notifications from that group, but you can still view new messages in the group whenever you choose. You can toggle this setting on and off in the group chat details under 'info'.
There you have it. Just a few intriguing ways to optimize your group texting game on iPhone. Keep these in mind and you'll enjoy an evolved group chat experience.
Conclusion
So, you've mastered the art of creating a group text on your iPhone. It's a simple, effective way to stay connected with your personal and professional circles. The Messages app's user-friendly design and the ability to keep all your conversations in one place make it a breeze. Remember, the key to a great group texting experience lies in the details - a descriptive group name, individual ringtones, and the smart use of the Do Not Disturb setting. With these tips at your fingertips, you're all set to optimize your group texting game. Happy texting!
Frequently Asked Questions
How do I create a group text on an iPhone?
The process of creating a group text on an iPhone involves opening the Messages app, creating a new message, and adding multiple contacts in the recipient field. Once these contacts are added, your group text is ready for use.
What are the benefits of group texting?
Group texting for personal and professional use optimizes communication by bringing multiple people together in a single thread. This is particularly advantageous for collaborative tasks, family chats, event planning and the like.
Is group texting user-friendly in the Messages app on an iPhone?
Absolutely! The iPhone's Messages app design is user-friendly, with an easy-to-navigate interface that allows you to keep all your conversations organized in one place.
Any tips to improve my group texting experience on iPhone?
Certainly! To further optimize your group texting, you can assign a descriptive name to the group, assign individual ringtones or text tones to members, and manage notifications with the "Do Not Disturb" setting. All these features enhance the group chat experience.
How does the 'Do Not Disturb' function help in group texting on an iPhone?
The 'Do Not Disturb' function allows you to mute notifications for specific conversations. This is especially helpful in group chats with high activity levels, ensuring uninterrupted work or downtime.
