If you're looking to change your iPhone password, you're in the right place. Whether you've forgotten your current password or just want to beef up your security, it's a simple process that you can do in a few minutes.
Your iPhone is a treasure trove of personal information. From emails to photos, messages, and banking details, it's crucial to keep it secure. Changing your password regularly is a key part of this. Let's dive right in and guide you through the steps.
Step 1: Go to the Settings app
Now that we've established why it's crucial to keep changing your iPhone password, let's jump straight into the process. This first step is easy - just locate your Settings app.
Look for the gray icon displaying cog wheels on your iPhone. It's right there on your home screen, or if it's not immediately visible, swipe your finger down the screen and use the search bar at the top. Simply type in 'settings', and the app icon should appear. This is the gateway to a multitude of options, including changing your iPhone password.
After spotting the symbol on your iPhone's home screen, tap on it. Instantly, the option for a world of setting modifications leaps out. From adjusting your screen brightness to signing up for Apple subscriptions, this is your one-stop-shop for any tweaks you need to make your iPhone truly yours.
The list might appear overwhelming, especially if it's your first visit. Don't worry, though; changing your password doesn't require you to navigate through each option. It's designed to be intuitive, easy and user-friendly.
This entire process might sound basic to some of you. You might even ask why this step needs its elaboration. But remember, we're on a mission to make technology accessible to all. And no step is too small to ensure everyone is on the same page.
So you're in your Settings App. The screen filled with options lies in front of you. Don't get sidetracked with other customizable options tempting you to wander off, remember you're here for one thing – changing your password.
In the next section, we'll walk you through the exact path that takes you to the password change option. You're one step closer to enhancing your iPhone security. Stay focused, carry on, and you'll have a new password in no time. Fly high on your journey to robust iPhone security.
Step 2: Scroll down and tap on "Face ID & Passcode" or "Touch ID & Passcode"

After you've managed to pry your eyes away from the myriad of options in the Settings app, you'll need to dive a bit deeper. Scroll down the list until you see "Face ID & Passcode" or "Touch ID & Passcode". If you're using an older iPhone model, it's the latter you'd be looking for.
Why this particular section, you might wonder? Well, it's here that the keys to your digital kingdom lie. This section allows you to control and change your passcode settings. Basically, this is your one-stop-shop for enhancing your iPhone's security measures. And let me remind you, in this digital age, you can never be too careful.
There might be a prompt asking you to type in your current passcode. Don't fret, it's just a standard operating procedure to ensure that unauthorized users aren't attempting to breach your security. Put in your passcode and, voila, you gain access to a screen filled with intriguing, albeit complex looking, security settings.
But keep that curiosity in check, and continue your treasure hunt. You're exactly where you need to be to change your iPhone password, but remember, this article's focus is not to get lost in complex settings, but rather to streamline your efforts towards enhancing your iPhone's security.
In the realm of Face ID, Touch ID and passcode settings, you'll see more options than you might've expected. You'll find options for turning on/off your Face ID or Touch ID, setting up an alternate appearance, and yes—the option to change your passcode. Find the option that says "Change Passcode."
Tap on "Change Passcode," and get ready for step 3 of enhancing your iPhone's security. Even as you head into the next phase of this process, it's important to remember to move at your own pace. Remember, in security as in life, slow and steady often wins the race.
Step 3: Enter your current passcode

Having made your way to the Face ID & Passcode or Touch ID & Passcode section, your journey through the settings labyrinth continues. Your screen now prompts you to enter your current passcode. This step is crucial as it once again amplifies the robust security features on your iPhone.
Let's break it down for better understanding. This is what you've got to do next:
- The screen will display a keypad. Take a moment, recall your current passcode.
- Type in your passcode using the keypad.
- Don't worry if you seem to forget it midway. There's a backspace icon on the bottom right of the keypad you can use to correct mistakes.
You may be thinking, "What if I've forgotten my passcode?" No worries, it happens! Believe it or not, there are numerous resources available on how to recover your forgotten passcode. However, today, we're focusing on showing you how to successfully change your passcode.
Remember, your iPhone's security is paramount and revolves around your passcode. Navigating the settings doesn't have to be a stressful task. Breaking it down into simple, manageable steps eliminates that overwhelming feeling, and before you know it, you'd have seamlessly cruised through the process of changing your passcode.
Let's move on to the next phase—where you get to set up a new passcode. As you tackle these steps, consider creating a passcode that is secure yet memorable.
Hang in there, because you're doing great. You're one step closer to increasing your iPhone's security. Remember, it's not just about changing a passcode, it's about strengthening the security fortress of your iPhone. And you, my friend, are the gatekeeper.
Can't wait for the next steps? We're right with you! Stay tuned as we guide you further into the process.
Step 4: Tap on "Change Passcode"

The next step in changing your iPhone password is tapping on the "Change Passcode" button. You'll find this crucial option right after you've entered your existing passcode. You might think it's irrelevant, but this simple action is a milestone in enhancing your iPhone's security.
The proper route to follow in your iPhone settings is straightforward. Once you're in the "Face ID & Passcode" or "Touch ID & Passcode" section, you'll see an array of options, and "Change Passcode" should be one of them. It's an intuitive interface designed for users like you to navigate without confusion.
Now that you've come this far in the process, you're just a few taps away from substantially boosting your iPhone's security. But don't forget, your ultimate task here is not just to replace your old passcode with a new one. You're aiming for a secure and memorable passcode. Yes, it's a delicate balance to maintain, but one that's crucial for your iPhone's safety.
After selecting "Change Passcode", your iPhone will prompt you to enter your old passcode once again. Don't fret if you get it wrong the first time – you are allowed multiple attempts. This extra step of entering your current passcode before creating a new one is part of Apple's stronghold towards ensuring thorough security checks. It's not about making the process lengthy but about assuring your iPhone stays safe and is in the right hands.
Given the amount of personal data we store on our phones these days – from private conversations to financial information – setting up a strong password is an absolute must. Understandably, no one wants to carry a digital vault around that's easy to crack open. Keep this in mind while you're on the journey to set a new iPhone password.
Like we've reiterated before, ensure your new password is something you can remember but hard for others to guess. Let's now proceed to look at the rest of the steps in upping your iPhone's password safety.
Step 5: Enter your current passcode again

Your journey doesn't end yet after clicking the "Change Passcode" button. You're one step closer to mastering the art of maintaining your iPhone's security settings. What's next on the agenda? It's entering your current passcode, once again!
While it may seem somewhat repetitive, this level of security is what sets iPhones apart. It makes sure it's you who is making these changes and not someone unauthorized trying to mess around with your settings. The double-check is a must!
Navigating this process, you'll see a prompt asking for your current passcode once again. This is a hot and hard-to-miss feature of this process. Hence, don't overlook it. Enter your current passcode without any hesitation.
Don't worry if you momentarily blank on your passcode. Such thing happens, considering we have so many passwords to remember from emails, social media, and whatnot. You got this covered. Simply give it a minute, the passcode will come back to you. If not, remember, there are contingencies in place for passcode recovery.
We're going to dive into what happens if you're going to change over to a new passcode next. Let's explore the world of passcodes and all the factors to consider when setting up something that's both strong and memorable!
Stay hip to the next step in the process. This is a pivotal part of your mission to strengthen your iPhone's security. Let's make sure you're giving it the attention it deserves. After all, the entirety of your personal data is what's at stake.
Step 6: Set a new passcode
You've successfully navigated the tricky waters of iPhone's security settings, confirmed yourself as the authorized user by entering your old passcode. Now, it's time to venture into the terra incognito of setting a strong, new passcode. Remember, it's not just about choosing numbers you can easily remember, but construction a fortress against unauthorized access.
Opt for a six-digit code if possible, rather than the standard four. This simple addition exponentially increases the possible combinations, from 10,000 to a jaw-dropping 1,000,000! It's easy to see how this makes your passcode much harder to guess. It's like the difference between picking a lock with a hundred keys versus a million keys! Here's a markdown table to illustrate the impressive numbers.
| Passcode Digits | Possible Combinations |
|---|---|
| 4 | 10,000 |
| 6 | 1,000,000 |
Ideally, your new passcode should be a random set of numbers. Now, I know what you're thinking – how on earth am I supposed to remember a completely random 6-digit number! I hear you, but there are some creative ways to combat this.
Consider using significant dates, but with a twist. Maybe it's the day you got your pet, but backwards, or the time (in military format) of your child's birth. Be careful though. Remember, just because it's significant to you, doesn't mean it's secure. Avoid obvious ones like birthdays or anniversaries.
While setting your new passcode, you'll also have the option to use alphanumeric codes. This means you can include both numbers and letters in your passcode, providing an even greater level of security. But, be ready, this complicates remembering the passcode.
Step 7: Re-enter your new passcode

Once you've crafted a new secure iPhone passcode, you'll need to proceed with re-entering it. Entering your new passcode a second time ensures accuracy and prevents any unexpected lockouts due to an incorrect entry.
Let's dive into this vital step.
To allow this process, Apple has designed a straightforward and user-friendly mechanism. After you've input your new passcode initially, the system will prompt you to re-enter the new code to validate it. Look at your screen and when you see "Re-enter your new passcode," follow the directive.
Yet, there are some crucial points you need to keep in mind while doing this:
- Key in the new passcode with absolute precision. It's fundamentally important, as any deviation from your original code while re-entering may render the change ineffective.
- Your iPhone screen will not display the numerals or characters you enter. Instead, it shows small circles to represent each digit or letter. Don't let this deter you.
- Remember, if any interruptions occur during the re-entering process, don't sweat. You can press the 'Cancel' button to start over.
It's important to not rush through this step; your iPhone's security is on the line. Don't hesitate to take your time to ensure you've entered your new passcode correctly.
Additionally, it's advisable to manually lock your iPhone screen after this step then try unlocking it with a new passcode to confirm everything is in order and working as it should.
Now that you've ensured the accuracy of your new passcode, let’s move on to other options you may want to consider for your iPhone's security. Remember, there’s more to iPhone security than just a strong passcode. In the upcoming sections, we'll delve into these other measures. But, for now, consider yourself successful in re-entering your new passcode! With every step, you're securing your iPhone more steadfastly.
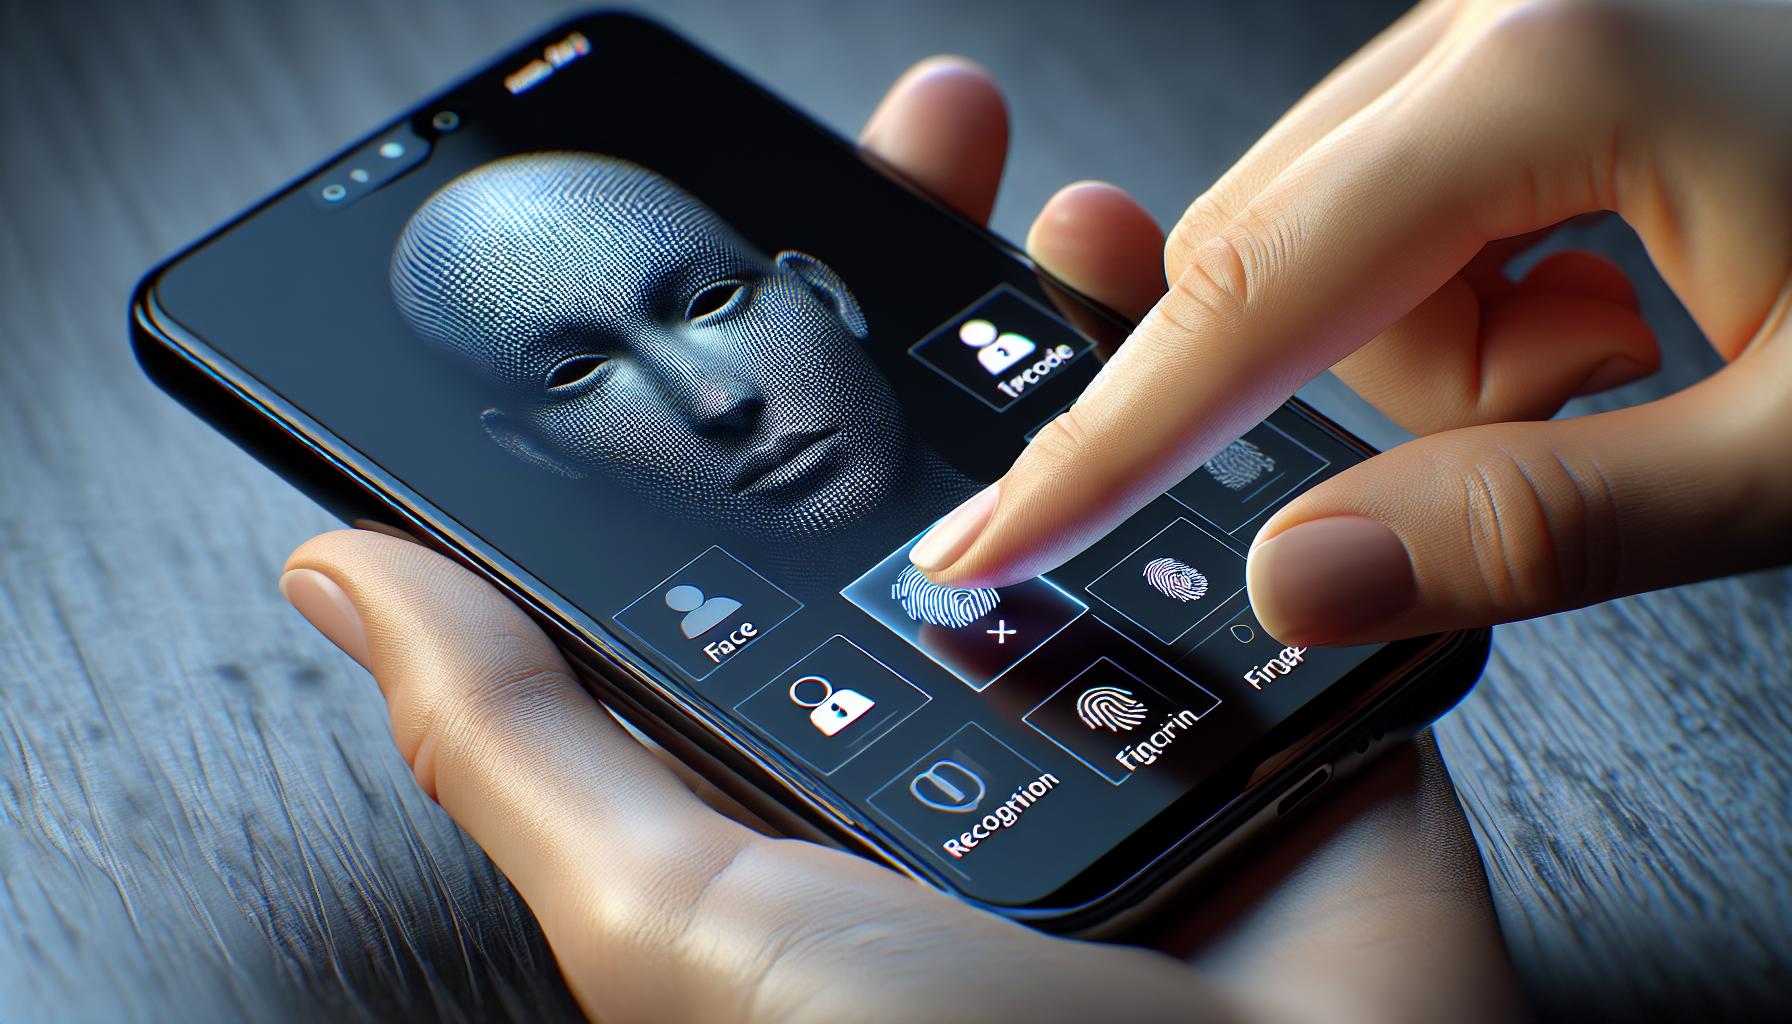
Step 8: Optional: Set up Face ID or Touch ID
While a strong passcode serves as a formidable line of defense for your iPhone, you've got options for additional security measures. Face ID and Touch ID provide alternative means to ensure your phone remains protected. A little extra setup time can go a long way in safeguarding your private information.
Face ID is a facial recognition system that lets your iPhone recognize you by mapping and understanding your facial structure. It's fast, seamless, and efficient. To get things rolling, go to Settings, navigate to Face ID & Passcode. You'll then be prompted to scan your face from different angles. It's important to take your time here – the faster you rush, the less accurate your Face ID's response may be.
On the other hand, you have Touch ID. This feature uses your unique fingerprint as a protective layer. Head to Settings, choose Touch ID & Passcode, and follow the prompted instructions. Remember to move your finger slightly between each scan so it captures your entire fingerprint.
| Feature | Path |
|---|---|
| Face ID | Settings > Face ID & Passcode |
| Touch ID | Settings > Touch ID & Passcode |
Now bear in mind that if you opt to utilize either of these security measures, you'll still need to remember your passcode. Face ID or Touch ID should not serve as replacements – they are supplementary forms of security. The more layers of security you put in place, the less likely you are to fall prey to data theft or unauthorized meddling.
Additionally, don't worry if you accidentally skip or dismiss the setup for these features while changing your passcode. Both can be activated at any point from your phone's settings. Just remember that a sturdy passcode, whether supplemented by Face ID or Touch ID, is your first line of defense against potential threats. Let's move forward and see what other security options your iPhone can provide.
Conclusion
So, you've learned how to change your iPhone password and set up Face ID or Touch ID. Remember, these features aren't a replacement for a passcode. They're there to boost your security. You can activate them whenever you want from your settings. Your iPhone's security starts with a strong passcode, fortified by Face ID or Touch ID. Now, you're ready to tackle any potential threats head-on. Stay tuned for more insightful tips on other iPhone security options. Your iPhone is your lifeline, let's keep it secure.
Can Face ID or Touch ID replace the iPhone passcode?
While Face ID or Touch ID provides an additional layer of security, they should not replace the passcode. These features are meant to supplement the passcode and strengthen the security of your iPhone.
How do I set up Face ID or Touch ID?
The article provides instructions on how to set up Face ID and Touch ID. You can do this from your iPhone settings at any time, ensuring your device always has the highest level of security.
Are Face ID and Touch ID the only security options for iPhone?
No, Face ID and Touch ID are not the only security measures for the iPhone. The article mentions that a strong passcode is the first line of defense against potential threats and also alludes to other security options, which are discussed in upcoming sections.
Is it possible to activate Face ID or Touch ID later?
Yes, these features can be activated at any time from your iPhone's settings. This allows you to augment your device's security whenever you feel the need to do so.
What is the significance of a strong iPhone passcode?
A strong passcode forms the primary defense against potential threats. When supplemented with Face ID or Touch ID, it significantly enhances your iPhone's security.


