Ever had that nagging curiosity about what those blocked messages on your iPhone might say? You're not alone. It's a common question among iPhone users, and luckily, there's a simple answer.
While Apple's iOS does a great job of keeping unwanted messages at bay, it doesn't completely erase them. So, if you've blocked a number and now you're wondering what those blocked messages might contain, you're in the right place.
How to Block Messages on iPhone
Knowing how to block messages on an iPhone can help ensure your peace of mind. While the blocking mechanism is quite effective, you might still wonder about the blocked messages' content. So, before we delve into that, let's get you comfortable with the process of blocking unwanted messages on your iPhone.
First off, go to your Messages app. Find the conversation from the contact you're seeking to block. Tap the message, and click on the contact’s name at the top of the screen. Note: if you've never interacted with the contact via messages, they won't show up here.
Next, click on the info (i) button which will take you to a new window. From there, click on the telephone symbol with an exclamation mark inside - this will bring up an array of options.
Here's a list of steps:
- Click on 'Info'.
- Tap the 'Info' button again.
- Scroll down and click on 'Block this Caller'
- Confirm the decision by tapping on 'Block Contact'
Once the contact is blocked, they'll not be able to message, call or FaceTime you anymore. The blocking is immediate. Any previous messages from the number will still exist in your history but new ones will not arrive.
By now, you've understood how to block disturbing or unsolicited messages on your iPhone. Remember, if you want to unblock a contact and allow them to contact you again, the method is just as straightforward but it's another journey altogether.
As for the curiosity about what content blocked messages might hold, we'll dive into that up next. Here's where our focus will shift from prevention to retrieval. So, hold on to your interest as we transition into unraveling the hidden world of blocked messages on the iPhone.
What Happens to Blocked Messages on iPhone

Once you've taken the step to block a pesky sender, what exactly happens to their attempted communications? Let's unravel this mystery.
By default, your iPhone won't alert you about blocked messages. It's designed to give you peace of mind, limiting disturbances from unwanted sources. However, blocked messages aren't necessarily disappearing into oblivion. They find their way to a hidden folder labeled the "blocked messages" box, tucked away from your general view.
Please note that the blocked messages box isn't directly accessible. You can't just pull it up like your standard chat threads. Apple prioritizes your privacy and peace, hence the tucked-away archive. Ensuring that unwanted content does not continually disrupt your experience is its primary aim.
Truthfully, this hidden warehouse of blocked messages is there for a reason. It serves as a form of digital record storage, keeping a log of attempted communications. Should a need arise to review past blocked messages, they're not completely out of reach. You'll need to follow certain steps to view these hidden treasures (or potential digital burdens).
You may ask, what about blocked calls or FaceTimes? Don't fret. They follow a similar trajectory and are also sent into a hushed existence. Missed call notifications from blocked numbers won't appear on your recent calls list.
That's not to say your iPhone isn't aware of them, they're just discreetly recorded and stowed away. They will be stored in a similar hidden section of your device out of sight, out of mind.
Understanding what happens to blocked messages on an iPhone prepares you for the following steps. It equips you in managing your device and evaluating your needs effectively.
Are you ready to dive deeper and discover how to view the blocked messages on your iPhone? The next section will guide you through the process, ensuring you're armed with the right information. Do not fret as you're on your way to mastering your device's messaging capabilities.
How to Access Blocked Messages on iPhone
Once it's clear where your blocked messages end up, it's time to get down to business. Here's the real question: How do you find and access these tucked away communications? Buckle up, as we embark on the process of locating and retrieving blocked messages on your iPhone. Remember, the messages stay within your device, and they're not forever lost. It just takes a few simple steps to uncover them.
First, open your settings. You'll find the grey gear icon on the home screen of your phone. Swipe through your apps and tap on it. The first step, while straightforward, is necessary as it's where the path to your blocked messages begins.
Upon reaching your settings, navigate to your messages option. That's where most of your text-related settings are located. Find 'Messages' towards the bottom of your settings menu. It should be among 'Phone', 'FaceTime', and similar icons. Once you've located it, go ahead and tap on it.
You're in the nucleus of your messaging settings. Look for the option 'Blocked Contacts'. It's usually nestled somewhere towards the bottom of the options. Once you've found it, tap on it to open up a list of all your blocked numbers and contacts.
This is where things get a bit tricky. On this screen, there is no direct access to your blocked messages. What you'll see is a list of blocked contacts. You have an option to add more or edit the existing ones.
You may ask how you're supposed to access your messages then? Well, it's not as direct as finding an unblocked message. You must unblock a specific contact temporarily to view their messages. This procedure is easy, yet requires an additional step. Once you're finished reviewing the messages, you can simply renew the block on the contact.
Let's understand this process in detail in the next section, where we guide you through the steps to unblock a contact. Keep your phone handy, as you'll be following these directions in real-time.
View Blocked Messages on iPhone Using the Messages App
Now that you've had a glimpse of the overall process, let's dive into more specific steps. To view blocked messages on iPhone, you can use the iPhone's native Messages app. It's a simple procedure, requiring minimal taps to accomplish.
First, you'll need to launch the Messages app. Locate the icon, typically found in your phone's main screen or app tray. It's represented by a green icon with a white dialogue bubble.
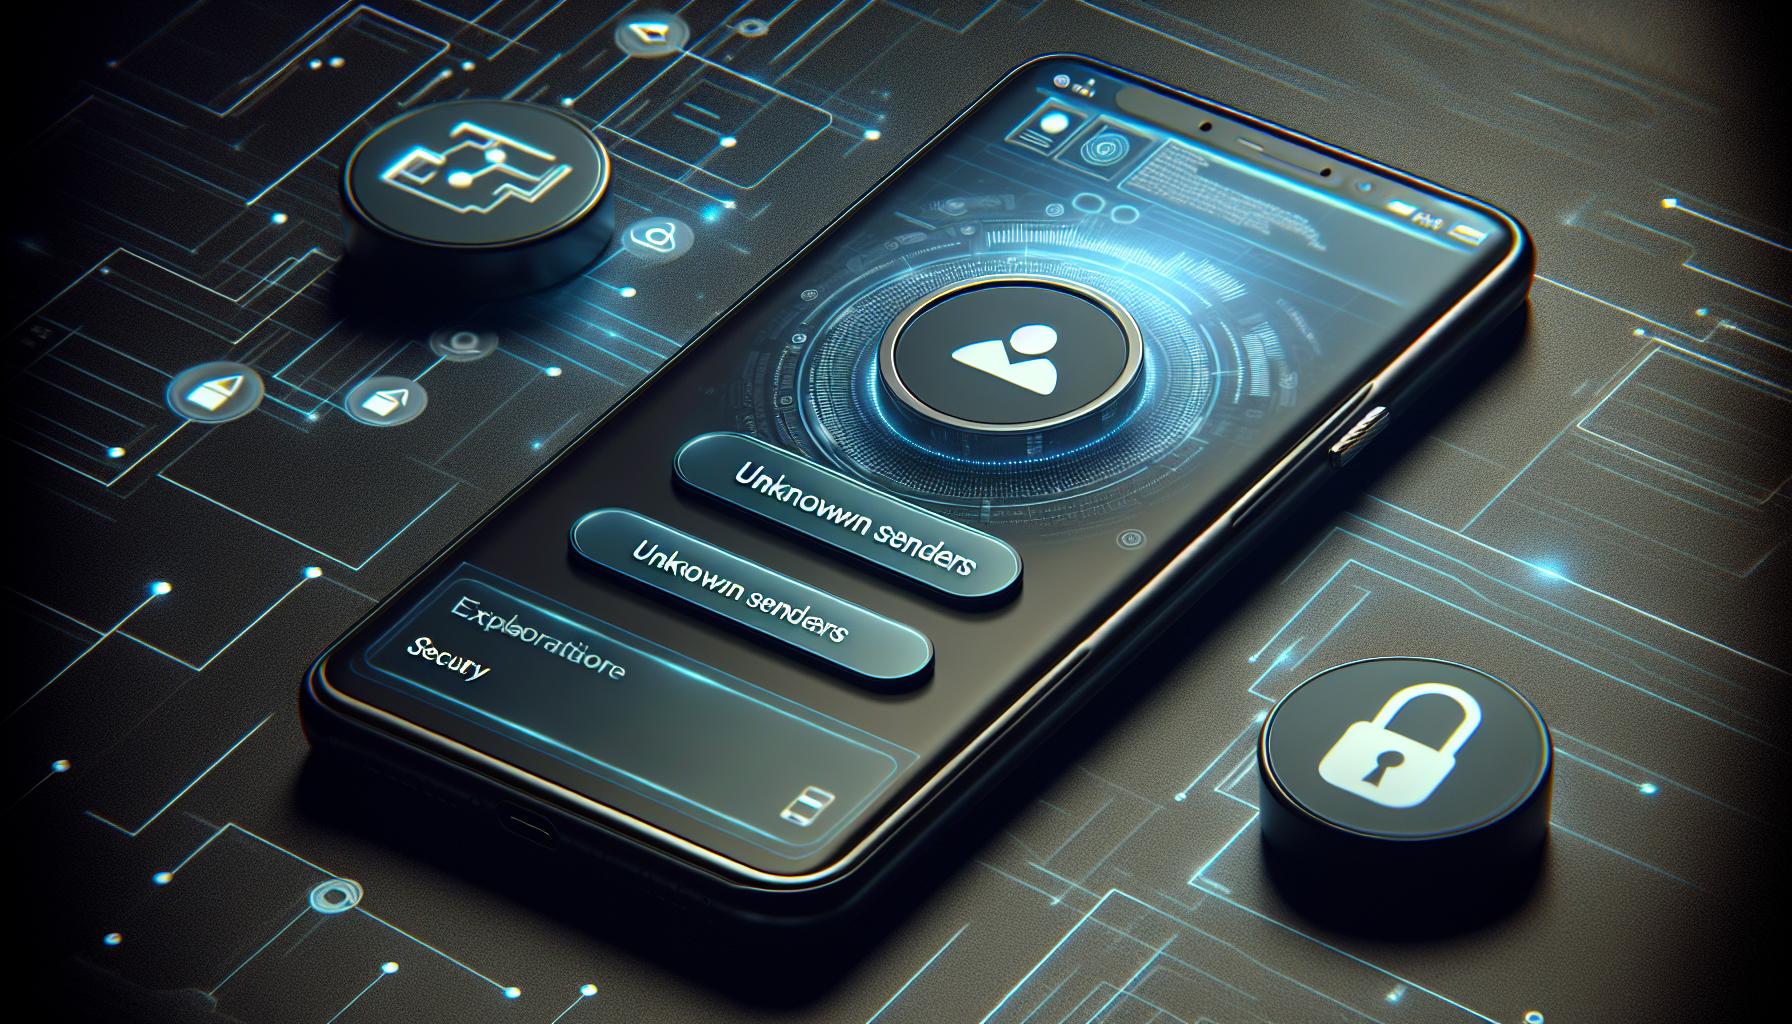
Once you're in the app, tap the back arrow that's in the left-top corner. This action will take you to the main conversations list page. From there, you'll need to look for the unknown senders tab. This tab is situated at the top-right corner of the screen.
Tap the unknown senders tab. Here, you'll find all messages from people not in your contact list, including blocked contacts. You should know though, that the messages won't be categorized as "blocked," you'll need to identify them by either the content or the sender's number.
Be aware that this approach doesn't notify the sender that you've viewed their messages. So, it adds an extra layer of privacy. It's a handy feature when you want to keep your read status undisclosed. But remember, the moment you reply to the message, your contact will know you unblocked them.
In the next section of this article, we'll take you through a handy alternative for viewing blocked messages, which will allow you to maintain your blocked status while accessing the message content. So, let's proceed right away.
View Blocked Messages on iPhone Using a Third-Party App

Sometimes, you may feel the iPhone's built-in features just aren't doing enough when it comes to seeing blocked messages. Third-party applications can really beef up your effectiveness in this area. Just remember - whenever you're dealing with sensitive content like blocked texts, it's crucial to choose a trustworthy app.
One such option you can depend on, iExplorer. It's widely recognized for its proficiency in accessing the iPhone's database where blocked messages are stored.
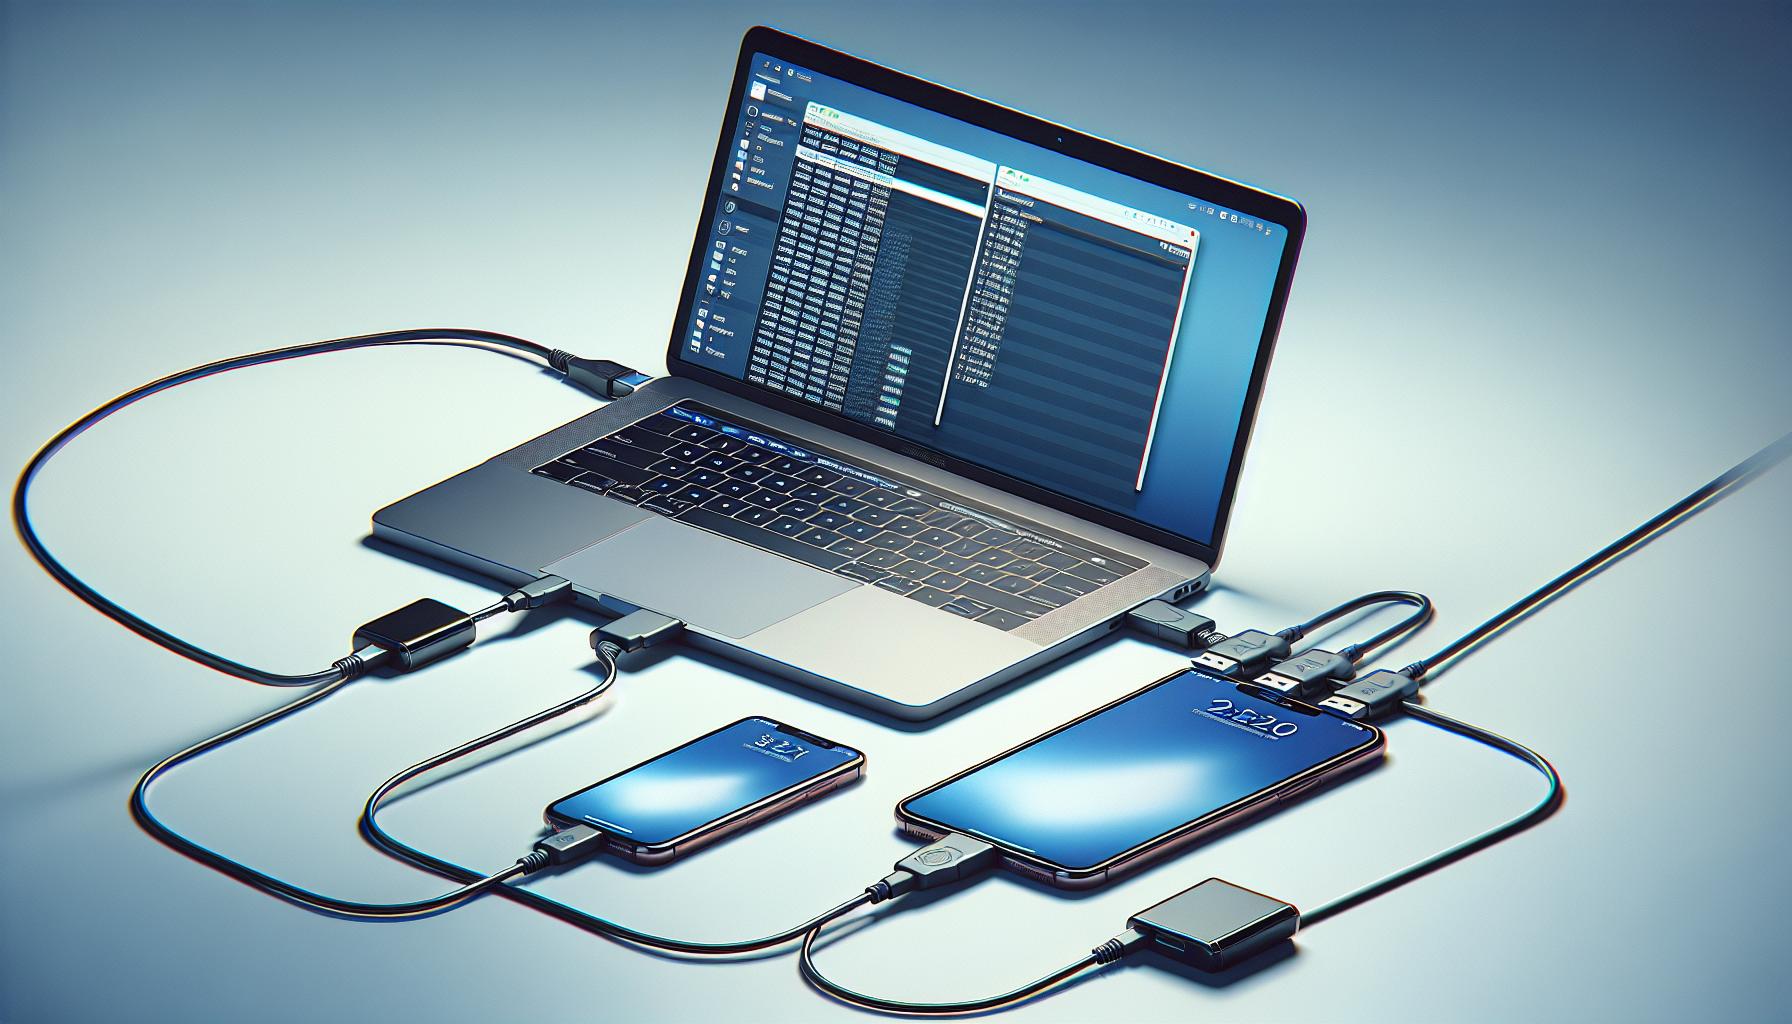
When you first download and open iExplorer, you'll be prompted to connect your iPhone using a USB cable. Following this, select 'Data' from the application's menu bar, and then choose 'Messages'. A list of all messages, including those from blocked contacts, will be displayed. It's as easy as apple pie!
Not all of us are fond of wires and cables - if you're in that group, there're cloud-based apps like mSpy as an alternative. After the initial setup, mSpy can remotely access your iPhone's messages, of course with your permission. It'll neatly segregate the blocked messages from the regular ones, making them easy for you to identify.
Here's a brief comparison of the two apps:
| iExplorer | mSpy | |
|---|---|---|
| Connection Type | USB Cable | Cloud-based (Remote Access) |
| Ease of Use | User Friendly | Extremely user-friendly |
| Access to Blocked Messages | Yes | Yes |
Just remember, the person who's blocked will still remain blocked, even if you use these third-party apps to view their messages. This way, you keep your peace undisturbed while quenching your curiosity!
While the use of third-party apps to view blocked messages isn't required for everyone, it's an option that gives you more control over your communications. If the Messages app's 'Unknown Senders' tab isn't doing enough for you, dive into these applications! They're for those of you wanting to take message management to the next level.
Conclusion
So, you've learned how to view blocked messages on your iPhone. It's as simple as launching the Messages app and tapping the unknown senders tab. You now know that blocked contacts can't reach you, but their messages aren't lost forever. If you're after more control, third-party apps like iExplorer and mSpy offer an alternative. They might just be the tool you need to manage your messages more effectively. Remember, the power to control your communication is in your hands. Navigate your iPhone like a pro, and never miss an important message again, even from blocked contacts.
What is the article about?
The article provides thorough instructions on how to block messages on an iPhone, as well as how to access blocked messages using both the native messages app and third-party applications such as iExplorer and mSpy.
How can I block messages on my iPhone?
The article shares a step-by-step guide to block messages on an iPhone. Once blocked, the contact cannot send messages, call, or use FaceTime to connect with you anymore.
How can I view blocked messages on an iPhone?
You can access blocked messages by navigating to the main conversations list in the Messages app, then tapping on the 'Unknown Senders' tab.
Can I use third-party apps to view blocked messages?
Yes, third-party applications like iExplorer and mSpy allow you to access blocked messages. The article compares these apps in terms of connection type, ease of use, and viewing of blocked messages.
Is using third-party apps to manage messages recommended?
The article concludes that third-party apps provide an option for individuals who require more control over their message management. However, it does not specifically recommend or discourage their usage.


