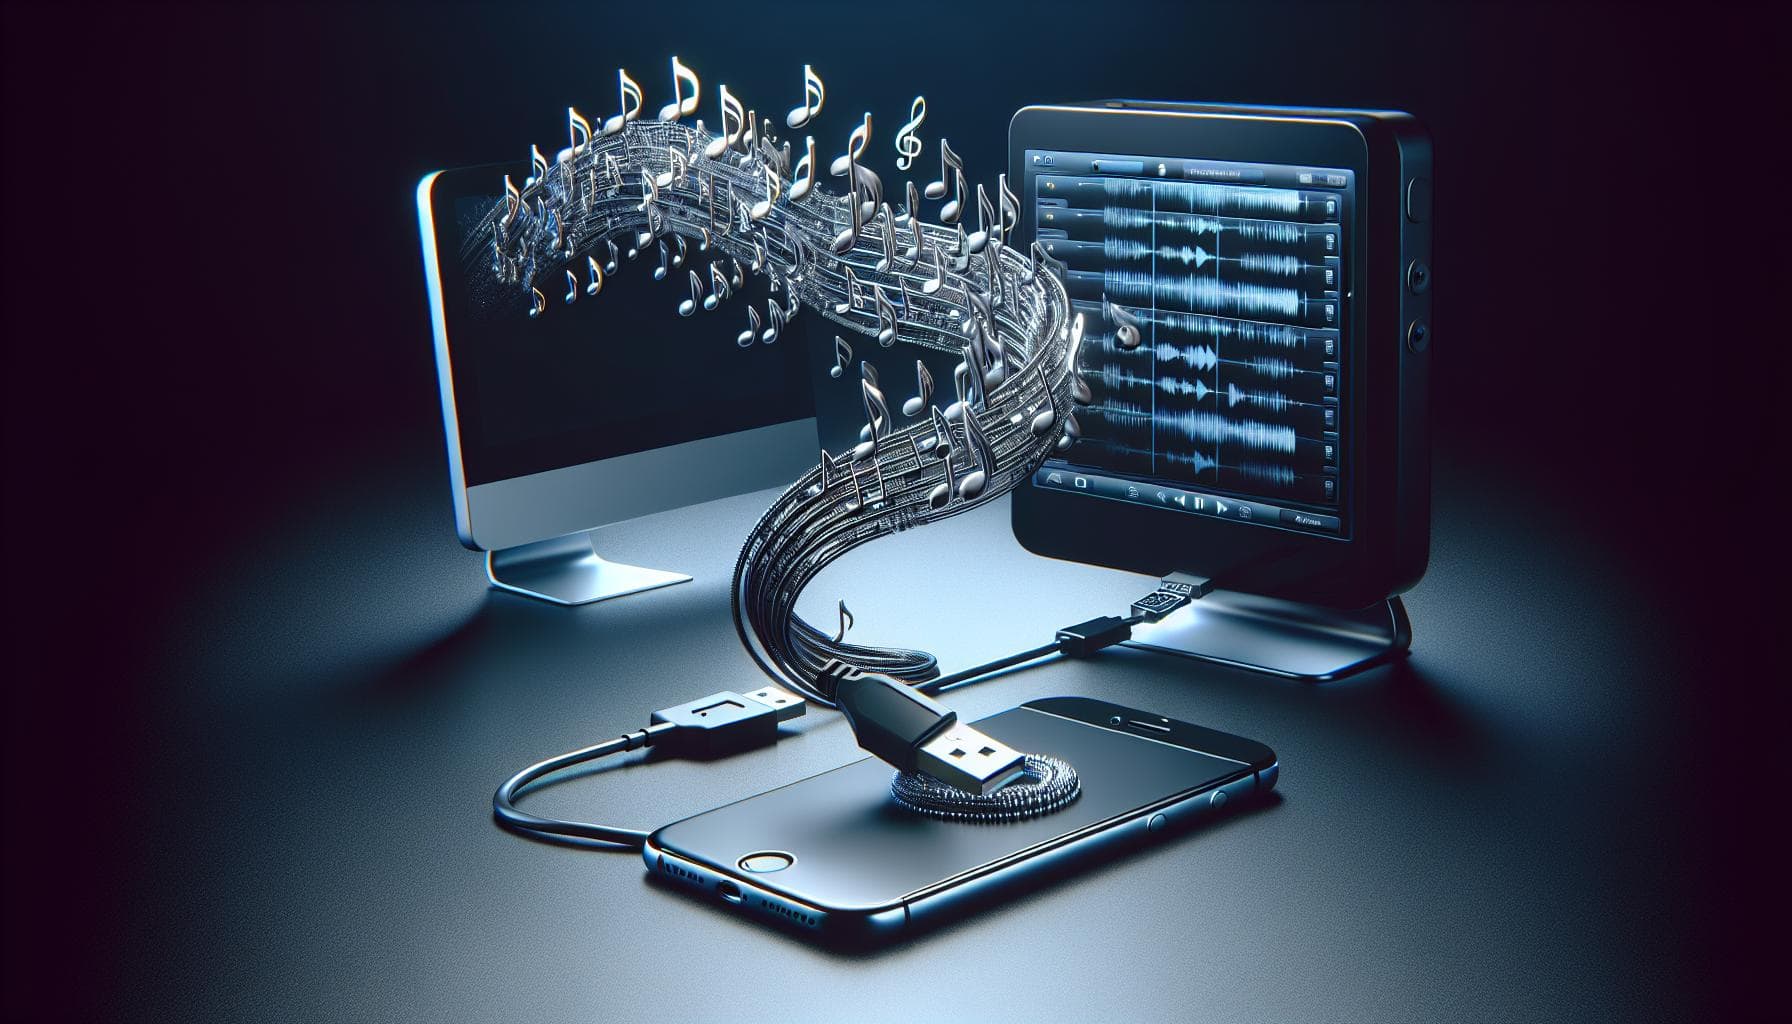
Ever find yourself stuck trying to get your favorite tunes from your computer to your iPhone? We've all been there. It can be a bit tricky, but don't worry, you're not alone.
In this guide, we'll walk you through the steps to transfer music from your computer to your iPhone. Whether you're a Mac or PC user, we've got you covered.
Why Transfer Music from Computer to iPhone
Ever thought about the benefits of transferring music from your computer to your iPhone? As a music lover, you'll increase your flexibility and control over your music library. Here are some key reasons why this transfer is a worthwhile endeavor.
One major factor is accessibility. By transferring music files to your iPhone, you're taking your favorite tunes wherever you go. Whether it's during a long commute or a quick workout, your music stays with you.
Secondly, it's all about safe keeping. Music files on your computer can be lost due to a system crash or sudden hardware issues. Transferring these files to your iPhone can serve as a handy backup, ensuring your favorite tracks will always be safe and sound.
Yet another reason is the sound quality. iPhones are known for their superb audio quality. When you play music directly from this device, you'll likely enjoy a noticeably better listening experience compared to streaming services, which often compromise sound quality for convenience.
Consider also the offline play. With your music on your device, you won't have to rely on data or internet connections to play your favorite songs. It's the perfect solution for those off-the-grid moments when you still want your music by your side.
Lastly, it's about space management. You may even free up some space on your computer by moving your music files over to your iPhone.
It's clear that moving music from your computer to your iPhone is more than just a simple transfer. It can be part of a smarter way to manage, enjoy, and protect your precious music collection. In the next section, you'll discover just how to perform this transfer effortlessly, regardless of whether you're using a Mac or a PC.
Preparing Your Computer and iPhone for Music Transfer

Before you start transferring your music files from your computer to your iPhone, there are a few preliminary steps you need to take. Let's break them down to make this easier for you, and ensure that everything is set for a successful, hiccup-free transfer.
Step 1: Update Your Devices
Firstly, be sure your devices are up-to-date. Outdated devices often face compatibility issues that can sabotage the transfer process. For your iPhone, navigate to 'Settings' and check for updates under 'General'. For your computer, whether it's a Mac or PC, visit the 'System Updates' or 'Windows Updates' section to check for any pending updates.
Step 2: Install or Update iTunes
Next up, iTunes. It's a vital tool when transferring music from a computer to an iPhone. So, install it if you haven't or update it if an outdated version is in use. Keeping iTunes up-to-date ensures seamless synchronization between your devices.
Step 3: Create a Backup
Although transferring music isn't typically a risky task, it's always smart to have a backup of your music files before initiating any transfer. This precautionary measure protects your files from loss in the event of unforeseen troubles.
Step 4: Organize Your Music Library
Before you move your files, organize your music library. A clutter-free library simplifies the transfer process and also makes it easier to locate specific files on your iPhone later.
Getting your devices ready is an important aspect of the music transfer process. Though it requires a bit of effort, it guarantees a smoother, faster, and error-free transfer experience. After completing these steps, you're good to go. The next part will guide you through the actual transfer process, describing how to move your music files from your computer to your iPhone, irrespective of the computer you're using.
Method 1: Transfer Music from Computer to iPhone using iTunes
To begin with, iTunes is a versatile tool that you can use to ferry your favorite tracks from your computer to your iPhone. Suitably updated, it serves as an efficient, straightforward medium for music transfer. With a pinch of preparation and a sense of direction, you'll find the process quite seamless. Let's break down each step of this procedure.
Upon opening iTunes on your computer, ensure the device is up-to-date, running the latest version. Should any updates be required, iTunes will typically prompt you, making it rather straightforward. Connect your iPhone to your computer via a USB cable. It's noteworthy that the device should show up in the iTunes interface upon linkage.
Navigate to the music library in iTunes, where you'll detect the list of songs stored on your computer. Identify and select the songs you wish to transfer. On the other hand, for those with an extensive music collection, transferring your entire library would be the go-to choice.
Having selected the songs, drag them to the left-hand side of the iTunes window, poised perfectly over your device name. Release the mouse or trackpad button and bingo, the transfer initiates. Voila, in a matter of moments, the music will be accessible on your iPhone, ready for your listening pleasure!
It’s important to mention that if your iPhone is synced with another iTunes library, this action will erase the existing content on your phone. For the wary, consider other methods such as Apple Music iCloud, Google Play Music, or third-party apps.
Carrying out this operation periodically will ensure your iPhone's musical catalog remains fresh and appealing, with your favorite tunes at your fingertips throughout. Following this guide consistently allows even the most novice users to take full advantage of iTunes, exploiting its capacity as a music transfer tool.
Let's explore another method: transferring music without using iTunes, up next in the following section.
Method 2: Transfer Music from Computer to iPhone using iCloud
Once you've explored transferring music from your computer to iPhone using iTunes, you might look for an alternative that doesn't risk erasing current content on your iPhone. That's where iCloud comes in handy! Allowing you to effortlessly sync your music across all your Apple devices, iCloud is a fantastic tool that offers this flexibility.
Firstly, you'll need to ensure that iCloud is set up and activated on your iPhone. You can do this by navigating to Settings, then tapping on your Apple ID and iCloud, and ensuring that iCloud Music Library is turned on.
At the same time, you'll also need iCloud set up on your computer. Open iTunes and head over to Preferences. Under the General section, make certain the iCloud Music Library is activated here as well.
With both your devices ready to sync via iCloud, it's time to transfer your music. Start by importing your music files into iTunes on your computer. Go to File -> Add File to Library (Add Folder to Library if you're importing a folder), then locate and select the music you want to import.
Once imported, the songs should automatically appear in your iCloud Music Library. Except, this step might take a few moments to complete.
Note: This method works for both purchased and non-purchased songs. For non-purchased songs, they'll get matched with the iTunes Store catalog. If a match is found, it's added to your iCloud Music Library as iTunes Plus.
At this stage, just leave your iCloud to do its magic. Your music should start appearing in the music app on your iPhone as it syncs with your iCloud Music Library. Just ensure you're connected to WiFi for uninterrupted syncing.
While waiting for the syncing, you can continue with your other activities, and save time compared to conventional uploading methods. It's as convenient as it gets, wouldn't you agree?
Method 3: Transfer Music from Computer to iPhone using Third-Party Software

Now that we've navigated through iCloud syncing, let's introduce a reliable and user-friendly method that'll break you free from iTunes or iCloud constraints. Third-party software!
Third-party programs are not affiliated directly with Apple, but they're developed to enhance your user experience. They're a top-notch solution for those of you who want more control over what's being transferred or who seek an easy-to-use interface.
Step 1: Choose a Reliable Third-Party Software
Do your due diligence and select a trustworthy software program. There are free-to-use and paid options available. Examples include:
- EaseUS MobiMover
- AnyTrans
- CopyTrans
Some paid versions may offer extra features. So, dabbling in a free trial might be worth it. Ensure to review the privacy policy too. You don't want any unwelcome surprises down the line!
Step 2: Install the Software
After selecting your preferred software, download it onto your computer. Most of these applications have a straightforward installation guide, making it as simple as pie to get started.
Step 3: Connect Your iPhone to the Computer
With the software installed, plug in your iPhone to your computer. Most programs will recognize the device automatically and show your iPhone's data on their interface.
Step 4: Sync Your Music
Now's the time to transfer your tunes! Usually, you just need to go to the music management section within the program, browse your computer files, select what you want, then click on a 'Transfer' button.
Note: Some software even lets you sync other types of media files like videos and photos.
Step 5: Disconnect Your iPhone Safely
Don't rush and unplug your iPhone suddenly. Wait until the sync is complete, then follow the software’s instruction for safe removal. It's all about keeping your cherished iPhone and its data secure.
Conclusion
You've now mastered how to transfer music from your computer to your iPhone without resorting to iTunes or iCloud. It's as simple as picking a trustworthy third-party software, installing it, and syncing your music. This method isn't exclusive to music, you can also sync photos and videos. Remember, always disconnect your iPhone safely after syncing to prevent any potential data loss. With these steps, you're no longer limited by Apple's proprietary software. Enjoy your favorite tunes on your iPhone, anytime, anywhere.
Frequently Asked Questions
Q1: What is the third method to transfer music from a computer to an iPhone?
This method involves using third-party software not affiliated with Apple. You need to choose a reliable software, install it on your computer, connect your iPhone, sync your music using the software's management section, then safely disconnect the iPhone after the sync is complete.
Q2: Is iTunes or iCloud necessary to use this method?
No, this method of music transfer to the iPhone does not require iTunes or iCloud.
Q3: Can I sync other media files aside from music with this method?
Yes, some third-party software programs allow for syncing other types of media files, such as videos and photos.
Q4: Is there any risk associated with using third-party software?
Potentially. It's important to choose a reputable third-party software program to ensure that your files and device are safe and protected.
Q5: Is this process easy to do?
While it might seem complex, syncing music files using third-party software can be quite straightforward once you understand the process. Ensure you follow the software's instructions for a seamless experience.


