Difficulty: Easy
Duration: 5 minutes
What you'll need: iPad
- Knowing how to get rid of bookmarks on an iPad can help keep the device organized and running smoothly.
- Learning how to quickly remove bookmarks from your iPad can help save time and keep your iPad organized.
- In this article, you will learn how to quickly delete bookmarks from your iPad.
The iPad is a great device for reading books and other digital content. But if you're like many iPad users, you may find that your iPad is cluttered with bookmarks from websites, apps, and other sources.
If you want to quickly remove bookmarks from your iPad, this article will provide you with step-by-step instructions on how to do so. We'll discuss how to delete bookmarks from Safari, the default browser on the iPad, as well as other popular browsers like Chrome and Firefox. We'll also provide tips on how to organize your bookmarks so that you can easily find the ones you need.
Finally, we'll provide some advice on how to prevent bookmarks from accumulating on your iPad in the future. So, if you're ready to get rid of those pesky bookmarks and reclaim some space on your iPad, let's get started.
How to get rid of bookmarks on iPad
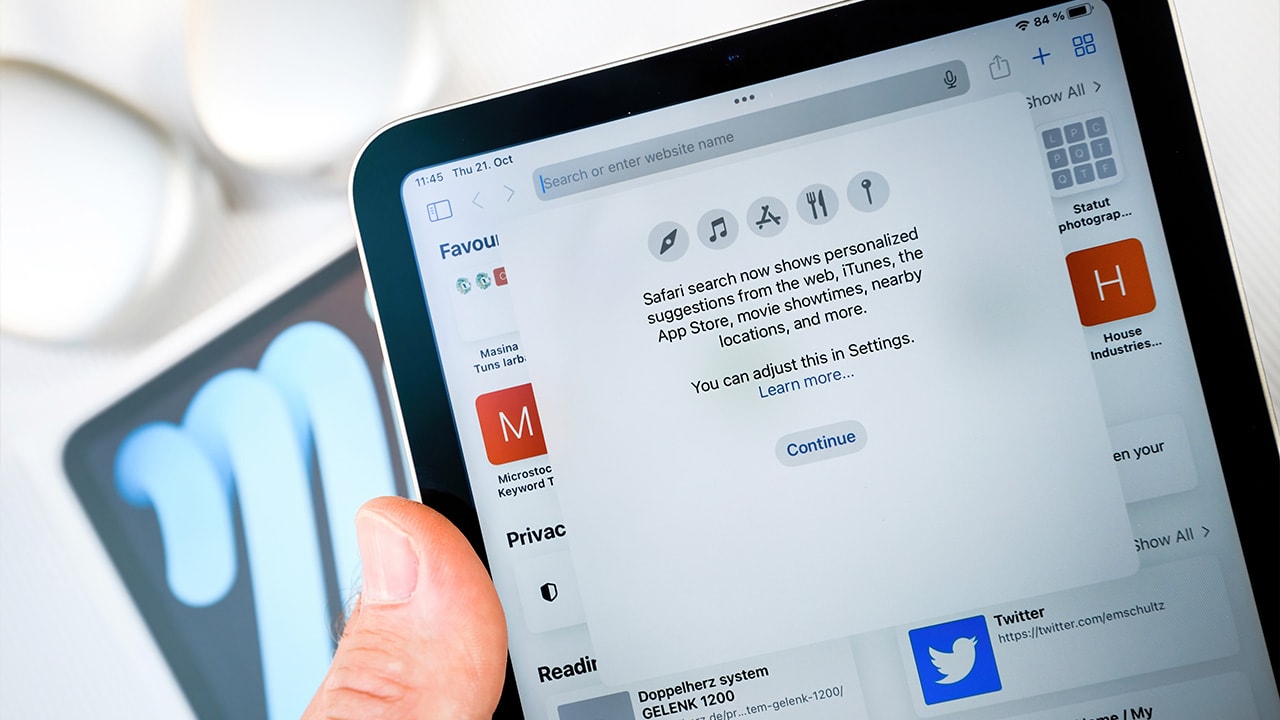
If you need to quickly remove bookmarks from your iPad, you can do so by tapping the bookmark icon in the upper right corner of your Safari browser and then tapping the “Edit” button. From there, you can select the bookmarks you want to remove and tap the “Delete” button.
- Open Safari and select the bookmarks icon.
- Tap Edit in the bottom right corner.
- Tap the red minus sign next to the bookmark you want to delete.
- Tap Delete to confirm.
Our takeaway
Deleting bookmarks on your iPad can be a quick and easy process. Whether you want to delete a single bookmark or a whole folder of bookmarks, you can do it in a few simple steps. By using the Safari app, you can easily delete bookmarks and keep your iPad organized.
Now that you know how to delete bookmarks on your iPad, you can keep your browsing experience neat and tidy. So, go ahead and delete those bookmarks and make your iPad the most efficient device it can be!
FAQs
What are the steps to quickly remove bookmarks from an iPad?
To quickly remove bookmarks from an iPad, open the Safari app and tap the Bookmarks icon at the bottom of the screen. Tap Edit in the top right corner and select the bookmarks you want to delete. Tap the Delete button in the bottom left corner, then tap Done to confirm the deletion.
What is the best way to delete multiple bookmarks from an iPad?
The best way to delete multiple bookmarks from an iPad is to open the Safari browser, tap the Bookmarks icon, select Edit, tap the red circle next to each bookmark you want to delete, and then tap Delete.
How do I delete a bookmark folder from my iPad?
To delete a bookmark folder from your iPad, open the Safari app and tap the Bookmarks icon. Select the folder you want to delete, then tap the Edit button. Tap the red "Delete" button and confirm the deletion. The folder and all its contents will be removed.
Can I restore deleted bookmarks on my iPad?
Yes, you can restore deleted bookmarks on your iPad. To do this, go to Settings > Safari > Advanced > Website Data > Show All Sites. Then, search for the deleted bookmarks and tap on them to restore them.
Is there a way to export bookmarks from my iPad to another device?
Yes, you can export bookmarks from your iPad to another device. To do this, open the Safari app on your iPad and select the "Bookmarks" tab. Then, select the "Bookmarks" icon in the bottom left corner. From here, select the "Export Bookmarks" option and choose where you would like to save the file. You can then transfer the file to the other device.