Difficulty: Easy
Duration: 5 minutes
What you'll need: iPad
- Creating folders on an iPad can help keep files and apps organized and easy to find.
- Learning how to make a folder on an iPad can help you organize your files and apps more efficiently.
- In this article, you will learn how to create a folder on your iPad in a few simple steps.
The iPad is an incredibly powerful device that allows you to do a lot more than just browse the web and watch movies. With the iPad, you can also organize your files and documents into folders. This is a great way to keep your iPad organized and make it easier to find what you need.
In this article, we will provide a step-by-step guide on how to make a folder on iPad. We will cover how to create a folder, how to add files to the folder, and how to delete a folder. We will also provide some tips on how to make the most out of your folders and keep your iPad organized.
By the end of this article, you will have the knowledge and tools to easily create and manage folders on your iPad.
how to make a folder on ipad
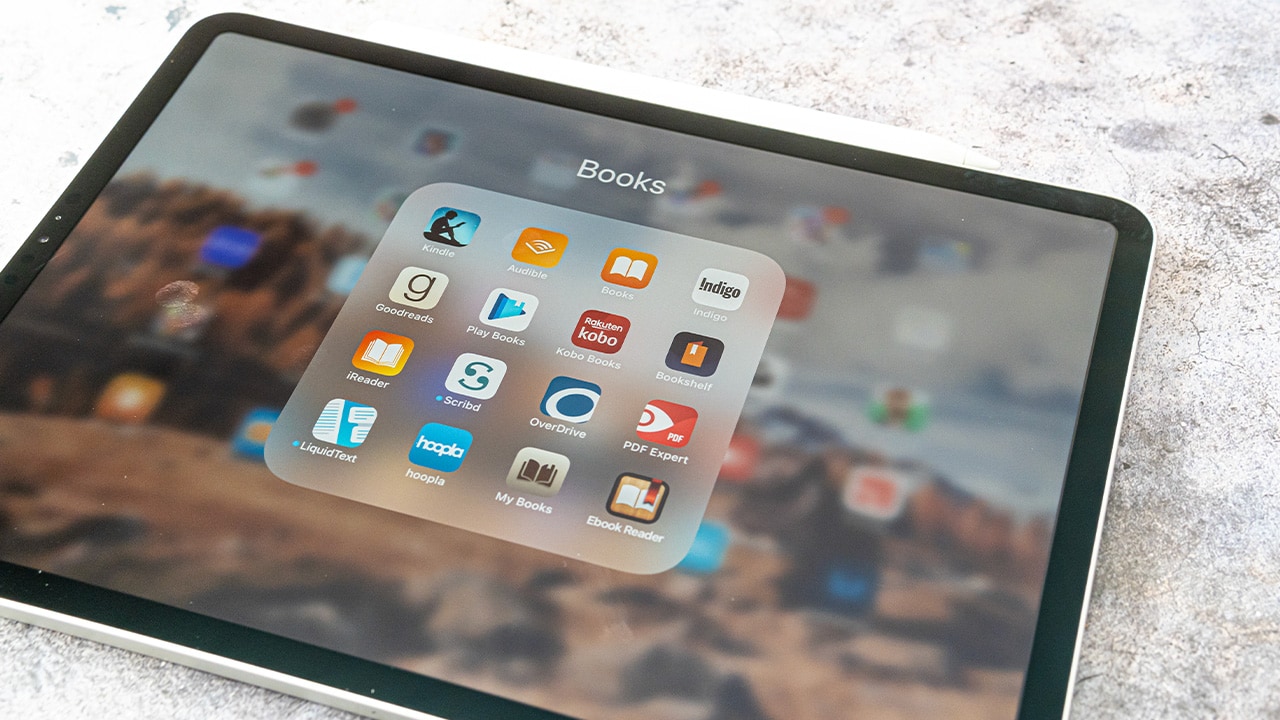
Creating a folder on your iPad is a great way to organize your apps and keep your home screen clutter free. By following a few simple steps, you can quickly and easily create a folder on your iPad.
- Tap the Files App on your iPad to open it.
- Tap the Browse tab at the bottom of the screen.
- Tap the three dots located in the upper right corner of the screen.
- Select New Folder from the menu that appears.
- Type in a name for the folder.
- Tap Create to create the folder.
Our takeaway
Creating a folder on iPad can be a great way to stay organized and keep your important documents in one place. With this step-by-step guide, you now know how to create a folder on your iPad and make sure your important documents are always at your fingertips.
Now that you know how to create a folder on your iPad, you can start organizing your documents and make sure you never miss an important file again!
So get out there and start creating some folders on your iPad and get organized today!
FAQs
1. What is the easiest way to make a folder on an iPad?
The easiest way to make a folder on an iPad is to open the Files app, tap the “+” button in the top right corner, and select “New Folder”. You can then name your folder and add any files you want to it.
2. Is it possible to move files from one folder to another on an iPad?
Yes, it is possible to move files from one folder to another on an iPad. To do so, open the folder that contains the file you want to move. Tap and hold the file, then drag it to the folder you want to move it to. When the folder is highlighted, release your finger to move the file.
How do I delete a folder on my iPad?
To delete a folder on your iPad, open the folder and tap the “Edit” button in the top right corner. Select the folder you want to delete and tap the “Delete” button. Confirm the deletion by tapping “Delete” again. The folder will be deleted from your iPad.
Can I add a password to my folder on my iPad?
No, it is not possible to add a password to a folder on an iPad.
Is there a limit to the number of folders I can create on my iPad?
No, there is no limit to the number of folders you can create on your iPad.


