Ever found yourself in a situation where you needed to forward a text message on your iPhone, but didn't know how? Don't worry, you're not alone. Many iPhone users stumble when it comes to this seemingly simple task.
In today's digital age, sharing information quickly and efficiently is key. Whether it's a funny meme, an important address, or a sweet note, knowing how to forward a text message can come in handy.
In this guide, we'll walk you through the easy steps to forward a text message on your iPhone. Whether you're a tech newbie or a seasoned pro, you'll find this guide helpful. So let's dive right in and get started.
Why is it important to forward text messages on iPhone?
It's often underestimated how crucial a role text messages play in our digital world today. They are more than just a simple means of communication. Text messages store significant data. They serve as verifiable records of conversations and can provide proof of transactions, agreements, and advisories. They can even relay details of emergencies.
You might be wondering, why would you need to forward them? Understanding the ability to forward a text message opens up a multitude of solutions. It paves the way for quicker exchange of information, especially when relaying the same message to multiple recipients is required.
For instance, imagine having received a vital piece of information that you want to rapidly share with several contacts. By forwarding that message directly from your iPhone, you can perform this task seamlessly, without having to retype the entire message. You're saving a significant amount of time, aren't you?
And not just in personal scenarios, businesses benefit immensely from this feature too. In sales and marketing, forwarding of text messages is utilized for sending promotional content, product updates, or reminders.
Another interesting application could be in the realm of crisis communication. Say you or a loved one is in distress and needs immediate assistance. A properly forwarded text message could swiftly relay crucial location data or status updates to the right people.
Most importantly, such sharing of information upholds the original content's intactness. It eliminates the possibility of information distortion or mis-interpretation, safeguarding the authenticity while passing on the data.
Ergo, mastering the ability to forward text messages on an iPhone is not just a tech-savvy move, but a practical necessity in today’s fast-paced digital age.
And guess what? The steps to forward a text message on your iPhone are relatively simple and intuitive. Even if you're an amateur or a first-time iPhone user, you can easily learn it. Stay tuned, as we walk you through this process in the following sections.
Step 1: Open the Messages app
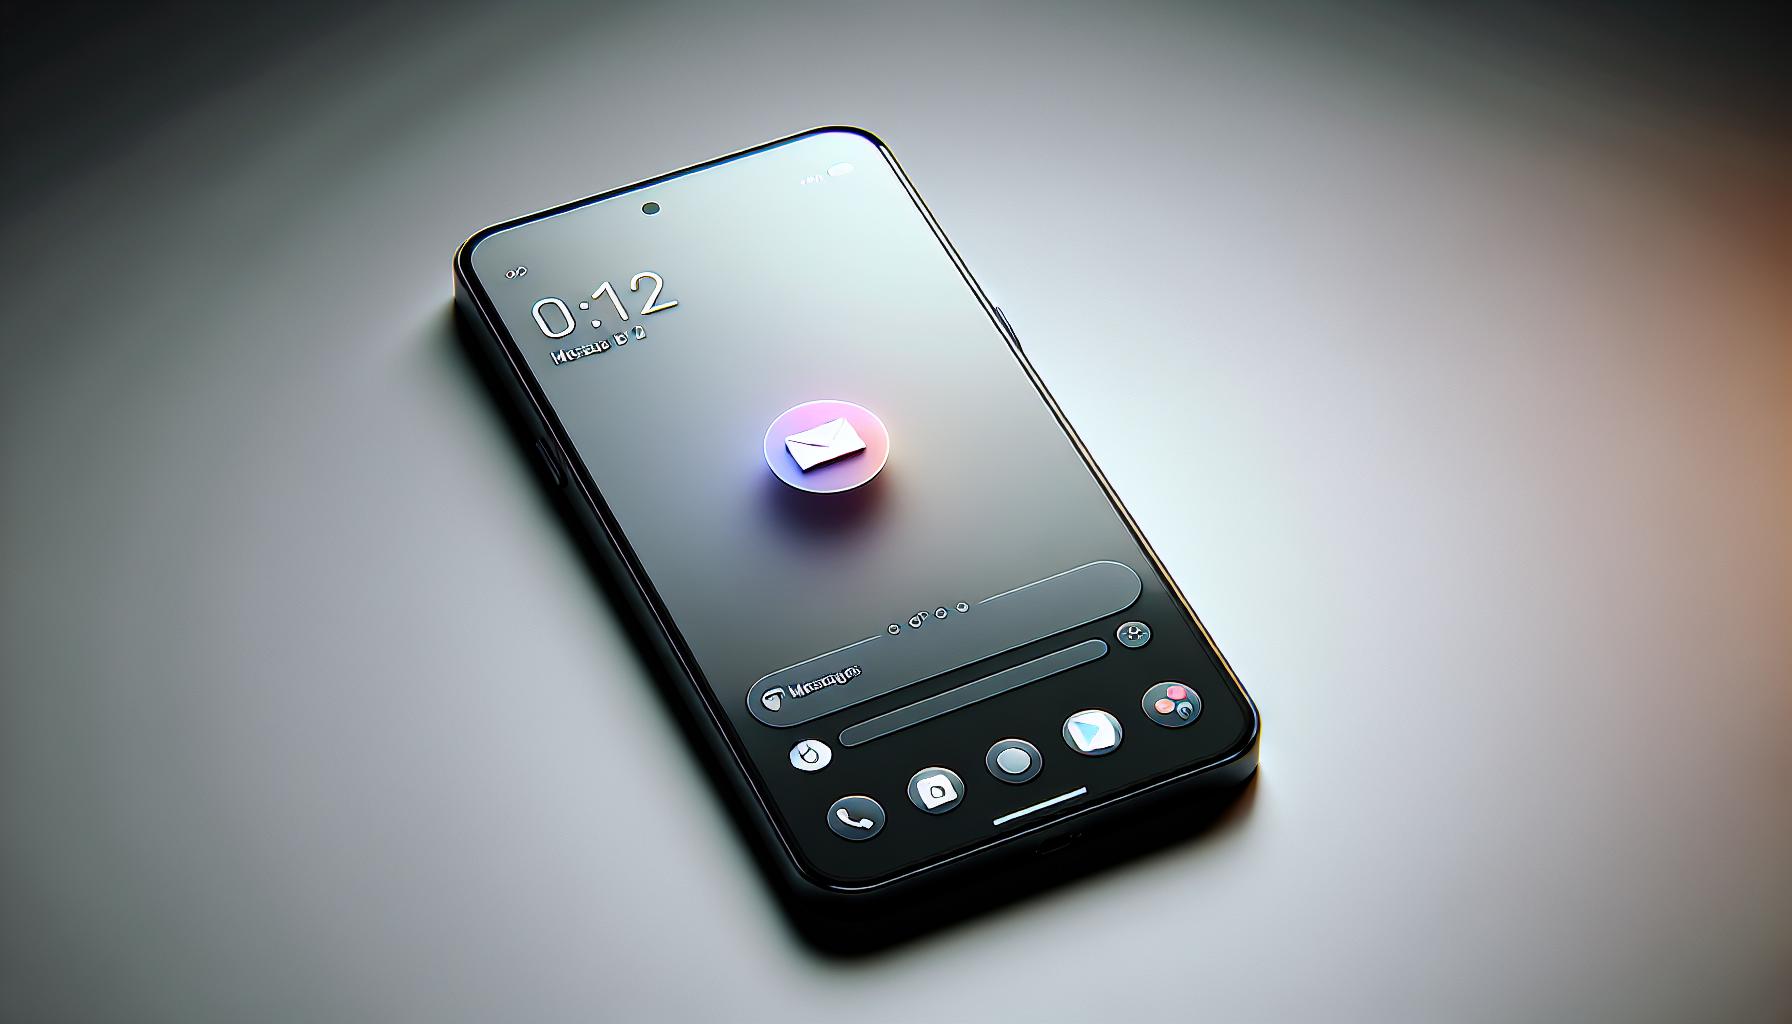
On the outset of this process, you'll want to access your Messages app. This application is a native component of iOS installed on every iPhone, and it's where you'll find all your SMS, MMS, and iMessages archived.
Locate the icon for the Messages app on your device. It's typically green with a white chat bubble in the center. The position of the app icon depends on your personal organization and layout. Look for it among your applications in the home screen or within your app library if you've put it there.
Once you've spotted the app icon, tap on it. You'll navigate to a screen with a list of your existing conversations. These are all the individual and group chats you've had with your contacts. The most recent conversation should appear at the top.
Don't get overwhelmed if you see a number in red at the top-right corner of the Messages app icon. This number indicates the sum of unread messages across your conversations. When you open the app, you can easily identify these unread messages: they're marked with a blue dot next to the sender's name or contact number.
After following the above instructions, your Messages app should be open, and you should be looking at your conversations. From here, forwarding a text message is just a few steps away. We'll dive into that next, explaining how to identify which text message you want to forward. So, continue reading to explore this built-in functionality of your iPhone more thoroughly.
Step 2: Select the message you want to forward
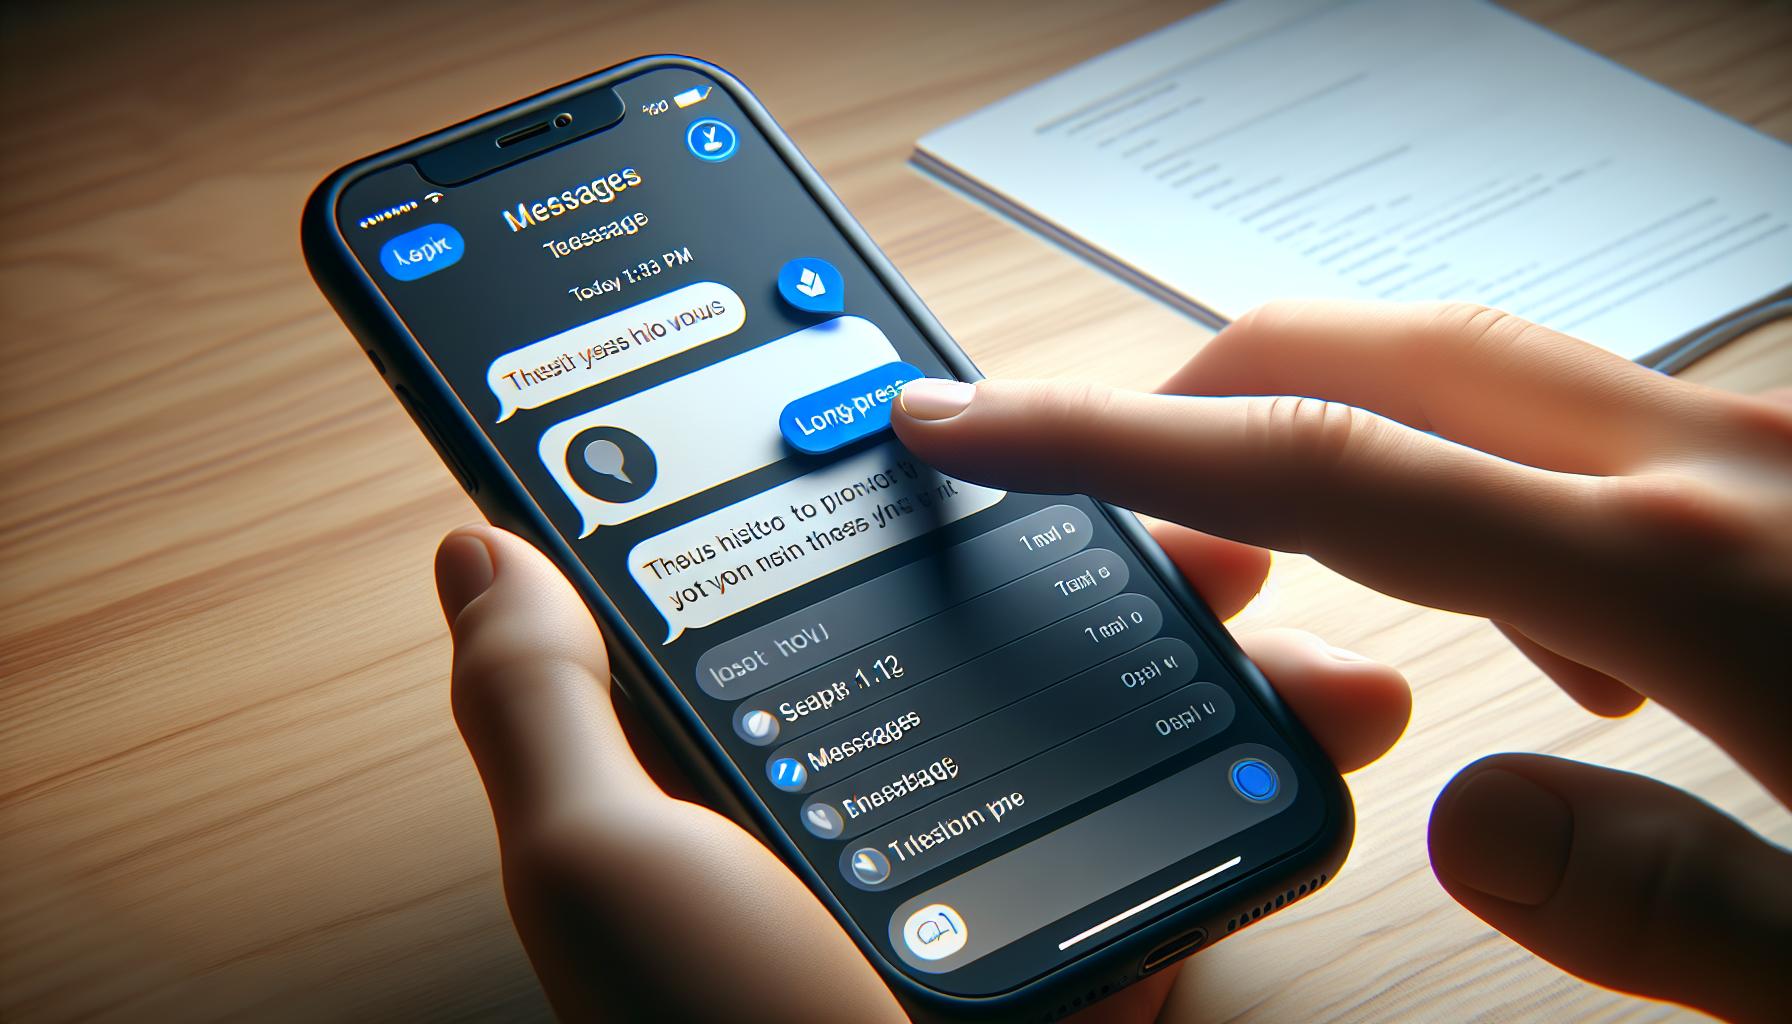
You've managed to navigate the Messages app and you've spotted your desired conversation. So what's next? The text message forwarding journey is just getting started.
Tap on the conversation to open it. You'll find all your shared texts, images, and other attachments in this thread. Here is where you'll select the exact message you want to forward.
To do this, long-press on the message. This means pressing and holding down on the message until a menu pops up. If you're new to iPhone, rest assured it's a common gesture used across different functions.
So, you're holding down on the message, and now a menu has appeared. This menu has several options, including a "More..." option. Go ahead and tap on that. It's this selection that will allow you to move on to the forwarding step.
Your chosen text message is now marked with a blue checkbox. The app's task bar has changed too, and you'll see an arrow icon pointing to the right. This is the forward button, which we'll delve into in the next part of this guide.
Don't worry, your message isn't going anywhere just yet. This process has merely prepared it for dispatch. And, in case you got the wrong message, just deselect it by tapping on the blue check mark. You can then long-press on the correct message to select it instead.
There's no rush. Take your time perfecting each step. Remember to be patient with yourself as you learn. After all, practice is key in mastering any new skill!
Let's stop here for now. Stick with us, the next part of this guide will walk you through the process of actually forwarding your chosen text message.
Keep in mind that you can forward text messages to multiple contacts at once. You'll learn how to add multiple recipients in the next part of this guide.

Smoothly transitioning from Step 2, let's delve into how to select your message using the options menu. The process, while simple, has a few important touch points – let's discuss these necessary actions in detail.
Imagine you've successfully navigated to the Messages app and selected your desired conversation, as specified in the earlier stages of this guide. In line is the step of choosing the particular message you want to forward. What's the process? It's straightforward.
Before you can forward a message, you need to select it. Do so by long-pressing on your desired message. Simply press and hold on the message bubble until some options appear on your screen. This is a critical step in the forwarding process so don't rush.
While you hold down, you'll see the bubble’s color change. A menu with multiple options will then show up right above the message bubble. The options vary depending upon the contents of the text but typically, you'll see “Copy” and “More…”. Wait for this menu—it's your key to the next vital steps.
Once the options menu has appeared, pay close attention to the "More..." option. Your mission here is to let go of the long-press only after you see this. Upon releasing, you'll be able to select it. These selection mechanisms are designed to provide clear paths for iPhone users when managing text messages.
After your chosen text is marked with a blue checkbox, you have the ability to deselect it if required. Just tap on it again and you're back to square one. As expected, the blue checkbox will disappear.
On han such peculiarities, you'll navigate message forwarding on your iPhone like a pro. Coming up next, we'll explain how to actually forward your selected text message and add multiple recipients. Remember, it's a step-by-step exploration—loads of fun and learning is yet to come.
Step 4: Tap on the "More" option

At this stage of forwarding a text message, you've successfully selected your desired discourse. Now, it's time to tap on the "More..." option. Remember, patience is key. Waiting for this vital feature to appear before proceeding assures a smooth process.
Just like before - maintaining a light touch is crucial. Single-handedly tap the "More..." section. Once you do, a new screen should emerge. This part of the procedure is tailored to give you a more descriptive view of the actions you can engage with, hence providing a broader avenue for interaction.
This new window presents several provisions like "Copy," "Speak," and mainly, our point of interest, "Forward". Keep your focus on the "Forward" button as this is your next step in our guide.
But, did you select the wrong message? No worries, in case of errors in selection, iOS provides an easy fix. Simply tap on the message again to deselect it.
Let's take advantage of this detour to explain the additional options that come in the 'More' menu. The "Copy" option gives you the ability to duplicate the text. The "Speak" option, on the other hand, has your device audibly read your selected text. Arguably not all may find these options useful, but it's important to know what they are and when they could come in handy.
It's vital to stay patient and precise throughout the process. A rushed touch could lead you to an unwanted action. With the above information, you should have no trouble moving to the next step.
Step 5: Select the message you want to forward
Alright, you're on a roll now! Keep tapping into your patience and precision as they're key to successfully navigate through this process. After all, it's imperative to select the exact message you want to forward, or else the wrong information could be sent out.
Your step five starts in your message thread. From within this thread, you'll see all your exchanged messages with that particular contact. Direct your attention to the message you want to forward. It could be a heartfelt message, an important address, or maybe even a funny joke that you want to share with someone else. Whichever it is, make sure it’s the one you really intended to send.
Take a light tap on the message. A light touch is all it takes to select the message, as a heavy-hand might initiate unwanted functions. Notice that just after tapping, the message bubble will be ticked or highlighted, signifying that it's the chosen one for forwarding.
Now what happens if you accidentally select the wrong message? Don't panic; you can fix it. Simply tap on the selected message once more, and voila, it's deselected. Take this as an advantage to double-check the message you're planning to send. Repeat this process as needed until the message to be forwarded is correctly chosen.
Remember that the "More…" option expands to uncover additional functions like "Copy" and "Speak." These options provide you additional ways to manipulate your message. However, for the sake of forwarding a message, you'll stick to the box that appears beside your selected message.
This guide is easy to follow, right? Let's keep the momentum going and move on to the next step. Don’t rush. Step-by-step, take your time, and you'll master this technique in no time. Quality is the hallmark of every professional - and patience, your guiding light on this journey.
Step 6: Tap on the forward arrow icon
Navigating through the menu options, your focus should now shift to the bottom corner of your iPhone screen. Do you see an icon shaped like a forward arrow? That's your next destination in your journey to forwarding a message.
Tap on the forward arrow icon at the bottom of your screen. This function shares both the icon and name with the popular email action, forwarding. It allows you to redirect the message to a new recipient while keeping the content intact. However, remember you're not sending an email - this is basic iphone messaging we're talking about, so keep it simple!
Once you have tapped the forward arrow icon, a new screen will pop up. This is your opportunity to designate the new recipient or recipients for the text message. Remember your earlier lesson: patience and precision are your best friends here to avoid enclosing any wrong numbers or contacts in your forwarding adventure.
Smoothness defines your iPhone experience and this instant is no different. In trembling anticipation or rush, don't mistakenly tap the adjacent "delete" button. Your selected text may vanish into thin air. It isn't some magic trick you'd appreciate!
Still in doubt? Pull out our handy checklist built just for you:
- Have you selected the right text for forwarding?
- Have you tapped the forward arrow icon, not the delete button?
- Are you sending the message to the correct recipient?
Restrain from moving forward if all your answers aren't a resounding yes! Take a moment, breathe. Recollect your thoughts, double-check your selection, and only then proceed. Experience has it - no rushed actions fetch the best results in the tech world.
Where do you go from here? Let's set our sights on the next step, "Adding contacts to the 'To' field," in order to provide the intended direction for your forwarded text.
Step 7: Choose the recipient(s) you want to forward the message to

Deciding on your recipient can be tricky. You may be tempted to rush through it, but slow down and deliberate. Your choice of recipient(s) is as important as the text itself. It's about getting your message across to the right person(s) at the right time.
Launch your contacts list. It’s full of names, numbers, and maybe even images. Scroll through until the right name or group pops up on your screen. Without delay, tap their name to select them as the recipient(s).
On many occasions, you may want to send this message to more than one person. It's a common practice. Lucky for you, your iPhone supports multi-recipient messaging. After selecting your first recipient, just continue scrolling and tapping. You'll see all the selected names highlighted.
Now let’s talk details on multi-recipient messaging:
- The impact: More people, more impact, right? Each recipient means an extra set of eyes on your message.
- The issues: More recipients mean more potential for error. You've got to triple-check every recipient has been chosen correctly.
- The bottom line: Accuracy. Precision matters most when selecting multiple recipients.
Remember, accuracy is essential. You wouldn’t want to unwittingly invite someone to a surprise party, would you?
In an era of fast-paced communication, mistakes can occur. Don't let your excitement or haste jeopardize the process. Review every step, be precise and thorough. And above all, adjust your speed to align with your intent and the gravity of your message.
After selecting the recipient(s), there's only one more step before your message goes flying off into cyberspace: enter your message. You've come this far, and it’s time for your thoughts, your words, to take the limelight. And remember, despite the availability and allure of hasty communication, precision and patience persist as prerequisites.
Step 8: Tap on the send arrow icon

You've come far in the process of forwarding a message. You've selected your desired text, have cautiously tapped the forward arrow icon, and indicated the correct recipients for your message. Now what you're left with is to finalize the text before tapping on the send arrow icon; the last major component of this procedure.
Think of this stage as the stride before the finish line, or the bow after the grand performance - it's simple, yet utterly crucial. So, let's proceed with the same level of caution and precision.
As you've successfully inputted the receivers of your forward message, you'll now be confronted with a final text box. This box is a reminder to you: it's the place for the content of your desired message. You can put the selected text here or even add a supplementary note. After you've assured yourself the inputted text is correct and without any last-minute typos, you're set for the final step.
Make sure your eyes are on the right track: locate the send arrow icon. This icon, which looks like a paper plane, is often located at the bottom-right corner of your screen. Once you spot it, you’re just a tap away from forwarding your message. But before you do so, don’t forget to take a moment to review everything. Patience and precision are key here.
This is the moment where any errors made will be irreversible. It's where haste can turn into hours of damage control. Rushing through this step might lead to you sending the message to the wrong individual or group. Remember, your speed should align with the gravity of the message. After your final review, when you are confident everything is precisely as you intended, tap the send arrow icon.
Conclusion
So there you have it! You've learned the ins and outs of forwarding a text message on your iPhone. Remember, the key is in the details. Always review your message one last time before hitting that send arrow icon. It's crucial to be precise and patient during this process. You don't want to send a message you'll regret later, as there's no turning back once it's sent. So, the next time you need to forward a text, just follow these easy steps and you'll be a pro in no time. Happy texting!
Q1: What is the final step in forwarding a text message?
The final step in forwarding a text message is to tap the send arrow icon located at the bottom-right corner of the screen. It is important to ensure precision as this action is irreversible.
Q2: What is emphasized at the final stage of text message forwarding?
The article emphasizes the importance of precision, patience, and thorough review of the message before sending it, as any errors made would be irreversible.
Q3: What should I do before tapping the send arrow icon?
Before tapping the send arrow icon, you should ensure that everything is precisely as intended. You are urged to be patient while reviewing and rechecking the entire message to avoid errors.
Q4: What happens if I make a mistake at the final stage of forwarding a text message?
If a mistake is made at the final stage of forwarding a text message, it will be irreversible. Therefore, it is crucial to review the message thoroughly before sending.
Q5: Why is it important to be careful when clicking the send arrow icon?
It's important to be careful because once the send arrow icon is clicked, the message is sent and cannot be reversed or edited. So, it's best to review and proofread the text for accuracy before sending.
