Ever found yourself locked out of your own iPhone because you forgot the password? It's a common predicament that can leave you feeling helpless. But don't worry, there's a way out. You can indeed factory reset your iPhone without a password.
You might be wondering, "How on earth do I do that?" Well, it's not as complicated as it seems. In fact, with a few simple steps, you'll have your iPhone reset and ready for a fresh start. This guide will walk you through the process, ensuring you regain control of your device in no time.
Remember, a factory reset wipes out all data and settings on your iPhone. So, before you proceed, make sure you've backed up everything you don't want to lose. Ready to dive in? Let's get started.
Understanding the Situation
It's happened to us all. You've forgotten your iPhone password and now you can't access your device. Don't panic! It certainly is not an enviable scenario, but it's more common than you might think. Everyday, numerous iPhone users worldwide face this issue.
While being locked out of your iPhone can feel hopeless, remember that Apple has put systems in place for just this type of situation. There are solutions designed to help you access your device and reset your forgotten password.
The key thing here is to understand the scope of your predicament. You're not merely restoring access to your iPhone; you're factory resetting it. This means that you're not just bypassing the login screen, but rather, you're removing all data from your iPhone and returning it to the state it was in when you first bought it.
Here's what this means in terms of data and functionality:
- Your settings return to their defaults
- All your personal data is erased
- Installed applications are removed
- It's like you've got a brand new iPhone
Before you begin to panic about losing all your data, it's important to understand that with a proper backup in place, you shouldn't lose any personal data at all. That's why the previous sections stressed on the importance of backup.
So, try to stay calm. You're in a tough spot, but you're not alone and there are clear steps you can take to resolve your situation. In the following sections, we'll guide you through the process, step by step, to help you regain access to your iPhone. With some patience, you'll have your device up and running in no time.
Note: This process can take a fair amount of time, in rare cases up to several hours, so make sure to plan accordingly.
Backing Up Your Data

It's of paramount importance to have a safety net - a solid backup of your data - before you initiate the process of factory resetting your iPhone. As we've covered earlier, factory resetting erases all data and settings on your iPhone. Having a backup ensures you won't lose critical information during the process.
Creating a Backup Using iCloud
The first backup option we'll explore is using iCloud. This method is convenient for users with a reliable internet connection.
- Make sure you're connected to Wi-Fi
- Go to Settings on your iPhone
- Tap on your name, then tap iCloud
- Scroll down to iCloud Backup
- Tap Backup Now
Remember, this action requires a steady internet connection, so ensure your Wi-Fi signal is robust before you begin.
Creating a Backup Using iTunes
The second method employs iTunes. Ideal if you don't have solid internet access or prefer a more tactile approach.
- Connect your iPhone to your computer
- Open iTunes and select your iPhone
- Click Summary, then click Backup Now
This process creates a backup of your data on your computer. It's important, however, to keep your computer secure to prevent unauthorized access to your data.
Creating a Backup Using Your Computer
For users running MacOS Catalina or later, you can create a backup directly on your computer.
- Connect your iPhone to your computer
- Locate your iPhone on your computer
- Click General or Settings, then click Backup Now
Whether you opt for iCloud, iTunes, or directly through your computer, creating a backup ensures the safety of your data. In the next section, we'll delve into the steps of factory resetting an iPhone when you've forgotten your password. Stay tuned.
Option 1: Using iTunes

iTunes presents a simple and effective way of factory resetting your iPhone when the password is forgotten. The key advantage of using iTunes is that it also enables you to back up your device data, thus safeguarding against total loss of your information.
Before you start, make sure your iPhone is running the latest version of iOS. To do so, navigate to "Settings" on your device, select "General" and then "Software Update". If an update's available, install it. Then, you'll require the latest version of iTunes installed on your computer.
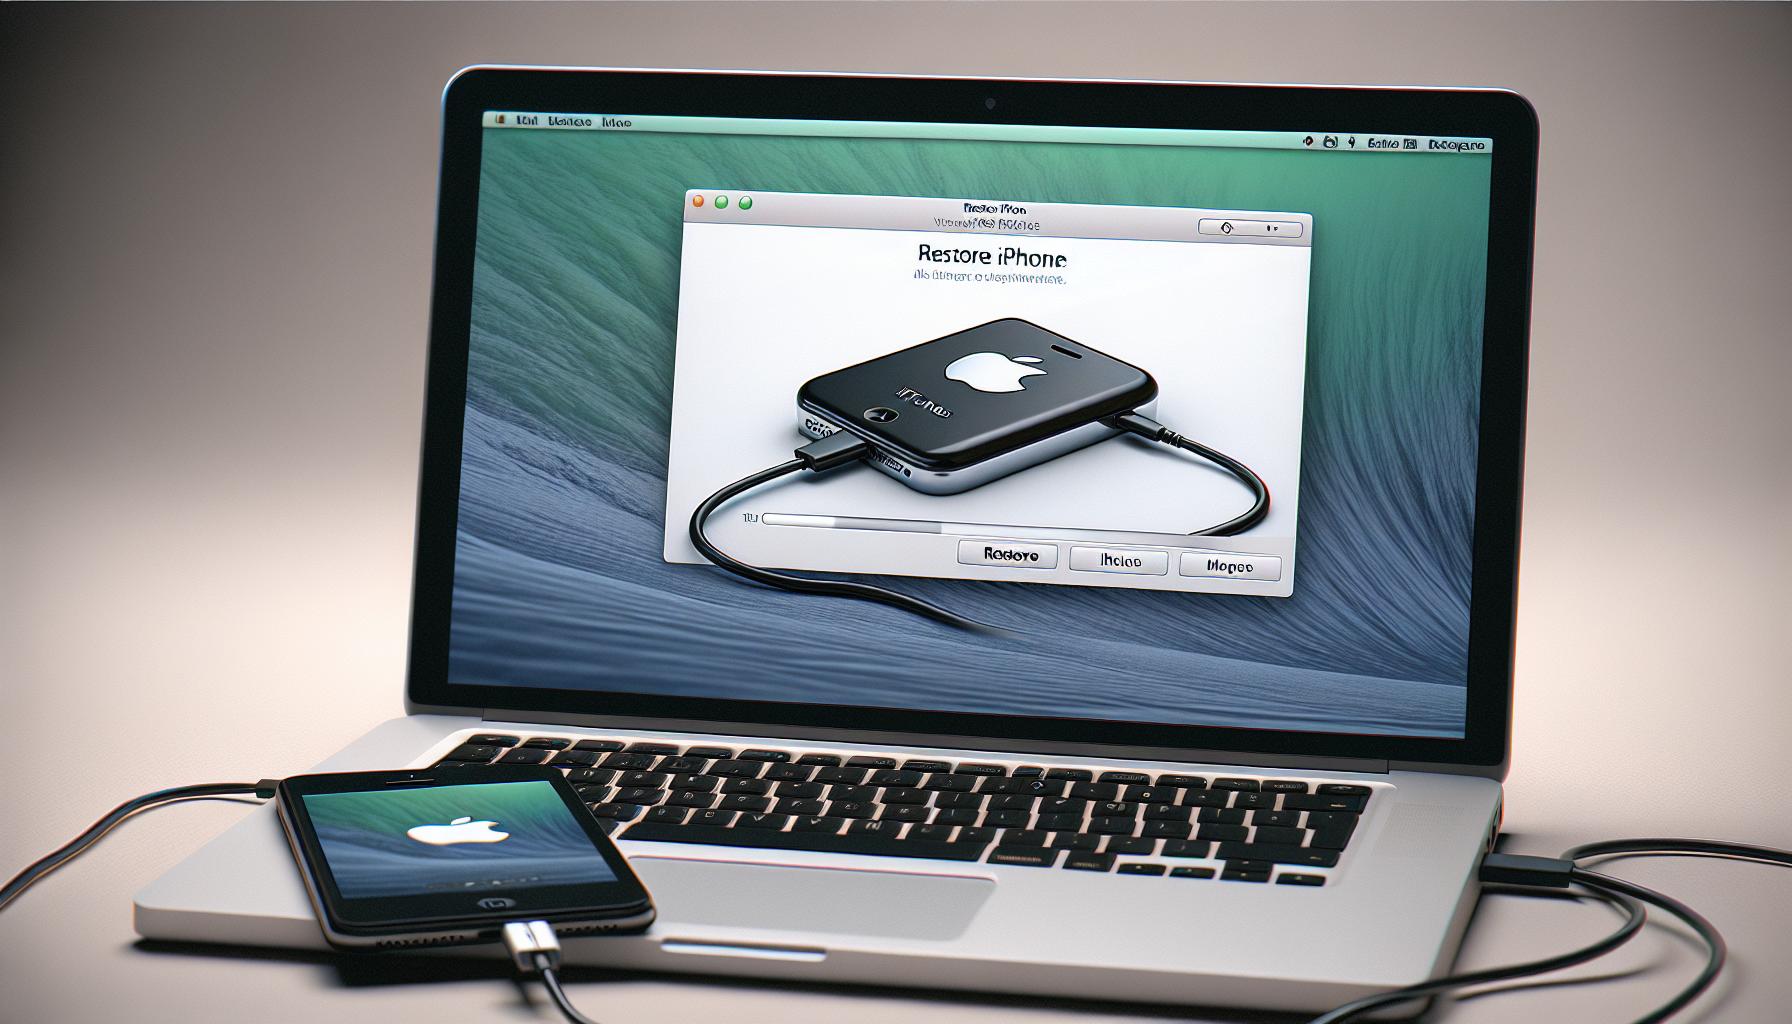
To begin the process, connect your iPhone to your PC using a USB cable. If iTunes doesn't open automatically, open it manually.
- Select your device when it appears in iTunes.
- Click on the "Summary" tab on the left menu of the iTunes interface.
- On this page, you'll see the option to "Restore iPhone". Click on it.
A prompt will appear confirming your action, as this will erase all data on your device. Confirm your decision, and iTunes should then restore your iPhone to factory settings, erasing all data including your forgotten password.
The time it takes for this process to complete depends on your device and network conditions. Keep your device connected until the process is done, and don't use your device while it's restoring.
To reinstall your data from a backup, select "Restore Backup" in iTunes after the process has completed and choose the relevant backup file. This way, even while resetting your device without a password, you manage to keep your valuable data safe.
Option 2: Using Find My iPhone

Experience the ease of resetting your iPhone’s factory settings using the Find My iPhone tool. It's an effective method that allows you to erase your iPhone remotely, which is perfect in scenarios where you've forgotten your password.
Firstly, remember to sign in to iCloud using your Apple ID. Navigate to the Find My iPhone section. Here, you'll find a list of all the devices linked to your Apple ID. Locate and select your iPhone from the list. Next, tap on 'Erase iPhone'. This command instructs the tool to initiate the factory reset process. Be ready to say goodbye to your data though since this step will erase all data from the device.
You might wonder - what if you want to secure your data before initiating the factory reset? Thankfully, the Find My iPhone tool is quite flexible. It allows you to play it safe by making a backup through iCloud before proceeding with the factory reset.
- Open iCloud settings on your iPhone.
- Tap on 'Backup now' to secure your data in iCloud.
- Once the backup is complete, you can be confident about resetting your iPhone.
But hold on! It's crucial to remember that you need to have a working internet connection throughout the process, especially when backing up your data and erasing your device.
The process doesn’t end post-reset. Reinstallation of your data from iCloud is also a convenient option post-reset. You can cruise through the phone setup process until you reach the 'Apps & Data' screen. Then, just tap on 'Restore from iCloud Backup'.
This method effectively resets your iPhone without a password. However, keep in mind it's not foolproof since it heavily relies on a strong internet connection and access to your Apple ID credentials. Without a valid login, this process will be unavailable.
In the case where you might not have access to your Apple ID, don't worry! You still have a few other options at your disposal. Just keep reading.
Option 3: Using Recovery Mode
At times even when you've tried everything else, your password might keep slipping your mind. Perhaps you can't access the settings or Find My iPhone isn't helping. Under such scenarios, you're not out of hope. Using Recovery Mode can save the day.
Recovery Mode is a troubleshooting step you can use to bring your iPhone back to its factory settings. Like other options, this method also eradicates your data and settings. Here's how to operate recovery mode to reset your device.
First, make sure your iPhone is not connected to your computer. If it's already connected, disconnect it but leave the cable plugged into your machine. It's crucial; else, the next steps won't work.
You need to force restart your iPhone. For an iPhone 8 or later, press and quickly release the volume up button. Then press and quickly release the volume down button. After this, press and hold the power button until you see the recovery mode screen.
For an iPhone 7 and iPhone 7 Plus, press and hold both the top (or side) button and the volume down button together until you see the recovery screen.
For iPhone 6s and earlier, press and hold both the home button and the top (or side) button together until you see the recovery screen.
Once you see the option to Restore or Update, choose Restore. Your computer will erase your device and install the latest iOS, iPadOS or iPod software.
The process may take several minutes, and your device will restart. After restarting, your iPhone is ready to set up again as if it's new. Be sure to take time in setting up your device once again.
Recovering Your Data
After successfully resetting your iPhone, you may want to restore your data. It can be done through either an iCloud or iTunes backup. Remember, if you didn't make a backup before the reset, unfortunately, there's little chance to recover your data.
Let's take a look at the ways to do it.
iCloud Backup
Restoring from an iCloud backup is a breeze. Simply follow these steps:
- Turn on your iPhone. You should see a Hello screen. If you've already set up your iPhone, you need to erase all of its contents before you can use these steps.
- Follow the onscreen setup steps until you reach the Apps & Data screen.
- Tap Restore from iCloud Backup.
- Sign in to iCloud with your Apple ID.
- Choose a backup.
Ensure it's the right one by checking the date and size. Remember, you need a Wi-Fi connection for the restore process.
Here's a quick table summarizing the process:
| Process | Needed Actions |
|---|---|
| Follow onscreen instructions till Apps & Data screen | Power on iPhone |
| Tap 'Restore from iCloud Backup' | On-screen command |
| Sign in to iCloud | Valid Apple ID |
| Choose a backup | Correct date and size |
| Wait for the restore process | Wi-Fi connection |
iTunes Backup
If you've backed up your data using iTunes, you can restore from this backup during the setup process. Here's what you've got to do:
- Connect your iPhone to the computer you used for the backup.
- Open iTunes or Finder (for macOS Catalina).
- If a message asks for your device password or to Trust This Computer, simply follow the onscreen steps.
- Select your iPhone when it appears in iTunes or Finder.
- Choose Restore Backup.
- Select the relevant backup, looking at the date and time.
- Click Restore and wait for the process to finish.
One key point: you need the computer you used to back up your iPhone initially. If you do not have access, you may not be able to restore data using this method.
By effectively using these methods, you've got a good shot at recovering your data.
Conclusion
So, you've learned how to factory reset your iPhone without a password. Remember, restoring your data is possible with either an iCloud or iTunes backup. Keep in mind that you'll need your Apple ID credentials and a stable internet connection. However, remember that without a prior backup, data recovery might not be feasible. Now, you're equipped with the knowledge to handle this task confidently. The power is in your hands to reset and restore your iPhone, ensuring it's functioning at its best. Don't forget, always make regular backups to safeguard your data. It's your best bet against losing important information. Now go forth, you're ready to tackle any iPhone reset hurdles that come your way.
Q1: How can I recover my data after resetting the iPhone?
You can restore data through your iCloud or iTunes backup. For iCloud, sign in and select a backup, then wait for restoring to complete. iTunes backup requires connecting the iPhone to the backup computer, selecting backup, and waiting for restoration.
Q2: What do I need to restore my data?
You need the correct Apple ID credentials and a working internet connection. If you're using iTunes backup, you'll also need the computer used for the backup.
Q3: Can I recover my data if I didn't make a backup before the reset?
If no backup was made before the reset, it may not be possible to recover your data. It's always recommended to make regular backups of your data.
Q4: Which is more efficient in data recovery - iCloud or iTunes backup?
Both methods are equally effective in recovering data, it depends upon your convenience. iCloud requires an internet connection, while iTunes would need a computer on which you originally backed up your data.
Q5: Are there any risks involved in recovering data?
There are no known risks associated with data recovery. But ensure you use the correct credentials and follow the steps thoroughly to avoid any data loss.


