Ever find yourself scrolling through your iPhone's contact list and wondering, "How did I end up with so many unnecessary contacts?" It's a common problem. Luckily, deleting unwanted contacts from your iPhone is a simple task, and we're here to guide you through it.
You don't need to be tech-savvy to clean up your contact list. Whether you're trying to declutter, remove duplicates, or just get rid of that one number you no longer need, we've got you covered. Let's dive into the step-by-step process of how to delete a contact on your iPhone. Trust us, it's easier than you might think.
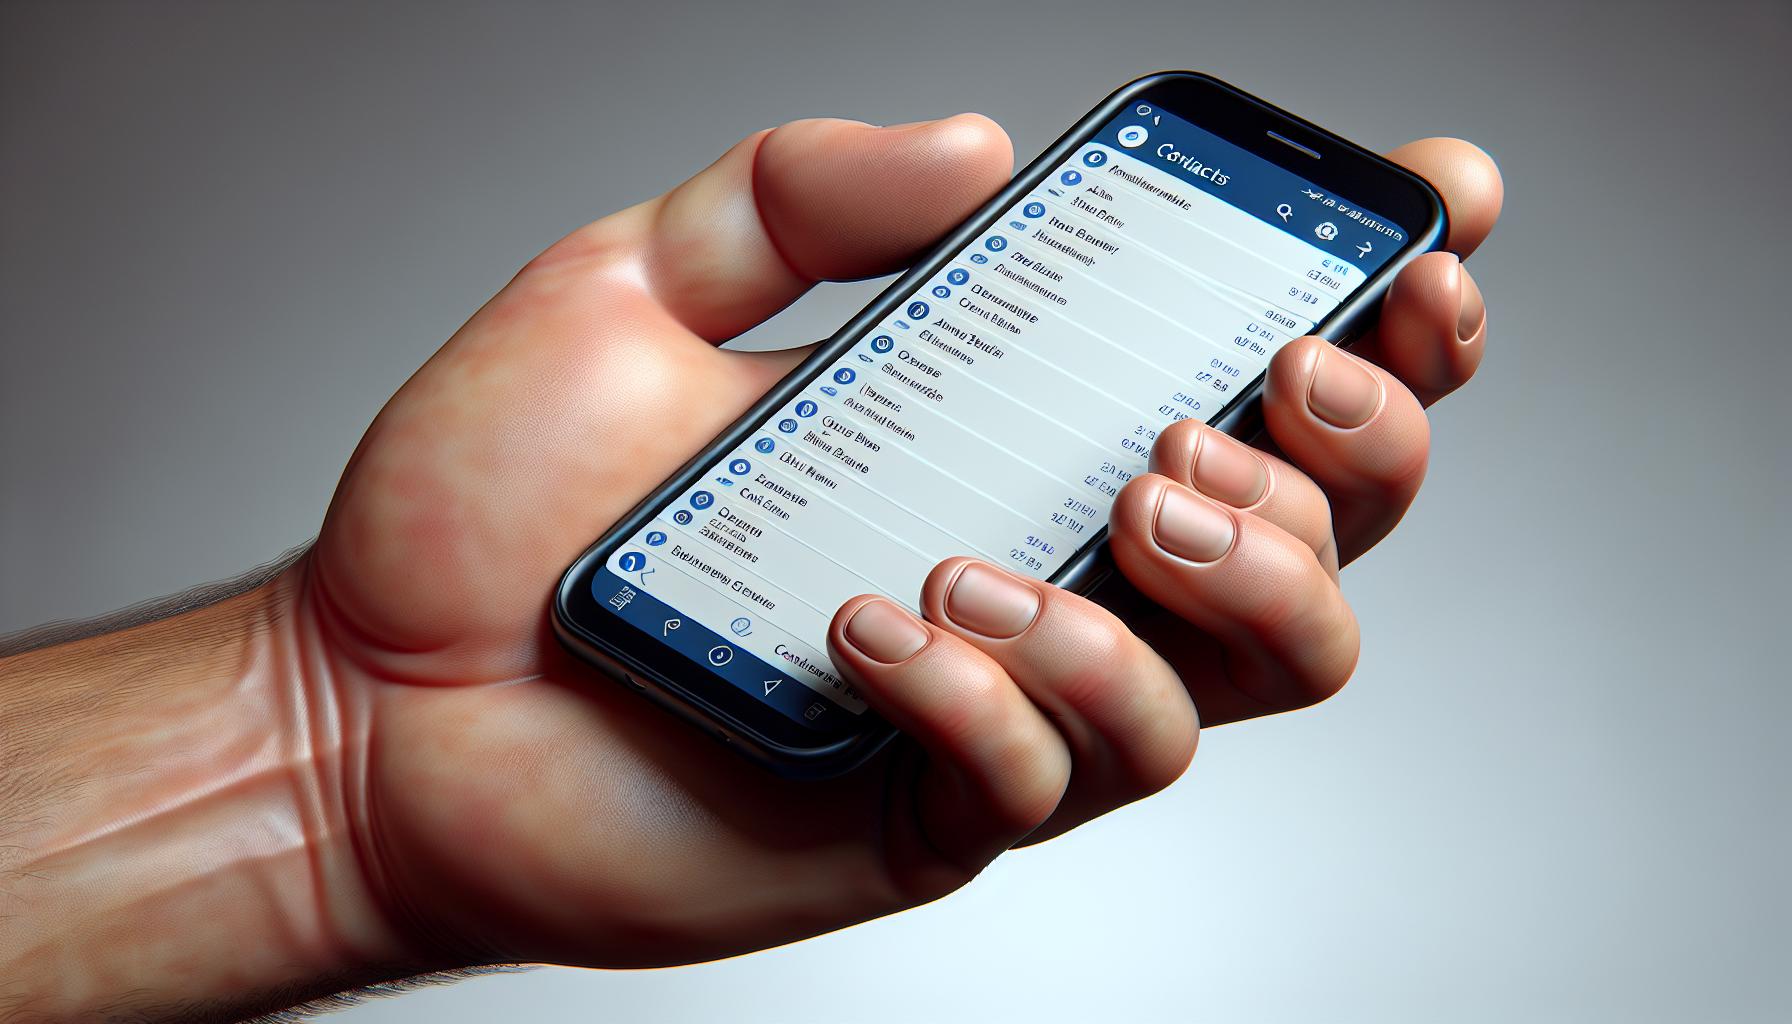
Understanding the Contact List on iPhone
Before you begin the process of decluttering your iPhone's contact list, it's crucial to understand how your contacts are organized. You may be surprised to know that your device doesn’t simply store these numbers in its memory. Instead, your contacts can come from various accounts you've synced with your iPhone, such as iCloud, Gmail, or Outlook. All these contacts converge in your Contact app, creating a unified but potentially overwhelming directory.
When you initiate cleaning, remember! You're not just dealing with local device contacts. You could be modifying contacts straight from your email accounts too. It's certainly one reason why your list might look more cluttered than expected, with duplicate numbers and names scattered throughout.
So, what happens when you remove one of these synced contacts from your iPhone? Does it disappear from the source too? The simple answer: depends on your settings.
On your iPhone, you can dictate how changes made in the Contacts app impact the source account. A simple tweak ensures you don’t accidentally delete contacts from your linked accounts. Go to Settings > Accounts & Passwords > select the account > choose 'Account'. Here, you have an option called 'Contacts'. If it's toggled on, it means your contacts from this account will sync. Turn it off, and the sync halts.
When it's syncing, deleted contacts from your iPhone would also vanish from the account, and vice versa. Hence, knowing these settings proves invaluable during your cleanup exercise, reducing the chances of accidental loss.
Moreover, you might want to utilize the group feature in Contacts App. It lets you filter contacts by the source, making it easier to handle your extensive list. By using it wisely, you will be closer to maintaining a tidy contact list on your iPhone.
So, brace yourself, as we delve deeper into effective ways to remove unwanted numbers, duplicates, and unnecessary contacts.
Step 1: Open the Contacts App

To start decluttering your iPhone contacts, the first step is to open the Contacts app. This is where you'll be managing and editing all your contact information.
You've probably already noticed the app before. It's the one with the icon featuring a little silhouette of a person inside a circle. You can find the Contacts app on your home screen or by using the search functionality on your device.
When you open the Contacts app, you'll see all the different contacts that are currently stored on your iPhone. These contacts can come from many different sources, such as your iCloud, Gmail, or Outlook accounts. As touched upon in the previous section, your iPhone synchronizes with these accounts, ensuring that all your contacts are available on your device.
On the other hand, remember that removing a contact on your iPhone may or may not remove it from the original source account. It depends on the settings of your device and the synchronized accounts. Always double-check before making any drastic changes.
Once the Contacts app is open, you can view all the stored contacts. For a more detailed approach, the Contacts app allows you to sort and group your contacts based on different criteria. This could be useful in identifying duplicate entries or contacts you no longer need.
In the next section, we're going to dive into how you can use the features of the Contacts app to organize and declutter your list. Among other things, you'll learn how to delete a contact, merge duplicate entries, and use the group feature to filter your contacts by source.
Let's proceed to the next step: Navigating through the Contacts app. We'll master the art of managing and decluttering your iPhone contacts. Remember, it's not just about deleting. It's also about organizing and making sure you have the most valuable information at your fingertips. Continue reading to learn more about how to make the most of your iPhone contacts.
Step 2: Find the Contact You Want to Delete

Now that you're familiar with how your contacts list on your iPhone functions, let's proceed to the next essential step. It's all about locating the precise contact you wish to remove from your list. With your Contacts app open, begin scrolling through your list or utilize the search bar located at the top of your screen.
Indeed, the search function is the quickest way to find a certain contact. Simply tap on the search bar and start entering the name or phone number of the contact you're seeking. This feature efficiently filters your list and shows only the matching results as you type. The more accurate info you enter, the narrower the results, enabling you to find the contact more easily and quickly.
Once you've located the contact you wish to delete, simply tap on the individual's name to open their details. Keep in mind that it's crucial to confirm that it's the right person or entity before proceeding. Mistakes occur, and if deleted, some contacts may not be easily recoverable depending on the source of the contact.
Should you have multiple contacts with similar names or details, take a moment to open each contact record to confirm it's the correct one. Recognize that double-checking is always advised given contacts can come from different accounts like iCloud, Gmail, or Outlook. Deleting a contact on your iPhone could affect the source account, so always proceed with caution.
Subsequently, in our next step, we'll educate you on how to actually remove the contact. As mentioned earlier, decluttering isn't only about deleting. It's more about organizing, ensuring that the information you deem meaningful is both retainable and easily accessible. It's time to continue tidying up your contact list, one entry at a time.
Step 3: Select the Contact

Now that you've located the specific contact to delete, the next move is to select the contact. Open the Contacts app and navigate to the name you're aiming to remove. By simply tapping once on this name, your iPhone will display their card, filled with all the information you've stored for them. This could include their phone number, email, and other personal details.
When you're on this contact card, take a few moments to recheck the details. It's crucial you have the right contact before moving on to the deletion stage. Remember, the action is irreversible! You don’t want to mistakenly delete someone you didn't mean to.
Quickly reconfirm this by cross-referencing any details you recall, such as their phone number, name, or profile picture, against the data displayed on your screen. This extra caution saves unnecessary hassle further down the line.
Take note too of the linked contacts section if present. The iPhone often groups contacts together that it thinks are the same person. This is mainly due to similar details in multiple accounts, like iCloud, Gmail, or Outlook, being synced. For instance, if you have the same person saved in both your Gmail and iCloud, there will be a small linked icon at the bottom of the contact card signifying this. Deleting here might remove the contact from the linked source account, so pay attention to avoid losing important data unintentionally.
In the next part of the process, get ready to actually remove the contact and continue your journey to a decluttered iPhone contact list.
Step 4: Delete the Contact
After you've meticulously chosen the contact you wish to remove, it's time to take action. Don't take this step lightly, because once you've deleted a contact it's typically gone for good.
To delete a contact on your iPhone, follow these quick steps:
- Open the Contacts app on your device.
- Select the chosen contact from your list.
- Scroll down to the very bottom and tap "Delete Contact."
To make doubly sure that you're deleting the right person, it's smart to always recheck the contact details before making your final tap. The process is irreversible, so take a good moment to confirm. After all, it'd be a shame to accidentally erase someone important from your device.
Remember, linked contacts can sneakily hide in your contact list under different names. If you've previously grouped contacts or linked them to other profiles, those links might be broken when you delete a contact. Be aware of linked contacts and potential data loss. It's crucial to always pay close attention to the details when manipulating your digital data.
Continue with the decluttering process, repeating these steps as needed for multiple contacts. Slow and steady, but surely your contact list will become less cluttered and more manageable. More efficient for your needs and easier on the eye.
Don't forget that taking care of your iPhone contacts is a key part of app management and overall device maintenance. It benefits not only your personal interactions but also the smooth operation of your device. So regularly take some time off to declutter and organise your data.
Reaching this stage of decluttering indicates that you're well on your way to mastering iPhone contact management. Next up, we'll be exploring how to continue organising and managing your contact list.
Step 5: Confirm the Deletion
Deleting a contact from your iPhone isn't something that should be taken lightly; it could result in potential data loss if not done correctly. It's crucial to confirm the deletion before proceeding further. Be absolutely sure that you want to remove this contact from your device. Remember that in certain cases, deleting a contact from your iPhone may also remove it from your synced source account, depending on your individual settings.
Confirming deletion is simple but important. When removing a contact, your iPhone will prompt you with a warning.
'Delete Contact: are you sure you want to delete this contact?'
Before tapping the red 'Delete Contact' button, recheck the details of the contact including the name, email, and phone number. Ensure that it's the specific contact you intend to delete. This is especially vital if you've many contacts in your list with similar sounding names.
If you've mistakenly selected the wrong contact, hit the 'Cancel' button located at the bottom of the screen. If it's the correct contact and you're fully confident about removing it, proceed by tapping the 'Delete Contact' button. Remember, this step cannot be undone.
What happens after deletion? In most cases the contact vanishes from the contact list. But again, the source account could still hold it. Not to worry though, this is an integral part of decluttering your iPhone and managing linked contacts efficiently. Deletion brings you one step closer to having a cleaner and more organized iPhone. Finally, continue your decluttering journey... the next step awaits.
- Verify the contact's details before confirming the deletion.
- Understand that this process cannot be undone.
- Deletion may remove the contact from your synced source account.
- Be mindful of potential data loss and carefully manage linked contacts.
Remember, systematically decluttering your iPhone is a continuous process. Take it step by step, persevere, and you'll soon wield an organized and efficient iPhone, free from unwanted or unnecessary contacts.
Deleting Multiple Contacts at Once

Now you've got the hang of managing and deleting individual contacts. But what happens when you need to declutter lots of contacts at once? Don't worry, you're not stuck with the tedious task of removing them one by one.
Unfortunately, Apple doesn't support mass deletion of contacts directly on the iPhone. You might scratch your head thinking, "Why is that?" The reason is rooted in data protection: it's all too easy to accidentally tap the wrong button and end up losing a ton of data. That's why the iPhone requires you to delete each contact individually to ensure you really intend to remove them.
But don't get disheartened. There are still ways to delete multiple contacts. Your best approach to this task involves using third-party apps like Groups, Cleaner Pro, or syncing your phone with an iCloud account.
Here's how to use the Groups app to get your job done easily:
- Download and install the Groups app from the App Store.
- Open the app and allow it access to your contacts.
- Select All Contacts from the Groups list.
- Tap on the circle outline to the left of each contact you want to delete.
- Choose Actions at the top then Delete Contacts.
Remember to go slow and be extra cautious when selecting multiple contacts for deletion. A simple oversight might result in unwanted loss of contact information.
As for using iCloud, here's how:
- Log into the iCloud website on your computer.
- Open the Contacts app.
- Hold down the command key while you select the contacts you want to delete.
- Click on the gear icon in the bottom left and select Delete from the dropdown menu.
These ways make it possible to delete multiple contacts swiftly and efficiently. Experiment with both methods to find the one that suits you best. Remember, decluttering is an ongoing process. If you've got more to purge, keep on going!
Bear in mind, no approach is totally foolproof. Each comes with its own set of risks, especially when it comes to potential data loss. So, take time to ensure each step is followed carefully for a successful contact cleanup.
Restoring Deleted Contacts

Have you accidentally deleted a contact or two while cleaning your iPhone contact list? Not to worry. There are several ways you can restore your contacts, provided you've backed them up in some form before.
One method to restore contacts depends on your iCloud settings. If you've enabled iCloud Backup for Contacts, you can restore deleted contacts straight from iCloud.
Here are the steps to make it happen:
- Log into your iCloud account on Apple's iCloud website.
- Click on the "Settings" icon.
- Scroll down and click on "Restore Contacts" under "Advanced".
- Choose the archive of contacts you want to restore.
Remember, the restored contacts will overwrite the existing ones on all devices connected to the iCloud account. So be mindful while doing this.
If you've stopped taking backups on iCloud or don't want to overwrite your current contacts, consider using third-party data recovery apps. Certain third-party apps like PhoneRescue or Dr.Fone are effective in recovering deleted contacts from iOS devices. Always check whether these apps are up-to-date and compatible with your iPhone version before installing.
| App | Compatible iPhone versions | Highest iOS version supported |
|---|---|---|
| PhoneRescue | iPhone 4 - 13 | iOS 15.1 |
| Dr.Fone | iPhone 4 - 13 | iOS 15.1 |
Yet another way to retrieve lost contacts is via iTunes, but only if you've been syncing your iPhone with iTunes on your computer. However, refer back to tutorials on syncing and restoring from iTunes for detailed instructions, as the process can be slightly complex.
Ensure you're making regular backups of your contacts either on iCloud, iTunes, or other forms of data backup systems to avoid losing important contacts in the future.
Conclusion
You've now got the knowledge to clean up your iPhone's contact list without fear. You understand where your contacts originate and how they sync across devices. You've also learned how to use the group feature to filter contacts, making the process smoother. But remember, deleting a contact might remove it from its source account, so tread carefully.
In the event of accidental deletions, you're equipped with multiple methods to restore contacts. Whether it's from iCloud backups, third-party apps, or iTunes, you've got options. Just don't forget - regular backups are your best defense against data loss. So, go ahead and take control of your contact list. It's your phone, after all. Stay organized and stay connected!
Frequently Asked Questions
Where do iPhone contacts come from?
iPhone contacts typically come from various accounts you've synced with your phone. These can include iCloud, Gmail, or Outlook among others.
What happens if I remove a contact from my iPhone?
If you remove a contact from your iPhone, it may or may not get deleted from the source account (like iCloud, Gmail, or Outlook) depending on the set sync settings.
How can I filter my iPhone contacts?
You can filter your iPhone contacts using the group feature in the Contacts app. This feature allows you to view contacts by their source account.
How can I restore deleted contacts on my iPhone?
You have several options to restore deleted contacts on your iPhone: 1) Restoring from iCloud backups, 2) Using third-party data recovery apps, or 3) Syncing with iTunes.
How can I avoid losing my iPhone contacts?
The best way to avoid losing contacts on your iPhone is by regularly backing up your contact list. This can be done using iCloud or a third-party backup solution.


