Ever felt the need to change your iPhone passcode for security reasons or simply because you're tired of the old one? You're not alone. It's a common scenario for many iPhone users, and the good news is, it's a simple process that can be done in just a few steps.
In this guide, you'll learn how to change your iPhone passcode quickly and easily. Whether you're a tech-savvy iPhone user or a beginner, this guide will make the process a breeze for you. So, let's dive into the steps and get that passcode changed in no time.
Remember, keeping your iPhone secure is crucial in this digital age. A strong, unique passcode is your first line of defense against unauthorized access to your personal information.
Reasons to Change Your iPhone Passcode
When it comes to protecting your iPhone, it's crucial that you're always one step ahead. Changing your iPhone passcode on a regular basis is a smart security measure.
One of the main reasons is security. Nowadays, cyber threats are more prevalent than ever. Cyber criminals could potentially gain access to all your information if your passcode is predictable. Always remember: your iPhone is a treasure trove of private data such as banking details, emails, photos, messaging history and more. Regularly changing your passcode can keep this data secure.
Also, there might be situations when someone knows your current passcode. You could have shared your passcode with a friend who needed to use your phone or a kid for playing games. Though they might not misuse your data intentionally, they can inadvertently reveal your passcode to others. Changing your passcode from time to time can steer clear of this risk.
Lastly, regularly changing your passcode can help you avoid forgetting it. Sticking to one passcode for a too long time may make you over-confident about remembering it. The truth is, forgetting a long-used passcode happens more often than you think.
Steps to Change Your iPhone Passcode
Changing your iPhone passcode isn't just about security - it's also about keeping things fresh and preventing yourself from forgetting it. Remember, frequent updates to your passcode reduce the likelihood of someone else guessing your code.
Start with the Basics
Begin the process by going to the Settings app on your iPhone. You'll see a lot of options here, but don't get lost! Your focus should be on Touch ID & Passcode or Face ID & Passcode if your iPhone supports facial recognition. You'll need to enter your current passcode to proceed, so make sure you have it handy.
After entering your current passcode, you'll land on a screen with many settings related to your iPhone's security. The option to Change Passcode is what you're looking for. When you find it, tap on it to open a new window where you'll enter your new passcode twice.
Choosing a Strong Passcode
Creating a new passcode isn't just about picking something easy for you to remember. It's essential to think about security as well. Choose a number combination that's truly random and hard for others to guess. Avoid simple number sequences or any numbers tied with your personal information like your birthday, address, or phone number. Apple also allows the option of alphanumeric codes for extra security.
Here’s a breakdown of iPhone passcode types:
| Passcode Type | Length | Security Level |
|---|---|---|
| 4-digit Numeric Code | 4 numbers | Low |
| 6-digit Numeric Code | 6 numbers | Moderate |
| Custom Numeric Code | Variable | High |
| Custom Alphanumeric Code | Variable | Highest |
Remember to keep your new passcode secured and out of sight from prying eyes. Regularly changing your passcode keeps your information safe from potential cyber threats.
Step 1: Access the Settings Menu

Now let's get down to the nitty-gritty of changing your iPhone passcode. As a starting point, you'll need to access the Settings menu on your device. Here's the quick-and-easy guide:
- Wake up your iPhone. You can do this either by lifting it or pressing the side or home button.
- Swipe up from the bottom of the screen or press the home button, depending on your iPhone model, to get to the home screen.
- Look for the App icon named 'Settings'. It's the one that resembles an image of a grey gear or cog.
Voila! You've now accessed the Settings menu of your iPhone. This is your command center for nearly every setting on your iPhone, including sounds, brightness, Siri and, most importantly for our needs, security and passcodes.
To change your passcode, you'll need to navigate within the Settings menu. Don't worry, we've got you covered. See the following section for Step 2 of this process.
With these instructions, you’re well on your way to enhancing the security and privacy of your iPhone! In a digital world filled with potential risks and threats, every step you take towards securing your personal information is a step in the right direction.
Remember, this is just the initial phase. Understanding how to change your passcode is a small part of the broader concept of optimizing your iPhone's security. A secure iPhone keeps you safe from cyber threats so, whatever you do, don't rush the process. Take your time and make sure you're fully grasping each step.
Step 2: Go to Face ID & Passcode or Touch ID & Passcode
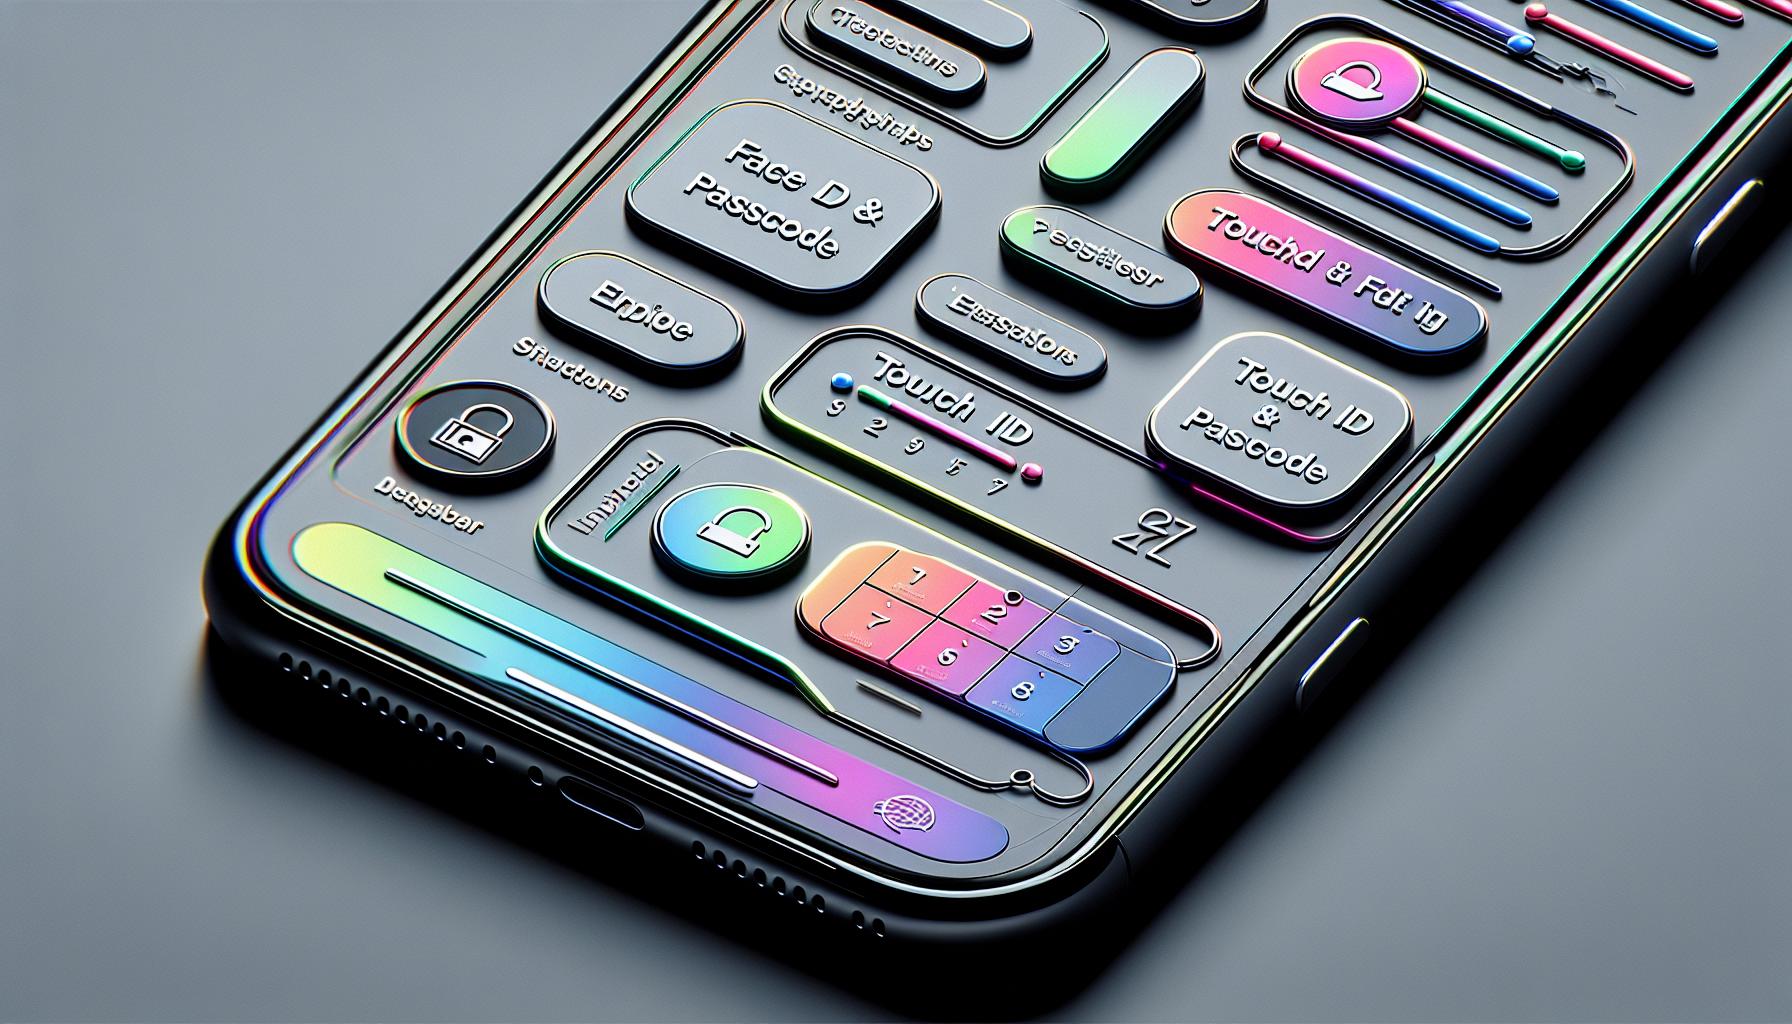
Time to dive deeper into your iPhone security settings. After successfully following the initial instructions, you are now ready to take the next steps. Face ID & Passcode or Touch ID & Passcode is your next stop.
It's not hard to find this option. You just need to scroll down the settings menu a bit. Please don't rush - remember, security is key, and understanding each step is crucial when considering the safety of your personal information.
As the name implies, here's where you'll be dealing with the biometric security features of your iPhone. You'll find options to add and manage either Face ID or Touch ID depending on what your device supports. That itself is a significant part of iPhone security, but let's not get sidetracked. We're here to change your passcode.
You need to see a button named Change Passcode or something along those lines. Spot it yet? Great, you're on the right path. If not, don't fret. Just ensure you are in the correct section and take a close look. It's definitely there.
Smooth, right? The remarkable user interface of the iPhone makes complex security tasks like these feel like a breeze. But do remember, effective security isn't just about changing your passcode. It's about understanding every nook and cranny of your device. Are there other settings in this section you're uncertain about? Maybe it's time to delve deeper.
Step 3: Enter Your Current Passcode
Once you've successfully navigated your way into the Face ID & Passcode or Touch ID & Passcode settings, it's time to make progress. To kick-start, you'll need to enter your existing passcode.
Remember that this process is essential for verifying your identity before making any changes. It's a vital part of maintaining iPhone security, ensuring that only the device's legitimate user—aka you—can modify security settings.
As you punch in your passcode, take a moment to reflect on its strength. Is it hard to guess? Does it include a robust mix of characters and digits? If the answer isn't a resounding yes to these questions, you're following an especially crucial procedure. A weak passcode is akin to leaving the front door unlocked—a clear invitation for trouble.
Once you've entered the current passcode, your device will allow access to the passcode settings. Now you're set to take the next significant step—changing your password.
Remember, iPhone's well-thought security features are designed to protect your privacy and data at all costs. Don't rush this process. Each phase has been carefully put in place to fortify the security fortress shielding your valuable data. That being said, don't be daunted—it's not as complicated as it may initially seem.
Rest reassured, the subsequent sections will guide you through the process of setting a new, strong passcode—one step at a time. All those iPhone security options and features will be all in your control, ensuring your data stays secure, private, and absolutely accessible to you.
Next, you'll learn how to set a new passcode that's secure, hard to guess, and easy enough for you to remember. But that's the subject of our following section—stay tuned.
Step 4: Select "Change Passcode"
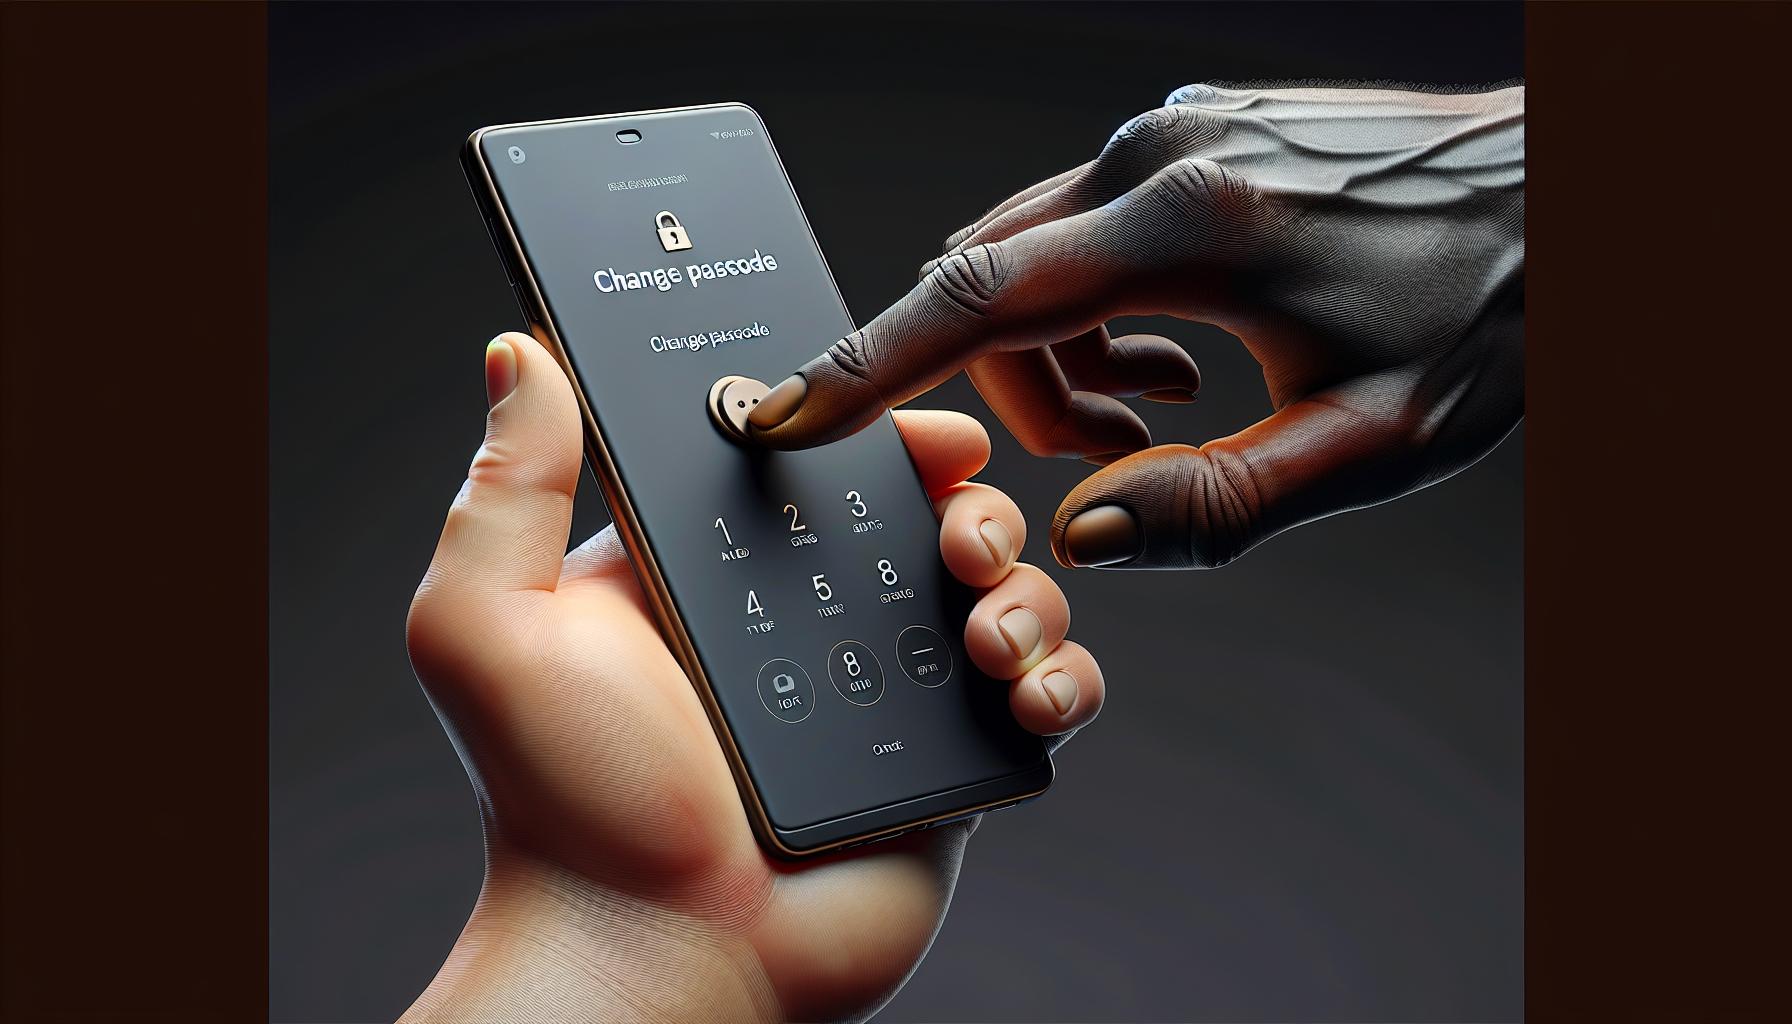
Pushing further into this straightforward process reveals the pivotal step of selecting "Change Passcode". This option'll be visible under "Passcode Options". Without a doubt, navigating to "Change Passcode" is an essential step to alter your iPhone's security code.
It's here that Apple really helps maintain the security of your device. A prompt to enter your current passcode appears once you select "Change Passcode". This is an additional layer of protection for your information to verify it's truly you who is initiating the change. While this might seem repetitive or even slightly annoying, it's a critical step in maintaining the high level of security your iPhone offers.
Selecting "Change Passcode" leads you to a new screen where options to alter your security settings come in view. Here, you aren't limited to changing the passcode alone, but you also have the advanced options to customize your settings. For example, you may decide to move from a simple four-digit numeric code to a more complex alphanumeric password.
This advanced setting offers you an increased level of security, distancing your data even further from potential threats. You may assume setting a longer, complex password is a daunting task but with our steps, it's easily achievable.
With the current passcode correctly entered and "Change Passcode" option selected, you're setting up a fortified security wall for your iPhone. The next sections will delve deeper into how to create a strong new passcode, exploring how to balance complexity for security and memorability for ease of access. Stay with us on this enlightening journey to ensure your iPhone stays just that - yours.
Step 5: Enter Your Current Passcode Again
After navigating through these essential steps, your task isn't yet done. Here again, you will be asked to enter your current passcode. Why, you might wonder? Well, it's yet another measure Apple has taken to ensure your data security.
This step is not to be overlooked or misinterpreted.
- Here's an especially important fact: this process reaffirms your identity when changing the passcode.
- Moreover, someone unauthorized - someone who has somehow gotten past the initial stages of the passcode change process - will be stumped at this stage.
So, you see the re-entry of the current passcode provides a second layer of security.
When you're at this step you're also near the end of your task. It's important that you don't lose focus. An incorrect re-entry can lead to a halt in the process. So, enter your current passcode carefully.
By double-checking your inputs, you're ensuring a smooth transition to your new passcode. These steps may seem tedious but remember Apple doesn't add hoops to leap through for no reason! Each step in the passcode change process is carefully designed for utmost user data safety.
Even though the next step is critical, it's not lengthy, it's about accepting your newfound changes. This section has provided you with the necessary information on why this step is integral and how it aids in maintaining the iPhone's acclaimed data security. Since data security is pivotal to the Apple ecosystem, we'll persist in enlightening you in the upcoming sections about how to efficiently and effectively manage your iPhone's security settings.
Step 6: Set Your New Passcode
Once you've verified your identity by entering your current passcode, you're given the opportunity to switch things up. As daunting as this may sound, Apple's user-friendly interface makes it a breeze to create your new passcode. Your iPhone will prompt you with a new screen to set up your fresh code.
When choosing your new passcode, there's a key rule to keep in mind: it should be easy for you to remember but difficult for others to guess. With that thought, refrain from using easily identifiable personal information like your birthdate or part of your phone number.
You've got options:
- A custom alphanumeric code - this includes both letters and numbers.
- A custom numeric code - this is a number-only code, but it's not restricted to just six digits.
- A six-digit numeric code - now, this is the standard option. Six numbers, all yours to devise.
The table below show your options in detail:
| Passcode Type | Description |
|---|---|
| Custom Alphanumeric Code | A mix of numbers and letters. This provides a high level of security and allows for a more complex passcode. |
| Custom Numeric Code | A numeric code of your chosen length. It offers more flexibility than the six-digit code but might not be as secure as the alphanumeric option. |
| Six-Digit Numeric Code | The default iPhone passcode type. It balances security with usability. |
Don't be too quick to leave this screen, take a moment to double-check your new passcode. Remember, it is this passcode that will be asked of you each time you need to unlock your phone. Having to reset your passcode because you've forgotten it can be a real pain.
Step 7: Re-enter Your New Passcode
Just nailed it with the perfect passcode? Great! You're almost there. Now that you've created your new passcode, it's time to re-enter it for confirmation. Remember this step is as crucial as creating one. If the recently created passcode isn't confirmed, you would need to go back to square one.
Gently press your iPhone screen again to key in the new-found passcode. You'd note the smooth interface of iPhone is designed to error-proof your process. The clear and easy-to-navigate screen would make sure you don't fumble while confirming your passcode.
Check twice, enter once! Please, don't rush this process. Ensure you accurately input the passcode as you just did a moment ago. Double checking your entry reduces the risk of a mismatch, which might lead you back to the beginning of the entire process.
On successful confirmation, your iPhone would give positive feedback, reassuring you that your passcode reset process is pretty well on track. Spotted your screen displaying words equivalent to "Passcode set"? That's just iPhone language for 'Awesome Job'!
Post the moment of victory, be cautious not to rush in excitement and hit 'home' or let your screen timeout. It's also just as important even after you've acced this stage. It's nothing to fret about, but this simple care would ensure you don't have to do the entire process all over again.
Remember not to reveal your passcode to anyone lest it leads to unauthorized access. After all, your iPhone holds quite a bit of your personal information. Therefore, ensuring the security of your passcode is paramount.
Tips for Choosing a Strong Passcode
You've learned about setting a new passcode on your iPhone. Choosing a strong, secure passcode shouldn't be a trifling matter to overlook. Your iPhone is likely to hold a lot of personal data that you wouldn't want to fall into the wrong hands.
Easiest isn't always safest when it comes to passcodes. You might be tempted to go for a straight sequence, your birth year, or a repeated digit. While these are easy to remember, they're also easy for those with ill intentions to guess.
Unpredictable Yet Memorable
A key pointer when setting up your passcode is, it needs to be unpredictable yet memorable. Play around with combinations of numbers or characters unique to you, like the initials of memorable phrases, or digits from an important date that's not commonly known. But, be careful not to make it too complicated to remember on your own.
A Longer Passcode is Stronger
The length of your passcode also has a significant impact on its strength. To understand this, consider these facts:
| Number of Digits | Possible Combinations |
|---|---|
| 4-digits | 10,000 |
| 6-digits | 1,000,000 |
| 9-digits | 1,000,000,000 |
As evidenced, the longer the passcode, the harder it gets for someone to crack it even by trial-and-error. Using a mix of digits, letters, and symbols in your code further raises the barrier.
Regularly Updating Your Passcode
One more practice you could adopt is the habit of changing your passcode periodically. Regularly updating your passcode puts you a step ahead in keeping your personal data secure. A note of caution though – do not rush this process. Slowly but surely is the way to go when it comes to maintaining your phone's security.
Stay mindful of the tips you've acquired thus far and apply them in all your passcode setups. Let's proceed to the following sections to understand more about your iPhone's security features.
Conclusion
So, you've learned the essentials of changing your iPhone passcode and how to make it stronger. Remember, a complex yet memorable code is your best defense against unwanted access. Avoid predictable sequences or personal details that could be easily guessed. A longer passcode is tougher to crack, giving your iPhone an added layer of security. Regularly updating your passcode keeps your information safer. Take these tips to heart and apply them to all your passcode setups. Stay vigilant, stay safe, and keep exploring more about iPhone security features.
Q1: What are the tips for choosing a strong iPhone passcode?
The article suggests the importance of an unpredictable, memorable passcode. Refrain from using easy-to-guess sequences or personal information. The strength of a passcode increases with its length, making it harder to break through trial-and-error.
Q2: How often should I change my iPhone passcode?
To enhance the security of your iPhone, it's recommended to update your passcode regularly. However, the article doesn't specify exactly how often. Consider changing yours periodically based on your security needs and habits.
Q3: What makes a passcode strong?
A strong passcode is unpredictable yet memorable. It's advised against using easy-to-guess sequences or personal information. Also, a longer passcode is usually stronger as it becomes harder to decipher through trial-and-error.
Q4: Why is it necessary to change my iPhone passcode regularly?
Regularly updating your passcode prevents hackers from cracking it. This practice improves the overall security of your iPhone and protects your personal and sensitive information.
Q5: Should the tips for choosing a strong passcode be applied elsewhere?
Yes, ideally, you should apply these tips to all your passcode setups, not just your iPhone. This can help to overall secure your data across various platforms and devices.
