Ever found yourself in a situation where you need to change your Apple ID on your iPhone, but you're not quite sure where to start? You're not alone. It's a common scenario that many iPhone users face, especially when they've either purchased a used iPhone or simply want to switch to a new Apple ID.
Reasons to Change Apple ID on iPhone
There are several instances when you might find yourself needing to change the Apple ID associated with your iPhone. Let's delve deeper into a few of these instances that routinely prompt users to alter their Apple ID information.
Purchasing a Pre-owned iPhone
One of the common circumstances arises when you acquire a second-hand iPhone. More often than not, the previous user's Apple ID still remains, restricting you from fully enjoying your newfound Apple experience. Ensuring you change the Apple ID to yours guarantees that the iPhone aligns with your individual preferences, settings and downloaded apps.
Creating a Professional Apple ID
Perhaps you utilize your iPhone for work purposes, and you'd like to maintain a separate professional Apple ID. It's conceivable to toggle between multiple IDs to manage individual apps, settings, and data on your work and personal iPhones.
Switching to a New Apple ID
Another scenario could be if you've decided to start fresh with a new Apple ID. You might have seen a need to change your ID due to privacy concerns, or simply for a change of email address.
Steps to Change Apple ID on iPhone

After you've understood why one may need to change their Apple ID on iPhone, it's time to learn the process. The task isn't as daunting as it may seem and you'll find here a detailed, step-by-step guide to assist you. Keep in mind that changing an Apple ID comes with certain ramifications. When you adopt a new ID, you'll lose access to updates of apps and any content purchased with your old ID.
Step 1: Sign out of your current Apple ID
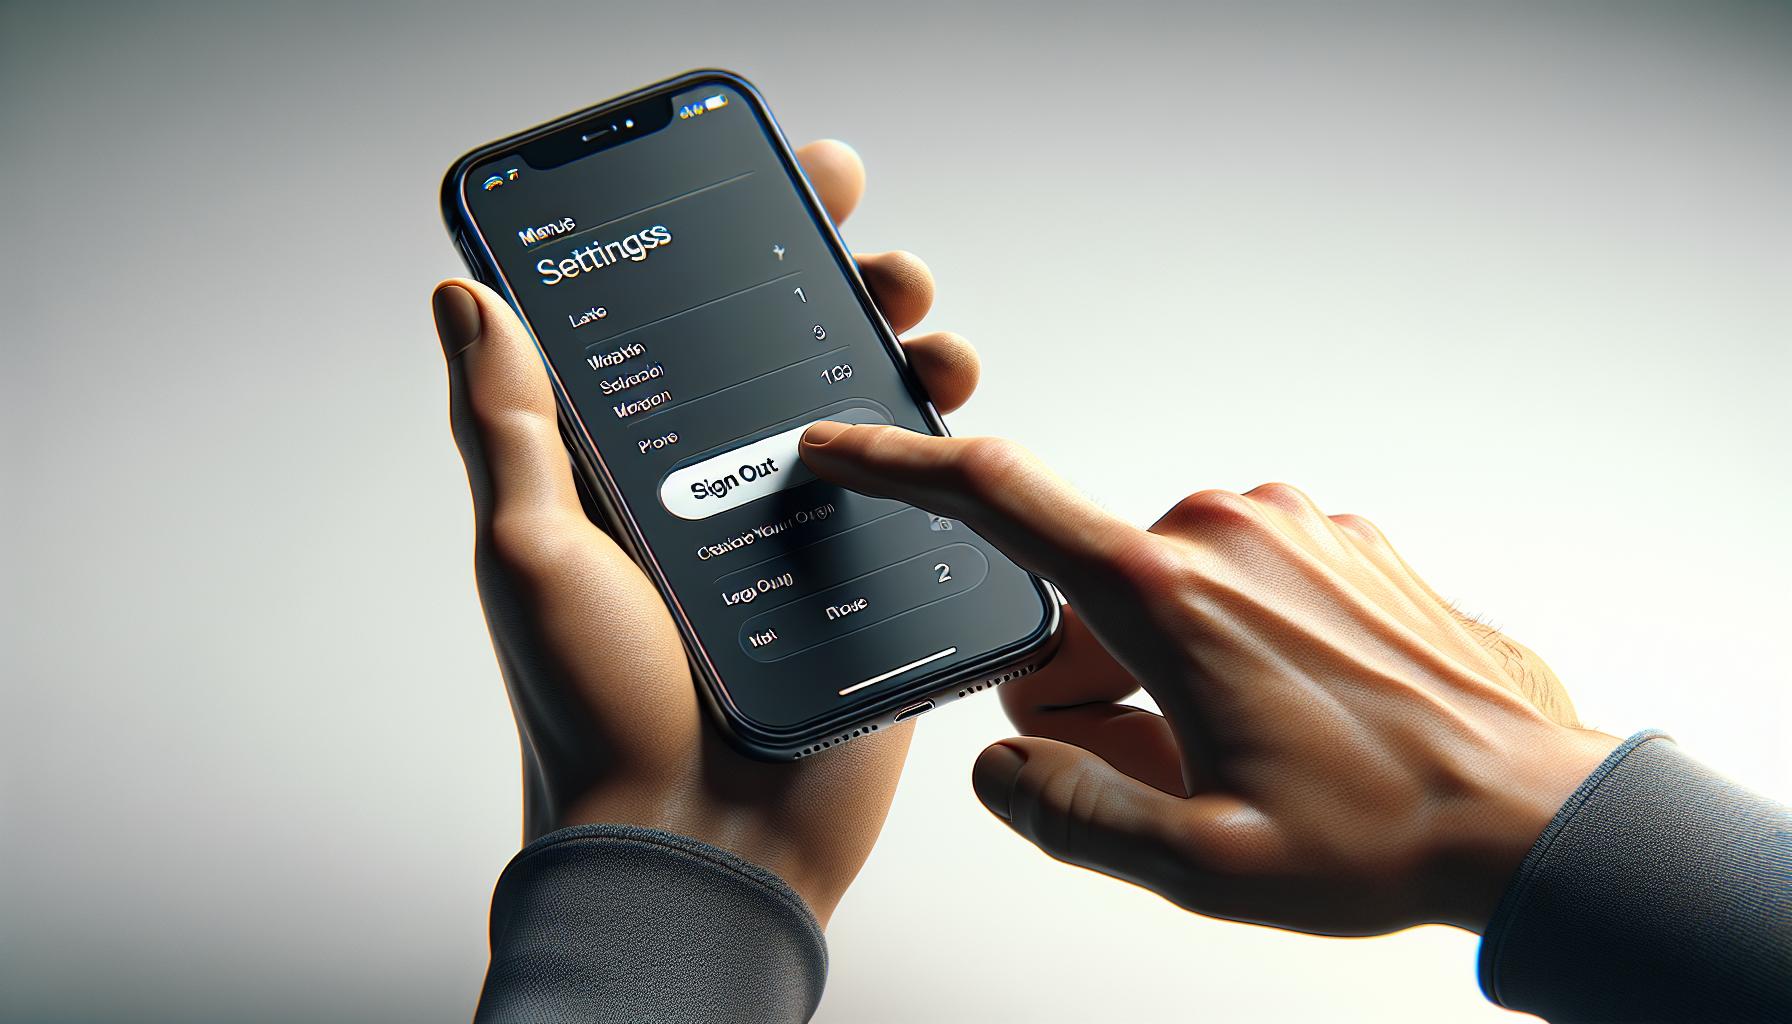
First-launch the Settings app on your iPhone. Tap on your Apple ID banner at the top of the screen. You should be able to see all the information tied to your Apple ID. Now, scroll down to the bottom and click "Sign Out".
Step 2: Enter your Apple ID
A window will show up asking for your Apple ID and password. If you're switching to another Apple ID that you already own, input the required details. If you're creating a new Apple ID, you can click on "Forgot Apple ID or Password" and select "Create a new Apple ID".
Step 3: Confirm the process
Once you enter your Apple ID details, a pop up may appear asking you whether you want to keep a copy of your iCloud data on your iPhone or delete it. Choose as per your requirement and tap "Sign Out" again to confirm.
Potential Issues and Solutions
While changing your Apple ID can generally be a simple process, remember that you might face some issues. If you encounter any of these, here's what you can do to solve them:
- If you're unable to sign out of iMessage and FaceTime before changing your Apple ID, the easiest fix is to sign in to iCloud with the new Apple ID and password.
- If you're unable to access the original email associated with your Apple ID, consider updating your Apple ID to a new email address before initiating the change.
Remember that each step has its own importance and skipping even one could lead to complications. It's crucial to follow the instructions in sequence and verify whether every part of the process is completed successfully.
How to Create a New Apple ID
After you've successfully logged out of your current Apple ID, it's time you plunge into the world of creating a new Apple ID.
Firstly, locate the "Settings" button on your iPhone screen. Once on the Settings screen, scroll down until you see "Sign in to your iPhone" or “Sign in to [your device]”. Tap this and you'll land into the Apple ID sign-in prompt dialogue box.
Don't rush to fill out the email and password boxes you're seeing. Instead, look toward the bottom of the screen and tap on "Don't have an Apple ID or forgot it?". Yes, it's hiding there at the bottom and you might have missed it! On the pop-up screen that follows, select "Create Apple ID".
You'll now be asked to enter your birthday, name, and email. This is where you choose the email you want to associate with your new Apple ID. Remember this email well as you cannot change it later.
Next, you'll have to set up a robust password. Follow Apple's instructions on password creation ensuring it's something you can remember yet is secure enough to thwart any hacking attempts. You'll also need to fill out a series of security questions. These will help Apple identify you in the future if you forget your password or need to prove your identity.
After successfully narrating these steps, you'll be greeted with a Terms and Conditions page. Like all prompts asking you to accept terms and conditions, make sure you actually read them before accepting. Yes, we know they can be long and boring but they help you understand what you're actually agreeing to.
Post acceptance, you'll be asked to merge your existing data with iCloud. Select "Merge" or "Don't merge" depending on your preference.
Finally, just one more step to go before you become a proud owner of a new Apple ID. Apple will send a verification email to the email account you used for your new Apple ID. Locate this email in your inbox, click "Verify now" in the email, and enter the six-digit verification code provided.
That's it! You now have a new Apple ID ready to be used on your iPhone.
Please note that this process also applies to iPads and iPod touch devices.
How to Sign Out of Current Apple ID
Signing out of your current Apple ID forms a critical step in the process of switching to a new ID on your iPhone. But don't sweat it. We'll take you through the simple procedure.
Firstly, navigate to the settings menu on your iPhone. Scroll until you discover the section labeled 'Your Name.' Click on it! You'll find a range of information connected to your Apple ID. This section holds the keys to altering your account details.
Next, dab the Sign Out option at the bottom of the page. Here, you should acknowledge a pop-up request to enter your Apple ID password to toggle off Find My iPhone. Find My iPhone is a crucial security feature that protects your data if your device ever gets lost. However, it needs to be disabled to sign out of your ID.
This action might seem a little daunting given the security implications. Yet your information will remain secure during the transition. Just make sure to enable this safety feature again once you’ve logged in with your new Apple ID.
After you input your password and disable Find My iPhone, hit the Sign Out button in the upper right corner. At this juncture, you'll be signed out of your iCloud account and be ready to welcome the new ID. To ensure all your data from your old Apple ID remains intact, your device will ask whether you’d like to keep a copy of your information on the iPhone. Select the data that you want to copy and tap keep.
Sure feels a little nerve-wracking doesn't it? Disconnecting your Apple ID can feel like unhooking your iPhone's lifeline but rest assured. Your information is still safe and your device is ready for the new ID. Moving on, let's cover the steps of creating your new Apple ID. This is the journey you've embarked on that'll transform your Apple ecosystem experience.
How to Sign In with a Different Apple ID

Now that you've successfully created a new Apple ID, it's time to learn how to sign in with this fresh account. Don't worry! It's an easy-peasy process.
Begin by tapping on Settings on your iPhone screen. Your eye will meet your name at the top. Tap that. You're moving towards the account section which gives you control of your Apple ID and iCloud settings.
Next up, "Sign out" is there at the bottom, waiting for you to hit. Show it some love! Don't get alarmed when a prompt for your Apple ID password shows up. It's your old password. So, just key it in. This step assures your Apple that you're not a stranger trying to sneak in.
Before you proceed, a word of caution. You'll notice a list of data types (contacts, calendar events, etc.) with switches alongside. Ensure to flip these switches on for data you'd like to remain on the iPhone. Remember, the choice is all yours!
The moment you're done, hit your much-awaited "Sign out" button on the top-right corner. There you go; you've successfully signed out of your old Apple ID with your data safe. Now, only the second half of the job remains: signing in with a new Apple ID.
Dive back into Settings. The drill's pretty simple. You'll see "Sign in to your iPhone" at the top. Tap it open; it's going to lead you to the sign-in window. In go your Apple ID and password. Just like that, you've successfully signed in with your new Apple ID!
Next, the system will want you to merge your data with iCloud. A clear, unambiguous decision is needed here. Choose what is best suited for your needs.
Be mindful! This switch in Apple ID doesn't mean you're done and dusted with the old one forever. You could still use it on other devices or iTunes on a computer. It simply means your iPhone now answers to a different boss!
Conclusion
Swapping your Apple ID on your iPhone is a breeze when you follow the right steps. You've learned how to safely sign out of your current ID, create a new one, and sign in with your fresh ID without losing any data. Not only that, but you've also seen how this change doesn't affect your Apple ID on other devices or iTunes on your computer. It's all about having the right knowledge at your fingertips. Now, with this guide, you're equipped to navigate this process smoothly and confidently. So go ahead, change your Apple ID, and enjoy the fresh start on your iPhone.
How do you change your Apple ID on an iPhone?
You can change your Apple ID on an iPhone by first signing out of your current Apple ID. After disabling Find My iPhone and choosing which data to keep, you can then create a new Apple ID in the 'Settings' menu.
Is my information secure when changing my Apple ID?
Yes, your personal information remains secure during the transition. It is crucial, however, to verify your new Apple ID through the email you provided to ensure account security.
How do you create a new Apple ID on an iPhone?
To create a new Apple ID on an iPhone, go to 'Settings', find 'Create Apple ID', and fill in your personal details. Then, accept the Apple Terms and Conditions, merge your existing data with iCloud, and confirm your new Apple ID via the verification email.
Can I sign in with a different Apple ID?
Yes, after signing out of your old Apple ID in 'Settings', you can sign in using your newly created Apple ID. You also have the option to merge your data with iCloud.
Does changing my Apple ID on my iPhone affect other devices?
Changing your Apple ID on your iPhone does not affect its use on other Apple devices or iTunes on a computer. Each device can have its unique Apple ID or shared among various devices.


