You're here because you want to know how to block websites on your iPhone, right? Maybe you're a parent looking to create a safer online environment for your child, or perhaps you're trying to boost your productivity by limiting distractions. Whatever your reason, you've come to the right place.
In this guide, we'll walk you through the process step-by-step. It's easier than you might think, and you don't need to be a tech guru to do it. With just a few taps, you'll have the power to control your online experience like never before. So, let's get started on how to block websites on your iPhone.
Why Block Websites on Your iPhone?
You might be wondering why you'd want to block websites on your iPhone. Well, especially in today's digital era, there are many reasons you might decide to take this step.
First and foremost, as a parent, you might want to protect your child from certain websites that contain inappropriate content. In this hyper-connected world, it's important to take precautions when your child is exploring the web. By blocking certain websites, you are creating a safer online environment.
For instance, you might not want your little ones stumbling upon violent games, explicit materials, or even certain social media platforms that can expose them to cyberbullying.
If you are using your iPhone for work purposes or aiming to increase productivity, blocking websites can be effective as well. Distractions are everywhere on the internet – and it's very easy to get sidetracked when you should be focusing on your tasks. Blocking certain websites can be the difference between a productive day and a wasted one.
Consider this scenario: You're reaching for your phone to check a work email, and suddenly find yourself sucked into an endless scroll on a social media feed or caught up in the latest celebrity gossip. By blocking distracting websites, you're taking an active step towards staying focused.
So, whether you're thinking of your child's online safety or your productivity, blocking websites on your iPhone can be a powerful tool. It puts the control back into your hands, allowing you to tailor your online experience to your needs and preferences.
However, it's worth noting that the power to block websites should be used responsibly. It's not about limiting freedom, but rather about managing your or your child's online exposure more effectively. This leads us to the specific ways you can block websites on your iPhone - something we will discuss in the next section.
Step 1: Update Your iPhone Software

Before you dive into blocking websites on your iPhone, it's crucial to ensure that your software is up-to-date. Having the latest version of iOS means you'll have all the features and security updates that Apple offers. Here's a brief guide on how to check for software updates:
First, tap on the Settings app on your home screen. Once in Settings, scroll down until you see the General category. Tap on that. Then, find and tap on Software Update. Your device will now check for an update. If one is available, you'll see the option to download and install it. Make sure you're connected to Wi-Fi and have enough battery life before proceeding.
Keeping your iPhone updated not only provides you with the latest features but also ensures better performance and stability. The latest iOS versions usually come with updated parental control settings. As such, they provide more advanced options for content filtering and app limitations, crucial for creating a child-safe environment for Internet browsing.
Keeping things current should be part of your regular device maintenance. It's a matter of protection and performance for your iPhone. Even if you're not thinking about blocking websites right now, maintaining up-to-date software should still be your top priority.
Now that your iPhone is ready and updated, you're prepared for the next steps leading to the main goal, to guard your child against harmful content or to limit your distractions. Stay tuned for our further steps which will guide you on the journey toward a safer and more productive online environment. It's all under your control!
Note: If your iPhone doesn't find a new update, don't worry. That just means you're on the latest version already. Enjoy the peace of mind knowing that your iPhone is as ready as it can be.
Step 2: Enable Screen Time

To set restrictions and limit interactions with specific content on your iPhone, you'll need to Enable Screen Time. This built-in feature in iOS allows you to have control over app usage and offers the ability to block specific websites.
To access this must-have feature, open your iPhone's settings. Scroll down until you spot Screen Time. Tap on it and notice a dashboard summarizing your device's usage.
Now it's time to turn this feature on.
- Tap on Turn On Screen Time.
- Click on Continue when the introductory text appears followed by selecting This is My iPhone.
If the phone you're setting up is meant for a child, choose This is My Child's iPhone instead. This option provides additional features perfectly suited for parents needing control over their child's digital habits.
Next up - your Screen Time passcode.
- Tap on Use Screen Time Passcode.
- Enter a four-digit passcode.
This passcode is crucial when altering Screen Time settings or approving additional time while an app limit's in place. Consequently, make sure it's hard to guess and easy to remember for you.
There's also an Optional feature that could be beneficial, especially for parents. A Downtime feature that works wonders in scheduling a designated time away from the screen. If you're all for limiting the iPhone usage without any interruptions, switch this on.
- Tap on Downtime.
- Switch the downtime toggle to on.
- Indicate a desired Start and End time.
Keep in mind that Screen Time provides detailed reports of how your iPhone's used, right down to the specific apps and websites. That way, you're always keyed in on your or your child's usage habits!
By enabling Screen Time, you've taken a significant step towards gaining control over daily interactions with your or your child's iPhone. Now, let's dive into customizing these settings to block the desired websites.
Step 3: Set Up Content & Privacy Restrictions
Moving on to the next essential step, setting up Content & Privacy Restrictions. This feature essentially allows you to control what content can be accessed on your iPhone. This tool is key to achieving your goal of watching over what content can be loaded in Safari, as well as other apps.
In order to set up these restrictions, follow these steps:
- Click on the Settings app.
- Tap Screen Time.
- Scroll down and press Content & Privacy Restrictions.
- If it's not green already, toggle it on.
Now you've enabled Content & Privacy Restrictions. Your next move will be configuring the settings to your liking. To block specific websites, go to Settings > Screen Time > Content & Privacy Restrictions > Content Restrictions > Web Content > Limit Adult Websites. Under this setting, you can add the URLs of websites you would love to block. Just tap "Add Website" under Never Allow and type in the chosen website's full address.
Website blocking doesn't stop at Safari. These restrictions also apply to other browsers you may have installed on your iPhone. It's a comprehensive feature that gives you considerable control over the content accessed via your device.
To give this functionality even more depth, you can choose to only allow access to specific websites you have pre-approved. Under the Web Content section, select Allowed Websites Only. You'll be presented with a list of default permissible websites. Feel free to modify this at your will by tapping "Add Website" at the bottom of the list for allowed websites – adding your preferred safe websites.
Keep in mind that you'll need to ensure that each website's URL is accurately input for the blocking or permitting to function effectively. A single mistake could mean your intended actions don't take effect.
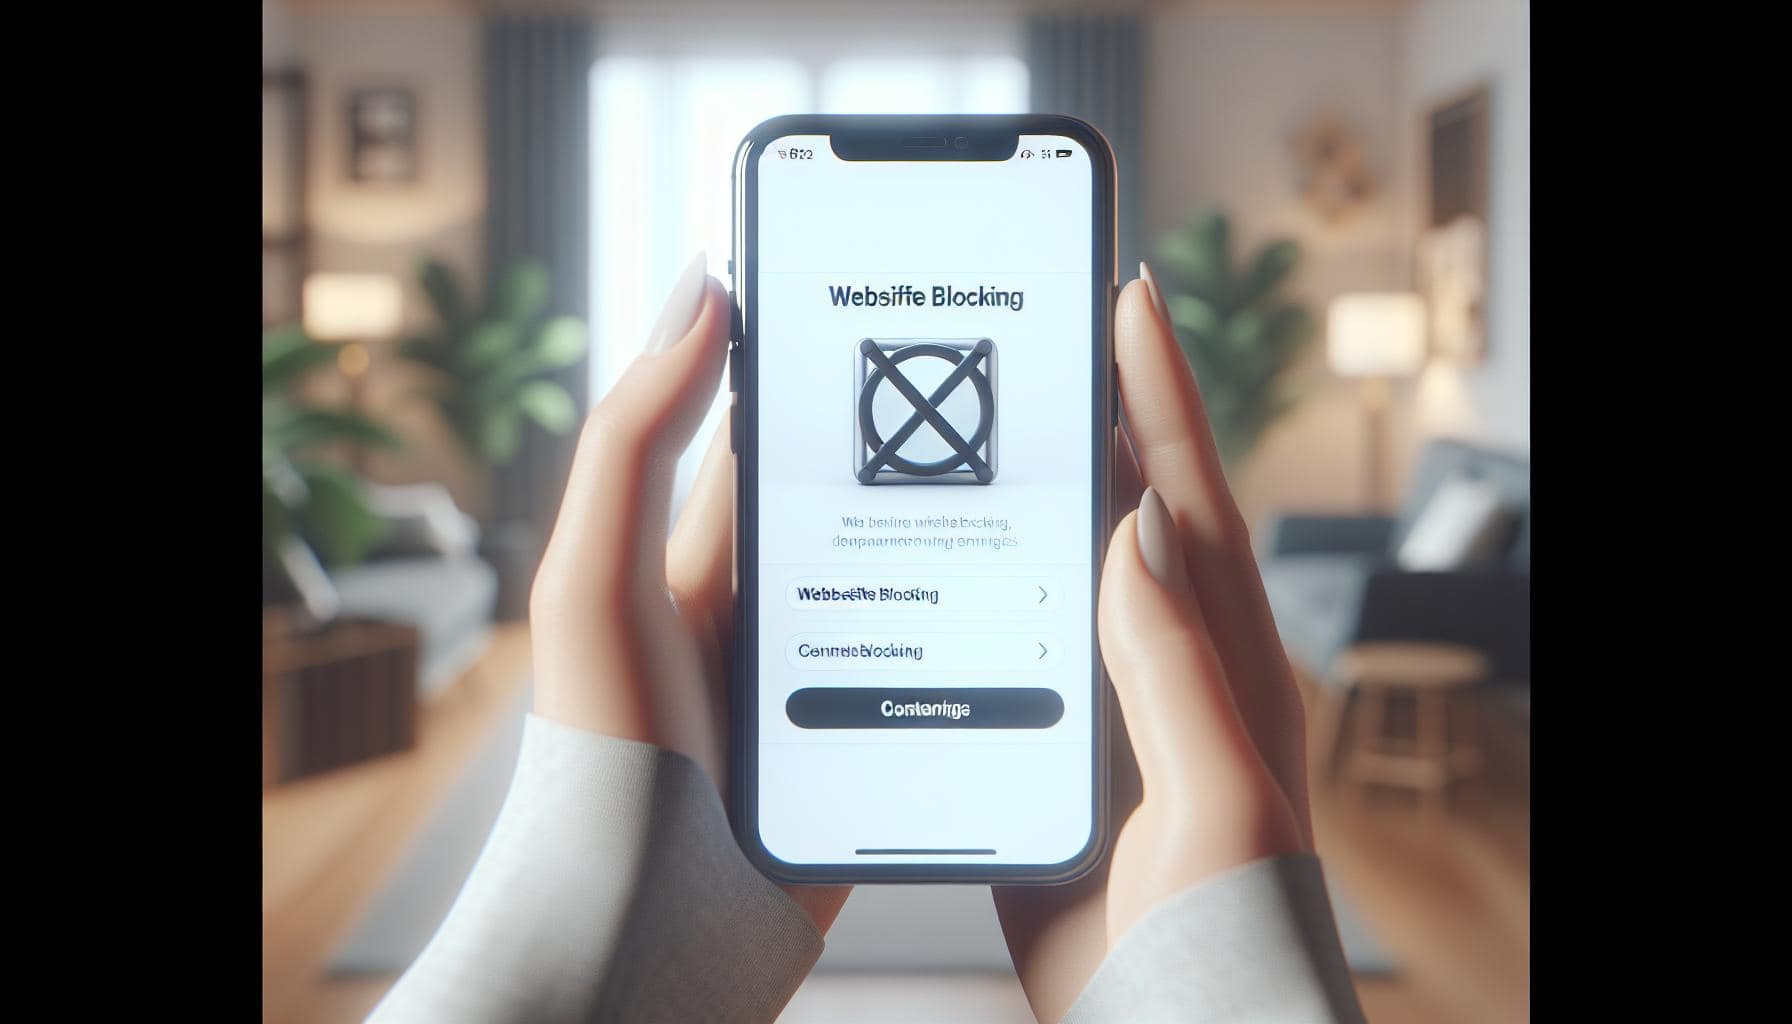
Step 4: Block Websites

Pressing on, it's time to take control and block those unwanted websites. Follow these steps to successfully block specific online pages from your iPhone.
First, open Settings and go to Screen Time. From here, tap Content & Privacy Restrictions. Make sure the toggle switch is turned on.
Next, tap on Content Restrictions. You're now in a realm of power where you're the one deciding what can and can't be accessed on your phone. Tap on Web Content.
You'll be confronted with two main choices:
- Allow unrestricted access
- Limit adult websites. It's advisable to select the second option. When the limitations are activated, the doorway to input the websites you want to block swings wide open.
Go ahead, tap on Add Website under the section 'Never Allow'. Here's where you input the URL of the website you'd like to block permanently.
Keep in mind it is crucial to be exact with your entries. Meaning, if you write 'www.example.com', then that specific website will be blocked, but 'example.com' without the 'www' may still be accessible. It's often best to double-check and block all possible iterations of the website URL.
No need for concern if you make an error or have second thoughts about a blocked site. To remove a website from the blocked list, simply swipe left on the URL and tap the 'Delete' button that appears.
Remember, you're doing more than just keeping your phone safe. You're creating an online environment that mirrors your values and ensures a better digital experience.
Phew! Block another one if you need to! You have now mastered one of the most influential features in iOS - power in your hands. You now know how to block specific websites from your iPhone, no external apps required. Let's progress to the next step.
Step 5: Customize Blocked Websites List
You've taken control and put up filters. You're not just on the sidelines anymore, you're dictating the landscape of your web experience. That's a big deal! Still, as with most things in life, one size doesn't always fit all. Adjustments are always needed.
Let's dive into customizing your list of blocked websites on your iPhone.
Start by launching the 'Settings' app and tap on 'Screen Time' once again. Then, head over to 'Content & Privacy Restrictions' and find 'Web Content'. You'll see an option that says 'Limit Adult Websites'. Don't let the phrase mislead you, it's simply Apple's way of saying "limit any websites of your choice.'
It is here that you have the autonomy to continue adding to, modifying, or pruning your list of blocked sites. Simply tap on 'Add Website' under the 'Never Allow' list. And remember, preciseness is key. Enter the correct URLs of the websites you intend to block. An error in the URL means the site won't get blocked.
Sometimes, you might come across a previously blocked site that you now deem okay. Or perhaps, you've blocked a site by accident. No need to fret! You can easily undo it by navigating to the 'Never Allow' list, find the site you wish to unblock, swipe left on it, and finally tap the red 'Delete' button. There, your web experience is back to being as open as it once was.
It's worth noting that the changes are saved automatically, so there's no need to hunt for a 'Save' button or worry about losing unsaved changes.
The steps you've learned so far not only ensure a safer web experience but also imagine a personalized online environment built by you, for you. It's all about taking the internet by its reins, according to your likes and dislikes.
And there you have it. You now know how to customize the blocked website list on your iPhone. Continue exploring and mastering this amazing feature. The world of the web is in your hands now. Play around and see which sites cater to your tastes while maintaining a web environment that's safe and secure.
Additional Tips for Blocking Websites on iPhone

You've mastered the basics of blocking websites on your iPhone. Great job! Now, we'll cover some extras for optimizing your browsing experience further.
Syncing your settings across devices is a handy feature, isn't it? With your Apple ID, you can do that. You've blocked some websites on your phone and you'd like the same for your iPad. Simply sync your settings. Here's how it's done.
- Head over to the Settings
- Click on your name at the top, then select iCloud
- Scroll and find Screen Time then toggle it on.
This way, your settings get shared across all your Apple devices!
Ever found yourself thinking, wouldn't it be convenient to not have to manually add all the unwanted sites? Well, there's an answer to that – Content & Privacy Restrictions. It enables automatic blocking of adult websites. Here's how to enable it.
- Go to Settings then Screen Time
- Click on Content & Privacy Restrictions
- Enable this option and under content restrictions, choose Limit Adult Websites
This feature limits the access to a host of adult content websites, automatically crafting a safer browsing space for you or your kids.
Lastly, we'd recommend that while adding addresses to your "Never Allow" list, try to be as precise as to include 'www' or 'https' if possible. URLs can be tricky and specificity is key.
Conclusion
So, you've learned the ins and outs of blocking websites on your iPhone. Syncing settings across devices with your Apple ID makes managing your blocked list a breeze. Making use of the Content & Privacy Restrictions feature is a smart move to automatically block adult content. Remember, it's best to be specific when adding addresses to the "Never Allow" list. Armed with this knowledge, you're now equipped to create a safer and more focused browsing environment on your iPhone. Here's to more productive and distraction-free browsing!
Frequently Asked Questions
How can I sync settings across my Apple devices?
You can sync block settings across devices by using your Apple ID. This allows your blocked websites list to be shared among all your Apple devices, increasing convenience.
What is the Content & Privacy Restrictions feature?
The Content & Privacy Restrictions feature is an Apple tool that automatically blocks adult websites. This feature enhances the safety of your browsing experience, especially for young minds.
How should I add addresses to the "Never Allow" list?
You should be specific when adding addresses to the "Never Allow" list. Providing the exact URL of the site that you want to block will ensure a more reliable and effective implementation of the block.


