Ever missed an important call because your iPhone was on silent and you didn't feel it vibrate? Well, you're not alone. It's a common issue that can be easily solved once you know how to turn on the vibrate feature on your iPhone.
This guide is designed to help you navigate through your iPhone's settings and enable the vibrate function. It's pretty straightforward, but if you're not tech-savvy, it can seem a bit daunting. Don't worry, we've got your back.
Why Vibrate is Important on iPhone
When there's a need to keep your phone on silent, vibrate mode becomes the heart of communication. You might be in a meeting, attending a class, or at a social event where the ringing phone is nothing less than a nuisance. Understanding this, let's delve into why the vibrate function is so pivotal on your iPhone.
Thinking about it, a vibrating iPhone is a lifesaver in quiet spaces. It respects the tranquility of your surroundings while making sure you never miss an incoming call, text, or notification. Despite being silent, it communicates effectively -- giving you a soft buzz or a gentle tap to get your attention.
Apart from circumstantial convenience, it's a necessity for hearing-impaired users. Vibrations become their primary mode of feeling the pulse of their digital communications. No calls go unanswered, no texts unread, and no app notifications missed.
Additionally, the iPhone's vibrate function has a feature “Custom Vibrations”. It allows you to create and assign specific vibration patterns to contacts. So, next time when your iPhone buzzes, you'd know who might be on the other side without even looking at it.
This way of intuiting caller identity, while keeping your phone on silent, is a testament to the convenience and usefulness of the vibrate function. It's quiet, it's effective, and it's a fundamental communication tool on your iPhone.
To simply sum it up,
- Vibrate mode becomes a silent communicator in quiet spaces.
- It is an essential mode for the hearing-impaired.
- It allows for customization with unique vibrations for different contacts.
The understanding now is, no matter the time and place, the vibrate feature ensures you're always connected. So getting to grips with its controls is pretty crucial. In the next section, we’ll guide you step-by-step on how to enable vibrate on your iPhone.
Understanding the Silent Mode

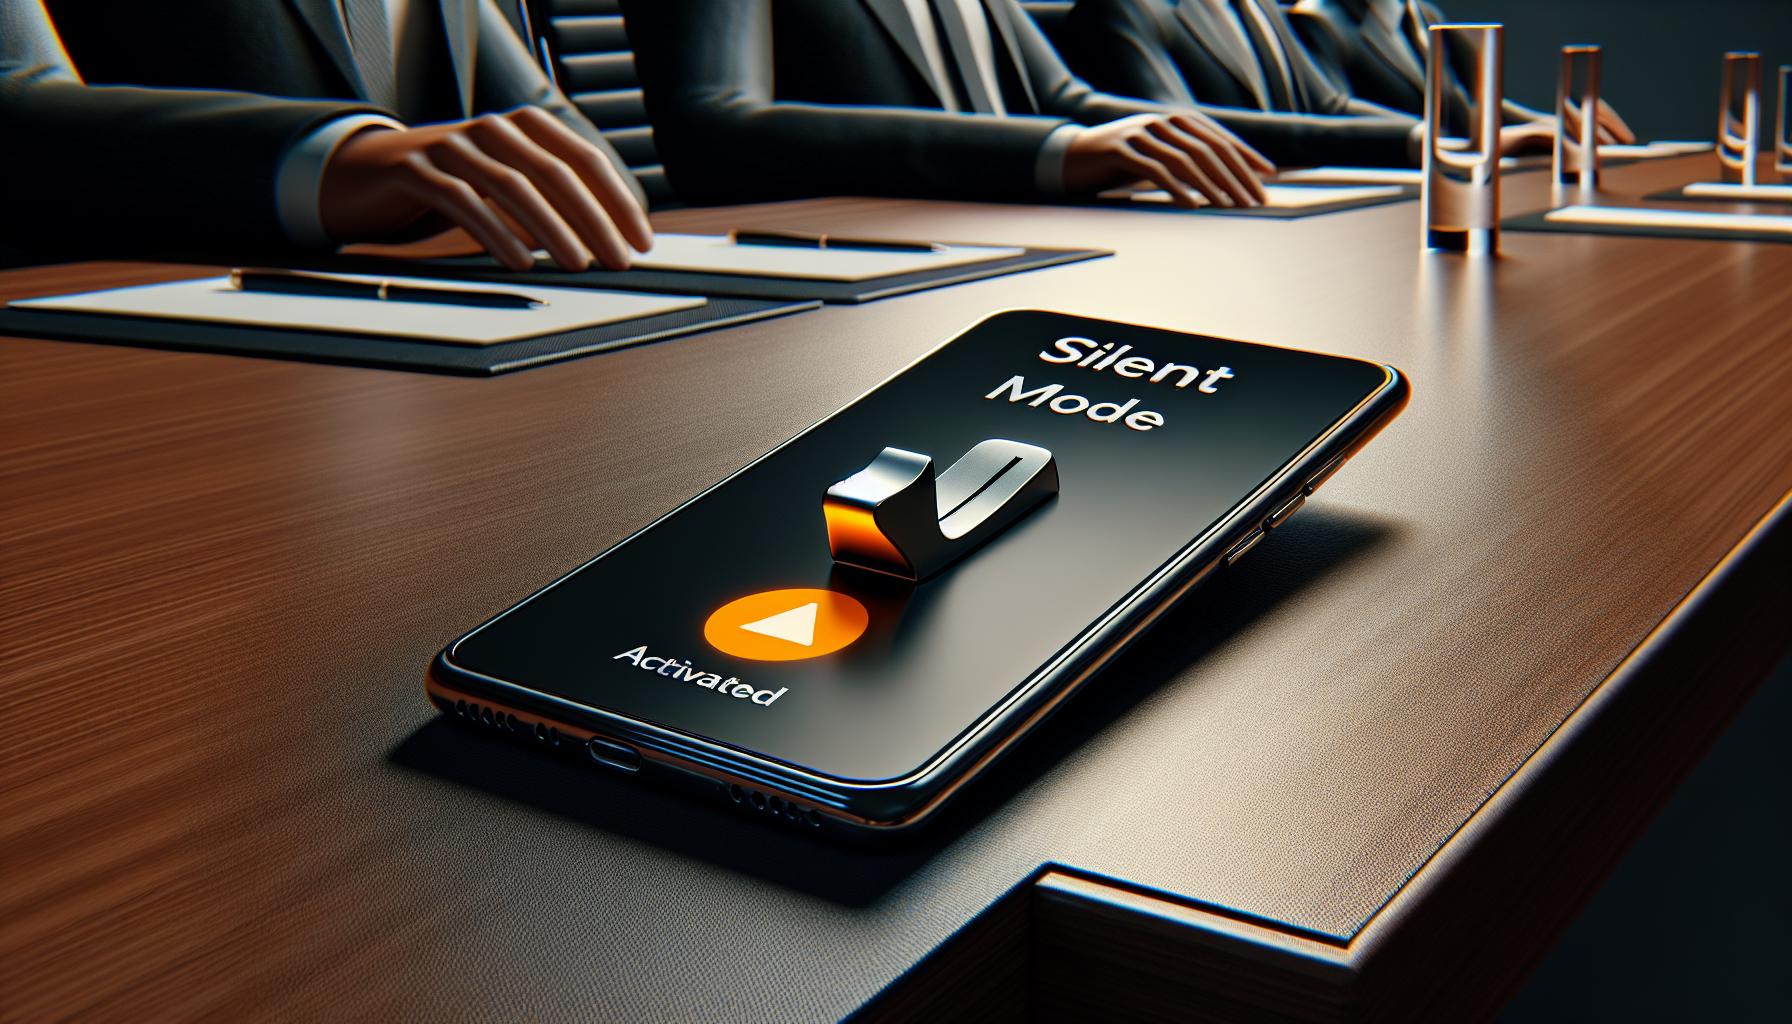
Switching your iPhone to silent mode is a quick and easy process. Essentially, silent mode is designated by a small switch on the left side of your iPhone. When this switch is toggled downwards, your device is in silent mode, symbolized by a small orange bar. This means that all incoming calls, texts, notifications, and even some game sounds will be muted. The only exception is your alarm, which will continue to sound regardless of your phone's silent status.
The buxom beauty of silent mode is its simplicity. It's the answer to maintaining decorum during crucial meetings, preserving tranquility in serene surroundings, or ensuring your slumber isn't disrupted by late-night calls or persistent app notifications. But , it's important to remember that silent mode isn't entirely silent. If your vibrate setting is toggled on, your iPhone will buzz for incoming alerts, acting as an essential alert system. That's where the advantage of iPhone's customized vibrations feature shines through! When combined with silent mode, you can instantly decipher the importance of a call or text without even glancing at your screen.
That said, it's vital to differentiate between silent mode and Do Not Disturb mode. While they may appear similar, their functionality differs. Do Not Disturb essentially silences every alert and call, unlike silent mode that still vibrates. Moreover, you can schedule Do Not Disturb mode for specific times or for a set number of hours. This feature is an absolute must for undisturbed sleep or focused work hours.
Be it a hushed library, a crucial meeting room, or silent corridors of an office, knowing exactly how and when to optimize silent mode can transform you from a potential disruptor into a polite iPhone user.
Stay tuned for the next section of this article where we'll be discussing "How to turn on vibrate on iPhone".
Accessing the Settings Menu

To start, you'll need to dive into your iPhone's heart - the Settings. This is where you decide who gets a pass to disturb your peace and when. Silent mode and Do Not Disturb mode options live here. Not to mention, the highly sought after vibrate function.
Grab your iPhone and unlock the screen. Look for a gear-like icon - that's the Settings. Click on the icon to open the application. Inside, you'll find numerous options, but here we're focusing on three key functions: Sounds & Haptics, Do Not Disturb, and Accessibility. These dictate your phone's silent operations.
Remember: Different models may have slightly varied interfaces. However, these fundamental operations remain constant across all iOS devices.
Let's dive deeper into each pivotal function:
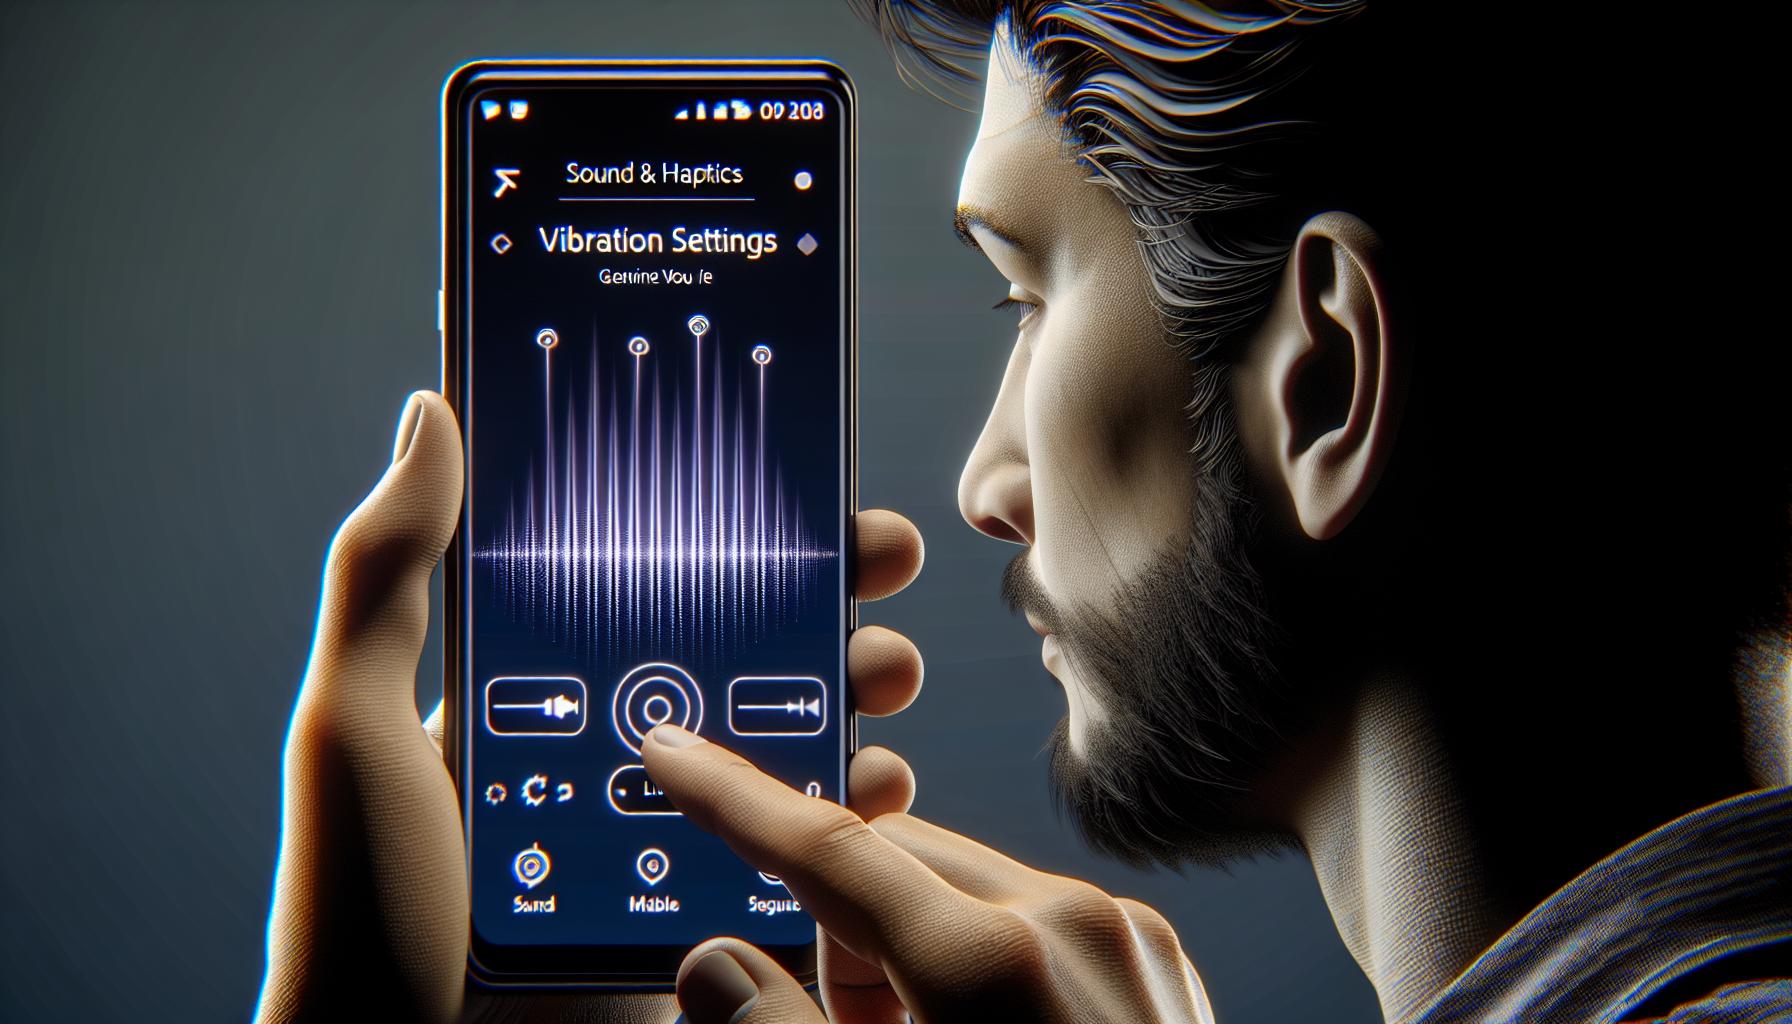
- Sounds & Haptics: Here lies the power to control your device's audio and vibration feedback. Navigate to the Sound & Haptics section to quickly toggle between ringing and silent modes. You can also adjust volumes for different alerts and enable vibration patterns.
- Do Not Disturb: This is your haven away from unwanted notifications. Enabling this option, calls and alerts are silenced while the device is locked. You can schedule the "Quiet Hours" or allow calls from Favorites only. It's never been easier to create a distraction-free environment.
- Accessibility: Within this section, you'll find further control over vibrations and alert settings. If you configure your settings right, you won’t miss a single alert. Even during an important meeting or an intensive workout session when your device needs to be on silent.
Now that you're equipped with this knowledge, you're closer to harnessing your iPhone's full functionality. Next, let's have a step-by-step breakdown of how to manipulate these settings to serve your needs. Get ready to mute your device without missing important notifications with the vibrate function.
Enabling Vibrate on Ring
Your iPhone's ability to vibrate on ring is an essential feature that ensures you never miss an important call or notification. Follow these steps to easily enable the vibrate on ring function:
Firstly, open your iPhone's Settings. Select the Sounds & Haptics option. Here, you'll find a toggle labeled Vibrate on Ring. Simply flip the switch to its "on" position.
The specific process:
- Access the Settings on your iPhone.
- Scroll and tap on "Sounds & Haptics".
- Look for the "Vibrate on Ring" option.
- Swipe the toggle to the right until it turns green indicating that it's activated.
Following these steps will let your iPhone vibrate whenever it rings, making sure you're alerted even when you're in a noisy environment or the device is tucked away in your pocket or bag.
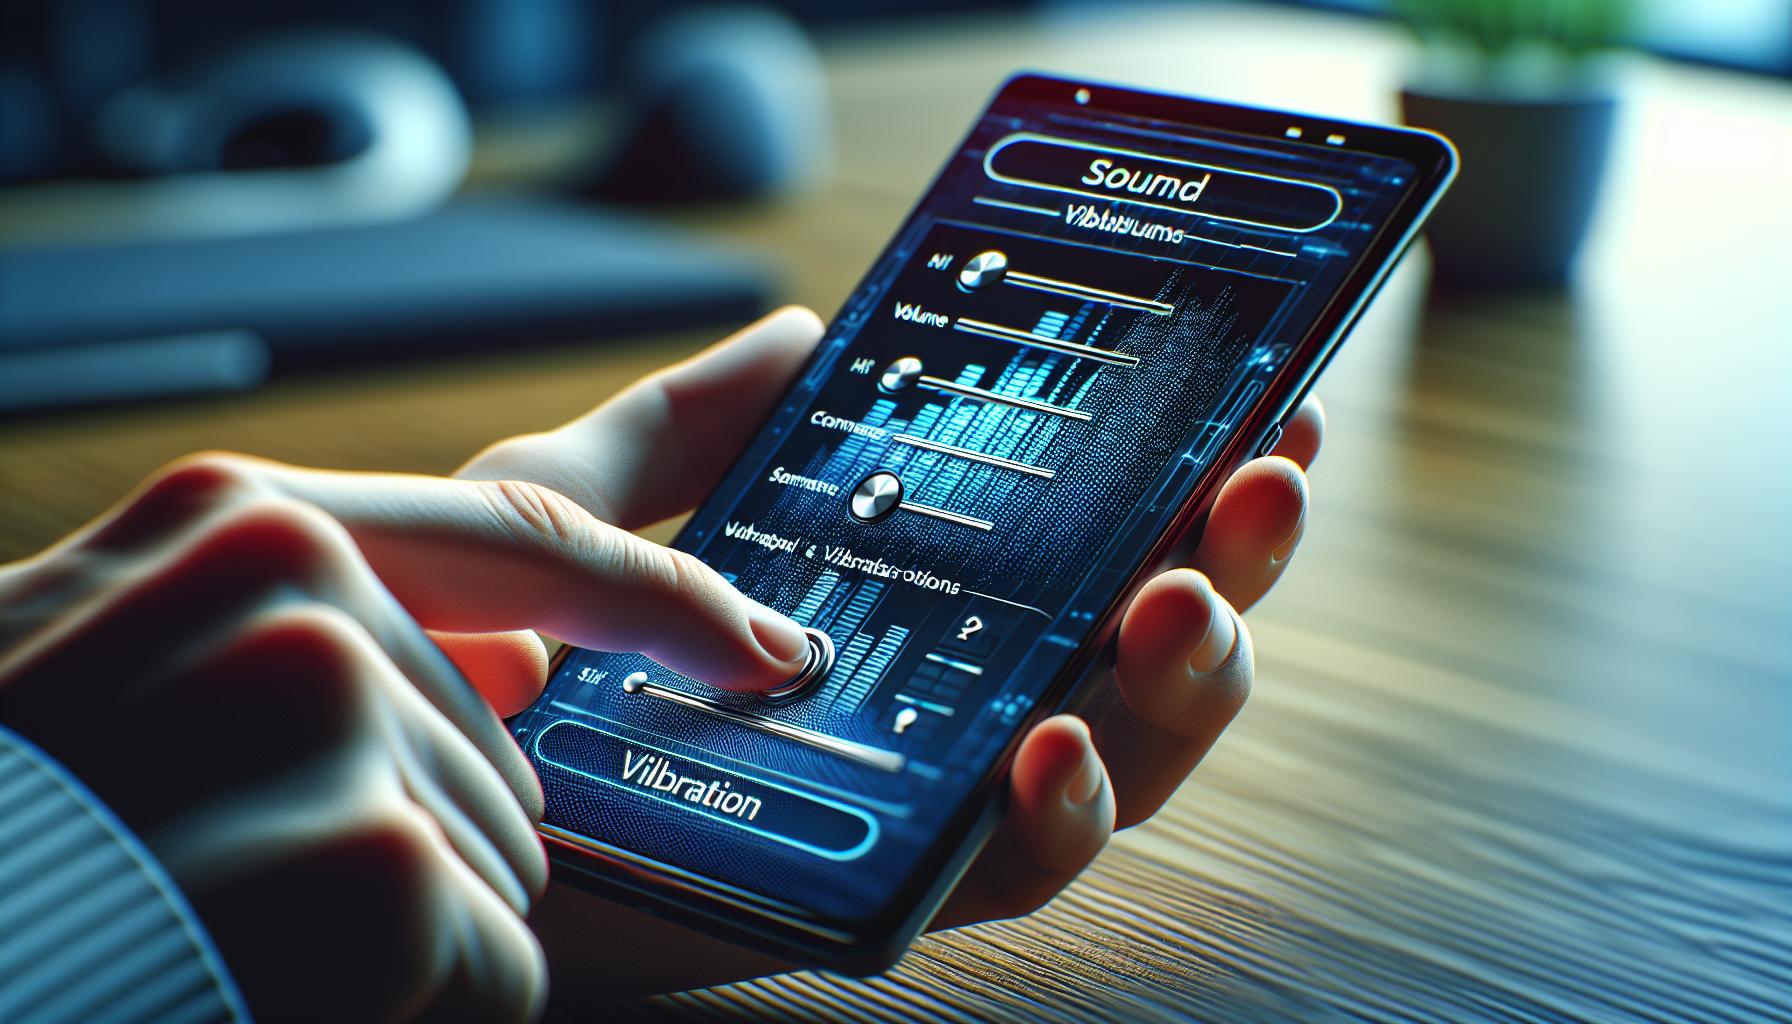
In the Sounds & Haptics menu, not only can you manage the ring vibrations but also receive control of the vibration intensity. Adjust the sliders under the Sounds and Vibration Patterns to adjust the intensity of the vibration and choose a specific pattern that suits you. Whether it's a quick pulse for general notifications or a rhythmical pattern for calls, you've got the control.
Customizing your vibrations can offer a whole new dimension of personalization for your iPhone. Understanding your iPhone's notification settings is key to using your device effectively, and now you're one step closer in accomplishing this.
Next up, we'll outline how to use the Silence switch effectively, and how to utilize the Do Not Disturb mode for additional control over your notifications and calls.
Enabling Vibrate on Silent
The feature to allow your iPhone to vibrate even in silent mode can add an extra layer to your notification management. Like the 'vibrate on ring' function, you also have the ability to change the intensity and vibration pattern for 'vibrate on silent'. Ensuring you never miss important calls or notifications even in quiet environments. Let's move on to the exact steps required.
Start by diving into your iPhone's settings. The Settings icon's gear-like design is easy to recognize. Just like you did with 'vibrate on ring', navigate to the Sounds & Haptics option. However, this time, focus on the vibrate on silent option. Near the top of this page, you'll find two vibration-related settings. Look for the Vibrate on Silent switch. Once located, activate the toggle, which will turn green, confirming that you've successfully turned on the vibrate on silent function.
When your phone is in silent mode, it'll vibrate to alert you of incoming calls or notifications. If the vibration doesn't seem strong enough, you can amplify the intensity or change the pattern to ensure you feel each alert. Scroll down in the Sounds & Haptics menu, and you'll find the Vibration settings under Ringtone. Tap and adjust as per your preference.
Remember, setting your iPhone to vibrate in silent mode might result in a slightly faster battery drain as vibrations use up more power than sound notifications. So, manage your settings judiciously to balance alert promptness and battery life. These simple steps reveal just how flexible and adaptive iPhone notification settings can be.
In the next section, we'll delve into more intricate details about the Silence switch so you can truly tailor your notification experience. The 'Do Not Disturb' mode and how it can provide additional control over your notifications and calls will also be explored.
Customizing Vibration Patterns

So, you've mastered the basics of manipulating the vibration settings on your iPhone. But did you know you can also customize your very own vibration patterns? That's right. Tailored pulsations can make your device even more personalized. In this section, we'll take you through the easy steps of creating your custom vibrations.
First off, head back into the Sounds & Haptics settings. Find and select the type of alert you want to customize, it can be a text tone, a ringtone, or even a new mail alert. Once you've drilled into the alert, select the Vibration option at the top of the screen. You'll find a list of Built-in options, but what we're interested in is creating our very own.
Right at the top, tap on the Create New Vibration option and get ready to have a little fun. You're now faced with a large grey square which is, in fact, your blank canvas for the custom vibration masterpiece. The rhythm of your touch will dictate the pattern of the vibration. Tap, hold, or even create a combination of the two to design your custom alert.
Preview your creation by tapping on the Play button. Not quite right? Just hit Record to try again. Once you're satisfied with your design, click Stop, then Save. Name your new vibration pattern, and voila! You've successfully created your very own, unique alert system.
Remember this handy trick next time you're in a meeting and need to differentiate between your alerts. A text from your boss or a call from mom shouldn't necessarily require the same intensity. Custom vibrations help you prioritize and understand your notifications better, without even looking at your screen.
Now that you're a pro at customizing your motion alerts, it's time to delve deeper into the versatile world of Apple and explore the effective usage of the "Silence Switch" and the powerful feature of "Do Not Disturb" mode.
Troubleshooting Vibrate Issues

Occasionally, you may face problems with your iPhone's vibration settings. It could be a matter of your phone not vibrating when it should, or maybe it's vibrating too often. Whatever the problem, there are a few simple solutions to troubleshoot these issues.
Check Your Settings
First, ensure that your settings are configured correctly. Your iPhone's vibration settings are located under the Sound & Haptics menu in your phone's Settings.
- Make sure the vibration is turned on for Ring and Silent modes.
- Check the vibration patterns for different alerts and notifications.
- Review the settings for specific contacts.
Have a look at the Vibrate on Ring and Vibrate on Silent options, ensuring they're set according to your preferences. Misconfigured settings are more often than not the root cause of vibration issues.
Reset All Settings
If checking the settings doesn't resolve the issue, try a full settings reset. This action takes your iPhone back to the default settings but doesn't remove any data or contacts. Go to Settings > General > Reset > Reset All Settings. Your phone will restart, and once it's back on, it's time to setup the vibration settings again from scratch.
Remember: A settings reset won't delete any personal data or apps but will revert all system preferences, including wallpapers, Wi-Fi passwords, and keyboard customizations, back to their original state.
Contact Apple Support
If the problems persist and troubleshooting hasn't given you relief, consider reaching out to Apple Support. Their expert technicians are equipped to handle these types of issues. Simply head to the Apple Support website or app, and follow the prompts for assistance related to iPhone vibration problems.
In the following section of the article we'll delve into the various benefits of Silence Switch and Do Not Disturb mode on your iPhone, and how you can maximize these features for a more personalized experience.
Conclusion
So now you've got the know-how to manage your iPhone's vibration settings. Whether it's adjusting the settings or getting to grips with the Silence Switch and Do Not Disturb mode, you're now equipped to customize your iPhone experience to suit your needs. Remember, if you're still facing issues, don't hesitate to reach out to Apple Support. They're there to help. With these tools at your disposal, you're in total control of your iPhone's vibration. It's all about personalizing your device to work for you. Now go ahead, make the most of these features, and enjoy the convenience they bring to your everyday iPhone use.
Frequently Asked Questions
Q1: How can I troubleshoot vibration issues on my iPhone?
To troubleshoot vibration issues on your iPhone, first check the vibration settings to ensure they are configured correctly. If the issue persists, you can opt to reset all settings. Finally, if none of these actions solve the problem, contacting Apple Support is recommended.
Q2: What should I do if my iPhone settings are correct but still experiencing vibration issues?
If your iPhone settings are correct but you're still experiencing vibration problems, try resetting all settings on your device. If the problem persists, consider reaching out to Apple Support for further assistance.
Q3: What options do I have if resetting all settings doesn't resolve my iPhone's vibration issues?
If resetting all settings on your iPhone doesn't resolve the vibration issues, the next recommended step is to contact Apple Support. They're equipped to help you diagnose and fix more complex issues.
Q4: What is the benefit of the Silence Switch on my iPhone?
The Silence Switch on your iPhone allows you to quickly and easily mute all system sounds, calls, and alerts without having to dig through menu settings, providing convenience and speed.
Q5: Why should I use the Do Not Disturb mode on my iPhone?
Utilizing the Do Not Disturb mode on your iPhone can help you focus on tasks or rest without interruptions from calls, messages, or notifications. It's a handy feature for maintaining peace and being distraction-free.


