Ever had those moments when you're expecting an important call but your iPhone just won't ring? It's likely that you've accidentally turned on the 'Do Not Disturb' feature. This handy tool is great for times when you need some peace, but it can be a real nuisance if you're not sure how to switch it off.
Don't worry, we've got your back. In this guide, we'll walk you through the simple steps to deactivate this feature. So, whether you're a tech newbie or a seasoned pro, you'll find it a breeze to regain control over your iPhone notifications.
What is the Do Not Disturb feature?
Do Not Disturb is a built-in iPhone feature that lets you silence calls, alerts, and notifications when you're busy at work or trying to catch some sleep. This tool might seem insignificant, but it's a powerful way to regulate digital distractions and prioritize your time more effectively.
When you enable Do Not Disturb, your iPhone remains silent and the screen stays dark. Calls and alerts that arrive when the feature is on won't make a sound or light up the screen.
There are a couple of versions to using Do Not Disturb:
- Manual: You turn it on when needed and turn it off when you're done.
- Scheduled: You set specific time intervals for the feature to automatically turn on and off.
Remember, Do Not Disturb is not designed to completely block your communications—it's all about control. Helpful characteristics include options to allow repeated calls from the same number or from your favorite contacts. The feature also allows you to choose when you get disturbed and tune out distractions when you need to focus.
The design rationale behind Do Not Disturb is simple: to give you the liberty to choose when and where your digital world intrudes on your physical one.
In the following sections, we'll further break down how to deactivate this feature so you can regain control of your iPhone notifications. We'll ensure it's easy to follow, whether you're a tech newbie or a seasoned pro.
Why would you want to turn off Do Not Disturb?

You may be reading this and wondering why on earth you would ever want to turn off such a useful feature. There are quite a few reasons, each as valid as the last.
One of the most vital reasons is emergencies. Imagine you have a family member who is pregnant and could go into labor at any time. Or perhaps one of your relatives is gravely ill, and you need to be reachable at all times. In cases like these, turning off Do Not Disturb becomes less about convenience and more about ensuring continuous access to important incoming information.
Another reason you might consider turning off Do Not Disturb is for professional responsibilities. In this digital age, you're often expected to be available around the clock, especially if you hold a prominent position. Not all professional calls or emails can wait until the next morning. If you're in such a career, turning off Do Not Disturb might be crucial.
Social connectivity is yet another factor. With the recent surge in remote work and virtual meetings, missing a call or message can feel like a missed opportunity. If your professional or social circles mainly operate online, switching off Do Not Disturb allows you to stay in the loop.
Lastly, leaving Do Not Disturb on for too long can lead to an overload of notifications once you finally turn it off. If you're someone who struggles with managing a large amount of information at once, this could become an issue.
| Reasons to turn off 'Do Not Disturb' | Importance |
|---|---|
| Emergencies | Continuous access to crucial incoming information |
| Professional Responsibilities | Maintain around-the-clock availability |
| Social Connectivity | Stay involved in virtual communications |
| Prevent Notification Overload | Manage incoming information effectively |
Further on, we'll talk about how and when to turn off this feature. Remember that the key is to strike balance—know when to allow notifications and when to mute them, creating a relationship with technology that works best for you.
How to access Do Not Disturb settings on iPhone
Keeping up with the need for uninterrupted focus or peace? No problem. But sometimes you need to tweak your settings a bit. Current scenario demands immediate attention to certain notifications or calls. Your iPhone, with its 'Do Not Disturb' feature, embraces both sides equally. So let's guide you through accessing those settings.
Swipe into your iPhone's Control Center. It's quick, isn't it? You'll see a lot of icons. And one of them is the crescent moon icon, the representative of the 'Do Not Disturb' function. But you need to dig deeper. So let's walk into the longer route.
Secondly, locate your Settings icon. Your iPhone's settings house a world of adjustments, fine-tuning and customizations. It's a straightforward access into the 'Do Not Disturb' settings.
While you're in 'Settings', scroll down to see an array of options. Search for 'Do Not Disturb'. Now, since you've found it, tap on it to open. Voila!
You've reached your destination: the 'Do Not Disturb' settings page. Here, you're in control. With options like 'Scheduled', 'Silence', and 'Allow Calls From', you can customize according to your need and preference. 'Scheduled' allows you to set a specific time to turn on the feature automatically. With 'Silence', you can ensure the feature works as you intended, either always or only while the iPhone is locked. Through 'Allow Calls From', you have the added perk to allow calls from specific contacts even when the feature is turned on. Note: This access is quite handy for emergencies.
Steps to turn off Do Not Disturb on iPhone
You've discovered the perks of the Do Not Disturb feature and customized its functions according to your needs. But, what if you need to turn it off? Your iPhone lets you disable the Do Not Disturb mode easily and quickly. Follow the simple steps listed below.
With just a few taps, you can reach the needed settings. As you know, there are two ways to access the Do Not Disturb menu. The fastest is by launching the Control Center. Swipe down from the upper-right corner of your screen if you're using an iPhone X or later or an iPad with iOS or iPadOS. But if you're using an iPhone 8 or earlier, swipe up from the bottom edge of your screen. After that, touch and hold the crescent moon symbol or choose the Do Not Disturb button to access its options. Ensure your phone is not locked as this could prevent you from opening the Control Center.
The other method is by clicking the Settings icon on your Home screen. Once there, scroll down until you see the Do Not Disturb option. Tap it to open the Do Not Disturb mode settings.
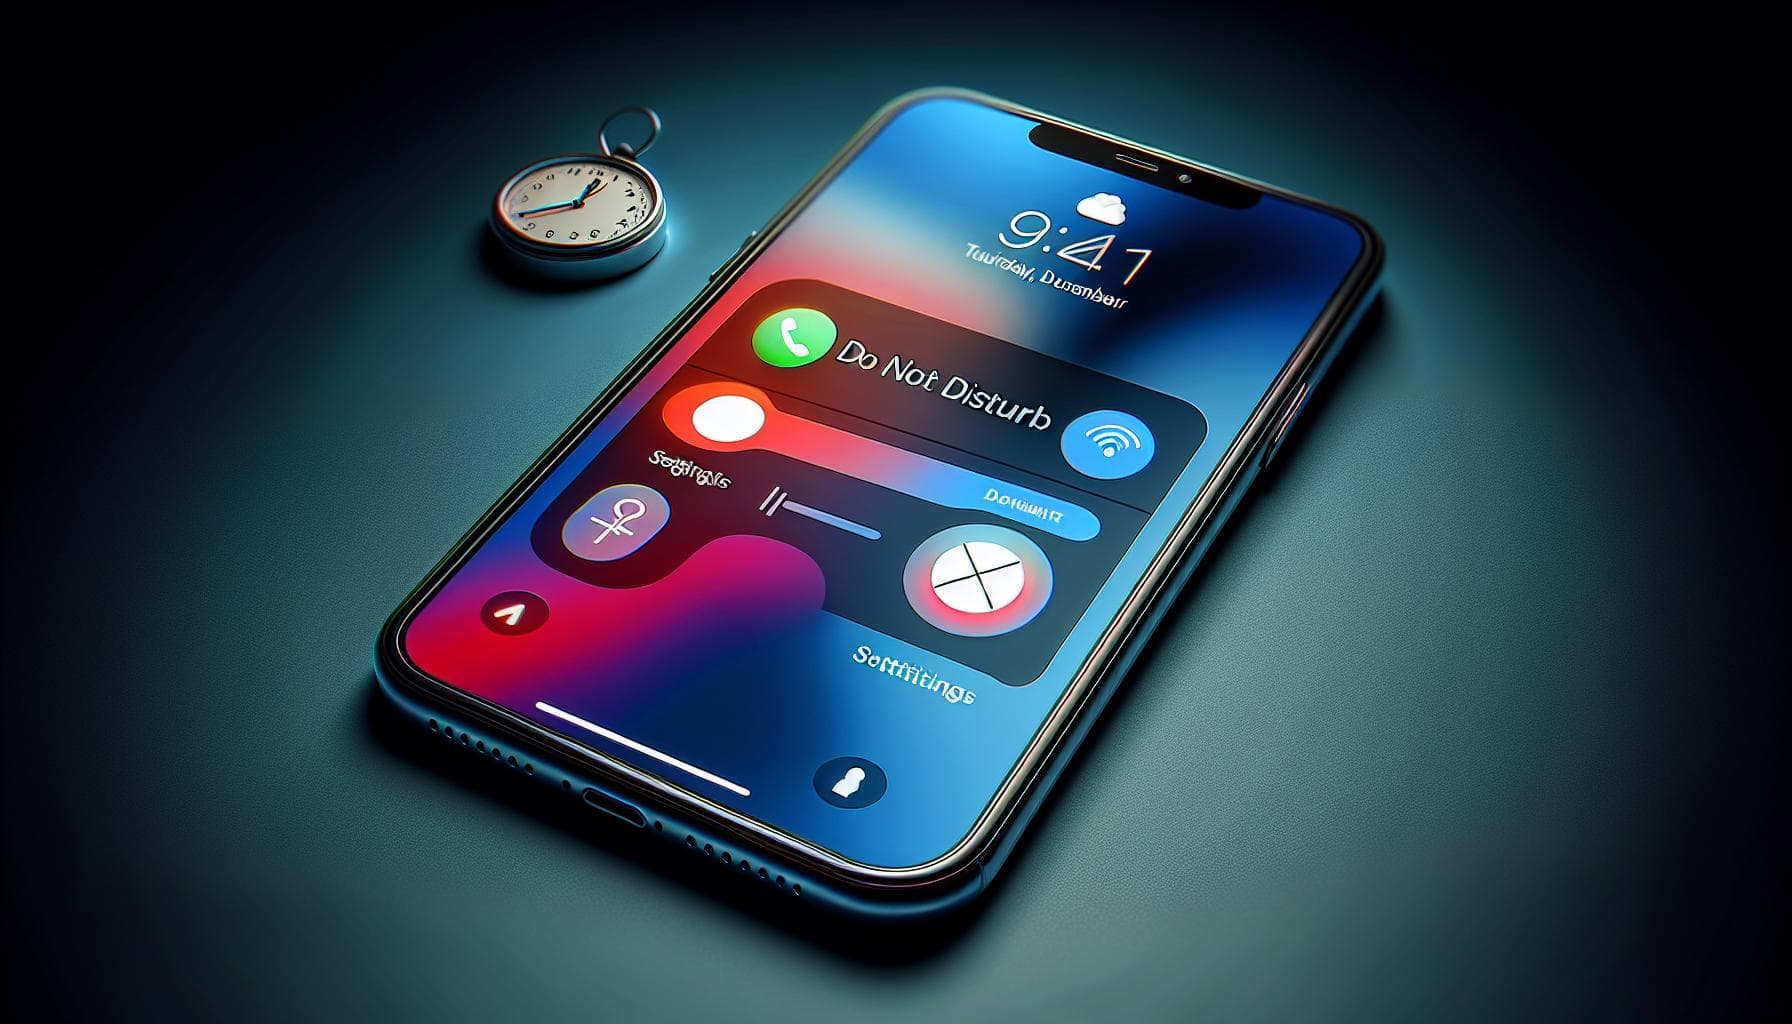
From both these paths, the next steps remain the same. There, you will see the Do Not Disturb feature's settings. Tap on the toggle switch to the right of the Do Not Disturb label. If it’s green, that means Do Not Disturb is turned on. To turn it off, tap on the toggle. It'll then turn gray, indicating that Do Not Disturb is off and your phone notifications will return to their normal settings.
Even though it's a relatively hidden feature on your iPhone, it's easy to see how it could come in handy for maintaining peace of mind during certain situations. However, disabling Do Not Disturb permits you to return back to all your notifications. It's all about finding the right balance to maximize your device's features. Whether you're giving yourself some undisturbed respite or getting back into the swing of things by letting notifications through, your iPhone has the flexibility to cater to your needs.
Additional tips and troubleshooting

If you've mastered how to turn off Do Not Disturb on your iPhone but are still having some issues, don your detective hat. Look for these common culprits that might be causing your woes.
Notifications Still Not Coming Through?
First up: check if you've inadvertently set certain applications to silence notifications all the time. Just head to Settings > Notifications > The app that's quiet and ensure that the "Allow Notifications" option is turned on.
Incorrect Do Not Disturb Schedule?
You may have forgotten to switch off the scheduled Do Not Disturb mode. That's no problem! Go to Settings > Do Not Disturb. Look if the "Scheduled" switch is turned on. If yes, turn it off or adjust the time range to fix the issue.
Certain Contacts Being Blocked?
You might've allowed calls only from certain contacts during the Do Not Disturb mode. Can't get voicemails or calls from someone important? Head over to Settings > Do Not Disturb > Phone > Allow Calls From. Set it to everyone to ensure no calls are missed. Or, specify a favorites list to weed out unwanted calls.
Still Not Receiving Notifications?
One last setting that could be the culprit is Focus Status. A new iOS 15 feature: it can filter or silence notifications too. Under Settings > Focus > select each focus and make sure none of them are active.
Conclusion
So there you have it! You've now got the knowledge to confidently navigate your iPhone's Do Not Disturb settings. Whether it's through the Control Center, the Settings menu, or even the new Focus Status feature in iOS 15, you're well-equipped to manage your notifications to suit your needs. Don't forget to check your apps and contacts settings if you're still having issues. Remember, your iPhone is designed to work for you, not the other way around. So take control, customize those settings, and enjoy the peace of mind that comes with knowing you won't be disturbed when you don't want to be.
How can I access the Do Not Disturb feature on my iPhone?
You can access the Do Not Disturb feature from the Control Center or the Settings icon on your iPhone.
How can I customize the Do Not Disturb settings on my iPhone?
On the settings, you can set a schedule, choose when to silence notifications, and allow calls from specific contacts.
Why are my notifications not coming through, even though I've set Do Not Disturb preferences?
Ensure your applications are not set to silence notifications, and your scheduled Do Not Disturb mode is turned off or adjusted correctly.
Why are certain contacts being blocked despite being in my Do Not Disturb list?
Check to make sure the "Allow Calls From" setting is set to everyone or a favorites list.
The new iOS 15 has a feature called Focus Status that could be filtering or silencing notifications. Check the settings for each focus to ensure none of them are active.


