Ever found yourself wishing you could slow down that video on your iPhone to catch every detail? Well, you're in luck! This article will guide you through the simple steps to achieve just that.
Whether it's for a fun effect or to analyze a moment in-depth, slowing down a video can be quite useful. With your iPhone, you don't need any fancy software or technical skills. It's all about knowing where to tap and swipe.
How to Slow Down a Video on iPhone
You've probably watched a slow motion video and marveled at the incredible detail. Have you ever wondered how you can create similar effects with your videos? Well, you're in luck. iPhones have an in-built feature for this. Here's how to do so, simple and easy.
Step 1: Open the Photos App
No need for any fancy apps or software, just head right to your Photos app. Your treasures are essentially right at your fingertips.
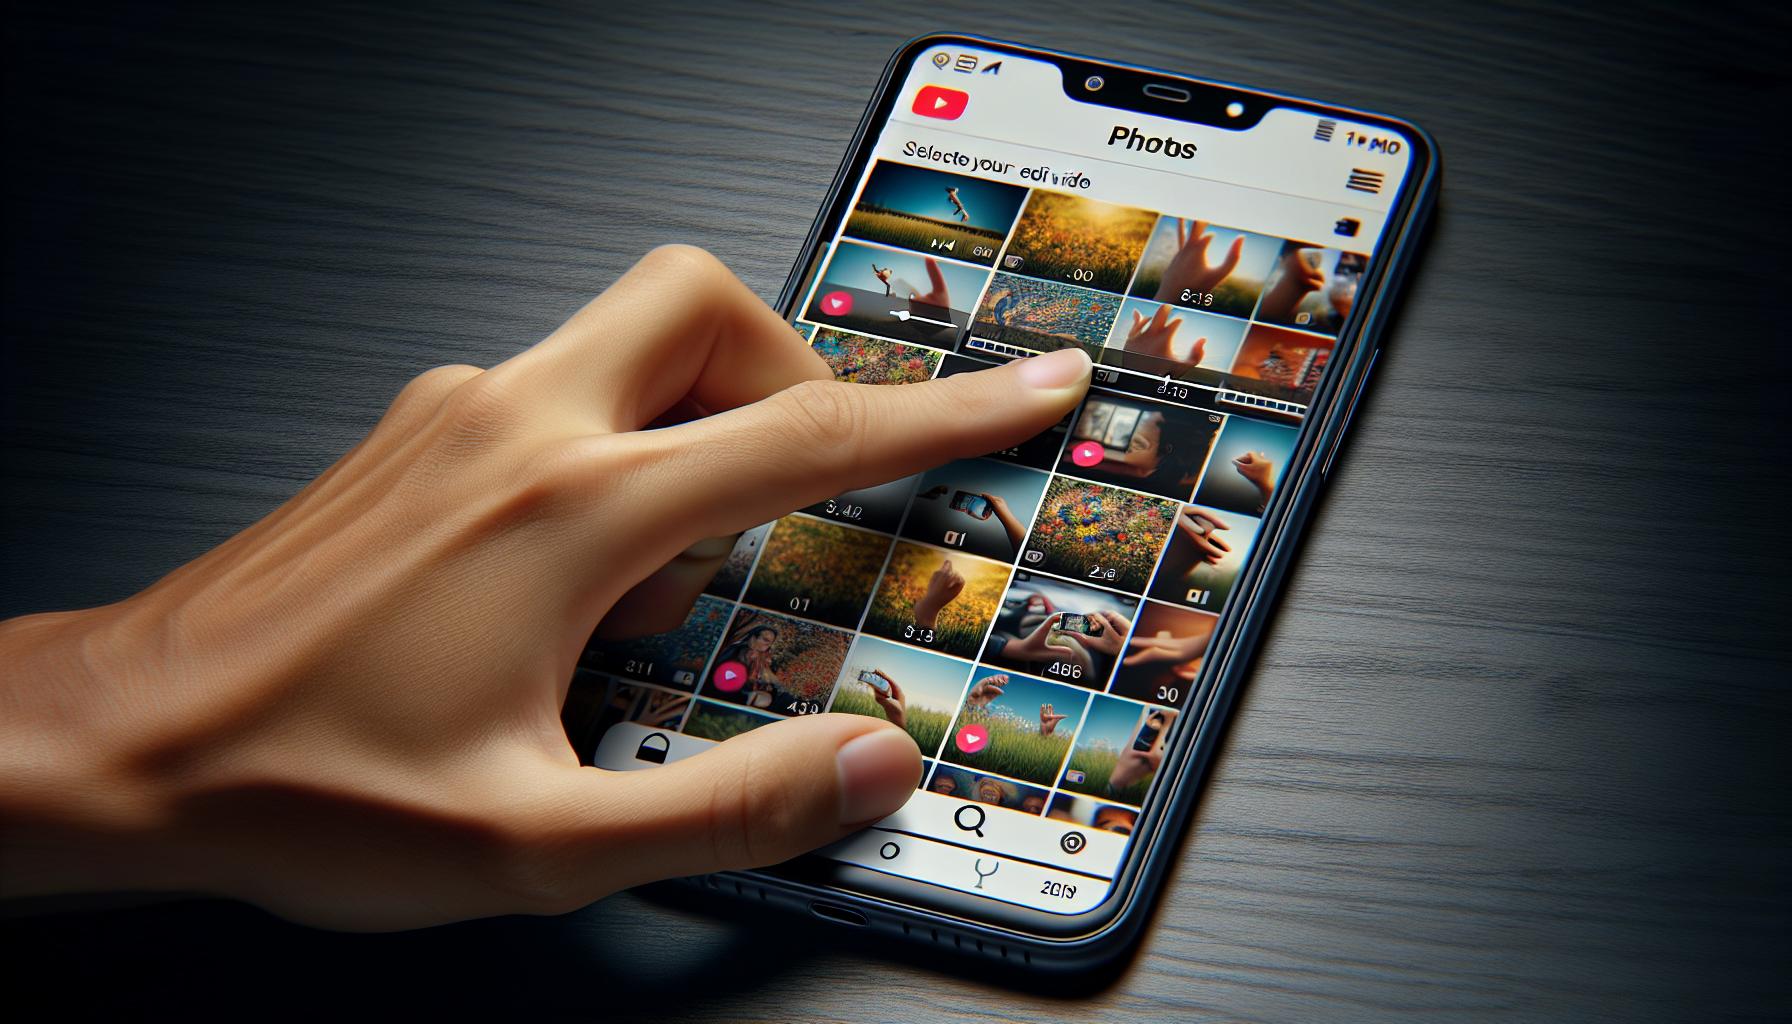
Step 2: Locate Your Video
Next, rummage through your media files to find the video you'd like to slow down. Not sure where it is? Make use of the handy search bar at the top of your screen.
Step 3: Select Edit
Once you've found your video, tap on it to play. You'll then notice an "Edit" option at the top right corner of your screen. That's your ticket to creating slow motion videos.
Step 4: Adjust the Slider
When you select "Edit", a slider pops up at the bottom of your screen. You can adjust it to slow your video down to your desired speed. The further left the slider, the slower it gets. Simple as that!
Step 5: Save Your Edit
Voila! With your changes in place, it's time to save your work. You'll find a "Done" button on the bottom right corner. Click on it then select "Save Video as New Clip". Congratulations! You now have a slow-mo version of your favorite video!
There you have it, a step-by-step guide peppered with nuggets of wisdom. With these skills in your arsenal, the world of slow motion videos just got a whole lot more accessible. Now go ahead, play around with your videos, and see just how much fun you can have being the director of your own slow-motion piece. So what's next? That's up to you to decide.
Step 1: Find the Video

First and foremost, locate the video on your iPhone. You might find it within the camera roll, or perhaps you tucked it away in a special album for future editing. Regardless of its location, fetch the target video for your exciting new project of creating a slow-motion masterpiece.
Navigate through your iPhone's photographic memory, familiarizing yourself with the organization of your stored media. This knowledge could prove worthwhile for your future editing ventures. Remember, the more comfortable you are with exploring your device, the smoother your iPhone video editing process will be.
Keep in mind, it's important to select high-quality videos for a slow-motion edit. Blurry or low-resolution videos may lack the desired impact when slowed down. Instead, opt for a clear, high-resolution video, ensuring utmost quality and satisfaction in your project's final outcome.
Ready? Let's dive into the artistry of slow motion editing. But remember, creativity can't be rushed; take your time exploring these possibilities.
Step 2: Open the Video in the Photos App

Unleashing the hidden power of your mobile device to create slow motion videos starts with getting the right video file. Locating the video in the Photos app is your next step after ensuring the video is of the best quality.
You're likely familiar with Photos, as it's the default app where all your photos and videos reside. It’s more than just a simple viewing app, it's also your hub for editing videos including slowing them down.
To open the video in the Photos app, simply tap on the Photos icon on the main screen of your iPhone. Once the app launches, you'll spot all of your media files organized in a grid style layout. The chronological order is ideal as it makes it easy to spot recent videos.
When you locate the video you wish to slow down, tap on it. A full screen view of the video will appear along with various editing options. As you might have noticed, there’s a lot more to the Photos app than meets the eye. It's not just for storing your memories, but a potential creative toolbox waiting for your exploration.
At this stage on your path to creating a slow motion video, it's crucial to remember not to rush. Take a moment to familiarize yourself with the layout and the editing options available to you in the Photos app. This includes options like trim, adjust light and color, add filters, and of course, slow down the video. It's understandable if it all seems overwhelming at first, but with a little patience, you'll find that it's simpler than you'd think.
Keep in mind that utilizing the iPhone’s built-in tools like the Photos app not only eliminates the need for any additional software but also lessens the technical skills needed to execute such creative ventures. With just a few taps, you're already halfway to creating your very own slow motion masterpiece. Now be prepared to dive a little deeper into the Photos app editing functions in the following sections.
Step 3: Tap on "Edit"
Once you've opened the video in the Photos app, your next move's to tap on "Edit". You'll find this option on the top right corner of your screen. It's easy to spot - and even easier to tap. But don't rush. It's killer important that you understand why you're doing this.
Tapping on "Edit" reveals your iPhone's mighty editing toolbox. With it, you can alter not just the speed of your video, but also its light, color, trim and filters. You see, your phone's not just an everyday gadget. It's a full-fledged video-editing suite, compact-sized.
Embrace the possibilities, we urge you! In using these tools, you're stepping beyond the average iPhone user. You're eschewing the need for bloated, third-party apps. You're embracing Apple's sleek, ergonomic design philosophy.
That's your gateway to creating uniquely beautiful videos - a simple tap on "Edit". Once there, you'll notice a carousel-like reel at the bottom. That's your timeline. Each frame of your video's represented, allowing you to see the whole piece in one, easy sweep.
Begin scrolling through your timeline. Feel the uniqueness of each frame. Consider the light, shadows, angles involved. Note the points where you'd like to implement slow motion. While you're not making any changes just yet, you're observing your video with a new perspective. Insightful isn't it?
It's from this perspective you'll begin to see the beauty of slowing things down. Maybe there's a moment where a smile slowly forms, or a bird takes flight. By slowing these moments down, you're taking a magnifying glass to beauty that'd otherwise fly by unnoticed.
There's a difference between watching a video and truly seeing it. So take your time with this. Explore. Experiment. Unleash your creativity. Your iPhone's video-editor is a treasure trove of opportunities. Make sure you're making the most of them.
So, now that you've entered the edit mode, it's time to move on to the next phase, slowing down your video. And we'll discuss that in the next section of this guide. Stay tuned, you're just a step away from becoming a pro at slow-mo videos.
Step 4: Tap on the Speed Adjustment Option

Your journey in the digital landscape of the Photos app continues. Now that you're knee-deep in the toolbox, it's time to hone in on the feature you're seeking. On your screen, you'll notice a gamut of options each meticulously designed to help refine your video content. Your goal, however, lies within one sphere - the Speed Adjustment Option.
Unveiling the Speed Adjustment Option
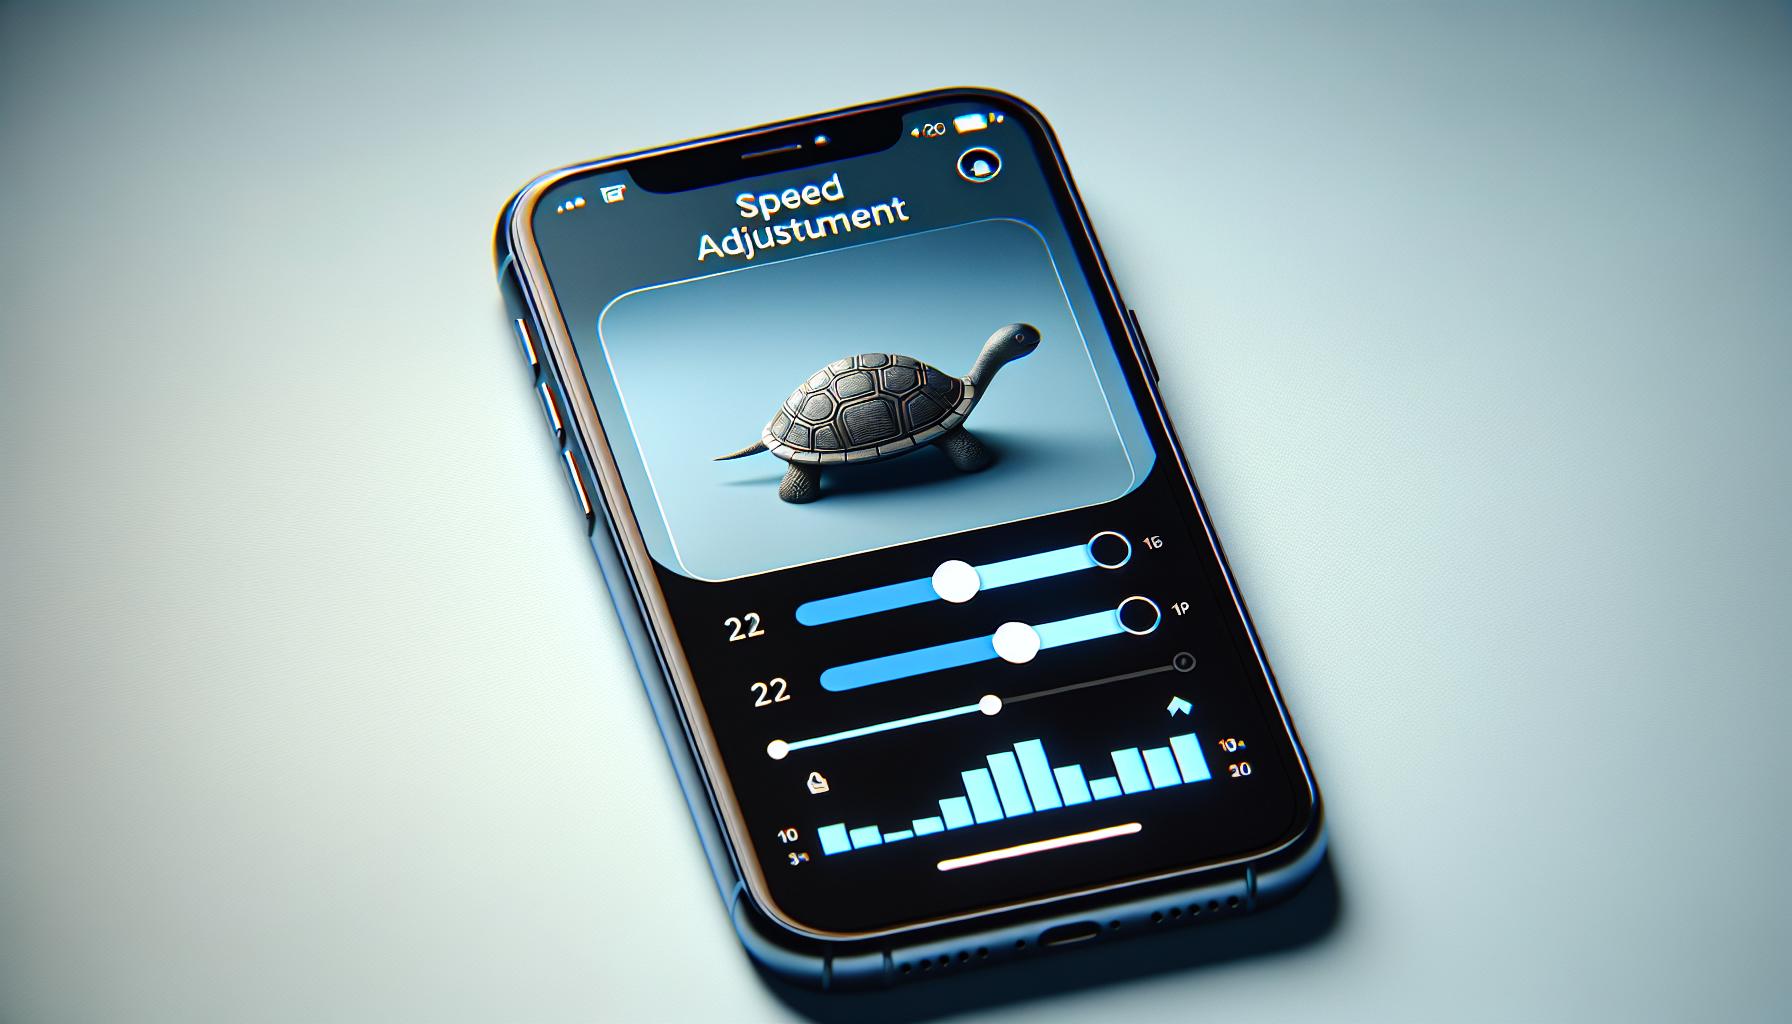
This magical button holds the power to decelerate the rhythm of your videos and mould them into slow-motion masterpieces strutting in a time-dilated world. The Speed Adjustment Option is often represented by a snug little dial or a turtle icon located typically on the right side of your editing progress bar. Its sole purpose is to control the speed of your video playback. It offers a slider, that wonderfully allows videos to be adjusted to play at quarter speed, half speed, or full speed.
On tapping the turtle or dial, you'll find two vertical bars that border your timeline. These bars can be dragged to your heart’s content, helping you decide which segment of your video you wish to slow down. Maybe you want to relish your dog catching that frisbee in a symphonic slow-motion reel, or you're looking to slow down the moment a droplet falls onto a leaf. This comprehensive tool ensures videos can cater to your desires.
Play around and Experiment
Don't forget, taking it slow doesn't mean not taking risks. Feel free to tinker with the adjustments until you're content with the final outcome. Experiment, test out variations, and most excitingly, showcase the wonders of your iPhone's editing prowess!
The following phase will guide you through previewing your slow-motion video, ensuring that every detail is up to par with your expectations. The world of slow video is patient; there's no rush. Breathe, savor, and let your creativity run wild.
Step 5: Drag the Slider to Adjust the Speed
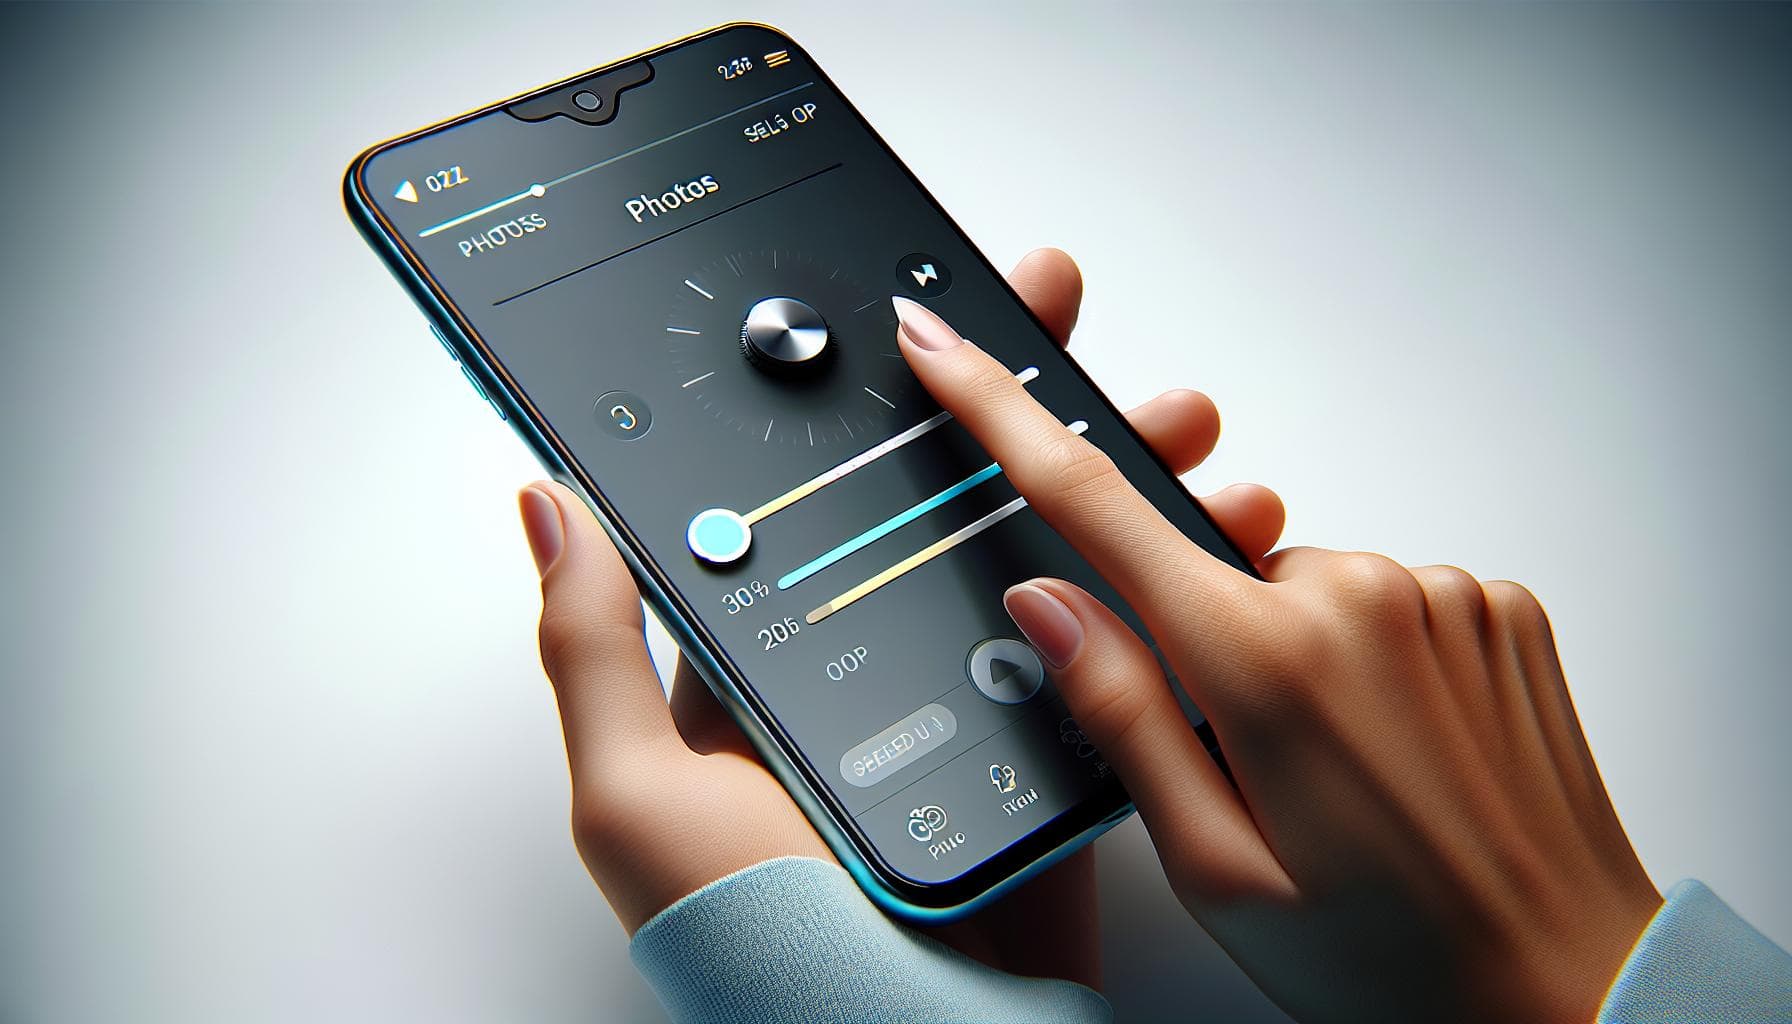
After you've selected the Speed Adjustment option, you'll see a vertical line on your screen. That's your speed slider. Now it's up to you to fine-tune the video's playback speed. Remember: dragging the slider to the right will increase your video's speed and dragging it to the left will decrease it.
To achieve a slow-motion effect, you'll want to drag this slider to the left. Test it out. Slide it towards the left until you reach the desired speed. Maybe you want the cake-cutting at your kid's first birthday party to be shown at half speed. Or perhaps the high-speed police chase scene in the video you're creating for your next vlog post needs to be shown at quarter speed to highlight the action.
While it may not seem immediately obvious, the speed slider can be a powerful tool. The slow-motion effect can produce mesmerizing results, whether it's for a professional vlog or simply capturing special moments with family and friends. The key here is to experiment and discover what looks best for your particular video.
Having done that, you'll want to see the effect of this change on your video. It's always a good idea to preview and tweak it as necessary to get the desired result. After all, nailing the perfect speed might take a little practice. But don't worry, the next section is here to guide you on how to preview your edited video.
Take your time, play around with this feature. Experience is the best teacher after all. Practice makes perfect, and with each attempt, you'll find yourself becoming more adept at controlling your video speeds for the optimal effect. With the know-how in your hands, you're well on your way to creating great slow-motion videos.
Conclusion
So there you have it! Slowing down videos on your iPhone is as simple as following a few steps in the Photos app. It's a process that doesn't require any extra software or advanced tech skills. By getting to know the layout and options available, you're well on your way to creating engaging slow-motion videos. Remember, the key is in adjusting the speed slider. Drag it to the left for that captivating slow-motion effect. Don't be afraid to experiment and find out what works best for your video. With practice and a bit of patience, you'll be a pro at creating slow-motion videos in no time. Keep exploring, keep practicing, and most importantly, have fun with it!
How can I slow down a video with my iPhone?
You can slow down videos on your iPhone by using built-in features of the Photos app. First, select your video in the Photos app, tap 'Edit,' and then 'Adjust.' Drag the speed slider left to decrease speed for a slow-motion effect.
Do I need any additional software to slow down videos on my iPhone?
No, you don't need any additional software. The iPhone's built-in Photos app provides all the necessary settings for slowing down your videos.
What is the meaning of dragging the speed slider to the left?
Dragging the speed slider to the left decreases the video's playback speed, helping you achieve a slow-motion effect. This option is available in the Photos app under 'Adjust.'
How can I preview my slow-motion video on my iPhone?
After making the necessary adjustments, you can preview your edited video directly in the Photos app. The article details this step in the next section.
Are technical skills required to create slow-motion videos on an iPhone?
No, technical skills are not required. Familiarizing yourself with the layout and editing options in the Photos app is enough for creating good-quality slow-motion videos. Practice makes perfect.


