Ever found yourself in a situation where you needed to share your location with someone, but didn't know how? If you're an iPhone user, you're in luck! Your device has a built-in feature that allows you to do just that.
Harness the power of your iPhone by learning how to share your location with others. It's simple, easy, and convenient. Let this guide show you exactly how to do it.
Firstly, open the Settings on your iPhone. This cogwheel icon provides a gateway to adjusting various iPhone operations. From there, tap Privacy. This tab houses all of your location-related settings.
Upon opening the privacy settings, you will see Location Services right at the top. Ensure that it's switched on. If it's not, use the slider to turn it on.
Once activated, scroll down to the bottom of the list and select System Services. You'll spot Share My Location. Once again, use the slider to activate this feature.
Afterward, jump back to your main settings page. Scroll down until you see Find My. This is the hub where everything about sharing your location goes down. Open it, tap Share My Location and ensure it's turned on.
Now that you've activated everything, you're ready to actually share your location. Open a conversation in the Messages app. Click on the contact's name, then the info icon, and choose Send My Current Location. Suppose you want to share indefinitely, select Share My Location.
Congratulations, you've just shared your location with a friend or family member. Next time you're running late or trying to coordinate a meetup, this feature will come in handy. So, it's not only about telling people where you are, but also about convenience, safety, and fostered communication. Remember, the Share My Location option is always there whenever you need it. Read on for an in-depth understanding of privacy controls and further customization options.
Step 1: Enable Location Services
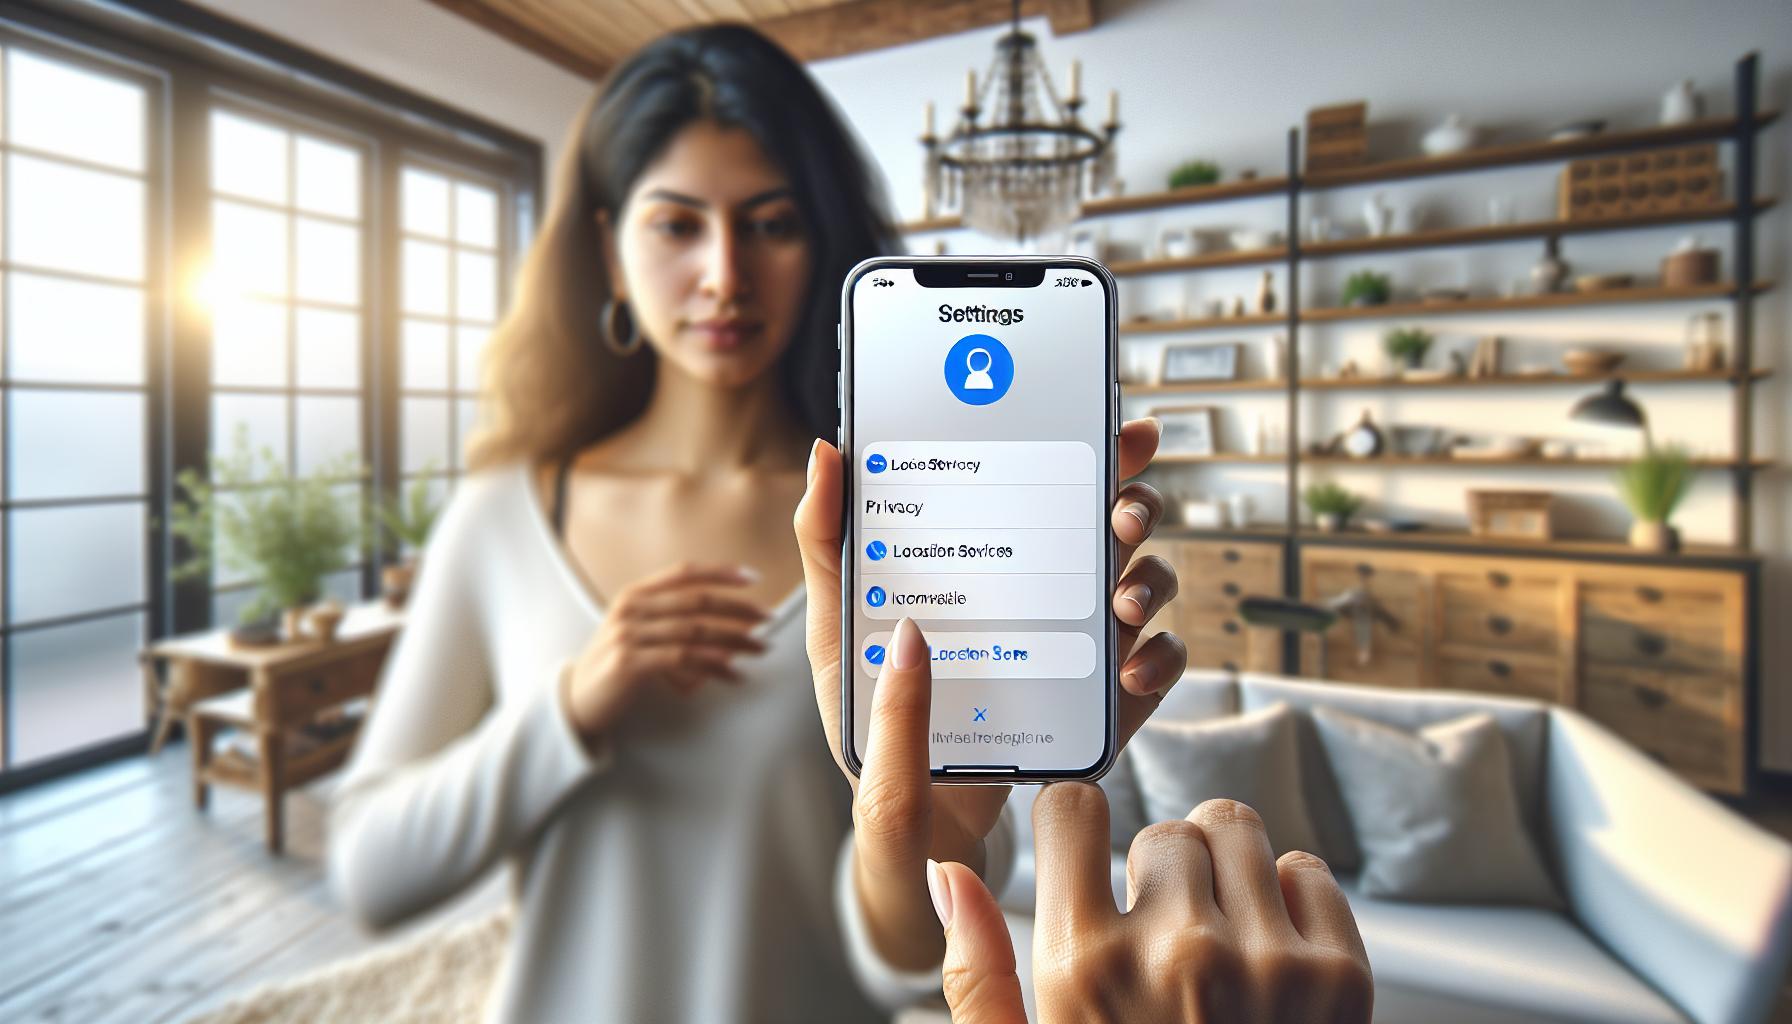
Let's dive straight into how to share your location on an iPhone with the first vital step: enabling Location Services. Now, if you're familiar with iPhones' settings menu, this should be a breeze for you. If not, don't worry, we're here to guide you through.
Initially, lean into your iPhone's Settings app. It's typically found on the home screen or in your app library. Search for this grey gear icon, and you'll be on your way. Once you're in the Settings app, you would want to look for Privacy - a blue hand icon enclosed inside a white square. Tap on it.
This is where things get interesting. You'll find the Location Services option – the very first one. You need to make sure that this switch is turned on.
And there's a catch. Even if you have Location Services activated, it doesn't mean it's available for all apps. You must grant each app permission to access your location. So scroll down the list below until you find the app you want to share your location with, such as Messages. When you tap on it, you'll see three options:
- Never
- Ask Next Time
- While Using the App
Choosing "While Using the App" option would be your best bet. By picking this, you're allowing that app to use your location only while it's open.
Voila, step one is done. Location Services are activated, and you've allocated permission to the dedicated app. This way, you're always in control of who gets to see where you are and when, keeping your privacy intact.
The next segment will illustrate how to specifically share your location with others via the Messages app. It will also highlight the various options available for sharing, so stay tuned.
Step 2: Open the Maps App
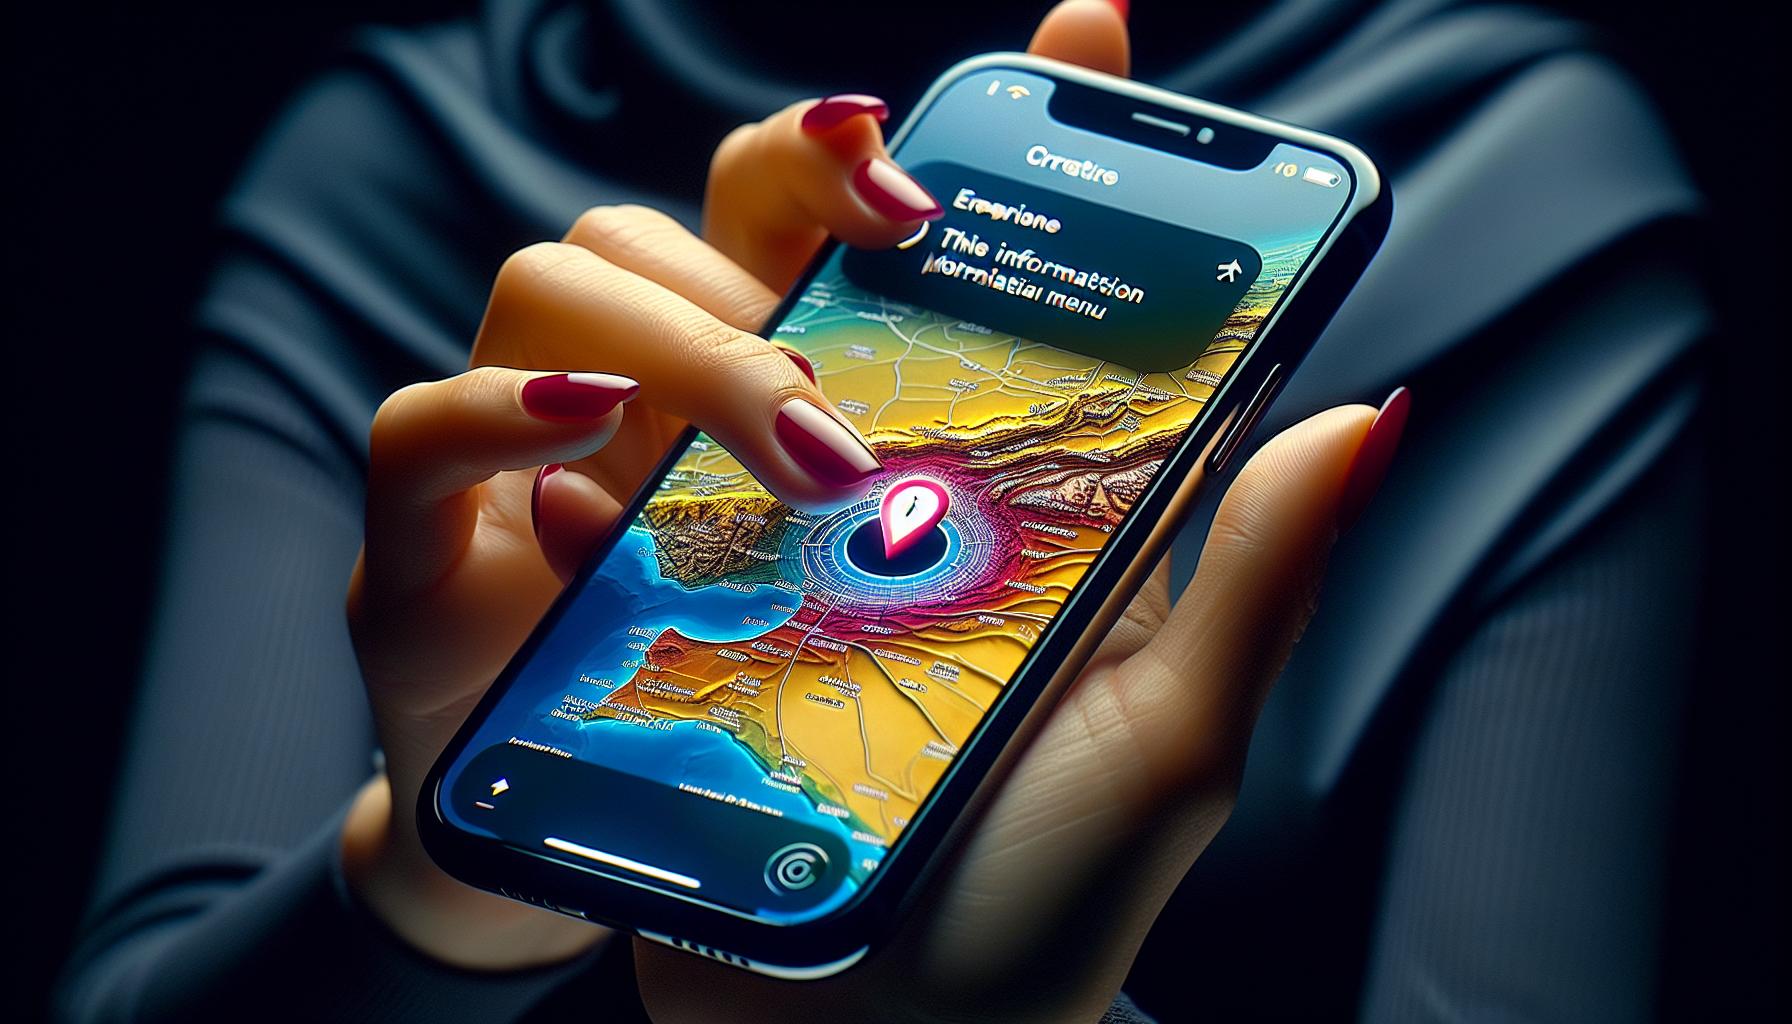
Once you've enabled Location Services and granted necessary permissions, your next move is simple: Open the Maps app on your iPhone. This app is usually located on the home screen, displaying a fixed map icon you can't miss. If it's not there, don't worry! Simply swipe right on your home screen, type 'Maps' in the search bar that appears at the top, and click on the app once it pops up.
Now you might think, "Why the Maps app when I want to share my location via Messages?" That's an excellent question. The reason is that the Maps app has a direct connection to your device's GPS and provides the most accurate location information. It's this accurate data that you will be sharing via Messages.
Once you're inside the Maps app, look for the 'i' button on the top right corner of the screen. Tapping this opens the Information Menu. In this menu, you'll find various options. Among these, you're looking for 'Share My Location'.
Like we emphasized earlier, privacy is crucial when dealing with location information. The 'Share My Location' feature in the Maps app is aware of this. So regardless of whether you're sharing your location once or indefinitely, you'll always have the option to stop the sharing at any time. It's that level of control that makes this feature completely safe to use.
To wrap up this step, let's quickly go over the process. Start by finding and opening the Maps app. Then look for and tap on the 'i' button to open the Information Menu. Finally, select 'Share My Location' from the menu options. Now you're all set to proceed with sharing your location via Messages! Remember, you can stop sharing whenever you want, maintaining control over who has access to your location.
In our next segment, we'll explore the specifics of how to share your location through the Messages app. You'll see, it's as simple as a few taps. So stay glued! It's about to get even more interesting.
Step 3: Tap on the "Location" Button
Now you've enabled Location Services and opened up your Messages app. Great job! Yet there's more to unfold on your iPhone's potential. This next step is integral - the transition from general settings to a specific chat. Here's where the rubber meets the road in sharing your location.
Go ahead and open a specific dialogue within the Messages app. Look for the 'Details' or 'Info' button, usually located at the top right corner. By tapping on it, you'll be presented with a range of options to customize your chat's settings.
Within this space, you'll find the "Location" button. It's your tool for living in the now. Sharing your spot on the map with friends and family. They can now be part of your journey, every step of the way.
Tapping on the "Location" button will unfold two options:
- 'Send My Current Location'
- 'Share My Location'
Choosing 'Send My Current Location' will send a snapshot of your location at that very moment. Handy if you're stationary or if you just want to share where you are right now.
On the other hand, if you select 'Share My Location', it opens a new stage of options. You can choose to share your location for a specific duration. The choices range anywhere from one hour, until the end of the day, to indefinitely. Rest assured, the control is still yours.
Let's dig deeper into each of these options in the following section. Whether you want to shout out your location for a fleeting moment or let loved ones on a prolonged trip with you, you can now do so with your iPhone with ease.
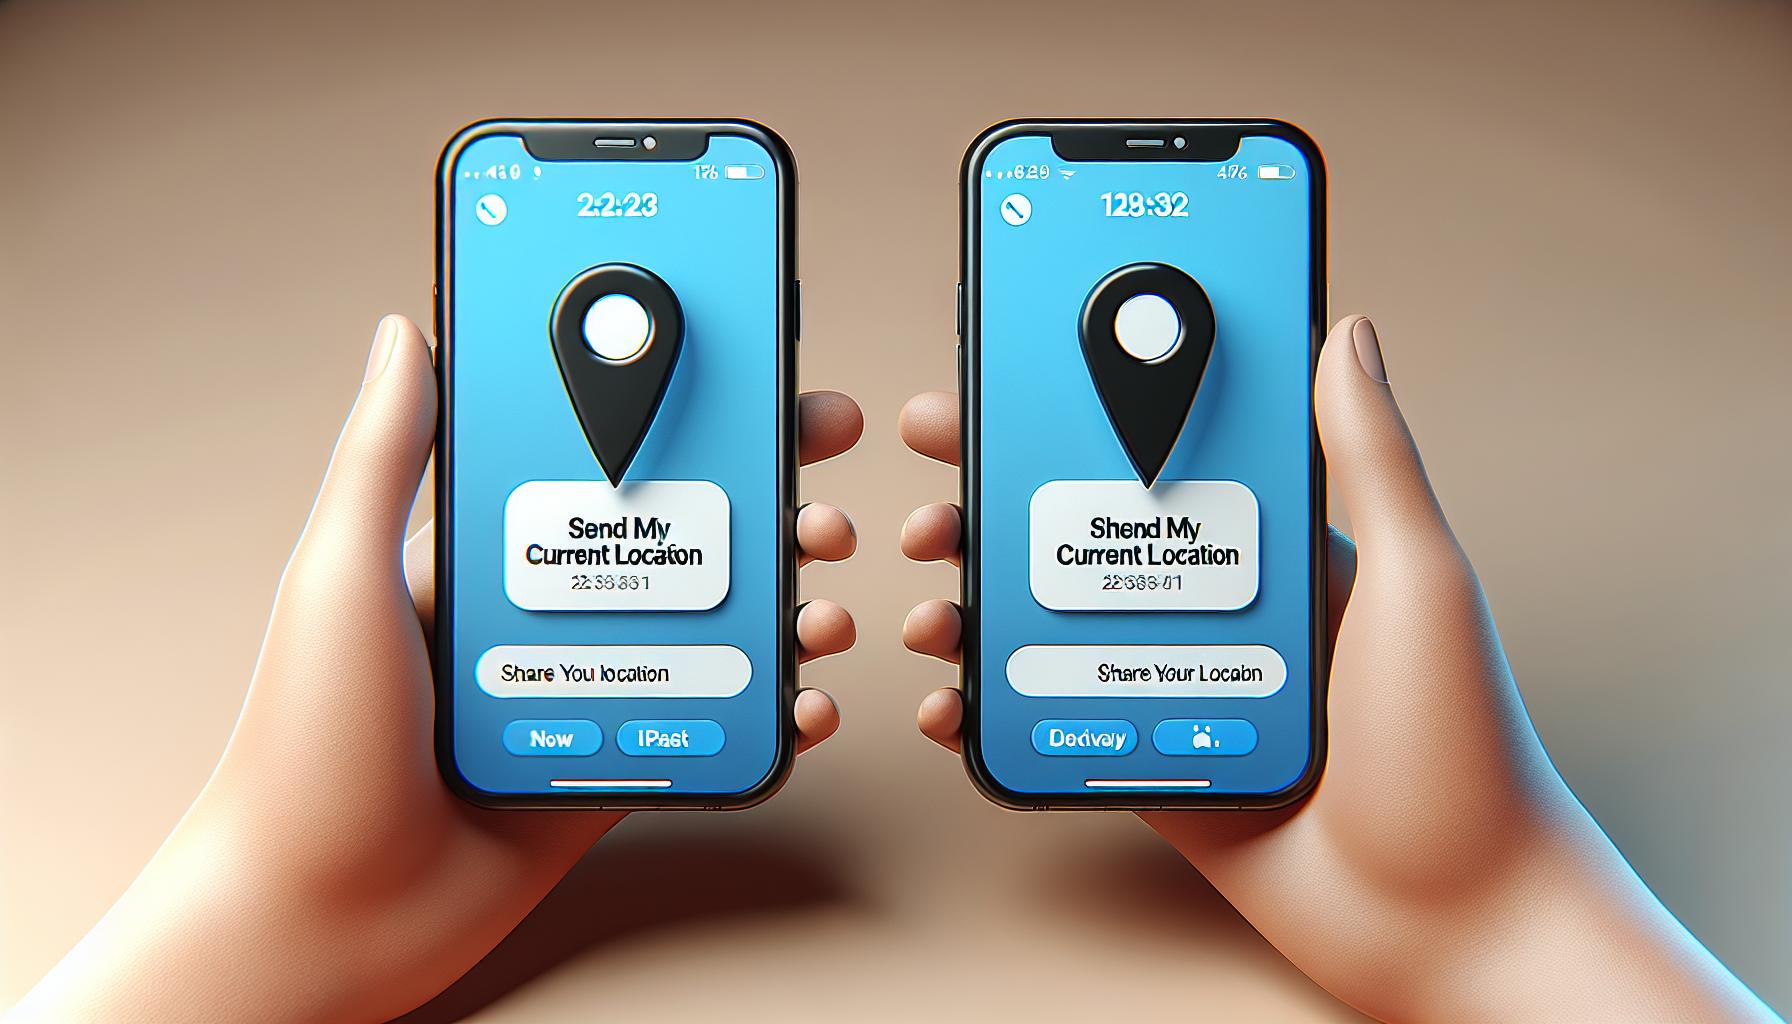
Once you've found the "Location" button in your chat, you're faced with two options: Send My Current Location and Share My Location. Let's break down each of these choices to help you decide the best fit for your needs.
Send My Current Location
When you tap the Send My Current Location button, Messages uses your iPhone's GPS to send a map with your exact location at that time. Remember though, your location isn't continually updated. You'll need to resend your location every time you move to another place if you want others to keep tabs on where you are.
TIP: You'd use this option when: You're meeting a friend for coffee and want to show them exactly where you're sitting. Or, you're at a large event or park and want to share your precise spot.
On the other hand, selecting Share My Location opens up another set of possibilities. With this option, you can dictate how long you want to share your location. You can share indefinitely, for an hour, or until the end of the day. It's significantly more flexible. Your location will automatically update in real-time, providing round-the-clock tracking until your specified time ends.
NOTE: It's crucial to remember how long you've set the location sharing to last. Privacy and control are essential, and forgetfulness could lead to unintentionally sharing your location for longer than you meant to. Additionally, be aware that prolonged location sharing can drain your battery faster.
Now you've got the knowledge to make an informed decision on how to share your location. The next steps will make sure you've got the how-to. Stay tuned, expanding your tech savviness, one step at a time.
Step 5: Select a Contact or App
With the basics of sharing your location now under your belt, you're ready to take the next step. This next phase involves selecting a contact or an app to whom or where you'll share your location details. Your iPhone offers flexibility in this matter, providing a rich array of options tailored to your specific needs.
Choose Contact
In the majority of cases, you'll probably share your location with a friend, family member, or co-worker. It's as easy as navigating to your contacts, finding the specific person, and just hitting the share button. Even a casual user can complete these actions, which are designed to be intuitive and user-friendly. An added tip is to make sure your contact also has allowed location sharing on their device, making the process smoother.
Choose App
If instead, you're drawn to sharing through an app, Apple has got you covered. You can choose from the array of apps present in your device like WhatsApp, Facebook, and Instagram. The process typically involves opening the respective app, searching for the share/location icon and simply clicking it. Yet, be aware that the process varies slightly across different apps.
You have now completed Step 5 in the process of sharing your location. The next step will guide you through how to share your location details in real-time using the 'Share My Location' feature. Get ready to dive into dynamic tracking with your iPhone's robust suite of tools.
Step 6: Customize Your Message
After you've chosen to share your location, the next thing you'll want to do is personalize your message. This step is an opportunity to add a personal touch and clarify the reason for sharing your location. Notifications can sometimes be overlooked, especially if they appear as generic alerts, so adding your own words can help ensure your message gets the attention it deserves.
To customize your message, start by finding the text field. It's usually located just above the "Send" or "Share" button in the sharing window. Go ahead and type in your personalized message here. Keep it short, sweet and to the point. Are you sharing your location because you're meeting up with friends at a new café? Or maybe you're letting a family member know you've arrived safely at your destination? Give context to your notification to help the receiver understand the purpose of your message.
As you're crafting your message, be transparent about the duration of the location share. For example, if you're sharing your location for a one-hour meet-up, mention that in your message. This can help avoid any confusion and reassure the receiver that you're mindful about privacy. Transparency is crucial when it comes to sharing personal data like location information.
Note that customizing messages isn't just for the sake of being cordial. It's also about increasing the effectiveness of your location sharing. Providing context will make it more likely the recipient takes your update seriously, responding appropriately.
Don't forget that your message will also have time and date information attached, thanks to iPhone's location sharing feature. This means you don't have to worry about indicating when you shared your location; it's done automatically! Just another way your iPhone works to make location sharing efficient and user-friendly.
With your message ready to go, all that's left is to hit send. But before you do, ensure you double-check all the details. Confirm that you're sending the location to the right person, your message is accurate, and the share duration is as you intended. A quick run-through can save you from any potential misunderstandings or mix-ups. The next section will guide you through turning off 'Share My Location' when it's no longer needed.
Conclusion
You've now mastered the art of sharing your location on your iPhone. You know how to enable Location Services, grant permissions to apps, and use the 'Share My Location' feature. You've also learned the importance of privacy and control when sharing your whereabouts. You're aware of how to add a personal touch to your location sharing message and the significance of being transparent about the duration of your location share. Remember, your iPhone automatically includes the time and date info in your shared location, and it's always a good practice to double-check all details before hitting send. You're all set to share your location with confidence and ease. And remember, when you're done, you also know how to turn off 'Share My Location'. Here's to your new-found knowledge and skill!
You can share your location on an iPhone by enabling Location Services in the Privacy settings and granting permission to the app you wish to share your location from. To share your location via specific apps, such as the Maps app, look for the 'Share My Location' option.
Why should I add a personal touch and clarify the reason for sharing my location?
Adding a personal touch and clearly stating the reason for sharing your location helps add credibility to your message. It ensures the recipient that the location share is authorized and not a random update.
What information does iPhone automatically include when sharing a location?
The iPhone automatically includes time and date information when you share your location. This helps in providing context to the recipient.
You can turn off 'Share My Location' in the app's settings where you initially enabled it. There may be different ways to do this depending on the app, but the next section of the article will guide you through the process.
What should I check before sending my location?
Before sending your location, you should double-check all the details including the selected recipient, the message accompanying your location, and most importantly, the exact location you are sharing. This ensures your location is being shared accurately and effectively.
