Ever wondered how to share your calendar on your iPhone? It's not as tricky as you might think. With a few taps, you can easily share your schedule with friends, family, or colleagues.
This guide will walk you through the process step by step. Whether you're planning a get-together, coordinating a work project, or just want to keep your loved ones in the loop, you'll find this feature incredibly handy.
So, let's not waste any more time. Here's how to share your calendar on an iPhone, making your life and those around you more organized and connected.
As a regular iPhone user, you might have wondered why it's even necessary to share your calendar. That's a valid question, and here, we aim to highlight the benefits you can reap from this feature.
Increased Efficiency and Productivity: This is possibly the primary advantage that catches user's attention. By simply sharing your calendar, you are essentially broadcasting your planned activities. This means less time spent replying to queries about your availability. Colleagues can easily check your schedule, spot open slots, and plan accordingly. This transparency aids in reducing schedule conflicts and encourages productive use of time.
Sharing Life Moments: Sharing your calendar is not just about coordinating meetings or managing professional life. It's more personal than that. Consider how useful it would be to share your kid's baseball game schedule with your family. Or the mid-semester exam dates with your study group. Having the ability to share these events helps bridge gaps and keeps your loved ones, and you, in sync with each other.
Staying Organized: For those of you who crave structure, sharing your calendar can be a game-changer. Sharing your calendar is a proactive measure for avoiding double booking and missed appointments.
iPhone's calendar sharing feature is a versatile tool that supports both your professional and personal life, and it couldn't be simpler to use: a couple of taps and you're ready to go. When employed thoughtfully, it can bring about noticeable improvements in your day-to-day life.
Ready to give it a try? The next section will provide a detailed guide on how to share your calendar on iPhone. This game-changing hack has the potential to simplify your life in more ways than you may have thought possible. Let's start sharing, shall we?
Step 1: Access the Calendar app on your iPhone

Getting started with sharing your calendar isn't as tough as you might think. Here's the first step: access the Calendar app on your iPhone.
Don't know where to find the app? No worries! Your iPhone comes preloaded with this app. It's usually found on your home screen and has a distinctive icon resembling a calendar. Just give it a tap!
Quick Tip: If you can't locate the Calendar app, easily locate this by using the search feature on your iPhone. Swipe down from the middle of your home screen and type "Calendar" into the search bar. The app should quickly appear at the top of your search results.
Once inside the Calendar app, your entire schedule at your fingertips. You'll see a range of tabs at the bottom. These include 'Day', 'Week', 'Month', and 'Year', offering different views of your calendar. You'll also see a list of any events you've scheduled.
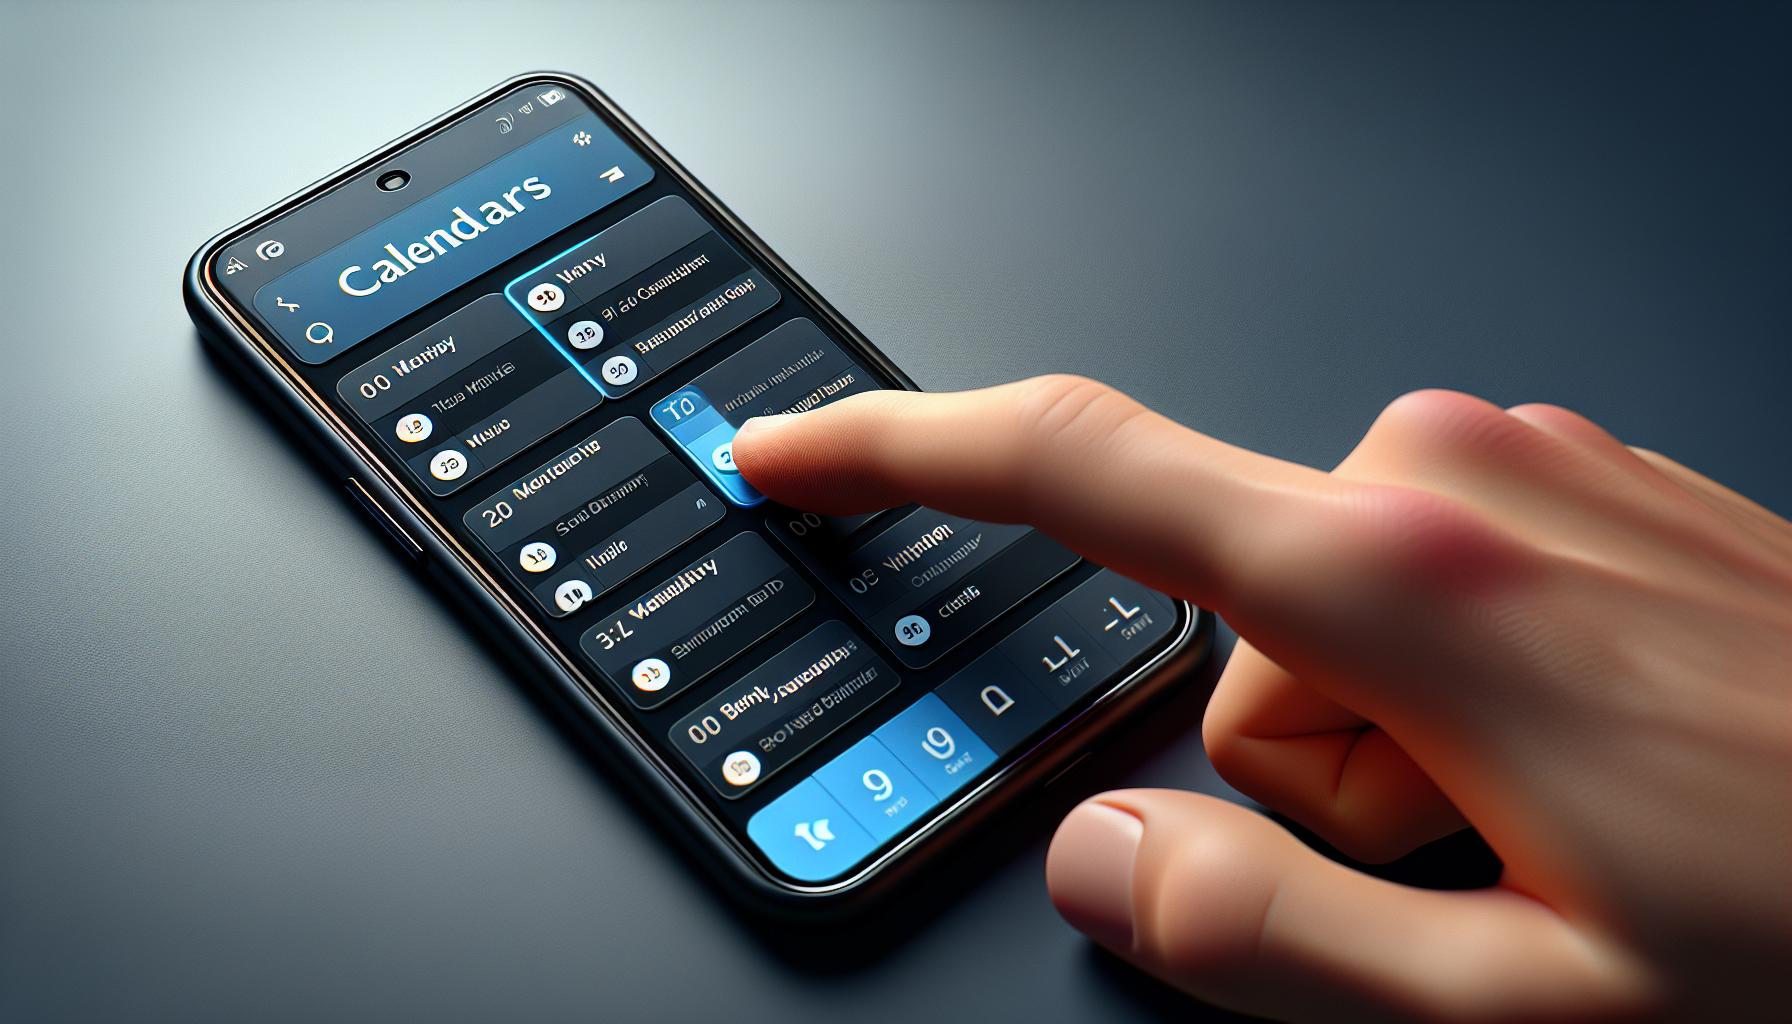
Perhaps you’re thinking, "Oh no, my calendar's a mess! Can I organize it before sharing?" Of course, you can! Tap on the 'Calendars' option at the bottom of the screen. Here you can manage your different calendars — from work meetings to family events to personal appointments.
The beauty of the iPhone Calendar app is that it's intuitive and user-friendly. Even if you're new to iPhone, you'll quickly get the hang of it. Stay tuned for the next steps where we'll guide you through the process of sharing your calendar. Get ready to boost productivity and stay more connected with others.

After you've opened your iPhone's calendar app and organized it in a way that suits your needs, it's time for the next step: tapping on the "Calendars" button. This nifty option is located at the bottom of your screen. It's almost unnoticeable but plays a crucial role in your journey towards better schedule management and efficiency. But why tap on this function? Understanding its purpose may interest you.
Inside the "Calendars" setting of your iPhone, life becomes easier. This section passes up as your central control room where you oversee all your calendar events. Although it's simple to use, don't underestimate the power packed in this room. Any action you take here directly affects your overall calendar view.
In this section, you'll find different calendar categories. Each category has a different color to help you visualize your plans, tasks, or events better. For instance, you may have work-related tasks marked in blue, personal errands in green, and family events in red.
When sharing your calendar with others, you get the liberty to choose which of these categories is visible to them. This way, you stay in-charge, controlling who sees what, and when they see it. You have the final say on your privacy.
| Categories | Colors |
|---|---|
| Work related tasks | Blue |
| Personal errands | Green |
| Family events | Red |
Tapping on the "Calendars" button thus gives you a way not only to share your time but also to do it strategically. Utilize this feature to ensure people only access relevant information when you're coordinating schedules.
In the next section of this article, we'll explore the next step: How to actually share your calendar. Buckle up, we're almost there.

With the calendar categories visible, you're now ready to select the calendar you want to share. This step is crucial, as every calendar represents unique sets of events or appointments. It could be your "Work Calendar", "Family Events", "Study Group Schedules" or possibly "Personal Appointments". Each one carries its own significance and can be shared accordingly.
To proceed, gaze your eyes upon the list of calendars and choose the one you'd like to share. If you're not sure which one to pick, remind yourself of your goal for sharing your calendar.
Looking to schedule meetings without much ado? A "Work Calendar" could serve you best. Want to coordinate family dinners, birthdays, or weekend outings better? Go for the "Family Events". In case you're part of a study group or club and you all wish to stay on the same page with sessions and meetups, "Study Group Schedules" might be your answer.
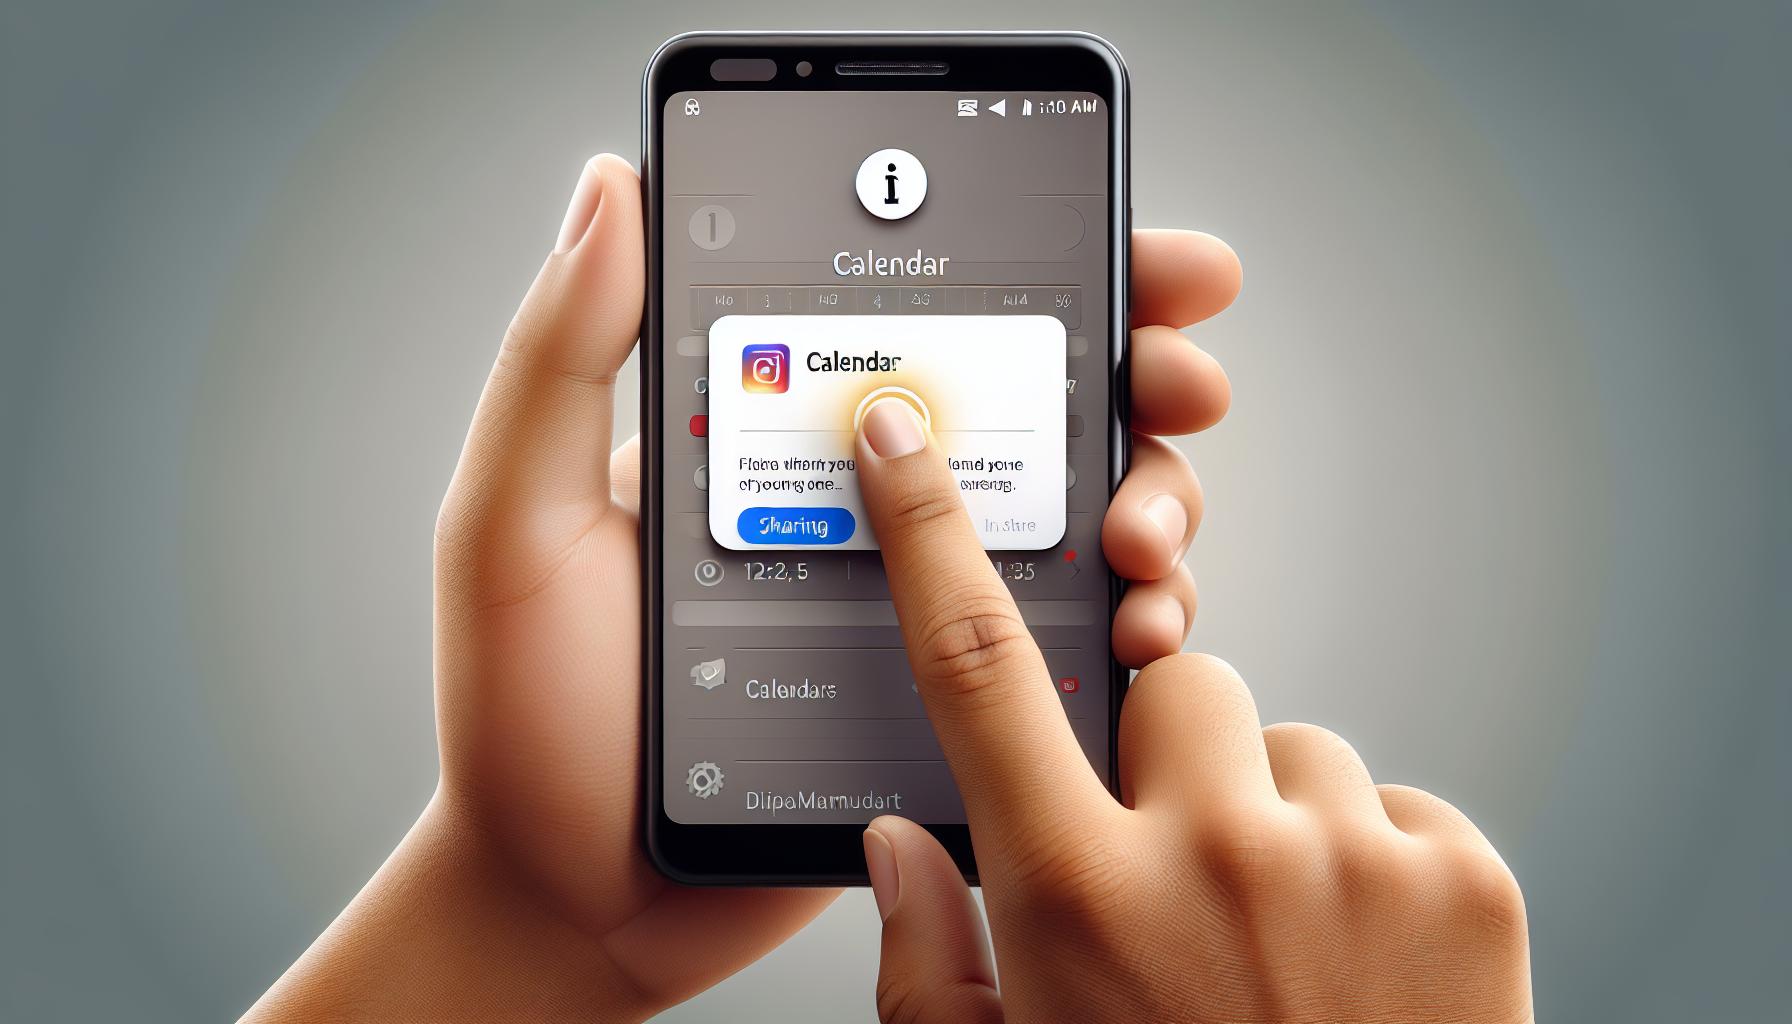
Moving forward, hit the "i" info button next to the calendar name. Yeah, that's your pathway to sharing. Tapping on it opens up a new panel that allows you an amazing array of options—you can invite new people, manage current sharing settings, and even change the color of the events from this calendar.
Regardless of your chosen calendar's theme, you've now taken the leap to ensure a smoother, more streamlined communication process. Your team, family, or study group will thank you for it. Rest assured, you'll have fewer double bookings or missed appointments from here on out.
Well, you've made it this far, and we're ready to graduate to the next step. Here's where the fun starts. The broad world of shared calendaring beckons.
Now that you've identified the calendar you'd like to share, it's important to identify with whom you want to share. After all, sharing isn't just about being accessible but identifying people who can benefit from accessing your calendar. This kind of collaboration could enhance every aspect of your professional and personal organization. There's no need to limit it to work colleagues or family members; roommates, study partners, even your book club could reap the benefits.
On the page that shows your preferred calendar details, seek out and select the "Add Person" button. It is usually located near the top of your screen. A new field will then appear, providing you with the necessary space to input the email address of the person you'd like to share with.
It's important to remember you're not breaching privacy or boundaries here - you're merely engaging in a new form of productive communication. The benefits far outweigh the effort of setting this up. The email address you input will receive an invitation from you to view your calendar. Remember that this is at your discretion - harness the power to decide who gets a glimpse into your daily agenda.
Now you are one step further in turning your iPhone into an efficient, collaborative tool. In the next step, we will dive into detail on how to manage the privileges and access for each individual you choose to share your calendar with. So, don't step away - we are moving onto the specifics of permissions next! There's still so much more to share on your journey to mastering calendar sharing. Thus, stay tuned! The adventure continues in the sections to come.
Step 5: Choose how you want to send the invitation
Now that you've added a person's email address, it's time to decide how you want to send the invitation to share your calendar. Your iPhone gives you multiple options, depending on what fits your needs best.
Keep in mind, the method you choose can make a meaningful difference for the receiver. If the person you're sharing with is technically savvy, an email could be a good option. However, if the person is not too comfortable with technology, using an in-app invitation might be a better choice. Evaluate your options and choose a path that's the most convenient for both parties.
Via Email
To send an invite via email, simply tap "Add Person" and input their email address. This will automatically generate an email with your calendar link, and the invitation will land in their inbox.
This method is ideal if you're sharing your calendar with someone who frequently checks their email. It's a quick and efficient way of getting into their inbox, without the added need of sending the invitation manually.
Via In-app Invitation
Alternatively, the calendar app on your iPhone also allows you to send invites from within the sharing settings itself. When you add the person's email address, instead of tapping "Done", select "Send Invitation From App".
The main benefit of this method is the simplicity - Everything happens within the app, without the need of a separate mail application. This could be a particularly effective way if you're sharing with several people at once, as it allows for a smooth bulk send.
Whether you decide to send via email or in-app, once you've settled on a method and sent the invite, the next step is the recipient's - they'll need to accept your invitation to gain access to your calendar. As soon as that's done, they should easily be able to see your calendar and schedule a meeting or event that won't clash with your existing appointments.
As you can see, sharing your calendar on an iPhone is convenient and user-friendly. It's not just about you; by selecting the best way to send an invitation, you're also making it easier for others to collaborate with you. This simple action can significantly improve communication and efficiency, aiding in better time management and reducing scheduling errors.
Step 6: Customize the sharing settings

Now that you've successfully invited others to view your calendar, it's time to focus on customizing the sharing settings. This underutilized feature gives you an extra layer of control over who can see what and when on your calendar.
Understanding how to properly set up these preferences can further enhance the benefits of calendar sharing like boosting productivity, improving communication, preventing double bookings, and maximizing time management.
Firstly, you can decide whether you want the person invited to be able to edit your calendar events. In your calendar app, you will see a list of people who you've shared your calendar with. Next to each name, there should be an option to allow or deny them editing privileges.
Here are your options:
- View Only - The recipient can only see your events but can't change anything.
- Can Make Changes - The recipient can edit, add, or remove events.
See the table below for a clear contrast:
| Options | View Events | Edit Events |
|---|---|---|
| View Only | Yes | No |
| Can Make Changes | Yes | Yes |
Secondly, consider the visibility of your events. Maybe you're okay with someone knowing you have an event scheduled, but you'd prefer to keep the details private. If so, you can choose to show only the busy/free status of events without giving details about their nature or purpose.
Recall that stepping into the realm of shared calendars can be exciting and a game changer. However, bear in mind the increased responsibility and privacy considerations that come with it. Be thoughtful about who you invite to your calendar and what privileges you extend to them, remembering always, it's about inspiring collaboration, not surrendering autonomy. Consider these aspects as you navigate this part of digital sharing and make it work to your advantage.

Once you've customized your calendar sharing settings, the final step is to send the invitation. Bear in mind you're not just sharing time slots and appointments, but also allowing accessibility to a part of your personal or professional life. Here's how to do it.
Firstly, you must know the Apple ID or email address of the person you're intending to share your calendar with. Without this crucial information, you won't be able to proceed with the sharing process.
After you've entered the receiver's email address or Apple ID, you can then click on 'Add person'. A popping-up option will appear allowing you to add more people if necessary. This feature is particularly beneficial if you're trying to share your calendar with multiple people - a family or a team at work.
Once you have added everyone you want to share the calendar with, you'll need to click on the 'Done' button. This completes the invitation process. As soon as you click on 'Done', an email invite to access your calendar will promptly be sent to the added person or persons. It's a simple process, but one that can set the tone for an efficient and productive relationship.
iOS also includes the option of withdrawal. This means if you subsequently decide you don't want a particular person to have calendar access anymore, you can remove them from the invitation list. This can be done by clicking on their name and selecting 'Stop Sharing'.
Conclusion
So, you've learned how to share your calendar on iPhone, a game-changer for your productivity and organization. It's not just about letting people in on your schedule, but also fostering collaboration and planning. Remember, it's all about balance - sharing your calendar is a tool to enhance your life, not to give up control of it. You've got the know-how now to customize your sharing settings and manage your invite list. Whether it's for family events, study groups, or work, you're equipped to keep your life running smoothly and avoid those pesky double bookings or missed appointments. Don't forget, it's your calendar, your rules. Happy sharing!
Frequently Asked Questions
1. What are the benefits of sharing your calendar on the iPhone?
Sharing your calendar on the iPhone improves efficiency and productivity by allowing others to view your schedule and plan accordingly. It helps in organizing personal events, avoiding double booking and missed appointments.
The article provides a step-by-step guide on how to share your calendar on the iPhone. It involves setting up the sharing settings and sending invitations to those with whom you want to share the calendar.
Yes, you have full control over who can view your calendar and what they can do. This can range from simply viewing your calendar to being able to add or change events.
The advanced steps given in the article explain how to add people to your invitation list and how to remove them if necessary.
Indeed, the article advises being thoughtful about who you invite to view your calendar. Sharing should inspire collaboration rather than surrender your autonomy.


