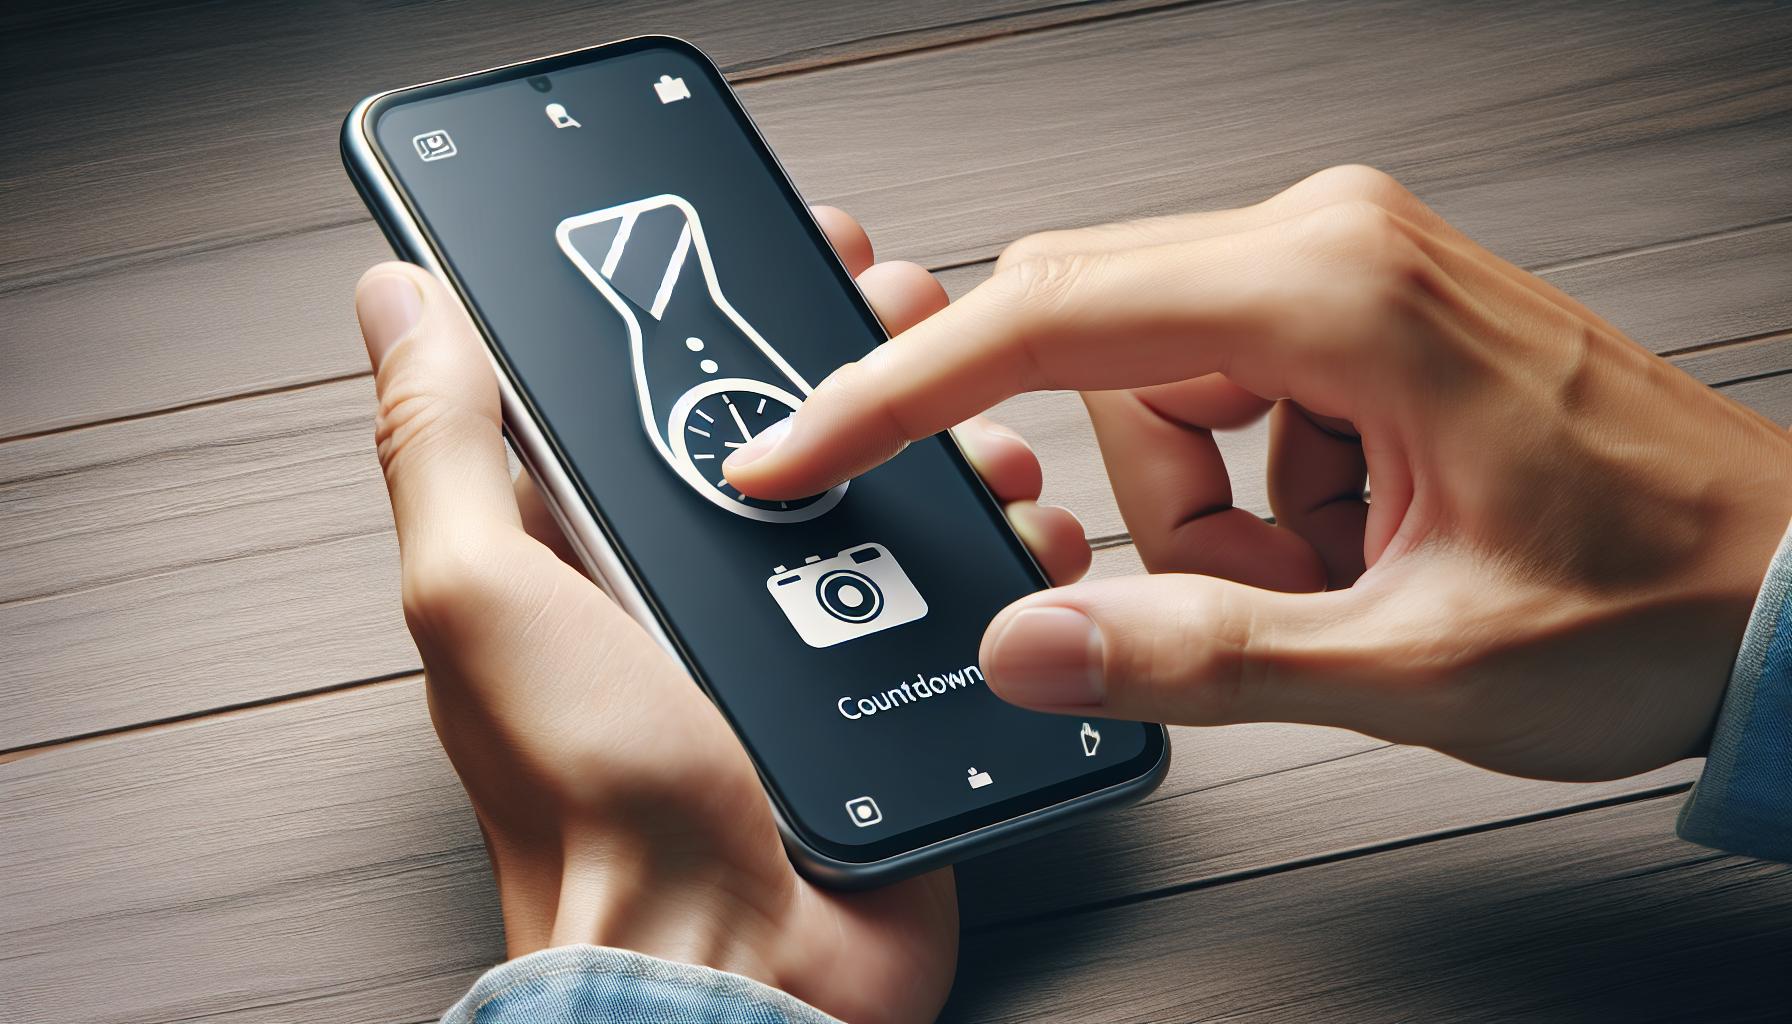
Ever wished you could be part of your own group photos, but found yourself stuck behind the lens? Thanks to your iPhone's built-in timer, you can. It's a handy feature that's often overlooked.
Setting a timer for your iPhone camera isn't rocket science, but it's not always obvious either. Whether you're a selfie enthusiast or trying to capture the perfect family photo, we're here to guide you through the process.
Why use the timer on iPhone camera
Imagine you're getting ready to capture that perfect group shot, but there's no one available to click the picture. Or, think about those times when taking a selfie just doesn't do justice to the stunning background scenery. In such scenarios, wouldn't it be useful to have a feature on your iPhone camera that acts as your personal photographer? That's precisely where the timer feature can be a game changer.
The timer feature on the iPhone camera enables you to set a delay on the shutter release, allowing you time to get into the perfect position or pose before the picture is taken. It's designed to help you take better photos, whether you're capturing a selfie, a group photo, or even a landscape.
One of the major perks of using the timer feature is its simplicity. It's not complicated; it's very user-friendly. The ease of setting it up means you're always just a few taps away from perfection. Simply open the camera app, select the timer option, then choose a 3-second or 10-second delay. Tap the shutter button and you've got ample time to get ready for your shot.
Another notable advantage is that it helps reduce the chance of camera shake. Camera shake is a common issue when taking photos, especially in low light conditions. It often results in blurred or out-of-focus images. But with the timer, your phone has some time to stabilize after you tap the shutter, resulting in sharper images.
All these factors combine to highlight how valuable the timer feature is on your iPhone camera. It's a tool designed for better photography accessibly nestled within your device. Take time to explore this feature and transform your photo-taking experience.
How to access the timer feature

So now, you're probably wondering, how do I access this timer feature on my iPhone? Well, it's simpler than you might think.
Firstly, open your iPhone's camera app. This is typically found on your home screen. If not, use the search bar to locate it quickly. Once you're in, you'll see a variety of options across the screen.
Spot the clock-like icon towards the top. That's the timer feature! If you don't immediately locate it, here's a hint: it may be nestled somewhere between other equally useful features, such as "live photo" and "filters".
Once you tap on the timer icon, you'll see two options 3 seconds and 10 seconds. Here's a brief summary of these options:
| Timer Options | Function |
|---|---|
| 3 seconds | Short delay, perfect for quick selfies |
| 10 seconds | Longer delay, ideal for group photos |
Select the one that suits your needs, hit the shutter button, and voila! Your iPhone camera counts down and takes the photo, giving you ample time to strike your desired pose.
The beauty of this feature is that it’s not restricted to the rear camera - you can use it for quick selfies too. And don't worry if you change your mind halfway. To turn the timer off, just tap the timer icon again and select "off".
Easy-peasy, isn’t it? This nifty feature is also accessible in all camera modes - whether you’re in Photo, Square, Pano, or Video.
Understanding the timer options

Now that you've discovered the value of your iPhone camera's timer feature, it's time to dive into the nitty-gritty. The iPhone camera offers two timer options, which are 3 seconds and 10 seconds. These present different benefits depending on the type of photograph you're endeavouring to capture.
Let's begin with the 3-second timer. This option is ideal for selfies and group shots with friends. Why? It's short enough to capture that spur-of-the-moment shot and won't keep your friends waiting for long. Further, you'll have just enough time to put the phone in place and jump back into the frame.
Regarding the 10-second timer option, it's perfect when you need a bit more time to settle into a pose – perhaps for a family portrait, a pose that requires delicate balance, or maybe a shot with a grand backdrop that you want to be perfectly aligned in. Ten seconds gives you that extra bit to get everything just right.
To toggle between the 3 and 10-second timer, all you have to do is tap on the timer icon (appears like a clock) located at the top of your camera screen. Upon clicking, you'll see the two options pop up - simply select the timeframe that suits your needs, then tap anywhere on the screen to close the timer settings.
Remember that timer is applicable for both the rear and front cameras. Whether you're using the front-facing camera for a selfie or the rear one for other shots, set the timer as you need it.
Turning off the timer is as easy as setting it. Click on the timer icon and select 'Off' - it's that simple!
Armed with this knowledge about the timer feature's functions, you're ready to capture some phenomenal pictures on your iPhone. Practice using it and see just how much of a difference it can make – the timer feature isn't just there for decoration after all!
As you continue to explore the nuances of iPhone photography, remember the goal is always to capture the best shot possible. So, utilize every feature at your disposal, including the timer, to take sharper images. Keep experimenting, keep learning and most importantly, keep clickin'.
Setting the timer for selfies
Selfies have become an integral part of our digital age. They not only showcase our mood, style and whereabouts but also help us share parts of our life with our social circle. An iPhone camera provides you with a nifty feature that lets you capture selfie-perfect shots using the various timing options. This guide will show you how to set a timer for selfies using your iPhone camera.
While taking a selfie, you might want to get yourself well-positioned or you might want to fit in a few more friends into the shot. This is where the iPhone camera's 3-second timer option comes into play. When this feature is enabled, it gives you just enough time before the shutter fires, not only giving you time to adjust, but also resulting in more stable images.
Follow these steps to set the 3-second timer:
- Open the camera app and switch to the front camera for a selfie.
- Tap on the timer icon, located at the top right of the screen. It's the one that looks like a clock.
- Choose the 3-second option.
And voila! You're all set to take those perfect selfies.
With the introduction of the Selfie Flash in recent iPhone models, you can now capture stunningly illuminated selfies even in low light conditions. Use the timer option alongside the Selfie Flash for an optimal selfie experience.
Honing your skills in using these features can greatly improve the quality of your photographs. Do give them a try and add more class to your selfie game.
As you enjoy your selfies and social interactions, keep exploring all the features available on your iPhone camera. You won't regret it.
Setting the timer for group photos

It's time to dig deep into how you can take full advantage of the in-built timer feature in your iPhone camera for group photos. Unlike selfies, group photos offer a unique set of challenges. It may take a bit more time to get everyone situated and ready for the shot. This is where the 10-second timer feature can become your secret weapon.
Here's the step by step guide to using the 10-second timer on your iPhone to give yourself enough time - not just to get into the frame - but also to ensure everybody is ready with their best smiles:
Step 1: Open the camera app and choose the rear camera for group shots.
Step 2: Tap the clock-like timer icon located at the top of the screen.
Step 3: Choose the 10-second timer.
Step 4: Position your phone at a suitable angle that includes everyone in the group photo.
Step 5: Hit the shutter button to trigger the countdown.
You'll have 10 seconds to get yourself situated into the photo. Pro tip: watch for the flash—it'll start to blink faster once the timer is about to end. This will serve as a good indicator for everyone to get ready.
But what if you're still learning the ropes, or your group is particularly big or difficult to organize? Consider some of these best practices to improve the results when using the iPhone camera timer for group photos:
- Practice the Pose: It can be helpful to practice running in and getting situated before actually starting the timer.
- Use a Stand or Tripod: This can ensure that your iPhone stays steady and level, leading to a higher quality image.
- Check the Lighting: Low light scenarios can sometimes confuse the iPhone's auto-focus. Make sure to have suitable lighting for a clear, focussed picture.
Getting group photos right can take a bit of practice and trial-and-error. The timer feature is there to help you capture those precious group moments with ease and finesse. So don’t hold back—explore and experiment with this convenient function on your iPhone camera. Spontaneous group photos are now just 10 seconds away.
Tips for using the timer effectively
While setting the timer on your iPhone camera is a straightforward process, mastering the art of capturing the perfect group photo requires a bit more finesse. Let's dive into some crucial tips that can help you use this feature effectively.
Proper Positioning is Key. When you are preparing for a group shot, it's essential to focus on positioning. A well-arranged group can make a massive difference in the quality of your photo. Place the smaller or shorter members of the group in the front and taller or larger individuals in the back to ensure everyone is visible.
Opt for a Stand or Tripod. Stability matters when it comes to photography. Using a stand or tripod is useful, especially when you're using a timer. It offers you a stable platform and removes the risk of shaky hands ruining the shot.
Maximize Natural Lighting. Lighting is one of the most critical factors in photography. Whenever possible, use natural light. Taking a picture at the right time of day, such as during the golden hour (the first hour of light after sunrise, and the last hour of light before sunset), can dramatically improve the look of your group photo.
Use the Camera's Grid feature. The grid feature on the iPhone camera can help you align your shots effectively. By turning on the grid, you can use the rule of thirds, a classic photography concept, to create visually interesting photos.
Take Multiple Shots. Lastly, don't limit yourself to a single shot. The beauty of digital photography is that you can take as many photos as you want. This gives you a better chance of capturing that perfect moment.
By incorporating these tips into your photography routine, you'll be well on your way to making the most out of the timer feature on your iPhone camera. Remember, practice makes perfect, so don't shy away from experimenting with different poses, locations, and times of day.
Conclusion
So, you've mastered the art of setting a timer on your iPhone camera. Remember, practice makes perfect. The more you practice your poses and experiment with different locations and lighting conditions, the better your photos will be. Don't forget to use a stand or tripod for stability and the grid feature for perfect composition. The 10-second timer is your secret weapon for capturing great group shots. So go ahead, take multiple shots and make the most of this handy feature. Your iPhone camera is more than just a camera. It's a tool for capturing memories, and now you know how to wield it like a pro. Happy snapping!
Frequently Asked Questions
How can I set the timer on my iPhone camera for group photos?
You can set the timer on your iPhone camera in the camera app itself. Once in the app, you tap on the clock icon located at the top, then choose between a 3-second or 10-second delay. For group photos, a 10-second delay is recommended to allow everyone enough time to get into position.
What are some tips for improving my group photos when using the timer feature?
Firstly, practice the pose so everyone is ready when the timer goes off. Use a stand or tripod for a steady shot, make sure the lighting is good, and try using your camera's grid feature to evenly distribute the subjects in the shot. Experiment with different poses, locations, and times of day.
Why should I take multiple shots when using the timer feature?
Multiple shots allow for a wider variety of images to choose from. Different poses, lighting or expressions can drastically change each shot. This way, you increase your chances of getting that perfect group photo.
How does using a stand or tripod help when taking timed group photos?
A stand or tripod helps to keep your iPhone steady, ensuring clear, sharp images. It also allows you to form yourselves into a group without needing someone to hold the phone - a particularly useful feature when you're setting a timer for a group shot.
What is the grid feature on my iPhone camera and why is it indicated for group photos?
The grid feature aids in better composition by dividing your viewfinder into a 3x3 grid. You can use these intersecting lines, also known as the 'Rule of Thirds', to position your subjects in a way that's more pleasing to the eye. It's especially useful in group photos to evenly spread all the subjects across the frame.


