Ever missed an important meeting because you overslept? Or maybe you've been late to your morning workout because your alarm didn't ring? Well, you're not alone. Setting an alarm on your iPhone is a simple task that can sometimes be overlooked.
But don't worry, you've come to the right place. This guide will walk you through the process step by step. Whether you're a tech newbie or a seasoned iPhone user, you'll find these instructions easy to follow.
Why setting an alarm is important on your iPhone
Setting the alarm on your iPhone is critical. It's not about merely avoiding the hassle of oversleeping or being tardy. It's more profound, touching on aspects of productivity, punctuality, and personal time management.
In this digital age, your smartphone acts as an extension of your day-to-day activities. When utilized correctly, it becomes an all-in-one assistant, taking care of critical tasks. One such crucial feature is the iPhone alarm. Think of it as your personal wakeup call or a reminder tool that ensures you stick to your schedule.
Unique features like Bedtime, Wake Up sounds, and Snooze options can enhance your waking routine. These intuitive features are designed to help you take control of your daily routine and manage your time more effectively.
- Bedtime Mode: This feature allows you to set a regular sleep schedule, advising you when it's time to hit the hay and wake up, based on your lifestyle and daily requirements. It's aimed at regulating your sleep pattern, which is vital for maintaining your overall health.
- Wake Up Sounds: Unlike traditional jarring alarms, the iPhone allows you to wake up to more calming and soothing sounds, making your mornings more pleasant and less stressful.
- Snooze: Overuse of the snooze option might not be beneficial, but the occasional 'five more minutes' can be delightful. Optimizing the snooze duration to fit your morning routine can make waking up a lot more bearable.
Moreover, setting alarms can aid in reminding you about important tasks or appointments during the day. It’s a practical tool, especially when you're juggling multiple responsibilities. It ensures nothing crucial slips through the cracks.
So, mastering your iPhone's alarm settings is not just about getting to work on time, but about optimizing your life. Knowing how to make these features work for you will surely elevate your daily routine.
Step 1: Unlock your iPhone

Before you can master the art of setting alarms on your iPhone, you need to get past the first obstacle - unlocking your device. This may seem like an obvious step, but depending on your security settings, this can be more than just a quick swipe up.
Let's begin with the simplest way. If you're using a newer model iPhone, such as iPhone X or later, that uses Face ID, simply look at your device to unlock it. Ensure you're in a well-lit place and your face is in clear view of the camera. In just a split second, the iPhone will recognize you and the screen will open.
If your device is a bit older, like the iPhone 8 or earlier or if you've opted out of Face ID, you'll need to use the Home button to unlock your phone. Depending on your settings either rest your finger lightly on the sensor or press it. Your iPhone will spring to life, all ready for the next steps.
For those of you who prefer a bit more security, you might have chosen to use a custom numeric code. In that case, upon opening your iPhone, you'll be greeted with a keypad. Simply key in your digits and you're in. You might have even gone a step further and opted for an alphanumeric password. The process is the same. Tap out your password and your screen will unlock.
Remember, the objective here isn't just to unlock your iPhone. Your goal is to seamlessly transition into your iPhone's alarm settings. Keep that in mind as you unlock your phone. Soon, you'll be on your way to becoming an alarm-setting pro, helping you optimize your life and elevate your daily routine. Through effective time management, you're setting the stage for a more productive, punctual day. And it all starts with a simple swipe, glance, or code entry!
After unlocking your iPhone, the journey towards mastering the alarm settings continues. So, don't touch that Sleep/Wake button yet. It's time to explore your iPhone's alarm features next. Let's dive into the Clock app…
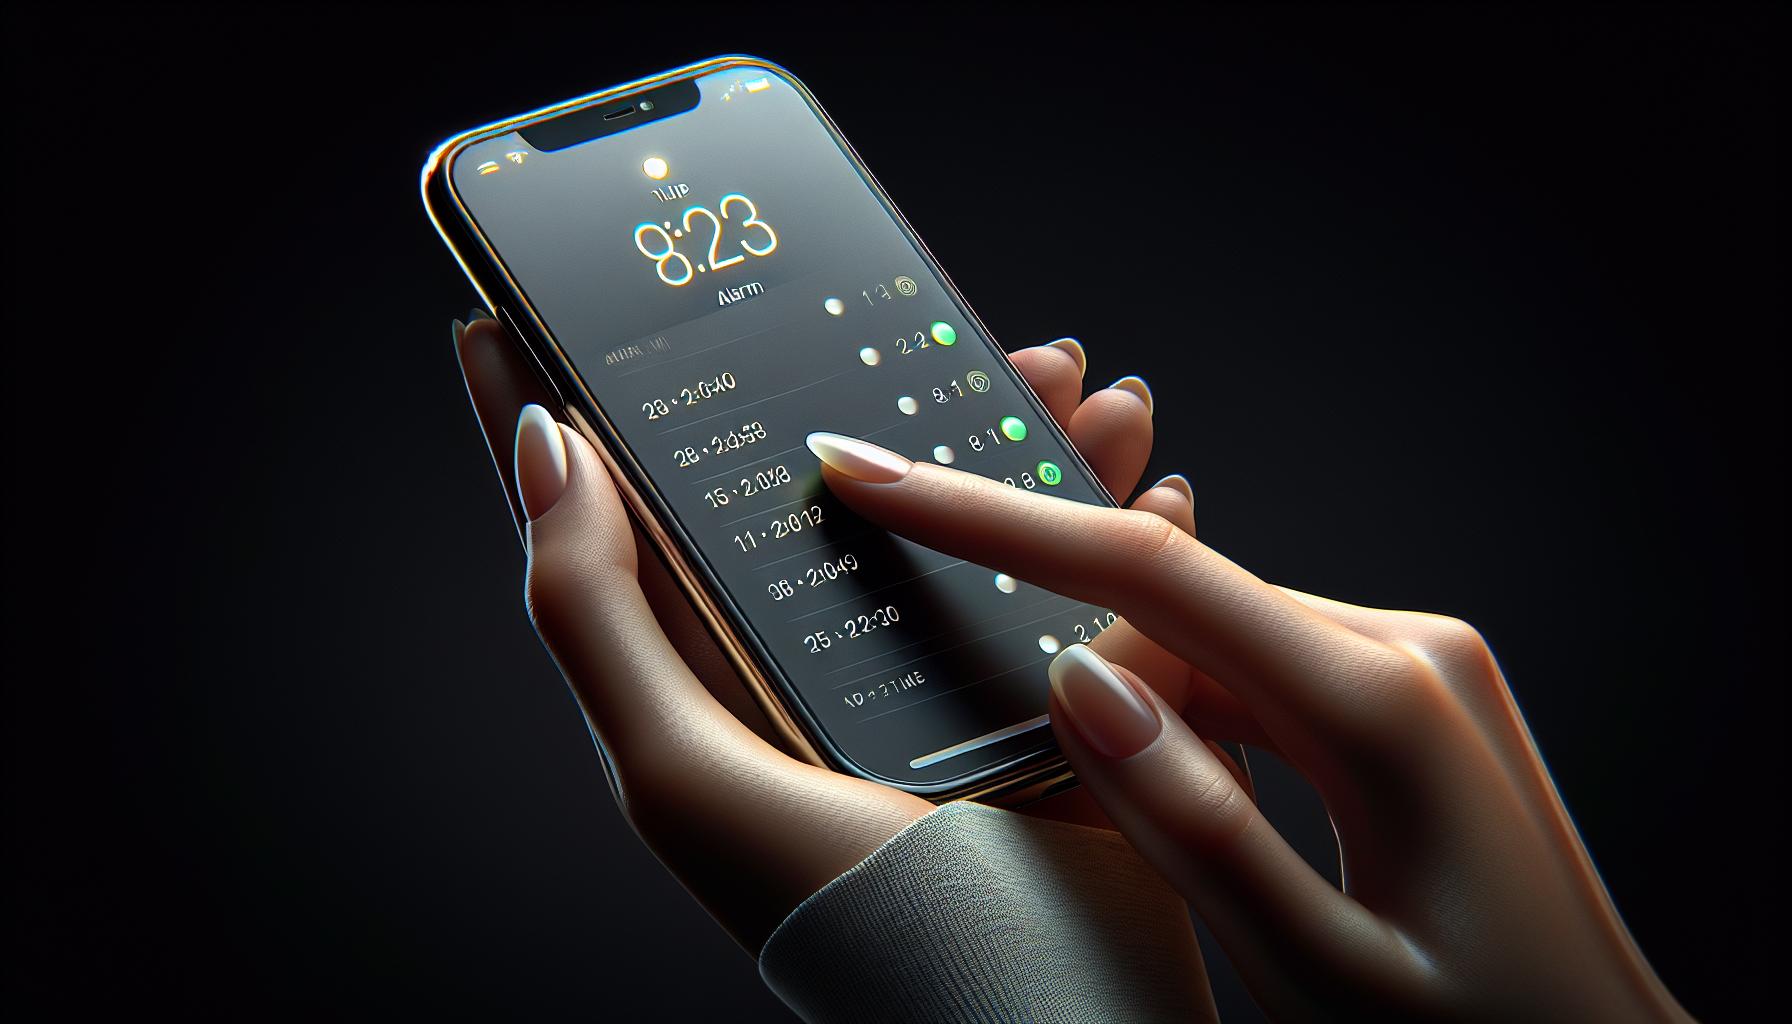
Step 2: Open the Clock app

Once you've successfully unlocked your iPhone, it's time to navigate to the Clock app. You'll typically find this application on your home screen. The icon for the Clock app is a white clock on a black background. Don't see it on your home screen? No problem! You can easily locate the app by swiping downwards on the center of your home screen. This action prompts the search bar where you can type "Clock".
After typing "Clock" into the search bar, the application should appear at the top of the search results. Just tap on the app's icon, and you'll be directed straight into the Clock app. Shortly, you'll see four options displayed at the bottom of the screen: World Clock, Alarm, Stopwatch, and Timer.
Let's zero in on the Alarm feature. This feature isn't just about waking you up from a good night's rest. Aside from jump-starting your day, the Alarm feature of your iPhone can help keep you punctual and boost your productivity throughout the day.
Who'd have thought that this tiny device can pack such a productivity punch? As small as it may seem, the Alarm application plays a significant role in personal management and optimizing routines. It ensures you won't miss your appointments, your yoga class, or that planned break for a refreshing cup of tea amidst work.
Once you've opened the Clock app, make sure to tap on the "Alarm" icon found at the bottom center of the screen. You're now ready to set an alarm, customize it, and wake up or stand reminded in a way that suits your unique lifestyle.
In the next section, we'll delve into how to create and customize your very own alarms. You'll discover just how versatile and flexible the Alarm feature is - from the traditional beep-beep alarm tone to the more soothing wake-up sounds. Continually explore your options with the iPhone's alarm as we journey forward! Remember, it's more than a tool to get you out of bed. It's your personal assistant helping you make the most out of your day, every day.
Step 3: Set the alarm time
While setting an alarm might seem like a trivial task, doing it correctly on your iPhone is just as crucial as the other steps. It not only allows you to schedule your day effectively but also helps to enhance your productivity levels.
Choose Your Desired Alarm Time
To set the alarm time on your iPhone, all you need is to tap on the clock hours and minutes and manually select your desired wake-up time. Keep in mind that the alarm time follows a 24-hour clock system. Understanding this aspect is crucial in differentiating between AM and PM time.
Once you've set the desired alarm time, don't forget to tap "Save" in the upper right-hand corner of the screen.
Set Recurring Alarms
Setting a one-time alarm is a straightforward process, but what about recurring alarms? What if you need to wake up at the same time from Monday to Friday for work or school? Do you need to set a new alarm each day? No, you don't!
Your iPhone allows you to set recurring alarms. Navigate back to the Edit Alarm page and tap on Repeat. A list of the seven days of the week will appear, allowing you to select the days you want the alarm to go off.
Waking up to Your Favorite Song
Imagine beginning your day with your favorite song. Sounds nice, right? Your iPhone does not limit you to the traditional alarm tones. You can set a song as an alarm by choosing "Pick a song" from the Sound tab on the Edit Alarm page.
Indeed, setting the alarm time on your iPhone is more than just entering numbers. It's about personalizing your experience and making the start of your day as pleasant as possible. From choosing between AM and PM to playing your favorite wake-up song, this feature offers you a vast range of options. Utilize these to your advantage, and you'll see a significant increase in your punctuality and productivity.
Step 4: Choose the alarm sound

Struggling to wake up in the morning? Your iPhone's versatile alarm feature has got you covered. Now that you've set the time for your wakeup call, let's focus on personalizing your alarm tone. The importance of selecting the right alarm sound cannot be understated.
Selecting the right sound can make all the difference between starting your day stressed and disoriented or waking up leisurely and relaxed. It's important to distinguish between a jarring sound that shocks you awake and a softer, more gradual sound that eases you into consciousness. So how do you make this crucial choice, you ask? Your iPhone has a range of built-in ringtones, but perhaps you want something more personal. That's the beauty of the iPhone - you can choose your favorite song to wake you up each morning!
To access and set your alarm sound, follow the below steps:
- Open the Alarm tab within your Clock app.
- Tap on the 'Edit' button on the top left of the screen.
- Choose your desired alarm from the list provided.
- Tap on 'Sound'.
That's it - all the different sounds readily available on your iPhone will appear on your screen. You can select from Apple's built-in options, or even scroll down to 'Songs' and select your favorite track from your music library.
In addition to the built-in ringtones and songs from your library, your iPhone also allows you to buy new ringtones from the iTunes store. To explore more sound options, you are required to tap on the 'Tone Store' tab and browse for a tone that suits your style.
Step 5: Save the alarm
You've gone through the processes: picking your desired alarm time, selecting specific days for the alarm to recur, and even personalizing your alarm to play your favorite tune. Now comes another crucial part, saving your alarm settings. Without this step, all your efforts would be fruitless.
To save the alarm on your iPhone, locate the button in the upper right corner of the alarm setting screen. It's labeled 'Save'. iPhone's intuitive interface makes this step straightforward and intuitive. It's as simple as tapping the 'Save' option.
Upon pressing this ‘Save’ button, your alarm is set. You'll notice that this new alarm will appear under the 'Alarm' section of the Clock app. It's worth mentioning that the alarm time is displayed and below it are the alarm's unique features—if it's a repeating alarm, the days it repeats on are shown; if you chose a song as your wake-up tone, the song title is displayed.
To check if your alarm has been properly set, simply go to the 'Clock' app, tap on the 'Alarm' tab at the bottom of the screen. Here, all your alarms are listed.
It's well known that an alarm needs to be reliable. Rest assured, thanks to Apple's attention to detail, the saved alarm on your iPhone will help you stay punctual, enhancing productivity in your everyday activities. An unsaved alarm might lead to unnecessary stress the next morning; hence it's important to check and make sure you've saved your alarm.
Let's put the steps together in a digestible format:
- Go to the alarm settings screen
- Tap the 'Save' button in the upper right corner
- Check the saved alarm details
With your iPhone alarm set and saved correctly, you're sure to get a jump start on the day as planned.
Conclusion
You've now mastered the art of setting an alarm on your iPhone. You know how to pick your alarm time, set it to recur, and even personalize the sound. You've learned the importance of saving your alarm settings and how to check if your alarm is set right. With these skills, you're sure to never miss an important wake-up call or reminder. Remember, your iPhone alarm is a reliable tool that's there to make your life easier. So, make the most of it by setting and saving your alarms correctly. Here's to punctuality and productivity, all thanks to your iPhone alarm!
How do I set an alarm on my iPhone?
To set an alarm on your iPhone, you open the Clock app, tap "Alarm" at the bottom, and then the "+" to add a new one. Choose the time and days for the alarm, then tap "Save".
How can I personalize my iPhone alarm sound?
First, tap on "Sound" under the alarm settings. Then, you can choose from the existing alarm tones or select "Pick a song" to choose from your own music.
How do I set a recurring alarm on my iPhone?
When you are setting up an alarm, simply tap "Repeat" and select the days you want the alarm to repeat.
How to save alarm settings on my iPhone?
Once you have set the alarm time, sound, and repetition, tap on "Save" in the upper right corner of your screen.
How to check if my alarm is set correctly?
After saving the alarm, you can go back to the "Alarm" tab in the Clock app. Your alarm should be listed there, along with the details and time.
Is the iPhone alarm reliable?
Yes, the iPhone alarm is highly reliable. As long as you have set and saved it correctly, it should go off without any issues.
What are the benefits of setting and saving an alarm correctly?
By setting and saving your alarm correctly, you ensure that you won't miss important events or get up at the right time. It also allows for consistency if you're setting a recurring alarm.


