Ever wondered how to turn your iPhone into a portable scanner? You're not alone. With the rise in remote work and online learning, the need to digitize documents quickly and efficiently has never been greater.
Luckily, your iPhone's built-in tools can do just that. With a few taps, you can scan documents, receipts, and more, right from your device. No need for a bulky scanner or a trip to the library.
Why use your iPhone as a scanner?
Your iPhone is more than just a communication device. It can readily transform into a scanning device right in your pocket. But why would you want to change your iPhone into a scanner? Let's delve into the reasons for this.
First off, portability is a key factor. Unlike conventional, bulky scanners, your iPhone accompanies you everywhere. Whether it's a last-minute work assignment or an important piece of documentation needed on the go, your iPhone is ready to become your scanning hero.
Consider the convenience aspect. With your iPhone, you can scan documents anytime, anywhere. There's no need to rush to an office or library. Living in a fast-paced world mandates swift solutions and your iPhone, effectively turned into a scanner, provides exactly that.
Moreover, when it comes to quality, iPhones don't disappoint. Modern iPhones come with high resolution cameras, ensuring that your scanned documents are clear and readable. No matter the lighting or conditions, you'll get a reliable scan with your iPhone.
Ease of use is another compelling reason. Transforming your iPhone into a scanner is incredibly straightforward. With a few taps here and there on your screen, even technophobes can scan documents effortlessly. This is mainly due to the intuitive design of iPhone scanning apps like Notes and Files.
Let's not forget the green factor. By choosing to scan documents with your iPhone, you're making an environmentally friendly choice. You'll save on paper resources and reduce the need for printing copies.
Lastly, consider cost efficiency. By utilizing your iPhone as a portable scanner, you eliminate the need to invest in a conventional scanner that can be both costly to acquire and maintain.
So, we've explored the benefits of turning your iPhone into a scanner. Now let's take a look at how you can actually use your iPhone's built-in tools to digitize your documents and receipts. This will eliminate the need for physical scanners and usher in a new era of digital convenience for you. With a touch of creativity and the right knowledge, your iPhone can truly become a multifunctional powerhouse.
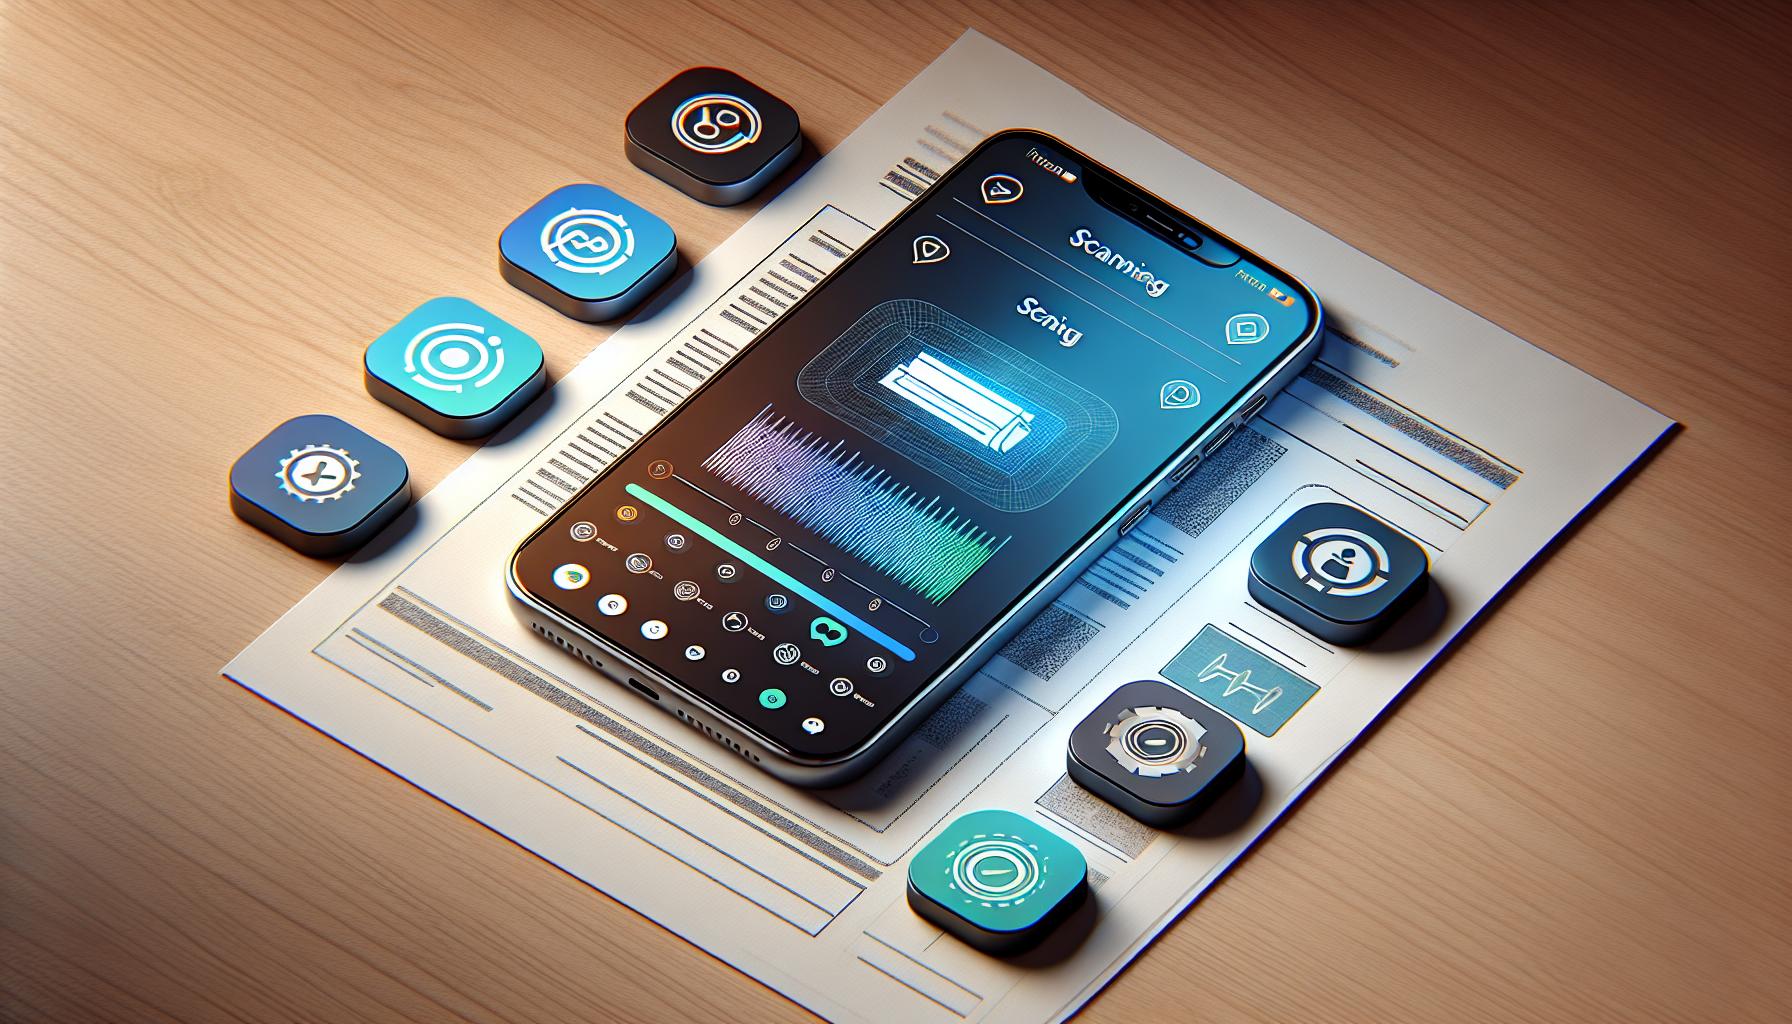
Exploring the built-in scanning tools on your iPhone

Let's dive into the world of digital imaging right from your pocket by using the built-in scanning tools offered by your iPhone. The iPhone uniquely stands out as a versatile device with high functionality scanning features, bundled in various apps such as Notes and Files. With these, you can bid farewell to the bulky, traditional scanner.
The Notes app universally comes with all iPhones, turning your phone into a portable scanner. Its scanning feature enables you to create a digital copy of any document, from receipts to business cards, with just a few taps. The scans are conveniently saved and managed within the Notes app, facilitating easy retrieval and sorting. Files are also convertible and storable in various formats like PDF, enhancing cross-platform compatibility.
Next, you'll find similar features in the Files app, another built-in tool that revolutionizes the way you handle paperwork. Whether you've to scan a single page or multiple pages into a single document, this app handles it effortlessly. Apart from scanning, it provides a comprehensive suite for managing your scans, including features for adding signatures, filling forms, or annotating scanned documents.
How about quality? Rest assured, with the iPhone camera, your scans are always of high-quality, capturing minute details with precision. Furthermore, the automatic enhancement feature brightens up and removes shadows from your scans, ensuring clarity and legibility.
With such powerful scanning capabilities literally at your fingertips, how exactly do you use them? The next section delves into the nitty-gritty, guiding you on leveraging these features to maximize their benefits. Get ready to transform the way you digitize your documents, making your daily tasks significantly more productive and less cluttered.
- Stay tuned for the journey and let's get digitizing!
Step-by-step guide to scanning documents from your iPhone
Scanning documents with your iPhone is a piece of cake. This section serves as a step-by-step guide to help you navigate through the process with ease.
First off, open the Notes app on your iPhone. From there you'll find a small icon shaped like a camera. Tap it. This will present you with a variety of options among which is 'Scan Documents'. Opt for that.
Position your iPhone on top of the document and wait until it's automatically captured. Don't worry; the app does an excellent job of identifying the document edges within the frame. It also applies color correction and enhances the text automatically so your document remains clear and legible.
Suppose the scan doesn't quite capture the document the way you want it to. In that case, you can manually adjust the corners by dragging them till they align perfectly with the document edges. Hit 'Keep Scan' once you're satisfied.
Next up? Hit the save button.
There you go, just like that, you've scanned your first document!
To manage your scans, navigate to the Files App. Here, your scanned documents are neatly filed for easy accessibility. You can rename, move, or delete a file just as easily. Simply press and hold the file you wish to manipulate. You'll see options to rename, move or delete.
Lastly upon saving your scans, feel the freedom to convert them into your desired format like PDF- extremely handy for handling professional documents.
With these steps mastered, you’re well on your way to make the most out of the scanning capabilities of your iPhone.
(Note: For effective scanning, ensure your document is on a flat surface and has good lighting.)
Stay tuned as we delve further into optimizing your iPhone user experience.
Tips for getting the best scan results
Your ability to get great results when scanning with your iPhone largely hinges on a few integral points. Achieving high-quality scans might feel tricky at first, but with these tips, you'll discover it's a breeze.
Stay in Good Light:
Lighting plays a crucial part in the resulting quality of your scan. An area with great natural or bright light lessens the risk of shadows and guarantees your documents will be clear. However, be wary of direct sunlight – it might cause glares and, in turn, produce subpar scans.
Keep Steady:
A blurred image renders a scanned document unreadable. To prevent this, it's crucial to keep your iPhone as steady as possible. You can achieve this by engaging both hands when scanning, or use a makeshift stand or tripod if you've got one handy.
Get the Right Perspective:
Your scan quality also depends on the angle at which you're holding your device. Hold it directly above the document for the best results. Align the camera properly with the document edges and ensure they are visible within the screen's boundaries.
Utilize the Built-In Functions:
Your iPhone has several built-in functions meant to enhance your scanning experience. Take advantage of options like 'Auto', which automatically captures a document when it's in focus, or 'Manual', allowing you to determine when to snap. You can also adjust color options according to your needs and subsequently convert formats like PDF to suit your requirements.
Other scanning apps to consider

While the built-in functions of iOS are helpful, there's an entire world of scanning apps out there worth exploring. Let's delve into a few alternatives. These third-party apps enrich your scanning experience and offer unique features that can tackle your scanning needs more effectively than your conventional scanning setup.
CamScanner is a fantastic choice with over 380 million users in 200+ countries. It's more than just a document scanning app. It offers features like OCR (Optical Character Recognition), note-making, and cloud storage. OCR is a feature that converts scanned images of text into editable and searchable data.
| Stats for CamScanner |
|---|
| Global Users |
| Countries Covered |
Next on the list is Adobe Scan. It's an excellent option if you are dealing with a lot of Adobe documents. It automatically recognizes text, thanks to Adobe's in-built OCR, and turns any receipt, note, or business card into a PDF.
Turn your attention to Microsoft Office Lens, a solid choice for business users. This app integrates with OneNote and other Microsoft products to make sharing much easier. Its whiteboard mode trims glare and shadows for cleaner, more readable documents.
Lastly, ScanPro is another well-regarded app among iPhone users. It's known for its speed – its autopilot scanning lets you scan without any manual interruption.
To sum up these apps:
- CamScanner for versatile utility and a variety of options.
- Adobe Scan for handling Adobe documents.
- Microsoft Office Lens for Microsoft Office users and whiteboard requirements.
- ScanPro for fast, effortless scanning.
Conclusion
So you've seen how simple it is to scan documents right from your iPhone. With the built-in Notes app, you've got a handy tool at your fingertips. You've learned how to capture, adjust, and manage your scans effortlessly. Remember, good lighting and a steady hand are your best friends for clear, high-quality scans. But don't limit yourself to just the built-in features! There's a whole world of third-party apps like CamScanner, Adobe Scan, Microsoft Office Lens, and ScanPro, each with its own unique features to explore. Whether you're handling Adobe files or need a quick scan, these apps can offer more functionality. So go ahead, give them a try and take your scanning game to the next level.
How do I scan documents on my iPhone?
You can scan documents directly on your iPhone by using the Notes app. Open the app, create or select a note and then tap on "Scan Documents". The app will detect and capture the document for you.
What can I do after scanning a document?
Once you have scanned the document, use the Files app on your iPhone to manage and manipulate it. Options include renaming, moving, or deleting the scanned document.
How can I improve the quality of my scanned documents?
To get the best scan quality, ensure you're in a well-lit area, keep your phone steady during scanning, try to achieve the best possible perspective, and make the most of the built-in functions in your iPhone.
What are some third-party scanning apps for iPhone?
Third-party scanning apps offer enhanced functions beyond what is provided in iOS. Some good options are CamScanner with OCR and cloud storage, Adobe Scan for Adobe documents, Microsoft Office Lens that integrates with Microsoft products, and ScanPro known for its scaning speed.


