Ever wished you could capture what's happening on your iPhone screen? Whether it's a tricky game level, a bug you're trying to report, or a cool app feature you want to show off, screen recording comes in handy. Luckily, your iPhone has a built-in tool for that.
Screen recording on an iPhone isn't as daunting as it might seem. Apple has made it pretty straightforward, and with a few taps, you're good to go. So, whether you're a tech newbie or a seasoned pro, you'll find it's a breeze. Stay tuned as we walk you through the steps.
Why Record Your iPhone Screen
You may wonder "why should I record my iPhone screen?" The simple answer is that it can serve many practical purposes, from creating tutorials to documenting bug issues.
Creating Tutorials: If you're an app developer or a tech influencer, screen recording is a vital function. It allows you to demonstrate an app's features, create how-to videos, or review digital products.
Saving Media: Your favourite social media clips or live streams aren't available to download? No worries, with screen recording, you can preserve them right from your screen. So next time you're watching a riveting Instagram live or a mind-blowing TikTok clip, remember you can record them to watch later, even offline.
Gaming Highlights: For gaming enthusiasts, capturing the epic moments of gameplay is a must. Whether it's the winning goal in "FIFA" or final raid in "Clash of Clans", screen recording lets you showcase your gaming prowess.
Bug Documentation: You've found a glitch in an app? Instead of penning a long, complicated email to customer service, you can record the anomaly as it happens. This real-time proof can help developers understand the problem and expedite its resolution.
Product Demos: If you sell digital products, screen recording could be your best friend. Showcase the product's features in action, offer a visual guide to your product and boost its appeal to potential customers.
As you can see, screen recording on an iPhone isn't merely a tech-savvy show-off; it's a useful tool you'll find handy in diversified scenarios. Now that you understand the reasons, let's get your iPhone ready to record. Stick with us as we guide you through a step-by-step process to capture your screen moments.
How to Enable Screen Recording on Your iPhone

Enabling the advanced function of screen recording on your iPhone is a straightforward mission. Here's how you pave your way to a comprehensive screen recording experience.
First things first, locate the Settings app on the home screen of your iPhone. It's an icon that features a gear and is usually found on the home screen by default. Tap it open to start unfolding the screen recording settings.
You'll find yourself in the main settings menu where multiple options are available. Scroll down, locate, and select Control Center. This is your portal to manage features which you can access through the swiping action from your home screen.
Once you're in the Control Center settings, look for Customize Controls. Tap on it to modify your active controls.
You'll now see a list of features, including one called Screen Recording. If it's not in your "Include" list, you'll find it in the "More Controls" section. Then tap the green plus button next to Screen Recording to add it to your active Control Center.
Congratulations! You've paved the path to great screen recording moments on your iPhone. The newly added Screen recording feature sits waiting in your Control Center, accessible with a simple swipe from your home screen.
Just a few more steps to ensure you're making the most of your screen recording experience. Once the Screen Recording function is visible in your Control Center, you need to begin thinking about sound.
There's a choice you need to make depending on the specifics of your screen recording task - enable or disable audio recording. If you click and hold the newly appeared record button, a micro-screen pops up. Then, you have the liberty to choose whether or not you want to capture audio while recording your iPhone screen.
Opting 'Microphone On' records all ambient and in-app sounds, which can be exceedingly useful while making tutorial videos or game-play recordings. You're now well-equipped to start your screen recording journey on your iPhone.
The last section of the article will guide you through the process of recording your iPhone screen.
Accessing the Control Center on Your iPhone

Let's dive into accessing the Control Center on your iPhone, an integral part of enabling screen recording. If you're like most folks, you probably haven't dug deeply into this area of your phone. Well, it's time to get familiar.
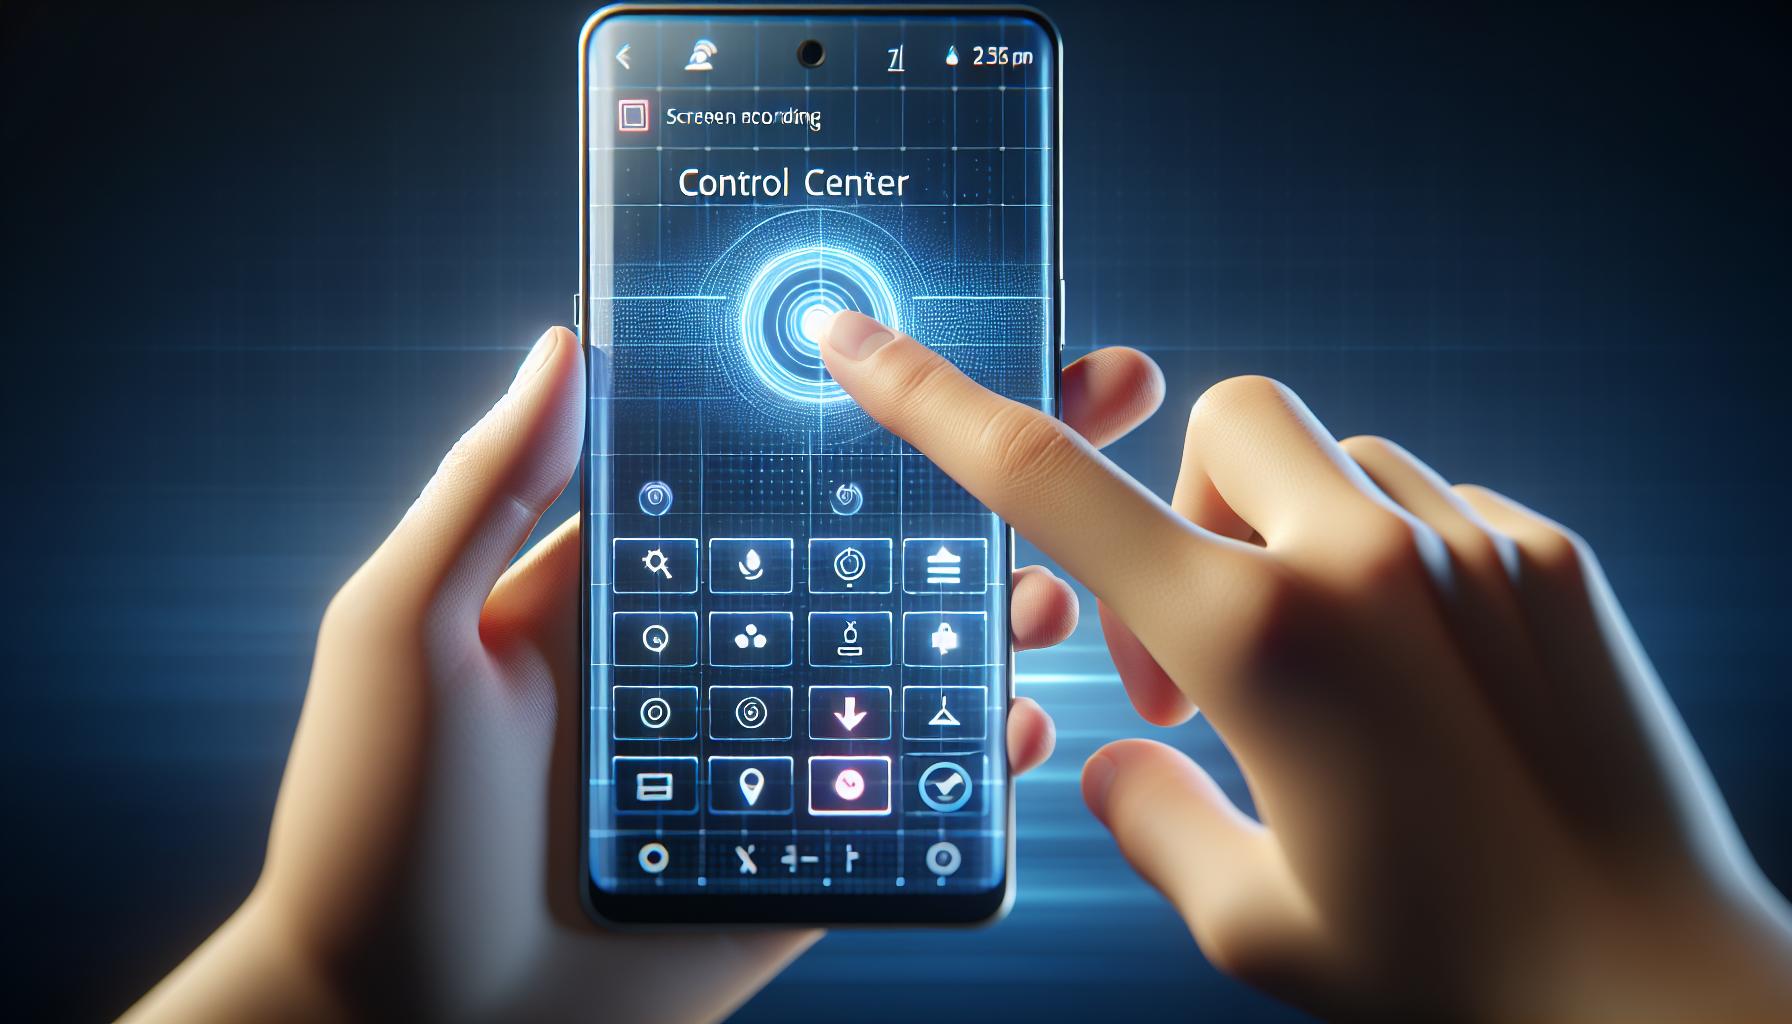
The Control Center is basically your iPhone's command central. It's where you find essential toggles and shortcuts to tools like the flashlight, camera, and yes, screen recording.
Accessing the Control Center is quite easy.
- On the iPhone X or later models, swipe down from the upper-right corner of your screen to pull up the Control Center.
- For iPhone 8 or earlier models, it's a quick swipe up from the bottom edge of any screen.
Note that this takes some getting used to. No worries, after a few tries, you'll be swiping like a pro!
One word of caution. Make sure you don't interrupt the swipe through the bottom row of apps on your screen as it might launch an app instead of the Control Center. Also, remember this setup may not work if your phone is locked or in an app - so try it on your phone's home screen first.
There's so much available at your fingertips in the Control Center. Toggle airplane mode, turn on 'Do Not Disturb', connect to AirDrop, check out Apple TV, and of course, access screen recording - all in one easy-to-access place.
Be aware that the Control Center is customizable. Indeed, you can add or remove controls based on your preference. To customize, navigate to 'Settings' then 'Control Center' followed by 'Customize Controls', and you're set.
No doubt, understanding how to access your Control Center and becoming familiar with its capabilities is your first step to mastering iPhone screen recording. Up next, we'll focus on adding the Screen Recording control to your Control Center. Stick around to get up to speed.
Adding the Screen Recording Option to Your Control Center
Now that you're no stranger to your iPhone's Control Center and its customization capabilities, it's time to add the screen recording option there. This move is vital as it gives you instant access to the screen recording feature, enabling you to capture important moments, processes, or instructions at will.
To achieve this, navigate to your iPhone's settings. Directly under the "Settings" menu, tap "Control Center." Following this, you'll find "Customize Controls." This acts as the Control Center's blueprint, allowing you to add and remove as many options as you wish.
Within "Customize Controls," you will find a list of items. Screen Recording should be among them. If it isn't, there is no need to panic. Scroll down till you find it. It may be underneath the "More Controls" subsection.
Tap the green plus sign next to "Screen Recording." Voilà, it's added to your Control Center!
If screen recording was already present in your Control Center but you had removed it, the process is no different. Look under the "More Controls" subsection, find "Screen Recording," and tap the green plus sign.
As a savvy iPhone user, you can rearrange the controls to suit your preference. Hold the three-line icon next to a control and drag it to your desired place.
You've successfully enhanced your iPhone user experience by adding screen recording to your Control Center. This addition underscores your control over your device, allowing you to leverage its capabilities at the tip of your fingers. You're just steps away from mastering iPhone screen recording.
How to Record Your iPhone Screen

Once you've added the screen recording feature to your iPhone's Control Center, utilizing it is a walk in the park. Remember,** your iOS device effectively becomes a moving canvas**. Everything you do or say will be recorded, meaning you'll have to be very cautious while using it.
Start by accessing the Control Center. This can be done by either swiping up from the bottom of your screen or down from the top right corner. The correct method depends on the model of your iPhone. For older models like the iPhone 8 and prior, the former method is the go-to whilst the latter is for** iPhone X and subsequent models**.
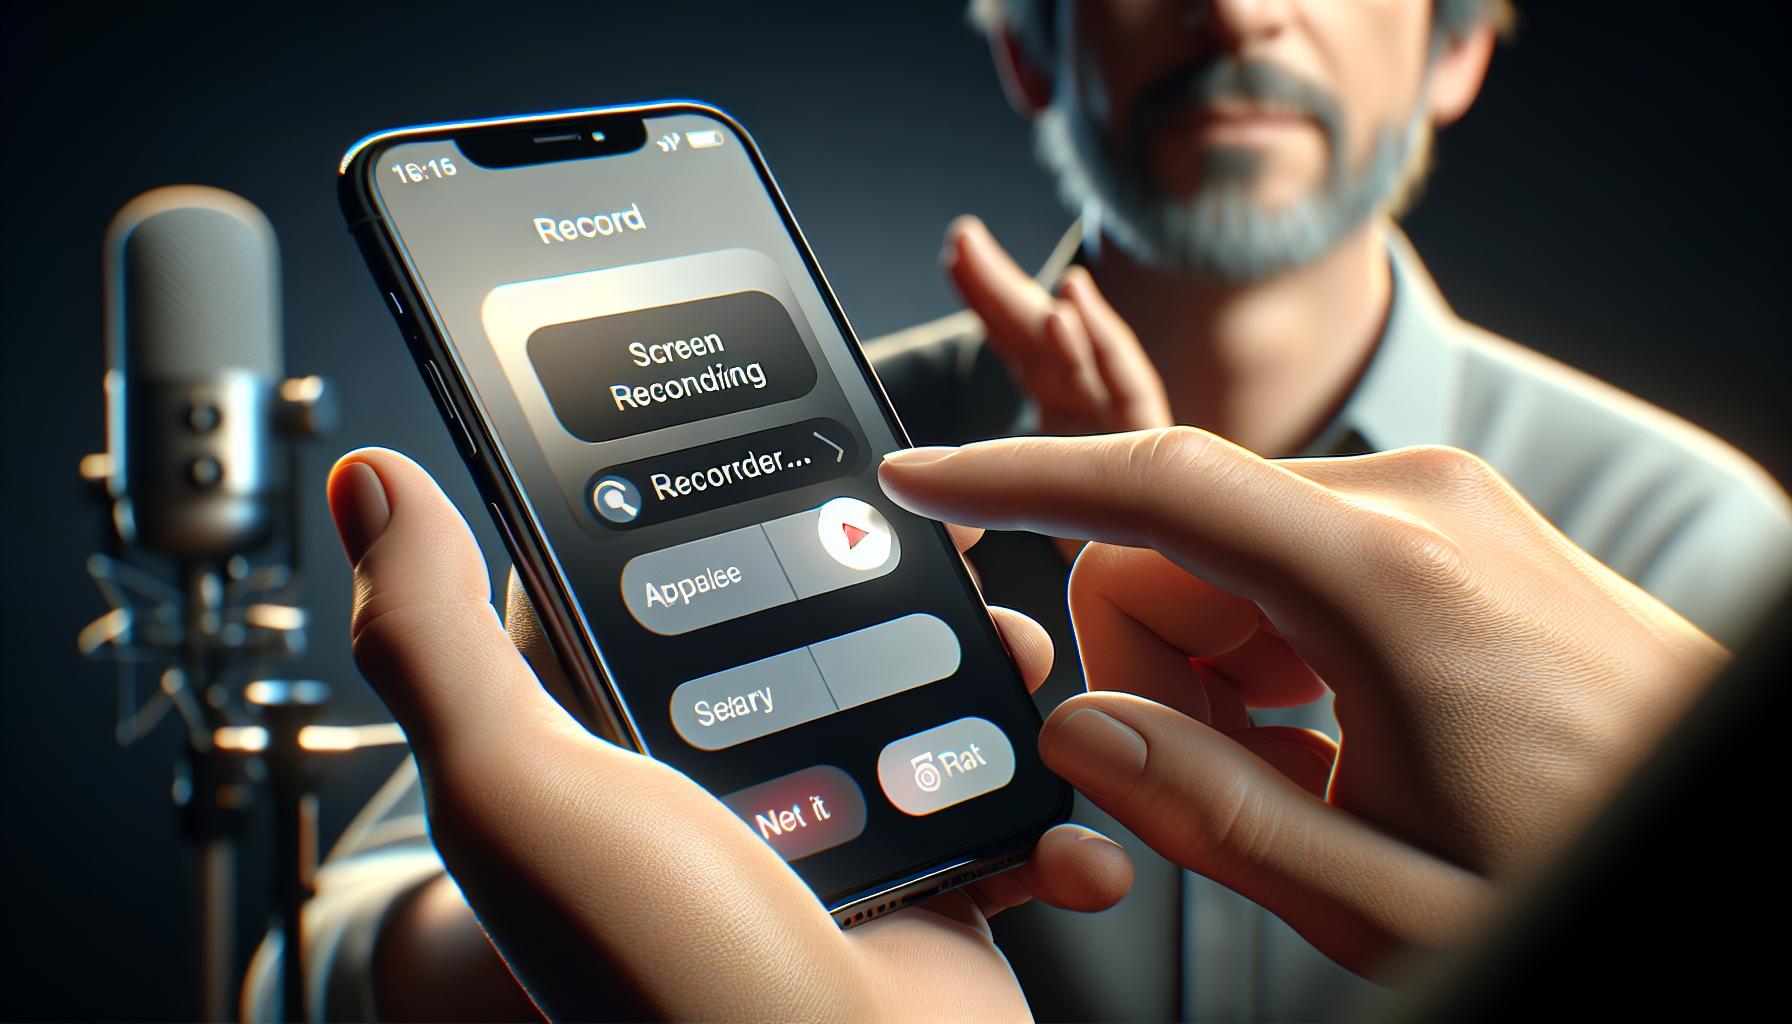
Once you've entered the Control Center, you'll quickly spot the record button. It's a simple, circular icon resembling a compass needle. Press that and a countdown starts from 3 to 1. Before you know it, everything on your iPhone screen is being recorded.
At the top of your screen, a red bar will appear indicating that the recording is in progress. You can quit the recording by either going back to your Control Center and pressing the record button again or by tapping the red bar and selecting 'Stop'.
It's important to note that this method doesn't record audio by default. If you need to, though, you can turn on your microphone. After opening your Control Center and before starting the recording, try holding the record button. A new window will pop up with a 'Microphone' option. Just turn it on and voila – you're now recording both video and audio.
Screen records can be saved in your Photos app. You can identify them easily by their thumbnails showing a small camera icon in the lower left corner.
Your confidence in using the screen recording feature shines through practice. Take time to familiarize yourself with the tool. The more you use it, the better you get at mastering all its intricacies and subtleties.
Editing and Sharing Your Screen Recording
After mastering how to record your iPhone screen, you've probably got a great video clip. But what's next? This section provides a detailed walkthrough on Editing and Sharing Your Screen Recording.
To edit your video, you'll first need to access it in the Photos app, which is the default storage location for screen recordings. Open the Photos app and scroll down until you find your recording. Upon tapping on it, you'll find a number of editing tools to enhance your video.
With these tools, you're free to trim the start and end points of your video, crop the frame size, or even add filters for extra flair. Remember, the key to effective editing is to keep it simple. Overly robust editing can be distracting and detract from the content of your screen recording.
You're probably wondering, "How do I share my recording?" No worries, we've got you covered with in-depth steps. Start by tapping on the share button, which looks like a box with an arrow pointing upwards. Then, you'll see a variety of sharing options including email, social media platforms, or messaging apps. Choose the option that best suits your needs. If your video file is large, remember to take advantage of features like "Compress Video".
Finally, it is worth reminding that the more you practice using these features, the easier it’ll become. So, dive into editing and sharing screen recordings. Even just a few attempts can improve your proficiency tremendously.
But don't stop here, because your journey to mastering iPhone screen recording doesn't end at editing and sharing. Keep exploring different settings and features to take your skills to a whole new level.
Tips and Tricks for Screen Recording on Your iPhone

After getting a handle on the basics of screen recording, you'll probably want to up your game. Here are some insider tips to make your iPhone screen recording journey a lot smoother!
A crucial aspect to remember is the control center customization. You most likely access screen recording through the control center. By customizing it, you can have all your frequently used features a tap away! To customize, navigate to Settings > Control Center > Customize Controls. Add or remove controls based on your preference.
Another excellent tip to keep in mind is the microphone audio recording. Often, you may want to include audio in your recording, such as a narration or app sounds. To do this, press and hold the recorder button, then tap microphone on/off. That's it! You're now ready to record sound along with video.
Simultaneously using the Do Not Disturb mode is a helpful trick to avoid interruption during your screen recording. By doing this, notifications won't pop up and ruin your pristine recording. Just swipe up from the bottom of your screen (or swipe down from the top-right corner on an iPhone X or later) to access the control center and tap the moon icon to turn it on.
It's also helpful to clean up your screen by shutting unnecessary apps or removing confidential information before you start recording. After all, all that'll be captured in your recording!
Conclusion
You've now got the know-how to record your iPhone screen like a pro. Remember, having your control center customized can make the process a breeze. Don't forget that little microphone button - it's your ticket to capturing audio. To ensure uninterrupted recordings, always switch on Do Not Disturb mode. And of course, a clean screen makes for better recordings. So go ahead, start recording your screen with confidence. You're ready to capture, share, and relive every moment on your iPhone. Happy recording!
Frequently Asked Questions
How can I customize my iPhone's control center for screen recording?
Simply go to Settings > Control Center > Customize Controls and add screen recording. This allows you to have the screen recording feature easily accessible.
How do I include audio in my screen recording?
To include audio, tap the microphone on/off button before you start recording. When the microphone is on, your iPhone will record both screen activities and audio.
How can I avoid interruptions during screen recording?
Enable the 'Do Not Disturb' mode on your iPhone to avoid interruptions from notifications during recording. This will ensure smooth recording.
How can I clean up my screen before recording?
Before you start recording, close all unnecessary apps and windows. This not only makes the recording clean but also ensures efficient use of your device's resources.


