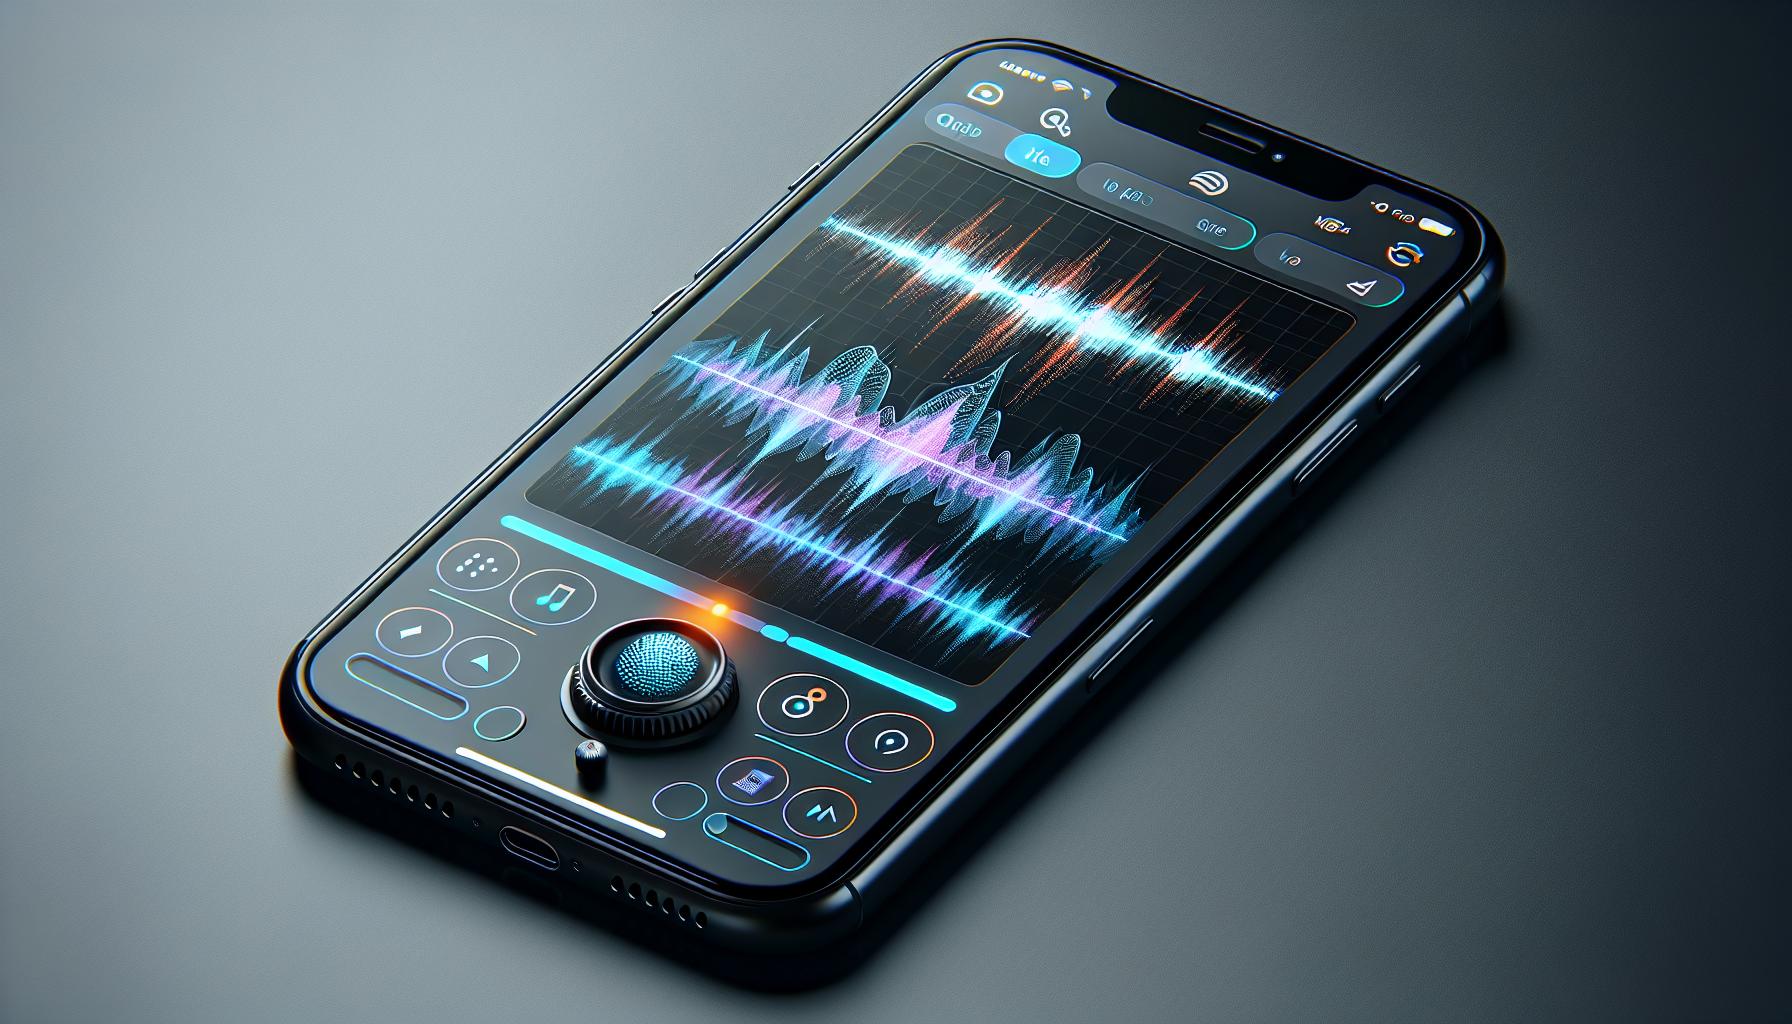
Ever wished you knew how to record audio on your iPhone? Well, you're not alone. It's a handy skill that's often overlooked. Whether you're capturing a lecture, a voiceover for a video, or simply your own thoughts, knowing how to utilize your iPhone's built-in audio recording capabilities can make all the difference.
Your iPhone isn't just a device for making calls or sending text messages. It's also a powerful tool for recording high-quality audio. With the right know-how, you can turn your iPhone into a portable recording studio. So, let's dive in and explore how you can start recording audio on your iPhone.
Choosing the right app for recording audio on iPhone
Which app should you use to record audio on your iPhone? It's a critical decision that can impact the quality and usability of your recordings. There's no shortage of options available on the App Store. However, finding the one that best suits your needs can be quite a challenge. Let's dive in and explore a few quality options!
Voice Memos, a pre-installed app, is a straightforward choice. It's user-friendly, has a streamlined interface and offers good audio quality. You can also edit your recordings directly in the app – a handy feature for quick annotations or trimming.
For those seeking enhanced functionality, GarageBand is a popular choice. This powerful app allows not only the recording of vocals but also instruments. It features a multi-track recording environment with plenty of virtual instruments to choose from — ideal for musicians or podcasters. Worth noting, GarageBand is also free-of-charge.
If professional-level recordings are what you're after, consider Ferrite Recording Studio. This app packs a punch. With noise reduction capabilities, multi-track editing and a host of other features, it caters to professionals and audio enthusiasts alike.
Here's a quick comparison table to help you decide:
| App Name | Basic Features | Suitable For |
|---|---|---|
| Voice Memos | Record, Edit, Save, Share | Casual users, Quick memos |
| GarageBand | Multi-track, Virtual Instruments | Musicians, Podcasters |
| Ferrite Recording Studio | Noise reduction, Multi-track editing | Professional-Level users |
Each app has its pros and cons. The right choice depends on your needs, your level of familiarity with audio recording, and your budget. Remember: a good recording app can elevate your audio recording experience on iPhone from mere convenience to professional-grade performance. Experiment with a few apps, figure out their controls and interfaces, and see which one provides the experience you're after.
Besides apps, consider the quality of your device's microphone and the conditions of your recording environment. A quiet, well-treated room and a good external microphone can significantly improve your recordings.
Understanding the recording settings on your iPhone

Now that you've picked an ideal app, it's time to understand the recording settings on your iPhone. Adjustment of the settings can greatly impact the quality of your recordings.
The built-in microphone on your iPhone is quite competent for most recording tasks. However, the settings are what can significantly enhance or degrade the sound quality. By tweaking the settings, you can heighten the audio quality according to your needs.
First, you will want to enhance the input level settings. These settings control the sensitivity of your microphone. A lower input level signifies that your microphone is less sensitive to sound, while a higher input level means it's more sensitive. It's essential to set the input level according to your environment.
When it comes to iPhone’s built-in Voice Memos app, you'll find the automatic settings convenient. An automatic setting feature adjusts the input level based on the sounds it picks up. When you're in a loud environment, the input level decreases. Conversely, in a quiet setting, the input level rises. Remember, all of this happens automatically.
If you're using GarageBand or Ferrite Recording Studio, you'll have more control over the input level. In fact, these apps allow you to manually adjust the input level according to your specific needs and the nature of your recording.
On iPhone, you also have access to EQ (equalizer) settings which help to adjust the balance of audio frequencies. It can be used to emphasize or reduce certain frequencies, enabling you to optimize audio playback.
By understanding these settings and learning to adjust them according to your needs, you can ensure peak audio quality in any environment. Developing familiarity with these features will undeniably elevate your recording experience.
Now, let's dive a bit deeper into some tips and techniques for achieving optimal audio recording settings on your iPhone.
Adjusting microphone settings for better audio quality
You've now ventured into the realm of setting tweaks, which play a pivotal role in improving audio quality. What comes next? It's time to delve into microphone settings.
When you're recording on your iPhone, it's essential to adjust the microphone settings to meet your requirements. The difference between an amateurish recording and a professional-sounding one can often boil down to these adjustments.
Firstly, you should be aware of the option to enhance speech recording. Found under Settings > Voice Memos, enabling this option can significantly enhance the audio quality for speech-oriented recordings. Remember, this setting mainly amplifies voice frequencies and dulls background noise, which might not be suitable for musical arrangements.
Secondly, let's talk about the iPhone's interactive microphone setting gauge. It's made to display the noise level input and notify you if your sound is too quiet or too loud. If the gauge frequently hits the red, your audio may become distorted. Try to keep it in the moderately high-green zone for optimal results.
Some third-party apps give you further control over your microphone settings. Apps like ShurePlus™ MOTIV™, allow you to modify gain, stereo width, and compression. Here's why these elements can be important:
- Gain: Adding gain boosts the signal strength of your audio, but too much can lead to distortion.
- Stereo Width: Increasing stereo width can make your audio sound fuller.
- Compression: Compression reduces the dynamic range of your audio, making loud parts quieter.
In essence, great audio isn't just a result of a high-quality device; it's often a combination of the right settings and adjustments on the user end. With these tweaks and changes, you should be ready to create spectacular, hi-fidelity recordings.
Next, we'll move onto discussing ways in which environmental factors like distance and positioning can also influence your audio quality.
Tips for recording clear and crisp audio on your iPhone
Making adjustments to your iPhone's microphone settings may bring about noticeable improvements in audio quality. But this alone isn't always enough. Graceful handling and the use of accessories could be an added requirement.
A Gentle Approach Matters
During recordings, be sure you handle your iPhone with care. Unintended movements can result in unwanted noise. This is particularly true when the device is in direct contact with a surface, such as a tabletop. A simple movement could create a disruptive noise in your audio.
The Right Accessories Make a Difference
Making use of accessories like an external microphone will ensure minimal noise interference. For instance, lavalier microphones are impressive for capturing clear and focused sound. They're small, unobtrusive, and designed to pick up your voice instead of ambient noise. Then there's the shotgun microphone, perfect when you need audio from a specific source, not your surroundings.
For better quality, consider a windscreen or a pop filter for your mic. These simple accessories can drastically reduce wind noise and plosive sounds like 'p' and 'b' sounds.
Usage of Apps for Noise Reduction
Certain apps, such as the Denoise app, help to reduce background noises during recordings significantly. They use advanced algorithms to suppress various types of noise, including wind, rain, or street noise – something that could prove beneficial for field recordings.
Regular Update of the iOS
One aspect that's often overlooked is updating your device regularly. With each iOS update, apple tends to introduce new enhancements to the system. This includes improvements in audio quality for speech and music recordings.
When recording audio on your iPhone, following these tips can result in a higher quality output. Experiment with different techniques and adjustments, mix, and match until you find what works best for your requirements. Remember - your audio has to coexist with your content harmoniously. So, continue to tweak and play around with settings and methods, aiming for the cleanest audio possible.
Editing and exporting your audio recordings

Once you've captured the raw audio on your iPhone, the next crucial step is to edit and export your audio recordings. By mastering these skills, you can magnify the overall sound quality and sophistication of your audio content. We'll walk you through these essential steps to enhance your iPhone audio recording prowess.
Embrace the Power of Editing Apps
Your iPhone is a powerful audio recording device, but it's only as productive as the tools you use with it. Many top-tier editing apps can help you streamline and perfect your audio. These apps not only enable you to trim and arrange your audio clips, but they also have a host of advanced features that grant you comprehensive control over your content. Apps like GarageBand, Voice Record Pro, and EditPoint are well-loved for their user-friendly interfaces and versatile editing options.
Step-by-Step Audio Editing
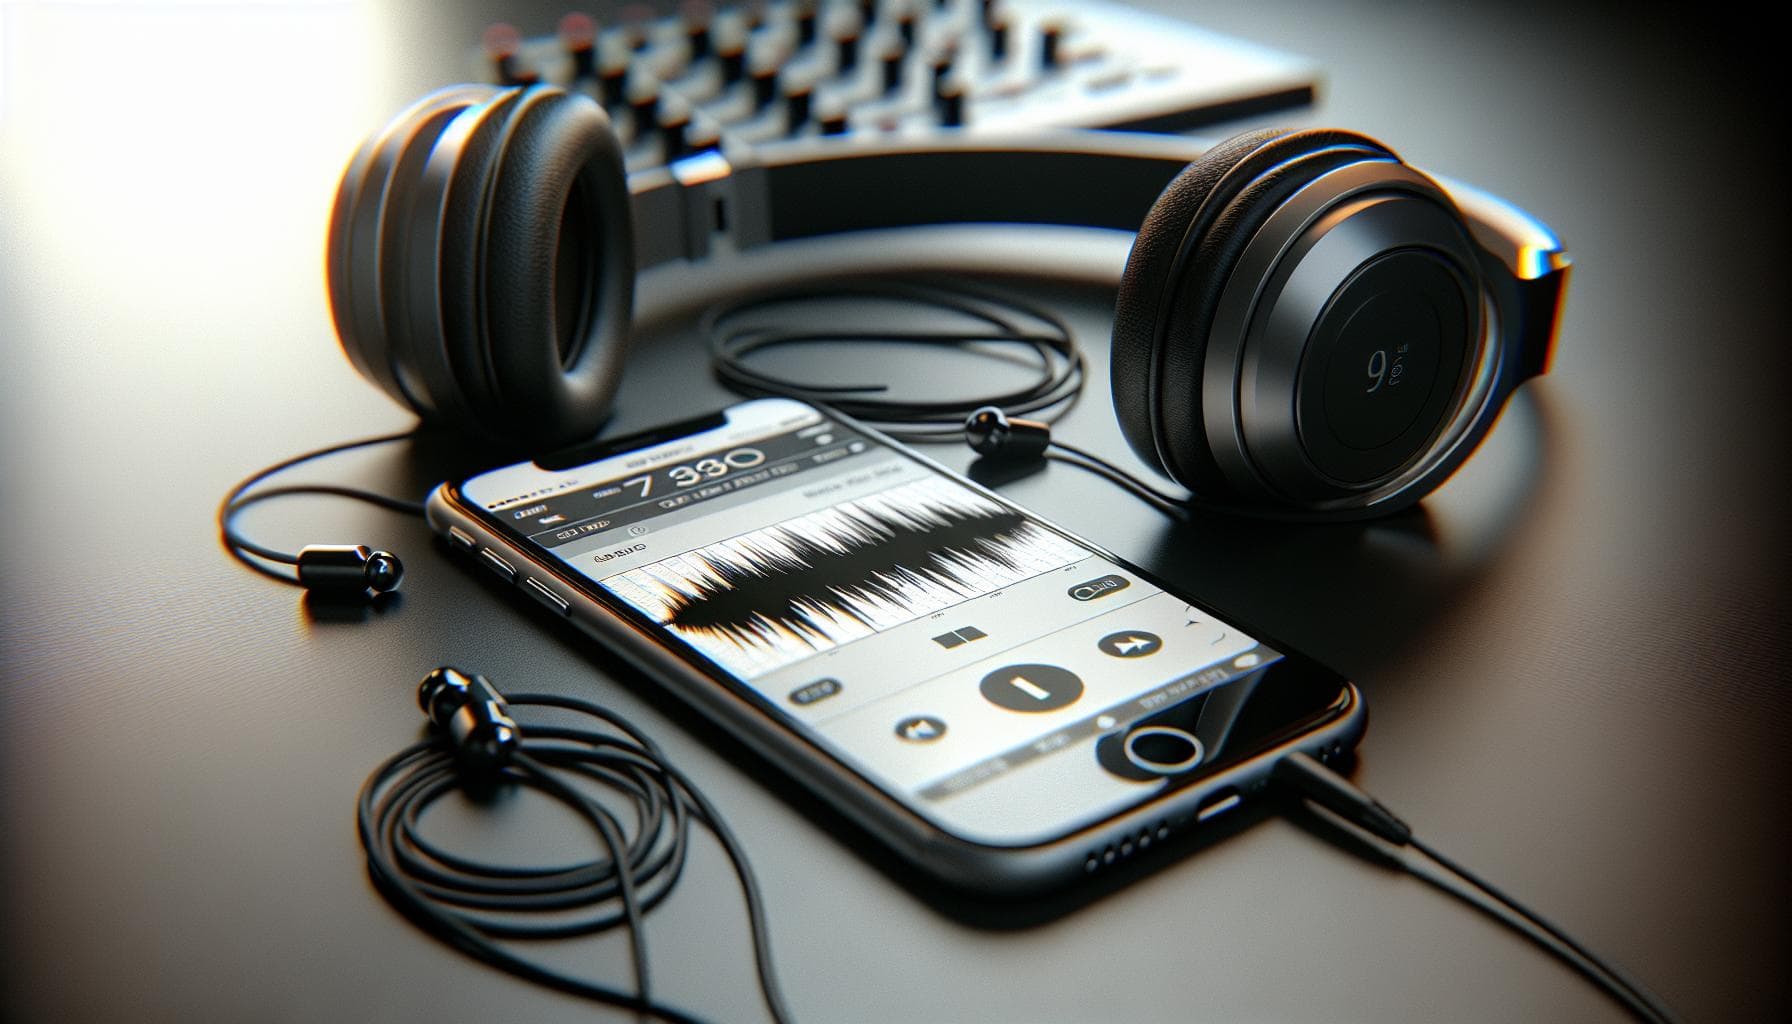
Starting, you'll want to upload your audio file into your editing app of choice. When you've done so, you'll notice a waveform representing your audio. The peaks and valleys reflect the volume of your sound at different points in the recording – areas of potential adjustment to ensure uniformity. Trimming, adjusting volume levels, adding effects or filters, and arranging content are just a few modifications you can make to enhance your audio.
Exporting Your Masterpiece
When happy with your edits, it's time to send your work into the world. Each app will have its specific steps to follow, but most will ask you to finalize or 'bounce down' your project, which combines all your edits into a single audio file. While exporting, you'll choose the file format - typically, MP3 or WAV - that best fits your needs. Ultimately, you'll save and share your files via email, cloud storage, or direct upload to platforms like YouTube, SoundCloud, or your website.
Focus on refining your process, and you'll find your iPhone audio recordings reaching professional quality.
Conclusion
So, you've learned how to harness the power of your iPhone to record and edit high-quality audio. With apps like GarageBand, Voice Record Pro, and EditPoint, you're now equipped to trim, adjust, and add effects to your audio files. You've also mastered the art of exporting your polished projects in the format of your choice. The key takeaway? Your iPhone is more than just a communication device; it's a professional-grade recording studio that fits in your pocket. Keep refining your process and you'll be amazed at the quality of audio you can produce. Keep recording, keep editing, and most importantly, keep creating.
Frequently Asked Questions
What is the main focus of the article?
The article primarily discusses the importance of editing and exporting audio recordings taken on an iPhone, with emphasis on gaining professional-quality results.
What editing apps does the article suggest for use?
The article suggests using editing apps such as GarageBand, Voice Record Pro, and EditPoint for refining iPhone audio recordings.
What can these recommended apps do to the audio recordings?
These applications can trim, adjust volume levels, add effects, and arrange content in audio recordings.
What mentions were made regarding exporting the edited audio files?
The article outlines the process of exporting edited audio files, which includes steps like finalizing the project and selecting the file format.
What advice does the article provide to its readers?
The article encourages readers to continuously improve their editing and exporting process to achieve professional-quality iPhone audio recordings.


