If you've ever been frustrated by your iPhone screen dimming or turning off while you're trying to read an article or follow a recipe, you're not alone. It's a common issue, but luckily, there's a simple solution.
In this guide, we'll walk you through the steps to keep your iPhone screen on for longer. Whether you're using your phone for work or play, you'll find this feature incredibly useful. Don't let your iPhone dictate your pace - take control and adjust your screen settings to suit your needs.
Why does the iPhone screen turn off?
Everyone's been there: eyes glued to a riveting article, a tricky recipe, or intricate knitting instructions. Suddenly, your iPhone screen dims or switches off altogether. Why does this happen? It's all about Apple's commitment to smart device dynamics and saving power.
All iPhones come with default settings that are designed to conserve battery life. One of these measures is screen dimming after a period of inactivity. This period can range from 30 seconds to 5 minutes, depending on what you've selected in your settings. By default, it's typically set at two minutes.
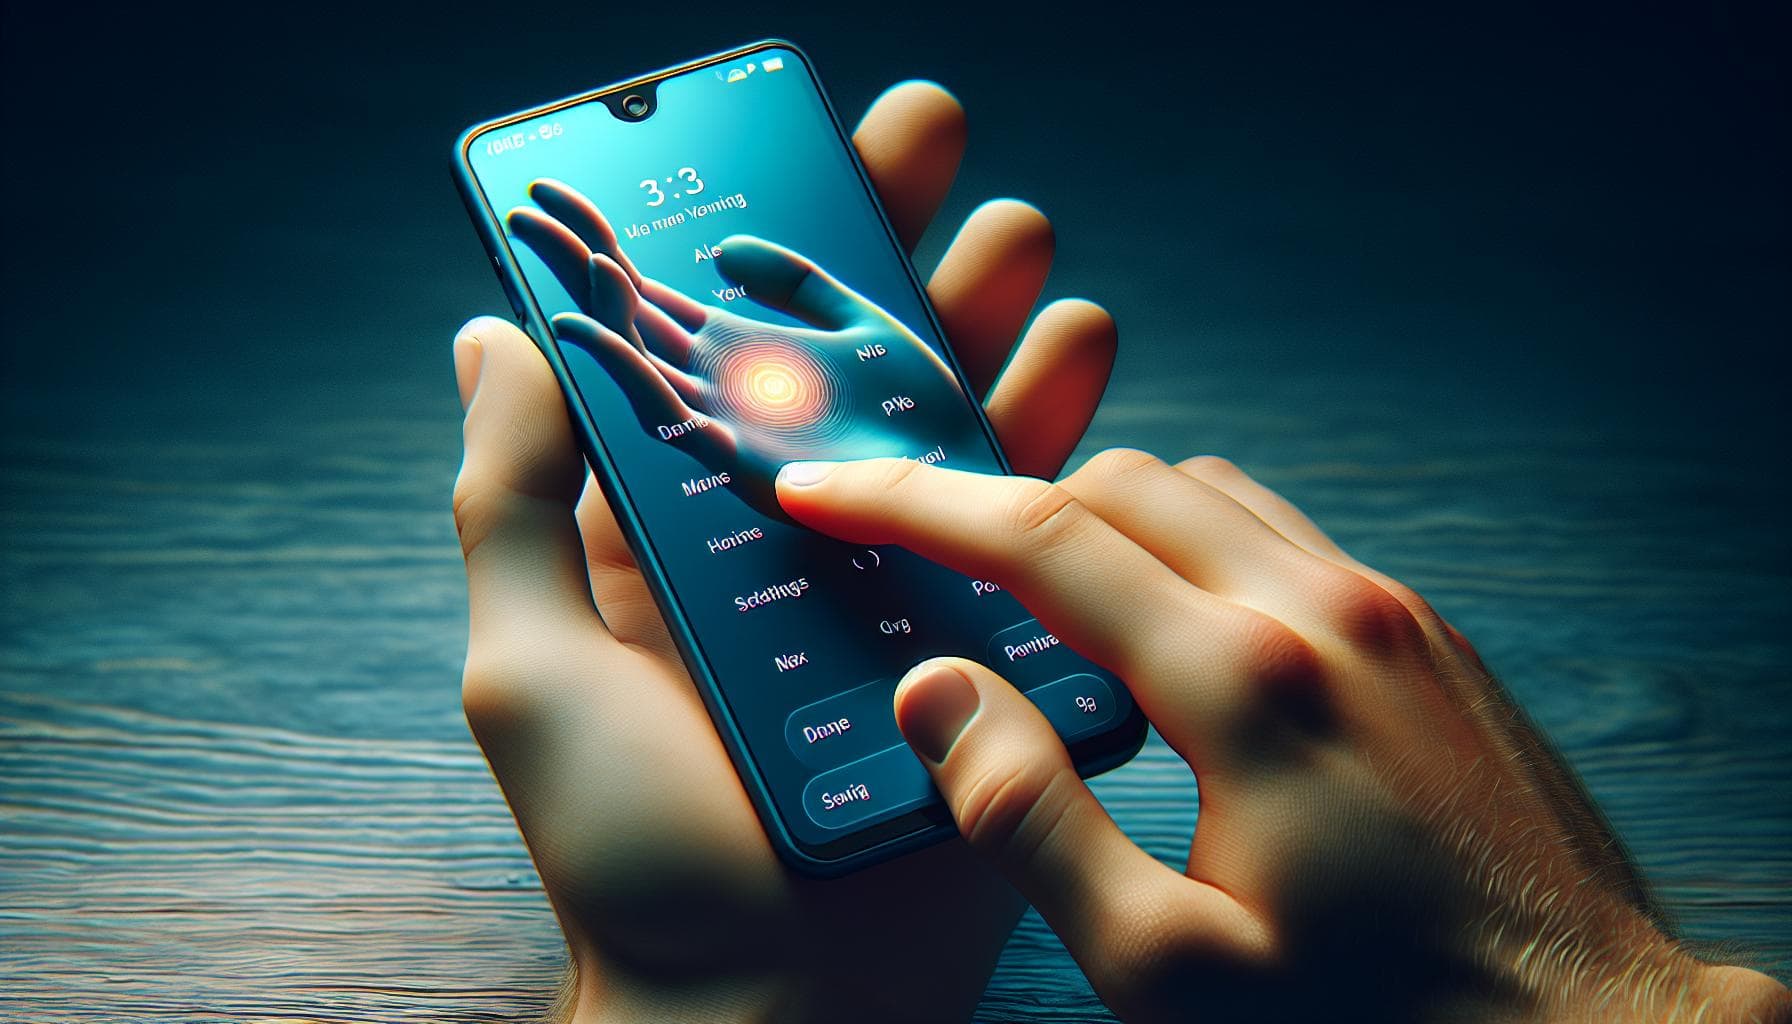
These default screen face-down detection and attention-aware features utilize advanced sensors built within the iPhone design. That's why your device screen may turn off when you're not looking at it or when you put it down. Pretty smart, right?
But every user is different, and your needs may not align with these defaults. For instance, if you're trying to follow a lengthy recipe in the kitchen, you don't want your phone turning off every two minutes! That's where adjusting your iPhone screen settings comes into play.
Auto-Lock, the setting controlling your screen's inactivity period, is the key player here. And it's about time you got to know this feature a little better. Read on to discover what it does, why it matters, and how you tweak its settings to suit your needs.
Adjusting screen settings

Knowing how to manage your iPhone settings effectively is a game-changer. It's not just about getting it to function the way you want, but it's also about utilizing its features in a way that most suits your lifestyle. Let's dive deeper into how you can adjust your screen settings.
Firstly, you need to get into the heart of your iPhone, which is the Settings app. The icon is gray with cogs, and the path you want to take is Settings > Display & Brightness > Auto-Lock. Here, you can dictate the duration the screen stays on before dimming out on its own. You can set the timer from a minimum of 30 seconds up to the option of 'Never'.
Choosing 'Never' essentially means that your screen will stay on until you manually lock it or your battery runs out, so it's crucial to monitor your battery longevity and consider your usage habits.
While you're in this space, explore the other available functions too. The Raise to Wake feature wakes your iPhone up whenever you pick it up. Your iPhone is smart, recognizing when it's being used and held, briefly lighting up the display to show notifications or the time.
Similarly, you can play with the True Tone setting. This adjusts your iPhone's display to match the colour temperature of your ambient light, making it easier on your eyes. Auto-Brightness also plays a significant role, modifying the screen's lighting according to surrounding light intensity.
Though adjusting settings according to personal preferences is recommended, it's equally essential to understand that certain settings can eat up your battery more than others. So, always weigh the pros and cons of every change you make to find your personalized balanced point.
Step 1: Open the Settings app

Taking a journey into the heart of your iPhone is as simple as tapping on the Settings app. It's like the main control room of your device, holding the keys to all the intricate settings that help tailor your iPhone experience to your specific needs. One of these settings is what controls your screen's dimming behavior. Curious about how to adjust it? Let's get started.
You'll typically find the Settings app on your home screen. It's represented by a gear icon and is usually a standard app on your dock or first home page. Once located, give it a tap. If you've sorted your apps into folders and can’t find the Settings app, don't worry! You can pull down from the middle of the home screen and type in "Settings" in the search bar. Easy peasy.
As you plunge into the world of Settings, remember that it’s divided into different sections each governing unique aspects of your phone's functioning. For screen settings, you're headed for ‘Display & Brightness’ which is usually grouped under the section named ‘General’
Step 2: Tap Display & Brightness

Once you've successfully navigated your iPhone's Settings app, the Display & Brightness section is your next destination. Don't worry, it's just as straightforward as it sounds.
You'll find the Display & Brightness option within the list of settings on the main menu. Remember, it's easy to breeze past it, so take your time. Once you find it, tap on it to enter a new realm of customizable features that directly affect the visual experience of your iPhone. For your convenience, an icon depicting a small sun accompanies this option, making it easier to recognize.
Inside the Display & Brightness section, you'll encounter several choices that allow you to adjust the visibility and overall appearance of your iPhone screen. These include settings such as Text Size, Bold Text, and Auto-Brightness, among others. Each of these options has its unique function and can be tailored to your personal preference, providing you with better control over your device's performance and accessibility. It becomes an exciting trip into iPhone's ingenious design when you start exploring these settings one by one.
However, for the purpose of your quest you need to look for an option that enables you to set the automatic screen dimming or lock time—Auto-Lock. This specific feature controls the duration until your device decides to take a quick nap, thereby conserving its battery power. The upcoming subsection will guide you on how to master control over Auto-Lock, enabling a tailored iPhone experience.
As you delve deeper into these settings, the understanding of your device intensifies and it almost feels like you've bolted a fresh pair of wings onto your iPhone, ready to soar into uncharted territories of customizability. So go ahead, step confidently into the Display & Brightness section and begin your journey towards an optimized iPhone experience. Just remember, this is merely the beginning, there's much more to know.
Step 3: Tap Auto-Lock

Now that you're familiar with the Display & Brightness settings, it's time to take the next step in our journey to keep your iPhone screen on: tapping on Auto-Lock. This seemingly simple feature has the potential to revolutionize the way you use your phone.
Auto-Lock is the iPhone’s answer to battery life conservation and security. However, for purposes like reading, cooking by an online recipe, or even during a long and important chat, you may need to keep your screen awake for an extended period. Here's how you can manage this feature for such scenarios.
Remember the Settings app you opened earlier? Navigate back there and re-enter the Display & Brightness menu. Once you're in, look for the option that says Auto-Lock. It is usually located towards the bottom of the options present under the Display & Brightness settings.
Once you find Auto-Lock, do not hesitate! Give it a good tap. It's this function that lets you regulate the time after which your display turns off. By default, your iPhone may dim after 30 seconds or a minute, which can be a nuisance during certain activities.
You'll come across several time interval options that the system offers. These options range from 30 seconds to Never. Do you see Never right at the bottom? Click on that and voila! You've just set your iPhone screen to stay on until you manually switch it off.
All this might sound like a lot, but don't worry! You're not alone. Millions of users like yourself are taking control of their iPhone screen time and learning these useful tricks.
However, do remember to switch back to a shorter time interval or automatic lock when you're finished with your task. This ensures your battery doesn't drain unnecessarily or your phone remains awake for long durations when not in use. Doing so will also minimize unnecessary screen exposure, reducing the risk of inducing screen burn-in.
Step 4: Choose the desired time
Once you've navigated to the Auto-Lock setting, it's time to pick the length of time that suits your needs best. Your iPhone gives you several options, which include: 30 seconds, 1 minute, 2 minutes, 3 minutes, 5 minutes, and never. It's a good idea to have a clear understanding of what each option entails before you proceed.
While these options appear straightforward, a few additional points may help frame your decision in the correct light.
- 30 seconds and 1 minute will make your phone go idle relatively quickly. It's handy when you're anxious about battery usage or don't want to leave the display on too long for security reasons—or if you're the type to leave your phone unattended often.
- Moving to 2, 3, and 5 minutes, your screen stays active for a slightly longer duration. It's perfect if you're reading, looking at a recipe, or completing another task that requires your phone to remain on for a bit.
- The never option, as its name suggests, disables Auto-Lock. However, this option should be used sparingly, only suited for those rare occasions when you need your screen on for prolonged periods. It's not the best for regular use as it consumes a substantial amount of battery and may lead to unnecessary screen burn-ins.
It's important to discern which of these time lengths works best for you. But remember, you can always change this setting as your requirements may vary from time to time.
It's time to select your preferred time length. Simply tap on the one you'd like to set, and you're nearly done! The moment you choose a time, it takes effect immediately, requiring no further confirmation. You'll notice the checkmark move to the time duration you've just set, signifying successful setup.
Exploring your phone's settings might seem daunting initially, but understanding the finer details, such as the Auto-Lock feature, can go a long way in enhancing your iPhone experience.
Step 5: Enjoy your screen staying on longer!
Now that you've followed the previous steps and adjusted the Auto-Lock setting on your iPhone, it's time to experience the benefits. With the extended time length, you'll find it easier to keep your screen awake for extended periods. This is most beneficial during long reading sessions, following cooking recipes, working out, or just when you don't want to constantly unlock your smartphone.
Having your iPhone screen stay on longer can make a world of difference to your experience. Less interruptions mean more productivity and convenience for you. Whether you're in the middle of an important document, responding to an urgent email, or engrossed in an eBook, lengthy auto-lock times create a seamless flow.
Selecting the Right Auto-Lock Time Duration for Your Needs
Remember, you have several time options available to adjust the Auto-Lock setting on your iPhone. Do you need the screen to stay on for 2 minutes, 5 minutes or are you inclined towards the 'Never' option? It's essential to select the correct duration that suits your specific needs.
For typical iPhone users, a short duration such as 2 or 3 minutes is sufficient. If you're someone who requires their screen stay on for a more extended period, a longer duration of 10 to 15 minutes might be the best fit.
The 'Never' option should be used sparingly, as mentioned earlier. While it provides the maximum convenience, it's more suited for scenarios where constant interaction with your screen is needed. You should be mindful of the impact of this option on battery consumption and potential for screen burn-ins.
Speaking of battery consumption, your iPhone will naturally consume more power with longer screen-on times. Keeping it at an optimal brightness setting or using the auto-brightness feature can help manage this. This is another tangible way to get the best out of your iPhone while ensuring its longevity.
Tips for preserving battery life

Maybe you've already noticed it, the screen is the single most power-hungry component on your iPhone. Face it, gluing your eyes to the screen for extended periods can quickly drain your battery, so it's crucial you understand how to tweak certain settings to maximize battery life while keeping your screen on. This will allow you to stay productive without constantly reaching for the charger.
You might have stuck with the 'Never' option under Auto-Lock to keep your iPhone screen awake, but it's vital to balance this with smart battery usage. Learning how to manage your battery consumption wisely has its benefits, and these handy techniques can help you achieve more from your iPhone.
To start with, consider adjusting your screen brightness. The automatic brightness setting is a great feature that adjusts your screen's brightness based on the ambient light conditions. To use it, navigate to Settings > Display & Brightness and turn on Auto-Brightness. This can greatly improve your battery longevity.
Another key practice is exploiting the iPhone's dark mode. It's especially beneficial if you've got an iPhone with an OLED display. This feature sets a dark theme on your iPhone and uses less power, particularly while using key apps with dark mode functionality. You can activate this by going to Settings > Display & Brightness and then choosing the 'Dark' option.
Managing background app refresh can also do wonders. This setting allows apps to update content when on Wi-Fi or cellular in the background. Although convenient, it can be a significant battery hog. Change your preferences in Settings > General > Background App Refresh.
- Don't forget to:
- Limit push emails
- Turn off dynamic wallpapers and unnecessary animations
- Update to the latest iOS.
These are simple yet proactive means that can significantly assist in reducing screen power draw and prolonging battery life.
Always remember: Your iPhone is as productive as you. And each smart move towards preserving its battery life signifies that you're getting the most out of it for your needs. And, as your needs change, so too can your settings. That's just part of the iPhone's convenience and versatility.
Conclusion
So, you've learned how to keep your iPhone screen on while also preserving battery life. It's about finding that balance between usability and longevity. By adjusting screen brightness, using dark mode, and managing your background app refresh, you're already on your way to a longer-lasting battery. Remember, it's not just about keeping your screen on; it's also about making sure your iPhone is working efficiently for you. Limiting push emails, turning off dynamic wallpapers, and updating to the latest iOS are all part of this process. Your iPhone is a powerful tool, and with these tips, you're now equipped to manage its battery life more effectively. It's all about adjusting settings to suit your needs and habits. Happy optimizing!
Frequently Asked Questions
1. How can I preserve battery life on my iPhone?
You can preserve your iPhone's battery life by adjusting the screen brightness, using dark mode, and managing the refresh settings of background apps. Additionally, limiting push emails and turning off dynamic wallpapers and unnecessary animations can help. Remember to regularly update to the latest iOS for optimal battery performance.
2. Do display settings affect iPhone battery life?
Yes. The iPhone's display settings, including screen brightness and dynamic wallpapers, significantly affect battery consumption. Using dark mode or reducing screen brightness can prolong battery life.
3. What is the role of the iOS update in battery life?
Updating to the latest iOS can improve your iPhone's battery life. Updates often include new energy-saving techniques or fixes to existing battery consumption issues.
4. Can I adjust settings to improve my iPhone's battery life?
Absolutely! You can adjust numerous settings on your iPhone to manage battery consumption. These include background app refresh settings, number of push emails, display settings like brightness and dynamic wallpapers, and more.
5. Why should I manage battery consumption on my iPhone?
Managing battery consumption on your iPhone will not only prolong its battery life, but also maximize your productivity and convenience for daily use.


