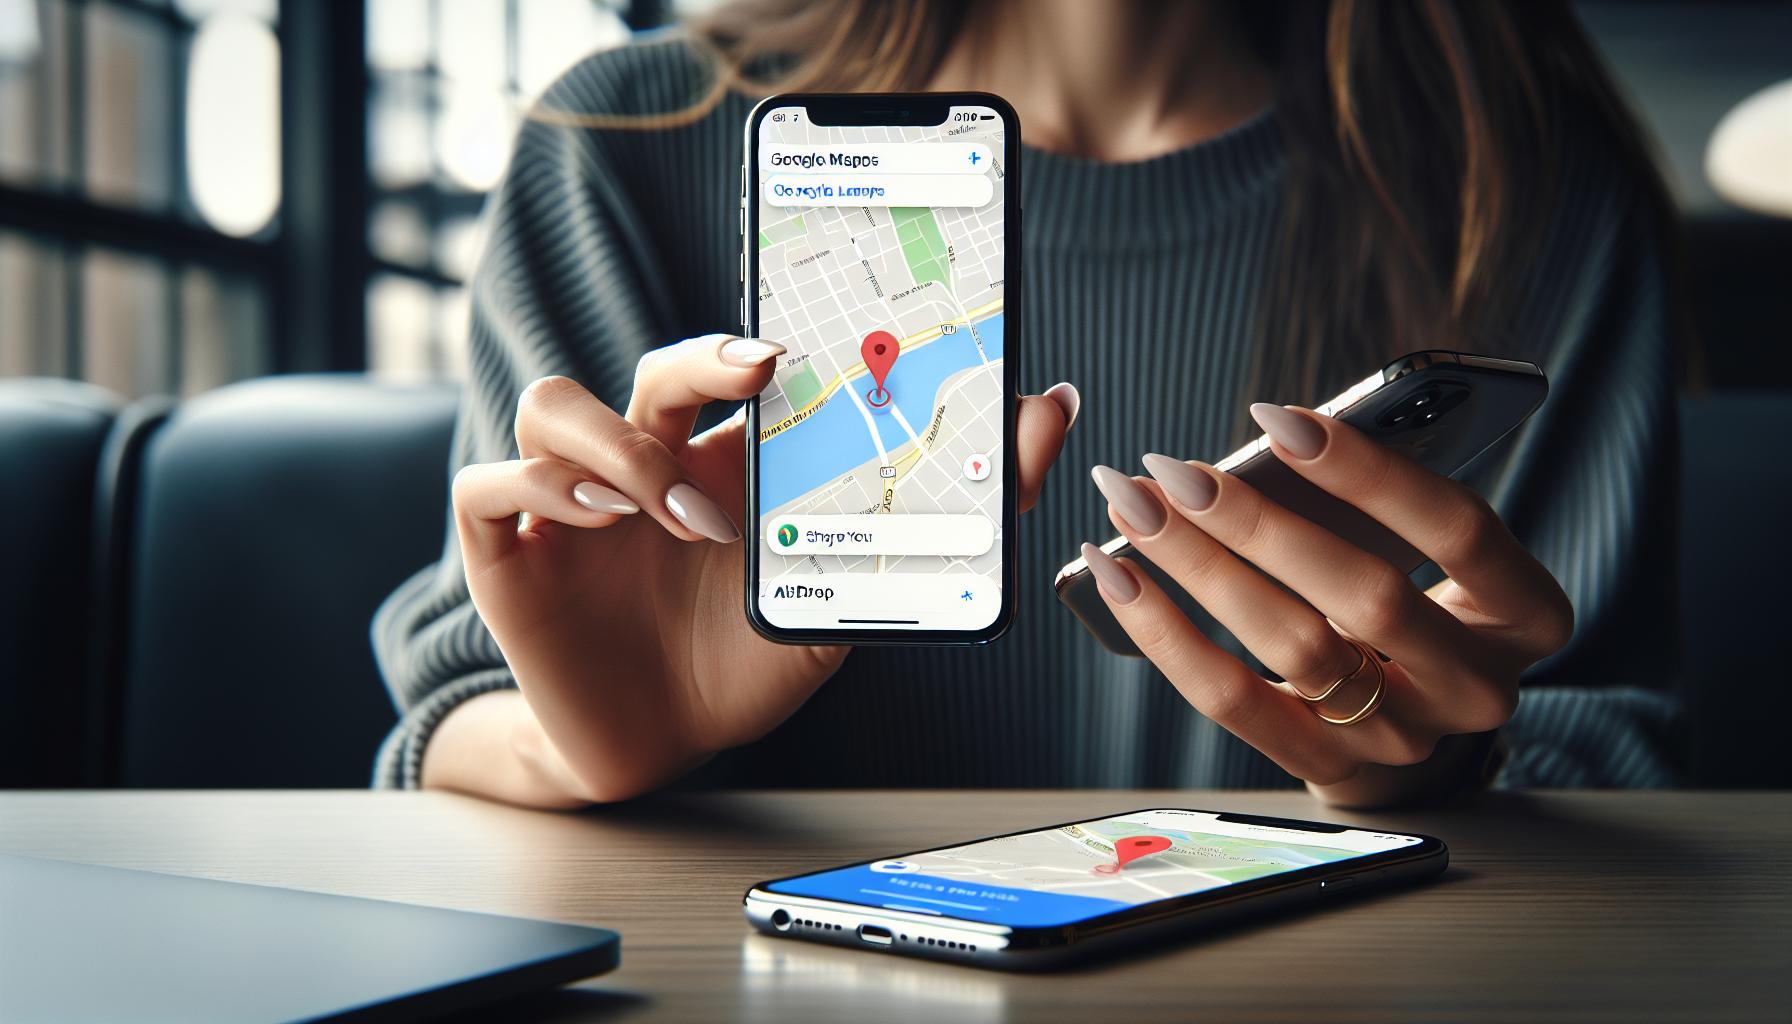
Ever found yourself in a new city, and wanted to share your location with friends? Or maybe you've stumbled upon a hidden gem of a restaurant and want to remember its location for later? That's where dropping a pin on your iPhone comes in handy. It's a nifty feature that's easy to use once you know how.
In this guide, you'll learn how to drop a pin on your iPhone. Whether you're using Apple Maps or Google Maps, this handy feature will help you mark and share your location with ease. So, let's dive in and get you up to speed on this handy iPhone feature.
Why drop a pin on your iPhone?
Let's face it, our brains can't always remember every detail, especially when it comes to geographic locations. This is where dropping a pin on your iPhone etches a significant role. It doesn't just aid your memory, it becomes an essential tool in many circumstances.
Suppose you're exploring a new city and stumble upon a quaint little coffee shop tucked away from the main streets, wouldn't it be nice to remember that spot? Or maybe you've parked your car in a massive parking lot, and you suspect you might have some trouble finding it later. This is when dropping a pin comes to the rescue.
By dropping a pin on your iPhone, you're not simply bookmarking your location. You're also creating a visual reference that helps guide you back when needed. Plus, it's ideal for sharing precise locations with friends or loved ones. No need for long, drawn-out directions or GPS coordinates. Just a simple pin drop on the map, and you've effectively communicated your location.
Apart from personal uses, this feature can be particularly helpful in professional settings as well. Say you're handling a logistics business and need to guide drivers or delivery personnel to specific locations. To achieve such pinpoint accuracy, dropping a pin can save you and your team loads of time and prevent misdirection.
This underrated yet powerful feature of dropping a pin on your iPhone could surprise you with its potential. It's an easy solution to locating and recalling complex routes, secret spots, or even lost cars. More than convenience, it's also about communicating clear, precise, and easy-to-follow locations. So, next time you find that hidden gem of a cafe or a perfect picnic spot, drop a pin, and finding your way back will be a breeze.
How to drop a pin on Apple Maps

Easily done in a few steps, dropping a pin on Apple Maps is as straightforward as it gets. Here we've laid out a step-by-step guide that'll have you pin hopping around town like a pro in no time.
To start with, you'll want to launch your Apple Maps app. Once opened, locate and focus on the area where you want to drop a pin. Now, here's the fun part. Simply press and hold on the exact point, and voila, a red pin drops onto your map.
Now that you've successfully dropped a pin, you might want to share this location with others or save it for future reference. To do this, tap on the pin you just dropped. A small label will pop up showing the address or general location. Tap on the label. You are now presented with various options. You can share the pinned location via messages, mail, or other supported apps. You can also add it to your favorites or create a new contact with this location.
Sounds easy enough, right? Well, there's a bit more. You aren't confined to dropping just a single pin. Feel free to drop multiple pins to mark different locations. Be aware though, each new pin you drop will replace the previous one unless it's saved or shared first.
Navigating through a new city or retracing your steps back to a parked car has never been easier. Employ the use of this feature, and you'll find your way around unfamiliar territories like they're your backyard. Oh, and don't forget you can make it even easier by integrating Siri. Just say, “Hey Siri, mark my location," and she'll drop a pin for you.
Watch us dive deeper as we explore how to interact with pins, including editing, removing, and much more.
Step 1: Open the Maps app

Now that you're familiar with what pins are and how they can enhance your navigation experience, let's dive right into it. The first and essential step in your journey to mastering pin-dropping is opening the Maps app on your iPhone.
On your iPhone's home screen, you'll see a variety of apps neatly arranged. Now, look for the one called 'Maps'. You'll recognize it by its icon - a white background with a green landmass and blue sea. Remember, getting a firm grasp of the Maps app is key as it's the platform where all your pin-dropping actions will take place.
Should you have any trouble locating the app, there's no need to worry. iOS has a convenient search feature to help you out. Simply swipe down on your home screen and start typing 'Maps' in the search bar at the top of the screen. The Maps app icon should instantly pop up as one of the first results. Tapping on it will take you right into the app, and you'll be well on your way to marking your favorite locations.
Once the Maps app is open, you’ll be able to see your current location displayed in the middle of the screen, marked by a blue dot. However, it's essential to have your location services on for this feature to work efficiently.
Now that you've gotten your Maps app open, we can move on to Step 2: Find the location you want to pin.
Step 2: Find your desired location

With the Maps app open on your iPhone, the next crucial step revolves around locating your desired spot to drop a pin. Let's delve into the details of this process.
Here's where your search abilities come into play. You're going to input the name or address of the desired location into the search bar at the bottom of the screen. Once you see your location of interest appear among the search results, tap on it.
Remember, it's all about precision. You'd want to make sure the pin lands exactly where you want it. If you're looking to pin a specific building in a large city, utilizing a precise street address is key.
In case you're in an unknown territory and don't have the exact address, no worries, Maps app has got you covered. Employ the pinch-to-zoom in and out technique on the map. This way, you can zero in on your location of choice with greater accuracy using just your fingers.
What about if the location isn't address-specific, like a camping spot in a vast forest? Here's your workaround: use landmarks or features visible on the map. It could be a river, trail, lake or identifiable terrain features. Selecting these can aid in dropping a pin in more ambiguous locations.
Lastly, take advantage of the satellite view. This feature provides you with a bird's eye view of your chosen location, offering greater detail and context of the area surrounding your pin. You'll find the "Satellite" option at the top right corner of your screen.
Once you're content with the location you've chosen to mark, you're all set for the next phase: Dropping the pin. Stay tuned to learn more.
Step 3: Drop a pin
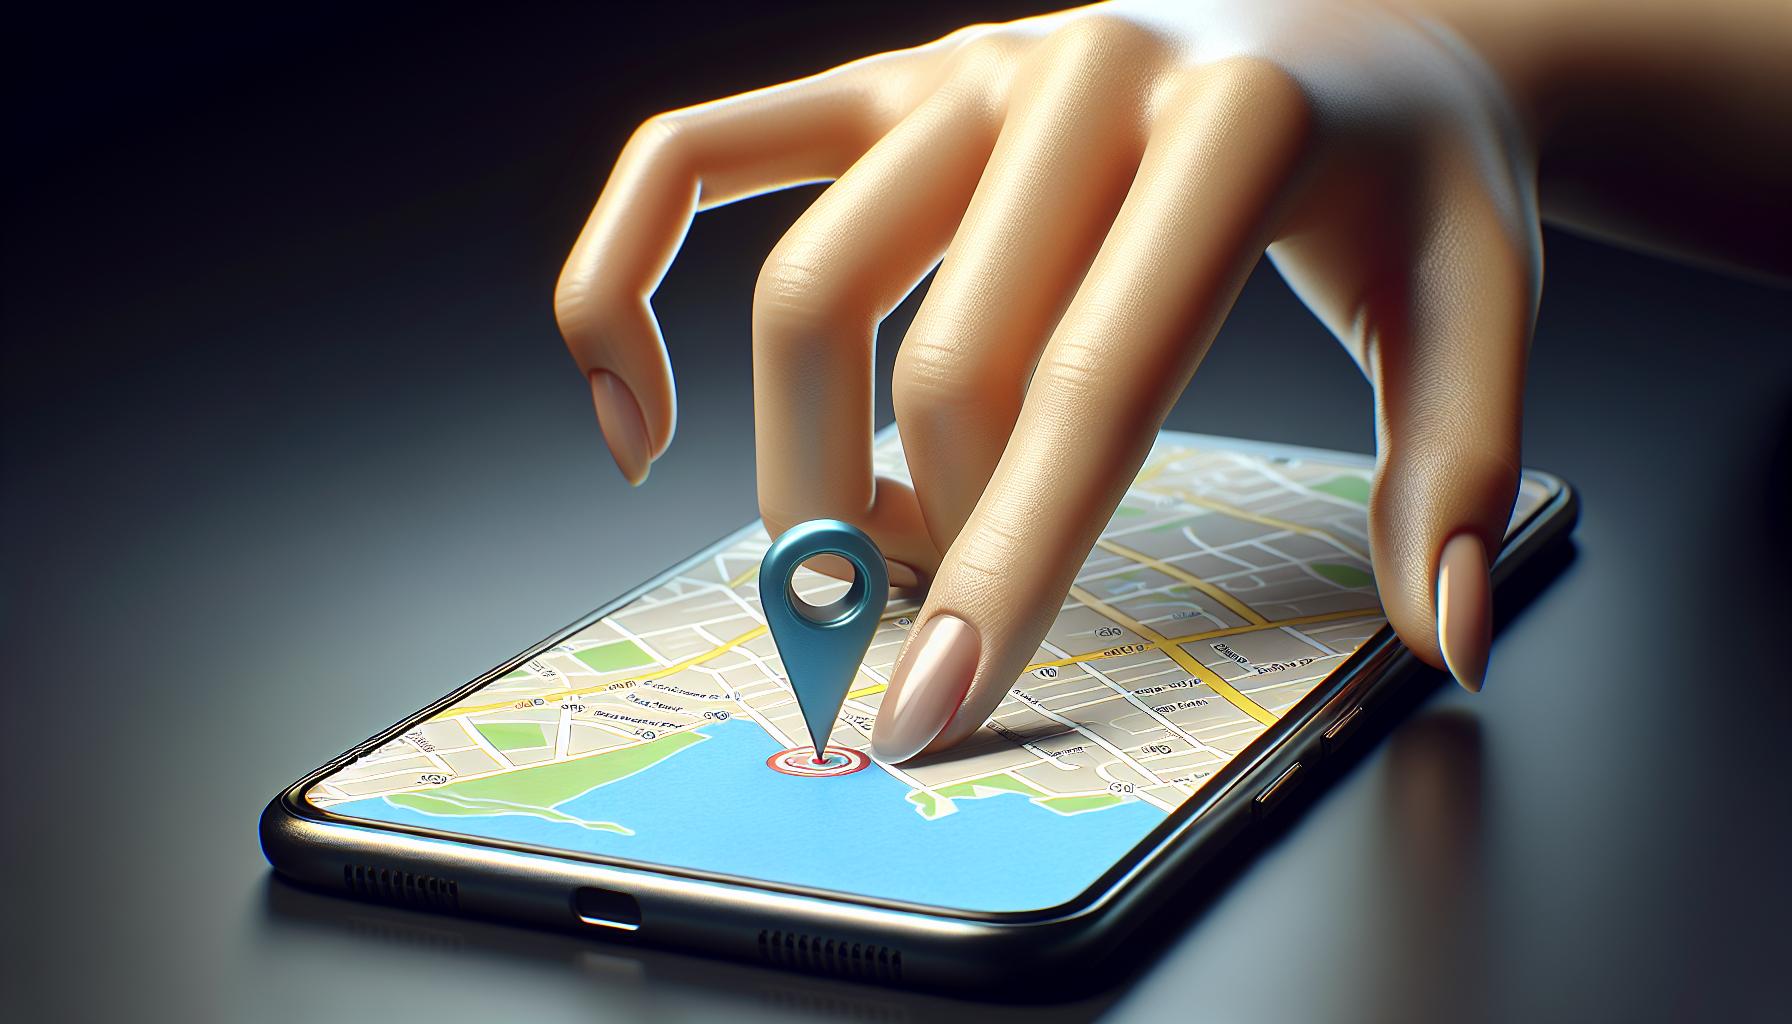
Now that you've found your desired location, it's about time you get your hands on the actual pin-dropping action. By this stage, you already have a good handle on how to navigate around Apple Maps, and you're way past being a rookie!
To drop a pin, simply press and hold the specific area where you want the pin to be. Don't release your finger too quickly - that's a critical point. You'll see a red pin appearing, marking your desired location. That means you've successfully dropped a pin - it's easy as pie, isn't it?
What if you didn't hit the mark? No need to fret. You can always move the pin to adjust its location. How? Tap on the pin and drag it around. Release it once you're happy with its new spot.
Wow, talk about getting things pinpoint accurate! But let's say you're an avid traveler or a real estate agent who frequently needs to drop multiple pins. Well, the good news is Apple Maps lets you do just that. Simply repeat the process across different locations. You'll see a new pin for each location.
And for those of you who prefer to work with Siri, we've got you covered too. Ask Siri to drop a pin for you. Speak the voice command, "Hey Siri, drop a pin". And voila, no more manual pin dropping!
Last but not least, Apple Maps also provides an option to Remove Pin. This can come handy if you've accidentally dropped a pin or if the pin is no longer needed. To do this, select the pin you want to remove and tap on the (i) button. You'll see an option to "Remove Pin".
Bear in mind:
- Press and hold firm to drop a pin.
- Don’t hesitate to drag and adjust your pins.
- You can drop multiple pins at different locations.
- Utilize Siri to drop pins by voice command.
- There’s an option to Remove Pin, if needed.
Remember, precision matters in dropping pins. So, aim well and hit your mark! We're moving onto the next step of this process. Onward, shall we?
How to drop a pin on Google Maps
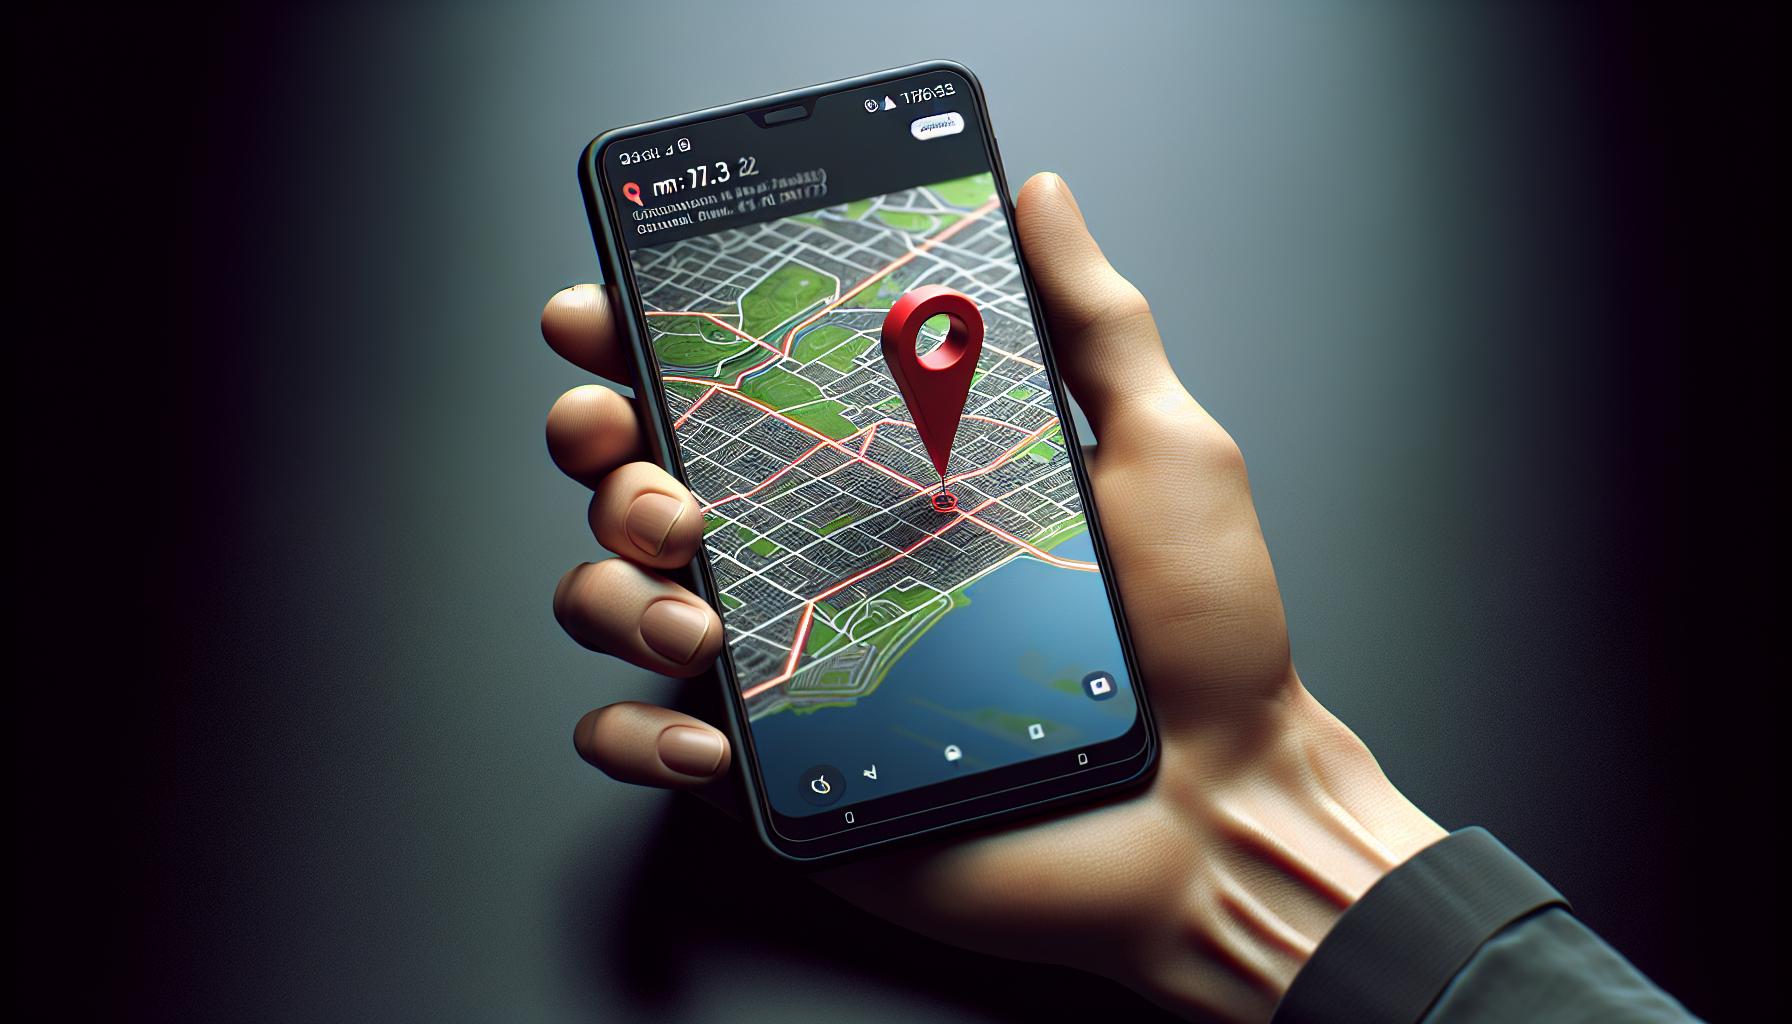
Dropping a pin on Google Maps through your iPhone isn't as intimidating as you'd believe. Understanding this method can make your navigation tasks more manageable and allow you to share locations easily.
Start by launching Google Maps application on your iPhone. Make sure you've installed the latest version to avoid any technical hiccup. Either by manually searching or zooming into the desired location, find the spot you wish to drop a pin. Press and hold on the spot until a red pin appears.
| Step | Action |
|---|---|
| 1 | Launch Google Maps |
| 2 | Search or Zoom into Destination |
| 3 | Press and Hold on the spot |
You're not limited to single pin drop. Google Maps allows multiple pins for different locations, enhancing your route planning capabilities. To drop another pin, repeat the process in a new location.
What if you've dropped a pin in the wrong place or it's no longer required? No worries. Removing a pin from Google Maps is straightforward. Simply tap on the pin you want to eliminate and hit the 'x' symbol to erase it. Remember, you can repeat this process until you have the precisely plotted route.
Siri won't be your aide in Google Maps, unlike Apple Maps. However, Google Assistant can listen to your "drop a pin" command. All you need is to enable Google Assistant in your iPhone settings and voila!
There are no qualms in adjusting your dropped pin as well. Just tap on the pin once, a toolbar will appear at the bottom of the screen, tap on 'Edit location', and drag your pin to the preferred location.
With Google Maps at your disposal, you have an impressive map managing tool. Understanding how to utilize the pin dropping feature can save your time, enhance your route planning, and make reaching your destinations a breeze.
Step 1: Open the Google Maps app

In the first step toward leveraging the power of Google Maps to drop pins on iPhone, you need to open the Google Maps app. It's a fairly straightforward process. Just like how you access the rest of your apps, Google Maps is no different.
Here's the thing: if you don't have the Google Maps app installed, you'll need to download it first. Head to the App Store, key in Google Maps in the search bar, and hit the GET or INSTALL button. It won't take long before the app installs.
If you already have Google Maps on your device, simply find the app on your home screen. It's unmistakable with its iconic map symbol and G logo. It's here where the ability to drop a pin, among other functionalities, shine. Tapping the Google Maps icon will prompt the app to open up and you'll be faced with a map of your current or last known location. If it's your first time using the app, it'll ask for your permission to access your location - a key aspect of dropping a pin.
Remember, getting to grips with Google Maps takes a bit of trial and error, especially if you're a new user. But rest assured, it's a user-friendly platform that'll soon become second nature. The important thing is, you've now accessed the initial portal to drop a pin on iPhone's Google Maps.
Step 2: Find your desired location

Once you've got the Google Maps app open, finding your desired location is the next critical step in the process. Yes, it sounds basic. However, you'd be surprised how many users feel stumped when they can't find the place they're looking for. Luckily, Google Maps has several strategies to pinpoint your preferred location.
Let's dive into how it works. You'll see a search bar at the “top of the screen”. Perhaps you have the exact name or address of your destination. In that case, simply type it into the search bar and presto--the app will direct you right to it. Google Maps' search function is exceptionally responsive and accurate, with real-time updates on traffic and ETA.
Let's say, though, that you don't have a specific address. No worries. Google Maps also allows for a general area search. You want to find the most popular shopping district in Paris but don't know its name? No biggie. Just type 'shopping districts in Paris'. The app will list the most popular ones, based on ratings, reviews, and search frequency.
Handy, right? But it's not just about the search engine power of Google Maps. It's also about harnessing the full potential of the map itself. The map allows you to zoom in to street level, and zoom out to see a larger swathe of geography. You do this by simply pinching or expanding your fingers on the screen. As you move around the map, you'll see your pin drop location and the information it holds on the left side of the screen.
Remember: it's not just about dropping that initial pin. It's also about adjusting and refining your pin locations as your plans and needs change. Don't be hesitant to play around with it. After all, the power here lies in flexibility and adaptability.
Here, in the next section, we'll talk about how you can tailor and tweak your dropped pins to your heart's content. Stick with us as we delve deeper into enhancing your Google Maps experience.
Step 3: Drop a pin

Now we've reached the third step, and it's arguably the most straightforward. You've found your location, carefully using the zoom and drag feature to narrow down its precise position. Next, you're going to drop a pin.
To do so, you simply need to press and hold on your desired location on the map. Be patient as it could take a second or two for Google Maps to recognize your action. You'll then notice a red pin appear, marking the spot you've chosen.
Now you've got it! You've successfully dropped a pin on Google Maps. However, don't rush off just yet. There's still more to discover about the practicalities of this feature.
You can also attach a label or even save your pinned location for future reference. Wondering how? You'll find an info panel at the bottom of the screen with the address or name of your pinned location. Swipe up on this panel and you'll see options to 'Label' or 'Save' the spot. Labeling allows you to add a personal note or title, while Saving will add the location to your 'Your places' section on Google Maps.
While it's simple enough to drop a pin, the power and value of this feature lie in its adaptability. Whether it's saving your favorite restaurant or marking the location of a friend's new house, you can overlay your personal world onto Google Maps.
Remember, it's not just about knowing how to drop a pin but understanding why it's so useful to your navigating experience. Embrace the practicality of pin dropping, utilizing it to reduce stress, save time and effectively plan your journeys.
Well, there you have it. Step 3 demystified and laid bare. In the next step, we'll examine how to adjust your pins, ensuring you're always spot-on with your locations. It will equip you with an extra edge, making every journey, a journey made easy.
Sharing a dropped pin
Understanding how to share a dropped pin adds another valuable dimension to your map-using skill set. It's a great tool for coordinating meet-ups or simply letting people know where you are. As with dropping the pin, sharing your location with others using Google Maps on your iPhone is a cinch.
First off, make sure you're in the Google Maps app and you've dropped a pin on the location you want to share. Press on the dropped pin, and a bottom bar will raise up with some information about the location. You'll then see several options appear at the bottom of your screen. You're looking for the share button - it's usually marked with an up arrow, and you'll find it next to the directions and save buttons.
Clicking the share button will bring up various options for how you can share the pin. Google Maps allows you to send the location directly through apps like Messages, Gmail, and WhatsApp. Alternatively, you can copy a link to the location and paste it wherever you like. It could be a text message, email, or social media post! The people you share the link with will be able to open it in Google Maps and see exactly where your pinned location is.
Sharing with other Google Map users is also a breeze. You can click on 'Share via Google Maps' and then choose a contact from your address book. Once selected, the other person will immediately receive a notification on their device, showing them your shared pin location. Efficient, isn't it?
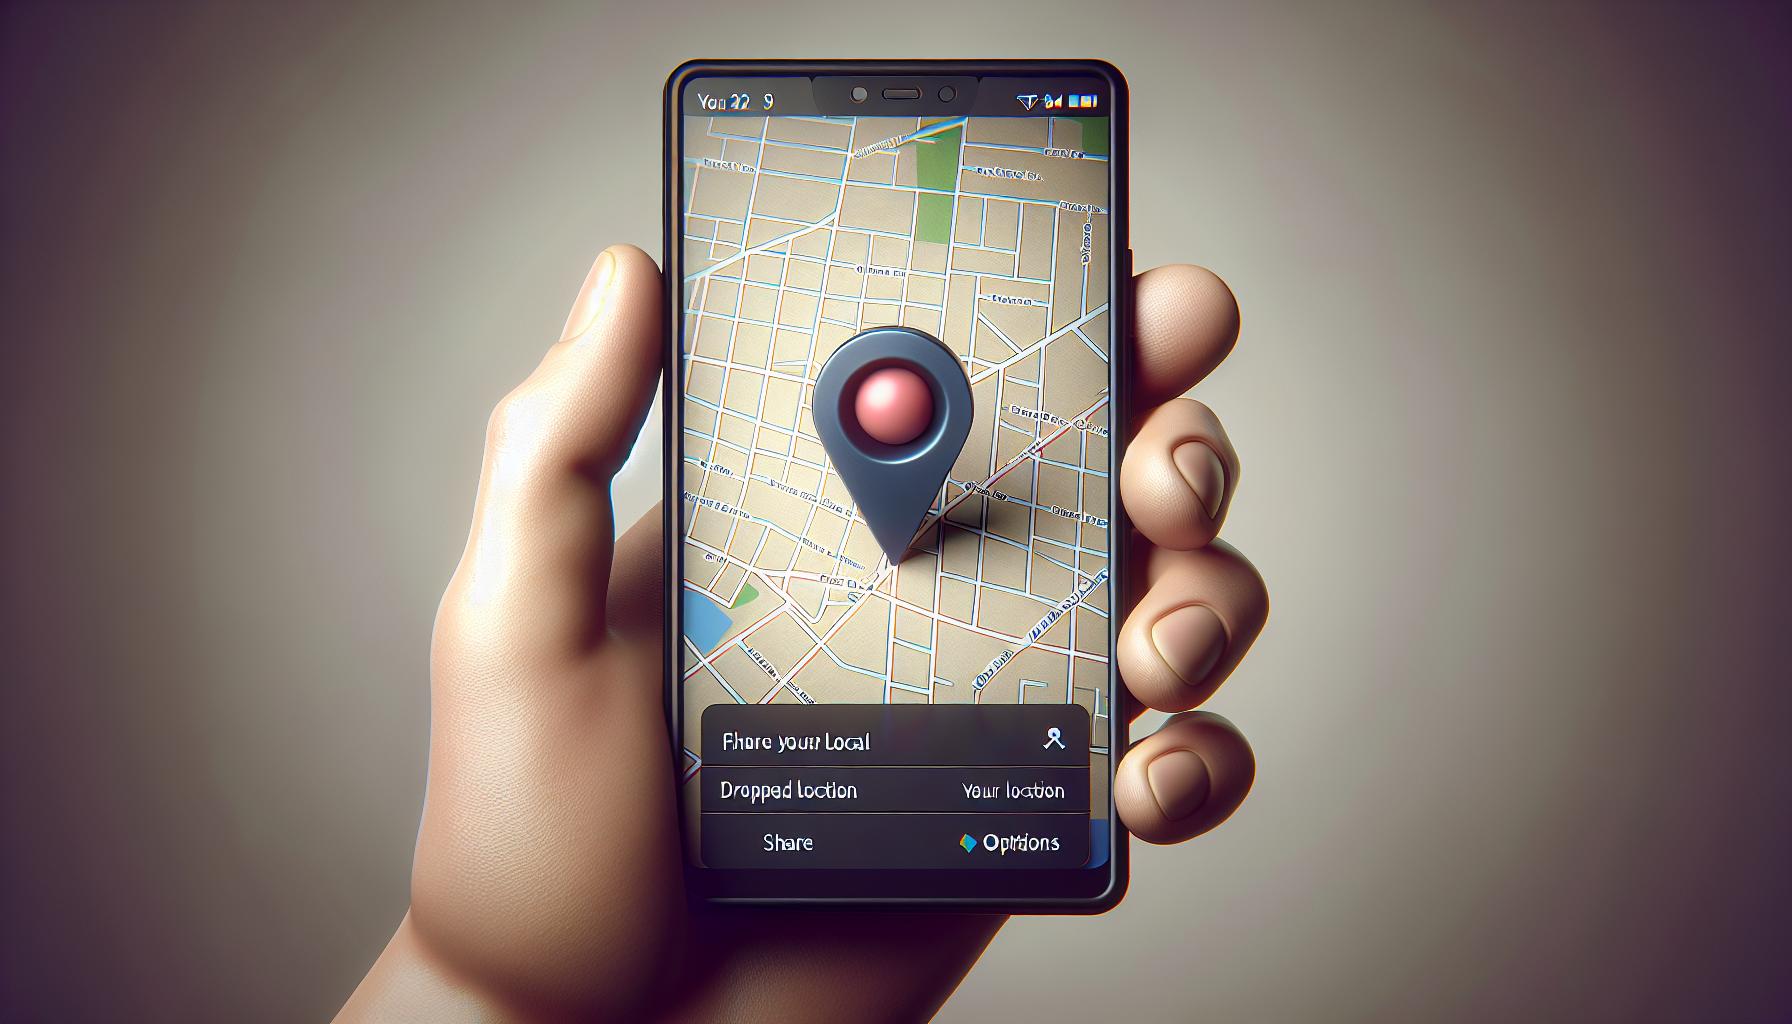
Once you've dropped your pin on the map, sharing the location becomes incredibly simple.
First, make sure you're logged in to your Google account on your iPhone. This gives you access to Google's sharing features. Tap on the dropped pin. A small info pane will appear at the bottom of your screen.
Swipe up on this pane to reveal more options. Look for the 'Share' button and tap it. This will display a range of sharing options including Messages and Email.
To share via Messages, simply tap on the 'Messages' icon. Your dropped pin location will automatically populate in a new message. From here, it's straightforward. You simply type in the recipient's name or contact number, add any additional text you'd like to send, and then hit 'Send'.
Sharing locations over email is very similar. Again, tap on your dropped pin and select 'Share'. This time, choose the 'Mail' icon. A new email will open up in your default email app with your pin location already inserted in the body of the email. Just type in the recipient's email, add a subject, any additional content, and select 'Send'.
To share with multiple people via Messages or Email, just add more recipients.
The dropped pin, when opened by the recipients, will directly show them the exact location on Google Maps. They can use it to get directions or add it to their own saved locations. So, it's time to make your meet-ups hassle-free with this pinpoint sharing strategy on Google Maps!
AirDrop is another efficient method you can use to share dropped pins on Google Maps from your iPhone. Here's how it's done:
- Launch Google Maps on your iPhone and drop your pin.
- Tap on the dropped pin, then tap on the bottom banner with the location details.
- Choose Share from the list of options that appears.
Next, you'll see various ways to share your location. Scroll down and tap AirDrop. All available AirDrop devices within range will appear. Pick the device you want to share your location with from this list. Ensure the recipient's device is set for AirDrop receiving.
The use of AirDrop can allow you to share locations rapidly, and without much hassle. There's no need to swap between multiple apps, and the recipient doesn't need to perform any additional steps to view the location on their device.
Moreover, AirDrop allows for the sharing of a dropped pin even without a stable internet connection, making it ideal for less-than-perfect network conditions. Let's say you're in an isolated location with your friends and need to share your whereabouts – in such cases, AirDrop can be a life-saver.
Remember, your device and the recipient's device must both have Bluetooth and Wi-Fi enabled for AirDrop to work. The ability to share pins via AirDrop notably enhances the versatility of the pin dropping feature of Google Maps. Embrace these handy tweaks and 'map' your way to easier, smoother journeys.
The steps or instructions remain nearly identical if you're sharing the dropped pin with an iPad. Just ensure the iPad is ready and within range to receive via AirDrop.
Sharing via AirDrop brings an added layer of convenience to Google Maps. While sharing through Messages or Email is great, AirDrop can speed up the process when sharing with nearby iOS devices.
Conclusion
You've now mastered the art of dropping a pin on Google Maps with your iPhone. It's a simple yet powerful tool that can make your journey planning a breeze. You've learned not just how to drop a pin, but also how to adjust, remove, and even share these pins. With these skills, you can now easily let others know exactly where you are or where you plan to meet. You've also discovered the convenience of sharing pins through Messages, Email, and even AirDrop. Now, your travel planning and coordination will be smoother and more efficient. So, go ahead and make the most of this feature. After all, it's all about making your life easier and your journeys more enjoyable. Happy pin dropping!
Frequently Asked Questions
How can you drop a pin using Google Maps on an iPhone?
To drop a pin on Google Maps using an iPhone, press and hold on the desired location on the map. This will create a red pin on the spot, which you can use to bookmark, share or navigate to this location.
Can multiple pins be marked on Google Maps?
Yes, you can drop multiple pins on Google Maps. This feature enables you to mark multiple locations at once and make reaching different destinations easier and more efficient.
How can I use Google Assistant to drop a pin?
Simply say the command "Drop a pin" to Google Assistant and indicate the location where you want the pin to be dropped. This is a very efficient way to use Google Maps hands-free.
To share a dropped pin with others using Google Maps on an iPhone, select the dropped pin, tap on the 'Share' button and choose the app you want to share it through, such as Messages or Email.
What benefits does sharing a dropped pin provide?
Sharing a pinned location makes coordinating meet-ups and letting others know about specific locations easier. It's a convenience tool that helps make our lives and journeys smoother.
To share a dropped pin using AirDrop, select the dropped pin, then tap 'Share'. Slide to find and tap 'AirDrop', then choose the person you want to share the pin with. AirDrop allows for quick sharing without the need for multiple apps and works even without the internet.
Why is sharing a pin via AirDrop advantageous?
Sharing a pin via AirDrop is advantageous because it's fast, doesn't require multiple apps, and works without a stable internet connection. This makes it a versatile and convenient method for sharing locations.
