Ever found yourself wondering how to disable incognito mode on your iPhone? You're not alone. It's a common query for many iPhone users who want more control over their browsing privacy.
Disabling incognito mode can help you keep a better track of your browsing history and ensure that you're not inadvertently hiding anything from yourself.
In the next sections, we'll guide you through the process, step by step. It's simpler than you might think, and you'll have it done in no time. So, let's dive right in and get started.
Why disable incognito mode on iPhone?
You might ask, "why bother?" After all, isn't the purpose of Incognito Mode to provide privacy while browsing? That's true. However, there are compelling reasons for you to reconsider using this feature continuously.
For starters, Incognito Mode gives a false sense of security. It's designed to keep your browsing history out of sight, but it doesn't keep you anonymous online. So, if you think your actions are invisible to others, that's not exactly the case. Internet Service Providers or anyone on the same network can, in fact, see what you are up to.
Monitoring your browsing history, on the other hand, can be a useful habit. It allows you to track where you've been online and revisit interesting sites. Without it, you lose access to this personal browsing record.
More importantly, it promotes honesty and transparency. For parents, staying out of incognito means letting your children know there's nothing inappropriate being searched on family devices. It's not about snooping, but about fostering an environment where everyone is open about their online activities.
You understand the reasons to disable this mode. Up next, we will walk through the process of how to disable Incognito Mode on your iPhone step by step. It's more straightforward than you might think, so let's get started.
Step 1: Open the "Settings" app on your iPhone
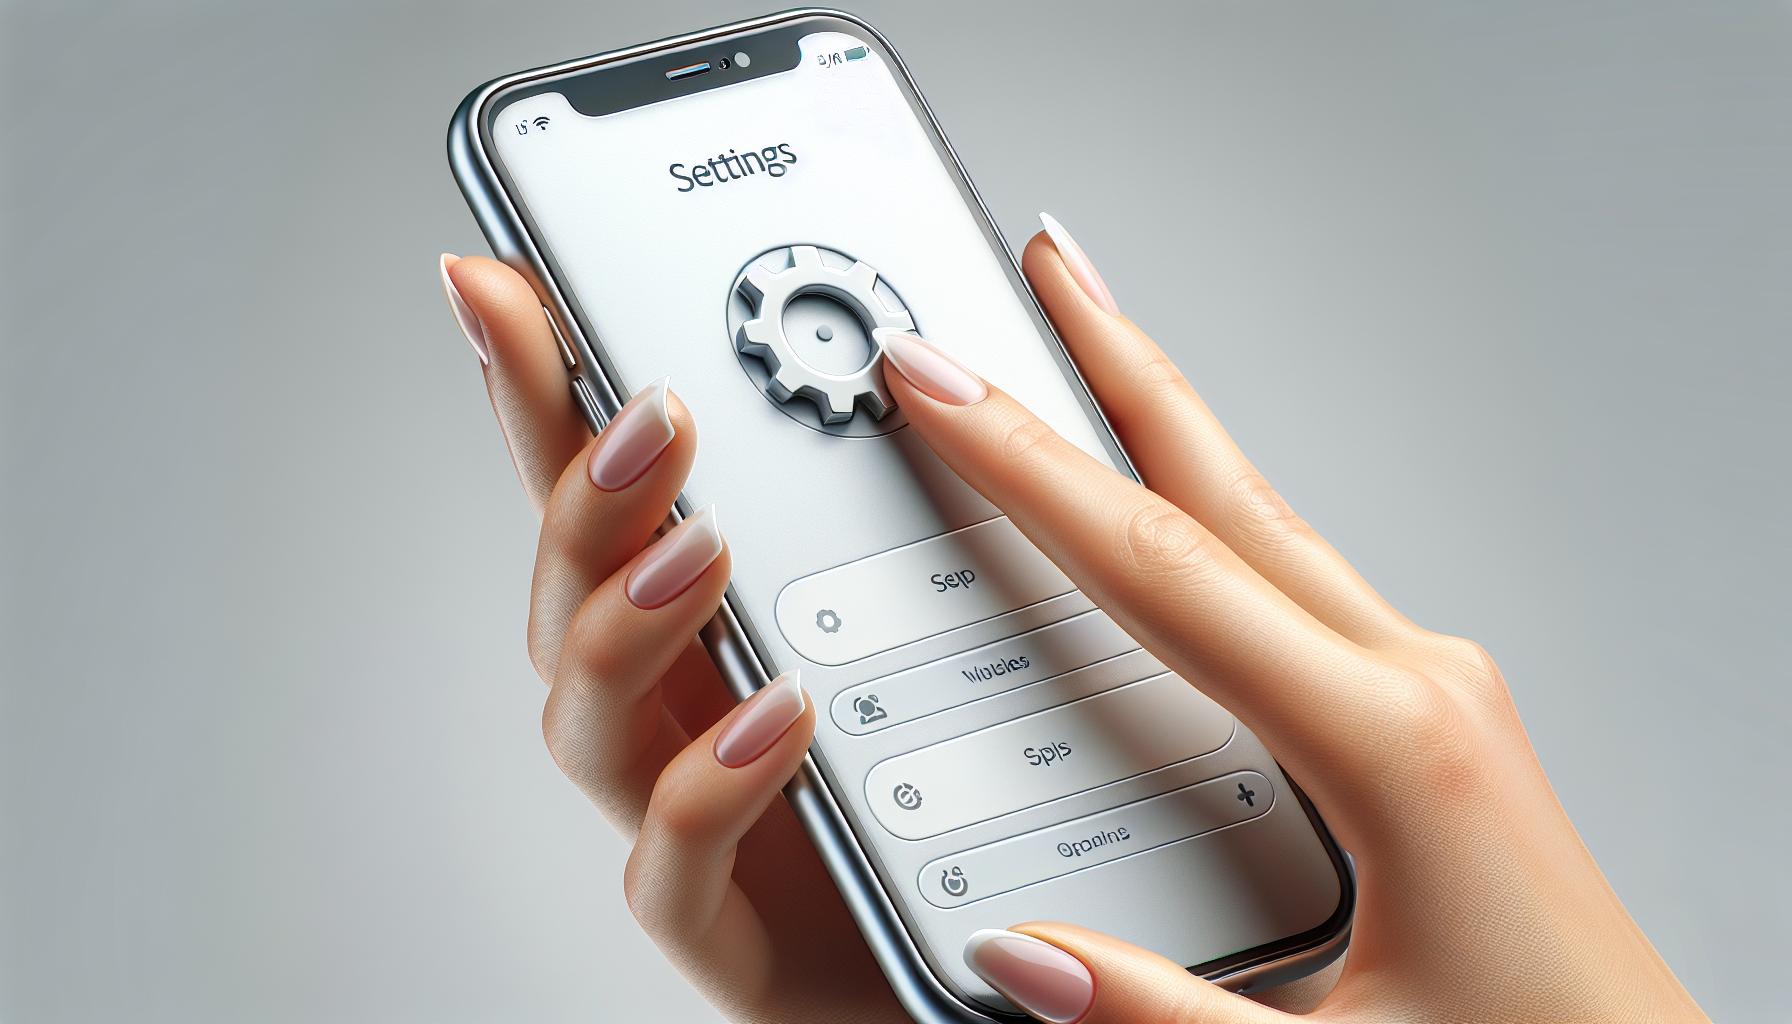
Grab your iPhone and navigate to your home screen. You'll find the Settings icon there. It's the one that's generally grey and has little gears on it. So, let's start the process of disabling incognito mode.
Unlock your iPhone - punch in your pin code, use the fingerprint scanner, or face recognition, whatever security measure you've chosen. On the home screen, you'll see many app icons. Find the Settings icon amidst them. This icon, often located on your primary home screen, can sometimes be moved to a secondary screen or inside an "Utilities" or "Apple" folder.
Don't feel unnerved if you can't locate the Settings icon immediately. You have another quick and easy option to access it. Just swipe down on your screen from top to bottom. This will activate the search functionality of your iPhone. Enter "Settings" in the text box and voila! The iPhone will instantly fetch the Settings app for you.
Click on the icon, and you'll be taken to the main settings page of your iPhone. This page stores the blueprint of your iPhone preferences. It's like entering a control room where you adjust several settings according to your needs. But remember, our mission here is to disable incognito mode on your Safari browser.
So, when you've found yourself in the settings, that's already one step done! Now you're ready to journey into the specific settings within your Safari browser, which we'll cover in the subsequent sections.
Step 2: Scroll down and tap on "Screen Time"
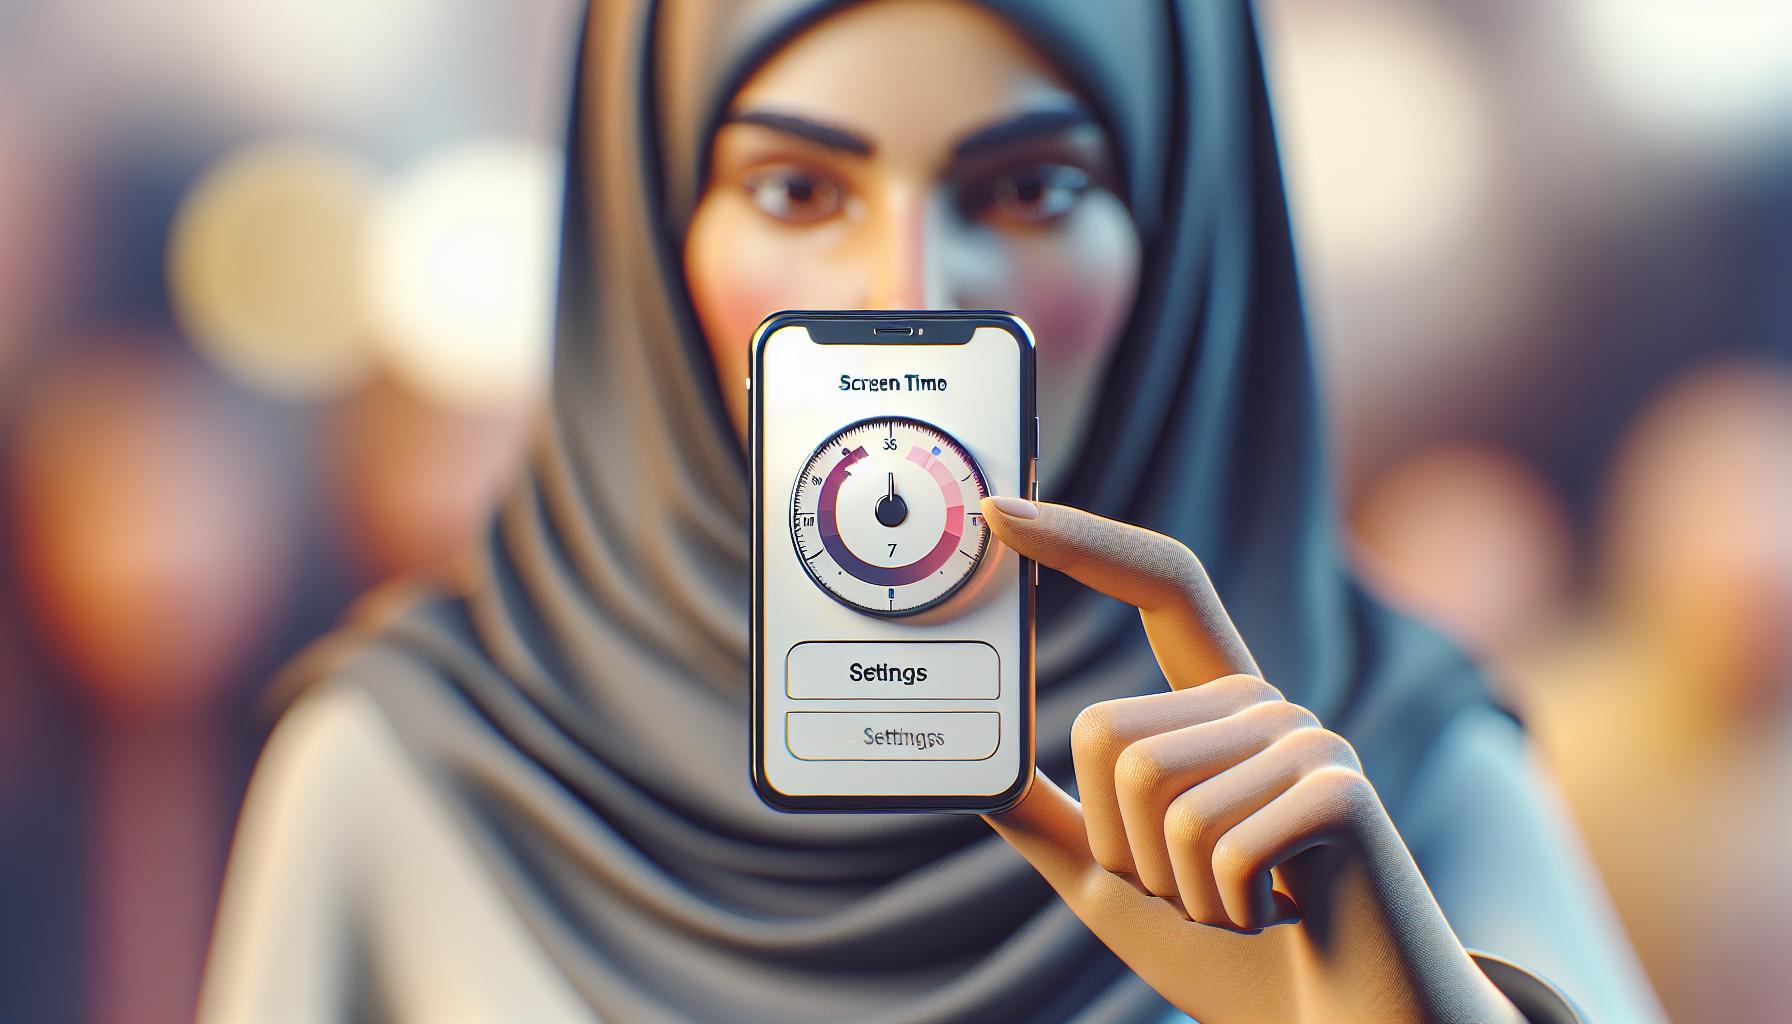
Once you've successfully accessed the Settings app on your iPhone, it's time to take the next step in disabling the incognito mode. For this, you'll need to explore the lesser-known arenas of your iPhone, namely the "Screen Time" option.
By scrolling down the main Settings menu, you'll notice a variety of options. Amidst these options, you'll find Screen Time nestled between "Sounds & Haptics" and "General". This specific setting is going to be your golden ticket in achieving our primary goal of disabling the incognito mode on Safari.
Tap on the "Screen Time" option to open a plethora of choices that help manage your iPhone usage effectively. Not only does this feature allow you to keep a tab on how much time you spend on certain apps, but it also helps restrict selected features on your iPhone. Yes, you guessed it right. "Screen Time" is the battleground where you'll fight the fight of disabling the incognito mode.
With "Screen Time" now open on your iPhone, it's time we move onto understanding its contents better and tweaking them to serve our purpose. The series of steps you've taken so far might appear complicated, but keep in mind, your mission to secure your online privacy is a stride away. The key to continue is to dive deeper into the "Screen Time" settings.
In the exciting section that follows, you'll learn about setting up or changing the "Screen Time" passcode and using the same to stake claim over your browsing discretion. So, hold on to the curiosity as we further dissect the "Screen Time", bringing you closer to protecting your digital footprint on your iPhone.
Step 3: Tap on "Content & Privacy Restrictions"
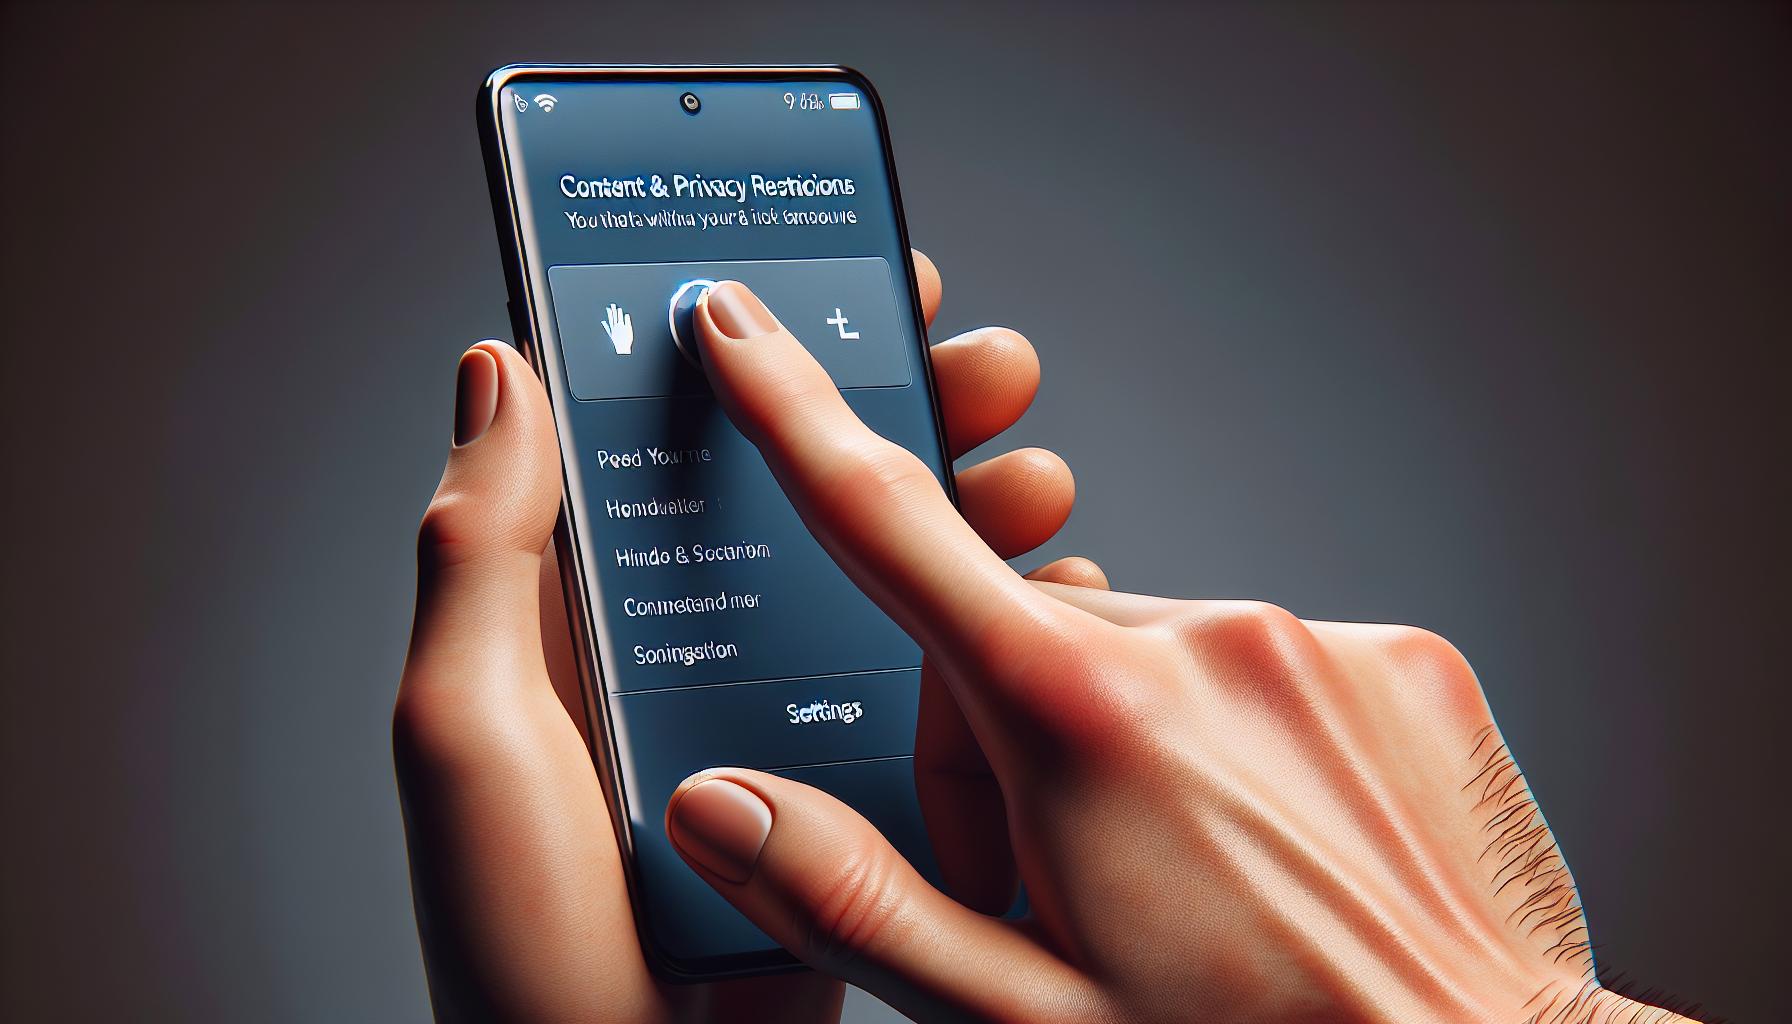
As we venture further into your iPhone settings, the next vital step is to find and tap on the option labeled "Content & Privacy Restrictions". This selection plays a crucial role in your quest to disable Incognito Mode on Safari. Predominantly, it's this feature that allows you to exercise control over your content and maintain the desired level of privacy.
After tapping on "Screen Time" that we discussed in the previous section, you'll find "Content & Privacy Restrictions" as the second option. It's the portal to altering privacy settings, as well as controlling the certain content that appears on your device. Plus, it gives you the ability to restrict or permit changes to your privacy settings.
Once you've arrived at the "Content & Privacy Restrictions" option, it’s crucial to ensure that the switch at the top of the screen is in the On position. If it isn't, Safari won't register any changes in settings that you will make in the next steps. Simply slide the switch to the right to ensure it’s enabled. This green lit switch ensures that the restrictions you set are now active.
After enabling this feature, the below options will become visible:
- iTunes & App Store Purchases
- Allowed Apps
- Content Restrictions
Each option has its own set of settings that you can customize to your satisfaction. These settings could cover a wide array of elements from in-app purchases to content age ratings. We'll delve deeper into how to maneuver through these settings in the upcoming sections.
Remember, consistency and attention to detail are paramount. Do not rush through the steps, rather, take your time to study and understand each option, its functionality, and how it impacts your overall browsing experience on Safari. Every choice you make will have certain implications, so it's best to make an informed decision.
Step 4: Enable Content & Privacy Restrictions
It's time to dive deep into Screen Time's treasure trove of privacy options. The Content & Privacy Restrictions is your gateway to control and command your browsing liberty.
Once you're on the Screen Time page, scan your eyes towards the 'Content & Privacy Restrictions'. Don't hesitate to tap on it - this is your path to disabling Incognito Mode in Safari. This selection might seem trivial, but it carries immense significance. It's important to ensure that the switch for 'Content & Privacy Restrictions' is turned on, as this activates all the specifications set by you. A green switch indicates that the feature is enabled.
The moment you switch on the 'Content & Privacy Restrictions', you unlock a powerbox of customizations. iTunes & App Store Purchases, Allowed Apps, and Content Restrictions - are prime examples.
Explore each one. Understand what each of these offer and how it impacts your browsing habits:
- iTunes & App Store Purchases: This capability gives you the power to customize installation and deletion of apps, along with in-app purchases. It's a safeguard to limit unauthorized access or restrict impulsive shopping.
- Allowed Apps: This feature provides checkboxes for the various apps available on your iPhone. Unchecking a box makes the app vanish from your home screen. It's not really uninstalled, just hidden.
- Content Restrictions: Want more control on content your browser can access? This is exactly what you need. From here, you can restrict explicit content, set age limits for shows, movies, and restrict adult websites.
Enjoy the liberty to personalize each setting to your comfort level. Remember, these controls are here to enhance your browsing experience, not limit it. They're like the invisible safety net that keeps you safe while you enjoy the trapeze act of internet browsing.
Step 5: Tap on "Allowed Apps"

Having enabled "Content & Privacy Restrictions," you've unlocked a realm of customization and control. It's now time to zone in on the specific area we're interested in: disabling the incognito mode on your iPhone. You'll want to tap on "Allowed Apps".
In the "Allowed Apps" section, you find a list of native applications that come pre-installed on your iOS device. This includes apps like Safari, Camera, Mail, and FaceTime, each with a toggle switch beside them. These switches let you enable or disable said apps, controlling their visibility on your device.
The key to disabling incognito mode lies in navigating this section correctly.
Now you're thinking, "Why am I dealing with apps when I just want to disable incognito mode?" Well, bear with us; the connection is coming up.
Depending on your iOS version, you might notice the "Web Content" option. Herein lies the crux of our journey. This section allows you to control the type of content that can be browsed in Safari.
Can you see it now? That's right; Safari's in-private browsing, also known as incognito mode, falls under our scrutiny now. Safeguarding yourself or your loved ones from specific or explicit web content involves handling Safari's browsing options.
Despite the convolution, don't you find it impressive how intimately interconnected iPhone's Services are? There's a sweet sense of synergy at play here, creating a seamless user experience.
Now you're set to proceed deeper, to navigate further into the labyrinth of controls and ultimately adjust Safari's web browsing options. And with that, we move on to our next step: exploring the "Web Content" section in detail.
Stay with us, you're almost there. This journey of customization, while layered, is so designed to give you a full control suite over your iPhone experience. This flexibility is, after all, what sets an iPhone apart.
Remember, knowledge is power, and aiming for a tailored user experience is always a worthy pursuit.
So, without any ado, let's dive right into our next step.
Step 6: Disable "Safari"
As you navigate through iPhone's settings, it's critical to understand that you'll need to disable Safari fully to make any adjustments in controlling content and disabling incognito mode.
The path for this action is under Allowed Apps in the Content & Privacy Restrictions settings. You'll find this feature through the Screen Time options. By choosing this path, Safari will appear as an option. To the right-hand side of the screen, toggle the switch to off - indicating that Safari is now disabled.
Why, one might ask, would you need to take such a step? To clarify, Apple doesn't directly provide an option to disable the incognito mode on Safari. But by disabling Safari, it removes the incognito option by default. This approach effectively recalibrates your iPhone's browsing settings to a standard mode, which subsequently blocks any private browsing activities.
Interestingly, this action doesn't limit you from browsing online. It simply changes the browser you use altogether. For instance, you're able to utilize other browsers, such as Chrome or Firefox, that are available in the App Store. These alternatives may provide an incognito mode - but this condition will no longer be a concern within the native Safari app.
Remember, whatever changes you make are reversible. If you ever need to enable Safari again for any reason, say, for instance, you need the user-friendly layout or unique features it provides, simply follow the same steps and toggle the switch back on. Your iPhone gives you the power to tailor your browsing experience to your preference.
There are numerous ways to customize your iPhone settings to meet your needs. In this case, disabling Safari can be a beneficial step in managing web content and disabling incognito browsing. Among other measures, it's a practical way to control the type of material that can be browsed in Safari. Adjusting your browsing options through these settings is one way to truly take control of your iPhone.
The next part of this guide will assist you in exploring the "Web Content" section in detail. There, you'll be able to adjust filter settings to your taste and add an extra layer of control to your web browsing activities. Regardless of what you need your device for, be it work or leisure, these settings enable you to make optimal use of it.
Step 7: Open the Safari app and test the changes
Alright, now it's time to test if the changes performed hold up in real practice. After you've effectively disabled Safari and made adjustments in the "Web Content" section, your next step is to open the Safari app again.
Launch the Safari app from your iPhone's home screen. It's a pre-installed app with a blue compass icon. Once inside, notice how the interface of the browser is altered. The option for private browsing, which usually resides in the lower left corner, should be conspicuously missing. If it's been done correctly, the evidence of your success is the absence of the "Private" button.
Though you can still browse websites, no option for private browsing should be visible, which means incognito mode has been effectively removed from this specific browsing application. Essentially, you've rewired your Safari browsing to work in standard mode only.
Remember, this new browsing condition in Safari doesn't restrict your general internet accessibility; it only controls the channel through which you connect to the internet. Other browsers, like Chrome and Firefox, installed on your iPhone can still be used. This method simply eliminates the incognito browsing choice in Safari.
Even though you've made these changes, you've not permanently restricted your phone. The procedures are all reversible. If needed, you can reinstate Safari to its original state, with the incognito mode available, by enabling Safari and altering the settings in the "Web Content" section.
Onto the next part of this guide: we'll dive further into how to monitor your iPhone's other browser apps and implement additional security strategies for your web browsing. After all, taking control of tech serves to enhance both your understanding and usage of your iPhone. So, stay with us and don't go anywhere as we give you yet more ways to command your iPhone's capabilities to the max.
Conclusion
You've now got the know-how to disable incognito mode on your iPhone. By disabling Safari, you've removed the incognito option and recalibrated your browsing settings to a standard mode. Remember, this doesn't limit your online browsing as you can still use other browsers like Chrome or Firefox. Testing your changes ensures that incognito mode has been effectively removed. And don't worry, these changes aren't set in stone. You can always enable Safari again if you need to. Stay tuned for further insights on monitoring other browser apps and boosting your web browsing security on your iPhone. You're well on your way to a more controlled and secure browsing experience.
1. How can I switch off incognito mode on an iPhone?
You can disable incognito mode by fully disabling the Safari browser on your iPhone. This removes the incognito option by default and sets your iPhone's browsing settings to a standard mode that doesn't allow private browsing activities.
2. Does disabling Safari limit online browsing?
Disabling Safari does not inhibit online browsing. You can still browse the internet using other browser applications like Chrome or Firefox on your iPhone.
3. Are the changes irreversible?
No, the changes you make to disable Safari and hence the incognito mode are not permanent. You can enable Safari again whenever you wish.
4. How can I test if the changes have worked?
After disabling Safari and thereby the incognito mode, you can test the changes by opening the browser and checking if the option for private browsing is available. If it's not, the changes have worked as expected.
5. What does the next part of the guide offer?
The subsequent part of this guide aims to provide additional details on how to monitor other browser applications and how to implement further security strategies for web browsing on your iPhone.
