Ever felt the need to take a break from the constant buzz of Facebook notifications on your iPhone? You're not alone. Many of us have been there, contemplating a digital detox. Deactivating Facebook on your iPhone isn't as complicated as it may seem.
In this guide, we'll walk you through the process, step-by-step. It's a straightforward task, and you'll be surprised at how quickly you can regain control over your digital life. So, if you're ready to say goodbye to Facebook (even if it's just for a little while), you're in the right place.
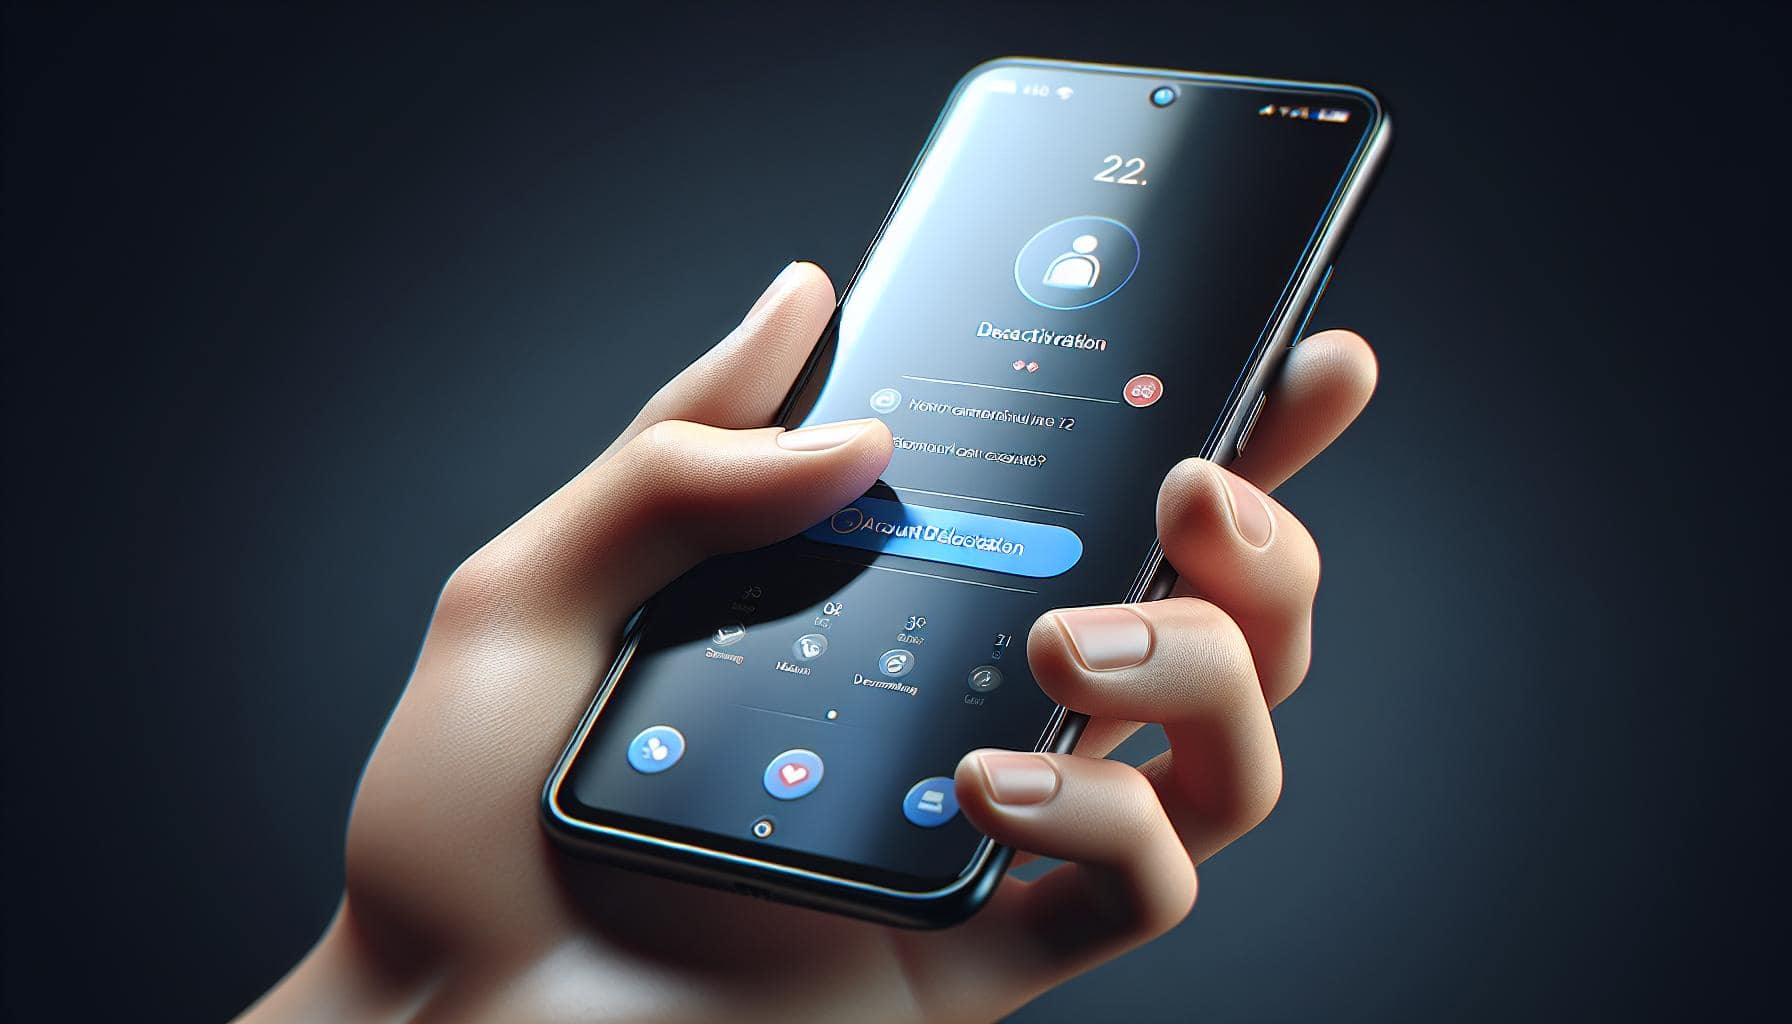
Remember, deactivating isn't the same as deleting. You can always reactivate your account when you're ready to jump back into the social media world.
How to Deactivate Facebook on iPhone
Moving on, you'll find that the process of deactivating Facebook on your iPhone is quite easy. You don't need any technical expertise. No worries if you're not tech-savvy, this guide is built for you and guarantees a swift operation.
Before we dive in, let's highlight the importance of understanding the difference between deactivating and deleting your Facebook account. They're not the same. Deactivating gives you the choice to return whenever you want. It's more of a short-term solution if you're feeling overwhelmed by the constant social media exposure. On the other hand, deleting is permanent and you won't be able to restore your account.
Let's get to the steps.
- Launch the app and log into your account if you're not already.
- Tap on the three horizontal lines in the bottom right corner.
- Scroll down and tap on Settings & Privacy, then Settings.
- Scroll down to the bottom, under Your Facebook Information, tap on Account Ownership and Control.
- Now tap on Deactivation and Deletion.
- Choose Deactivate Account then continue to Account Deactivation and follow the prompts to confirm.
Easy, isn't it? Remember you can reactivate your Facebook account anytime. Just log back in to reactivate. But remember, it might take some time for all of your content to get restored.
Say goodbye to those endless feeds for a while. The key here is, you're regaining control over your digital life. Social media's great, but when it starts to overwhelm, it's time for a short break. Now, with the help of this simple guide, you can take yours.
Step 1: Open the Facebook App

Not to worry, it's all about taking control over your digital life and we guide you through this process. As we explained earlier, we're setting you on the path to social media freedom. So, let's get started on deactivating your Facebook account.
First things first, locate the blue icon with the white 'f' on your iPhone's home screen - this is your Facebook app. Give it a quick tap to launch it. Remember, it's quite possible you may have arranged your apps into folders, so if you don't see it right away, don't panic. Take a moment to look through your folders or swipe left or right on your home screen.
Once you've found the Facebook app, simply tapping it will open the app, taking you straight to your newsfeed - that steady stream of updates, photos, and status changes from your friends and pages you follow. As experienced Facebook user, you're quite familiar with this screen.
What you're looking for now is the 'Menu', a symbol often represented by three horizontal lines, located in the lower right corner of your iPhone's screen when browsing Facebook. This will give you access to much more than just your friend's latest updates or the pages you follow. You are just a few taps away from beginning the deactivation process.
Isn't this straightforward? You're moving along the path towards gaining control over your digital life. Your iPhone is often the access point to your social media world, a world which can often become overwhelming. But remember, you're not deleting, you're just pressing the pause button on Facebook.
Okay, are you ready for the next step? Good. Let's move forward.
Step 2: Tap on the Menu Icon

In this phase, we get down to the nitty-gritty of deactivating Facebook on iPhone. Remember, you're just one tap away from gaining further control over your digital life.
After you've successfully launched the Facebook app on your iPhone, look on the lower right corner of your screen. There you'll spot a menu icon that's commonly represented by three horizontal lines stacked upon each other. Tapping this icon smoothly transitions you to the main menu of Facebook.
Engulfing your senses may be various account features and options like Friends, Marketplace, Groups and more. Do not, however, let such distractions veer you off course. You're here for one primary purpose: to take a significant stride towards deactivating your Facebook account.
Note, the interface and exact placement of the menu icon might vary slightly based on the Facebook app version you're using. But, irrespective of the changes, the menu icon is easy to spot. This phase of the operation is simple; it's all about locating that menu icon and giving it a purposeful tap.
Once you tap this icon, you're prompted with numerous options that play a substantial part in personalizing your Facebook experience. These encompass your profile, Friends, Groups, Marketplace and a host of other features that make Facebook an enjoyable platform.
Still following along? Good! In the subsequent steps, we will delve into the exact identification of the settings menu, where all the magic to deactivate your Facebook lies. As you aim to reclaim control over your digital life, remember that every step brings you closer to your desired goal.
The path to deactivating your Facebook account might entail more steps than initially anticipated but, it’s quite straightforward. Hang tight and continue navigating this process with sheer determination and before you know it, you'll be well on your way to achieving the digital freedom you desire. One tap at a time.
Step 3: Scroll Down and Tap on "Settings & Privacy"

Now that you've managed to navigate the Facebook menu, the next phase is a cakewalk. You're making solid strides towards achieving your digital freedom.
You'll find a myriad of options in the Facebook menu. Don't allow yourself to be overwhelmed by them. Your target is the "Settings & Privacy" option. It may not be immediately visible on your screen. Scroll down, and there it will be, awaiting your tap. Its placement might change with Facebook updates, but it’s typically nestled within the menu, closer to the bottom.
After you've located "Settings & Privacy", tap on it. This will lead to an expanded menu. Here's where Facebook encloses all the crucial materials related to your account security, privacy-terms, user responsibilities, and a lot more. The similar menu list looks something like this:
| Sub-menu under Settings & Privacy |
|---|
| Settings |
| Your Time on Facebook |
| Privacy Shortcuts |
| Terms and Policies |
But, don’t dive too deep into these just yet. Remember, the goal is to deactivate your account, not to get caught up in other settings. Amidst all these important signposts, your mission is to continue forth, take a sharp right turn and head for the 'Settings' option. This selection will withdraw yet another menu. There, you are to locate the "Personal Information" section.
Partly, taking these steps keeps you focused on deactivating Facebook on your iPhone. You're inching towards bridging the gap between you and your digital freedom. Be assured that all this effort you're putting in will yield significant benefits. Soon, digital detox will be more than just a dream, and your journey unfolds as you go. The next sections will guide you further down this path. Keep going, you're closer to your final destination with every click.
Step 4: Tap on "Settings"

Reaching this point, you're halfway home. The interface is fairly straightforward, and you're just a few steps away from managing your digital footprint with precision.
After you've opened "Settings & Privacy," you'll see an assortment of options. Yet, your goal isn't to get lost in the noise. You're here to do one thing: deactivate your Facebook profile.
Focus on the fourth option from the list, labeled distinctly as "Settings". This innocuous button is your gateway to regaining control over your social media presence. Remember, you're not uninstalling or deleting anything, just temporarily disconnecting.
If you've managed to follow the steps up to this point, then you're doing exceptional. On a touchscreen interface getting where you need to be, comes down to a few well-placed taps. There's no need for jargon-filled how-to's or technical troubleshooting.
So, go ahead and tap on "Settings". As an action point, this is straightforward. The button is responsive even to gentle taps, making the process decidedly fuss free.
The work you've put in so far paints a clear picture: you're in charge. You're dictating terms on how you engage with digital platforms. This step demonstrates that once more, and sets the stage for what's to come next.
Remember, there's no turning back now. In actuality, that couldn't be further from the truth. One of the best aspects of this process is the flexibility it affords. Changed your mind? No problem, as reviving your profile is as easy as logging back in.
With "Settings" now open, you're in the driver's seat. The power is in your hands and you're closer to deactivating your Facebook profile. Just a few more steps, and you're there.
Step 5: Tap on "Account Ownership and Control"

After reaching the "Settings" stage, you'll see a plethora of options. Amidst this list, you've got one target - the menu titled "Account Ownership and Control". It's like finding a needle in a haystack, but we promise, it's there.
You've successfully tidied up the loose ends in the previous steps. Your efforts now lead you to the brim of digital freedom and control over your privacy.
This step might seem like a puzzle at first; that's why it's important to stay focused.
Once you've found "Account Ownership and Control," give it a tap. Remember, this is your journey towards achieving a screen detox, and the fifth step of our guide holds significant weight in this process.
In the "Account Ownership and Control" section, you'll find settings related to your account. This is where Facebook hides the options to deactivate or delete accounts. Sneaky, isn't it? But you're one step ahead because you're already in the know.
As you navigate this treasure trove of settings, you'll be surprised by just how much control you can have over your Facebook account. But don't let that divert you from your original goal - deactivation.
While proceeding, make sure to remember this tip: Take each step with confidence and knowledge that you're absolutely on the right path. Your digital detox journey may seem big, but each step brings you closer to your ultimate goal.
Let's not keep freedom waiting. Onwards to the next step as we delve deeper into the "Account Ownership and Control" settings - where your digital freedom truly begins to take shape.
Step 6: Tap on "Deactivation and Deletion"

Proceeding diligently through this process brings you closer to your target of achieving digital freedom. The next critical action is to tap on the "Deactivation and Deletion" option. You'll find this option listed under "Account Ownership and Control". Keep in mind that deactivation and deletion have different implications, and by this, you're choosing voluntarily to halt Facebook activities temporarily or permanently, depending on your choice.
When you tap on the "Deactivation and Deletion" tab, you'll see a new page with two options: "Deactivate Account" and "Delete Account". Should you desire to deactivate your Facebook instead of deleting it, like taking a break from it without losing your data, confidently go ahead. If you are sure you don't want those pictures, friendships, interactions, and everything else stored up in the Facebook ecosystem, choosing deletion is the way to go. Understandably, it's your journey towards digital freedom, and you are in control.
A key point to remember is that deactivation is temporary, while deletion is permanent. Deactivation means you're hidden from Facebook until you reactivate your account, and deletion means your data will be erased after thirty days of confirming your action. So take a moment, re-evaluate your choice knowing fully what each option means, and choose with conviction.
Remember, you're doing all that it takes to simplify your digital life and limit distractions in your journey towards accomplishing increased productivity. So, as you've started, maintain the focus, and keep going. You're just a couple of steps away from completing the task. But for now, the choice is yours to make: "Deactivate Account" or "Delete Account".
Also, don't forget that you can always ask for help when you encounter confusing parts. Several online resources are at your disposal to guide you. Just reach out, tap the right buttons on your phone, and continue your digital decluttering. After all, it's your world; only you can cleanse it.
Step 7: Select "Deactivate Account" and Confirm

After making up your mind between deactivation and deletion, you're one step closer to experiencing digital freedom. Now, it's time to proceed to the next essential action - selecting the "Deactivate Account" option.
On your iPhone screen, once you've tapped on "Deactivation and Deletion," you'll be presented with two options to either "Deactivate Account" or "Delete Account." Keep your main goal in mind, and if you've decided for a temporary break, tap on "Deactivate Account".
In the interest of making the process clear, it's worth mentioning what you'll encounter next. A screen titled "Are you sure you want to deactivate?" will pop up. Upon seeing this, some may second-guess their decision, wondering if they're doing the right thing. It's perfectly normal to feel this way.
Think about how this choice aligns with your goal of securing digital freedom. If you've thought it through and are sure about this step, proceed and press the red "Deactivate" button, confirming your action.
Following your confirmation, another alert message will appear, titled, "Enter Your Password." Type your password into the provided field and tap "Submit." Remember, this is a safeguard put in place by Facebook to ensure that the person trying to deactivate the account is indeed you. So don't fret, it's all part of the process.
At this point, congratulations are in order because you've successfully navigated through one of the crucial stages of deactivating your Facebook account. Moving forward, you'll face the final steps of this process. It's a good time to remind yourself of the significance of patience and focus while achieving your digital freedom. It's clear that the end is near. Don't let yourself get carried away yet — the process isn't over until it's over.
Step 8: Enter Your Password and Deactivate
Once you've selected and confirmed the "Deactivate Account" option, a new dialogue box will pop up. Your journey to achieving digital freedom is nearly complete.
In this important step, you'll be required to enter your password. This is a security measure put in place by Facebook to confirm your identity and ensure your account's safety. Never underestimate the importance of these security checks. Make sure your password is secure and known only to you, even for minor tasks like deactivating your account.

With the password prompt on your screen, key in your Facebook account's password. Make sure you enter it correctly to avoid any hitches that might delay your liberation from the digital space.
Once you've confirmed your password, a final prompt will appear. Facebook will ask if you're certain about deactivating your account. Apply careful thought at this stage. Remember, deactivation is a temporary measure, not a permanent one. If you're looking for something more permanent, you might want to consider the deletion option.
Upon confirming this prompt, your account will be deactivated. You've successfully taken back your time and distanced yourself from the digital world without deleting your digital footprint entirely. Bravo!
Going forward, don't panic if you feel the urge to return. Facebook has designed this feature to be used multiple times. You can reactivate your account at any point just by logging back in. This flexible option sets deactivation apart from deletion and it's a good reminder of the transient nature of your digital freedom.
Do remember, deactivating is just a pause, it doesn't result in permanent digital freedom. For that, you'll need to opt for deletion. But remember, deletion is the equivalent of burning bridges - there's no going back. With deactivation, you're opening the door to a hiatus. Quick, easy, and temporary.
Whatever your privacy needs, the key is making informed decisions. Choose wisely and always double-check your steps before proceeding. Everyone's journey towards digital freedom is distinct and unique. Yours should be too.
Step 9: Confirm Deactivation
With your password entered and ready to proceed, you've nearly completed the Facebook deactivation process on your iPhone. However, there's still one important hurdle left to cross - the confirmation of your account deactivation.
At this point, Facebook will ask you to confirm your decision. This will often be through a pop-up message or dialog box. It's a fail-safe mechanism designed by Facebook to ensure you're clear about the course of direction. It's important not to rush through this, but take a moment to confirm.
When you see the prompt to confirm, click on the "Deactivate" button. This is a critical step in the process of deactivating your Facebook account. Remember, deactivation is different from deletion. Deactivation is a reversible action. It simply means you're choosing to make your profile invisible to other users and that you won't show up in searches on Facebook.
Also note that deactivating Facebook does not erase your data from the social media platform. Your photos, posts, friends, and record of activity will remain intact. You're merely suspending visibility. Should you wish to return to Facebook, all you have to do is log back in to reactivate your account. This makes deactivation a highly suitable option for those who only want a temporary break from the social media platform.
Getting through this stage signifies you've successfully deactivated your Facebook on your iPhone. It's a manageable task - one that demands zero technical prowess. Just follow through the process with due consideration.
You've now learned the fundamental aspects of deactivating a Facebook account on iPhone.
Conclusion
You've now got the knowledge to deactivate Facebook on your iPhone. It's a simple process that doesn't need you to be a tech whizz. Remember, deactivation is not deletion. It's merely a pause button for your Facebook activity, keeping your data intact. Ideal for those who need a breather from the social media world. But the choice is yours. It's all about what fits your privacy needs the best. So, go ahead, take control of your online presence in a way that suits you.
What does the article guide you on?
The article provides a simple, guided walkthrough on how to deactivate Facebook on an iPhone.
What is the difference between deactivating and deleting according to the article?
According to the article, while deactivation is a temporary and reversible action that does not delete data from Facebook, deleting, on the other hand, removes all the data and is not reversible.
What is the ninth step in the deactivation process?
The ninth step in the deactivation process involves confirming your decision to deactivate your account.
Is any technical expertise required to follow this guide?
No, the guide is simple and straightforward, requiring no technical expertise to follow through.
Is deactivating a Facebook account a permanent action?
No, the article highlights that deactivating a Facebook account is not permanent and can be reversed.
Who is deactivation most suitable for according to the article?
The article suggests deactivation is suitable for those who wish to temporarily take a break from Facebook, without losing their data.
What should readers consider while deciding between deactivating and deleting their Facebook account?
The article concludes by advising readers to make an informed decision that best aligns with their privacy needs when choosing between deactivation and deletion.


