Ever wondered how to clear your browser history on your iPhone? It's a common query, and you're not alone. Whether you're looking to free up some space, improve your device's performance, or simply maintain your privacy, we've got you covered.
In just a few easy steps, you'll learn how to wipe your browsing history clean. It's a simple process that doesn't require any special technical skills. So, whether you're a tech-savvy iPhone user or a beginner, this guide is for you. Stay tuned as we delve into the nitty-gritty of clearing browser history on your iPhone.
Why clear your browser history?
Having pondered upon how to clear your browser history on an iPhone it's time we delve into the why behind it. Why should you decide to erase your browsing history? The answers to this could potentially encourage a tweak in your usual digital practices so pay close attention.
First off, your iPhone stores a vast galore of data from the websites you visit to make the experience more fluid for future surfing. This data could pile up, leading to your device running slow or stalling. You might not realize it but clearing the browser history can help improve your iPhone's performance. Imagine being freed from the continually increasing cache files hogging your phone's storage.
Another reason lies in the amount of personal information your browser history can hold. It's a digital record of everything you've clicked on, sites you've visited, your online transactions, and searches. Threats to privacy aren't always external. Sometimes individuals who have access to your phone could also breach your privacy. Indeed, maintaining your privacy is of paramount importance and a good place to start is your browser history.
Lastly, there's a matter of those pesky ads. Wondering why you've been seeing an overwhelming amount of ads about a product you just randomly searched for? Well, cookies stored through your browsing history come into play here. They assist advertising platforms in tracking your interests and displaying targeted ads that coincide with your recent searches. So, if you’re bothered by personalized ads popping frequently, it might be time to clear those cookies along with your browsing history.
So, there you have it. Whether you're a beginner or a tech-savvy iPhone user, understanding and realizing these benefits of clearing your browser history isn't just good for your phone but your digital well-being too. It's not just about how to clear your browsing history anymore but why you need to consider doing it. Now, moving on to the next phase of our discussion...
Steps to clear browser history on iPhone

Clearing your browser history on your iPhone is a piece of cake. Whether you're a seasoned tech guru or just getting started, we'll guide you through the process step by step.
Step 1: Open Safari
Start by launching the Safari app on your iPhone. It's typically found on the main screen but might also be in a folder labeled "Utilities".
Step 2: Access Browser Settings
Once Safari is open, find the iconic book-like symbol at the bottom of the screen and tap on it. This will lead you to your bookmarks. In the upper left corner, you'll see an option labeled "History". Tap on it to access your Safari browsing history.
Step 3: Clear Browsing History
When you see your browsing history, there will be an option in the lower right corner that says "Clear". Tapping on this gives you multiple options: "The Last Hour", "Today", "Today and Yesterday", or "All Time". Choose the one that suits your needs.
Remember, clearing out your "All Time" history will not only free up more space on your iPhone but also eliminates potential tracks for targeted ads.
Step 4: Confirm Deletion
After selecting the range, a confirmation box will pop up asking if you're sure about clearing the selected history. Tap "Clear History" to finalize the process.
And just like that, it's done! You've successfully cleared your browser history on your iPhone. It's important to regularly follow these steps to boost your device's performance, ensure privacy, and tackle personalized ads head on.
Step 1: Open the Settings app

Now that you understand the importance of regularly clearing your browsing history, let's dive into how exactly you can do this on your iPhone. Remember, the process isn't as daunting as it might initially sound.
Your first move is to locate the Settings app on your iPhone. It's a grey icon with a combination of gears forming an intricate symbol. You'll typically find this app on your home screen. If you have trouble spotting it, you can pull down on your home screen and utilize the search function to locate it. Simply type 'Settings' into the search bar, and voilà! The settings icon will promptly appear for your ease of access.
So, tap on the Settings app. It's your gateway to the inner functionalities of your iPhone, including managing your browser history. It may come as a surprise, but this humble app controls many aspects of your iPhone's behaviour—everything from Wi-Fi connections to wallpaper settings.
Upon opening the Settings app, you'll be greeted by a long list of options. This list is segmented into various categories, each catering to a different aspect of your iPhone's functionalities. Your current mission is to maneuver through these settings to find the relevant ones for clearing your browsing history.
So don't fret, you're moving in the right direction. Just remember to keep an eye out for the next steps in searching, identifying, and clearing your browsing history. It won't be the same as climbing a mountain, but it's definitely a skill worth mastering to manage your digital footprint and maintain optimal iPhone performance. Let's forge ahead.
Step 2: Find and tap on Safari

Moving on with the process, find Safari in your Settings. Among the vast options, locating this particular one might seem like a daunting task. Don't you worry; it's easier than you think!
Surprisingly, your iPhone's settings menu is more organized than it might initially appear. The applications are listed in a neat, alphabetical order. So, instead of stressfully scrolling through the various options, make your way downward till you find Safari, perfectly sitting between Reminders and Siri & Search.
The moment you spot Safari, tap on it. This will lead you to a fresh menu, packed with all the options you need to tinker with your Safari browser settings.
While it might seem tempting to play around with these options, your focus should stay directed on the mission at hand. That's right - finding and clearing your browsing history to improve your iPhone's performance, maintain privacy, and prevent targeted ads is your ultimate goal!
Let's proceed to the next step, pushing forward on the journey of achieving a cleaner, faster, and more private browsing experience.
Step 3: Scroll down and tap on Clear History and Website Data

Once you've found Safari in your Settings, your journey to a fresh slate of browser history isn't far off. Take a moment to scroll down through the menu. It's meticulously organized, and as you navigate, you'll discover the Clear History and Website Data tab. You'll find that tab located towards the bottom of the Safari settings menu. With a tap of your finger, you will be one step closer to eliminating your browsing history.
It's essential to pause here and understand precisely what this action will do. Tapping Clear History and Website Data not only clears your browsing history, but also your cookies and cache data. While this move is excellent for your privacy and potentially beneficial for your iPhone's performance, it may also log you out of any websites where you're currently signed in, even those on auto-login.
Of course, if staying logged into certain sites is a concern, you can always reenter your login details after completing this process. Or, you may opt to keep a list of crucial logins handy for re-entry right after the history clean-up. In a digital world where privacy is increasingly precious, taking time to re-login represents a reasonable trade-off for the enhanced security and improved performance of your iPhone.
Don't forget, this action is irreversible once done. So, take a moment, weigh the pros and cons, and when you're ready, tap that button. Lastly, a dialog box will appear to confirm your action. A cautionary prompt designed to safeguard against accidental taps, this pop-up simply awaits your definitive 'Clear' command before proceeding. So when you're sure, go ahead and finalize your decision. Embrace the optimized browsing experience that awaits on the other side.
See? It's as simple as that - straightforward, organized, and effective for regular iPhone maintenance. You've got the know-how to keep your browsing history under control, maximizing your online privacy and security. In this vast, ever-expanding digital landscape, you are fully empowered to guard your online footprints, ensuring a secure, uncluttered, and seamless browsing journey.
Step 4: Confirm the action
Once you've tapped on "Clear History and Website Data", a pop-up message will appear on your screen. Apple ensures to take that extra step to reconfirm your action. After all, you're about to wipe clean all the browsing history, cookies, and cache data stored in Safari. This is an irreversible task, once done, there is no coming back.
In this pop-up, you'll see a title that states, "Clear History and Data". Below it, Apple provides a brief reminder of what this action entails. It's a final warning that clearing will remove history, cookies, and other browsing data. Remember, your AutoFill information won't get deleted.
What you need to do next is tap on the red text that says "Clear History and Data". Be certain that this is what you want to do. If you're hesitant or want to double-check any details, tap on "Cancel". This gives you the chance to reconsider or verify any particulars you're not sure about.
However, if you're definite about your choice, go ahead and tap "Clear History and Data". Your iPhone will then process your request. You might notice that Safari becomes momentarily non-responsive. That's nothing to be worried about! It's just your device working to clear all that data.
After a few moments, Safari will be back to its usual self, just somewhat leaner. Your stored website data and browsing history are now wiped clean. It's like giving your Safari a fresh start.
Still, you shouldn't be mistaken that clearing your browser history will result in a permanent loss of your favorite sites or most visited pages. Safari's got your back! The favorites you've marked and sites you visit frequently remain untouched, on standby for your next browsing session.
You've now taken a major step towards enhancing your device's performance and ensuring your online privacy. Just remember to keep track of your important logins as you'll need to reenter those next time you visit those sites. Indeed, giving your iPhone a "History Cleanup" every now and then is a savvy move.
Keep following along as there are more steps to this process in the next section. There, we’ll examine the more nuanced aspects of managing your web data and privacy settings.
Step 5: Clear your browsing history on other apps

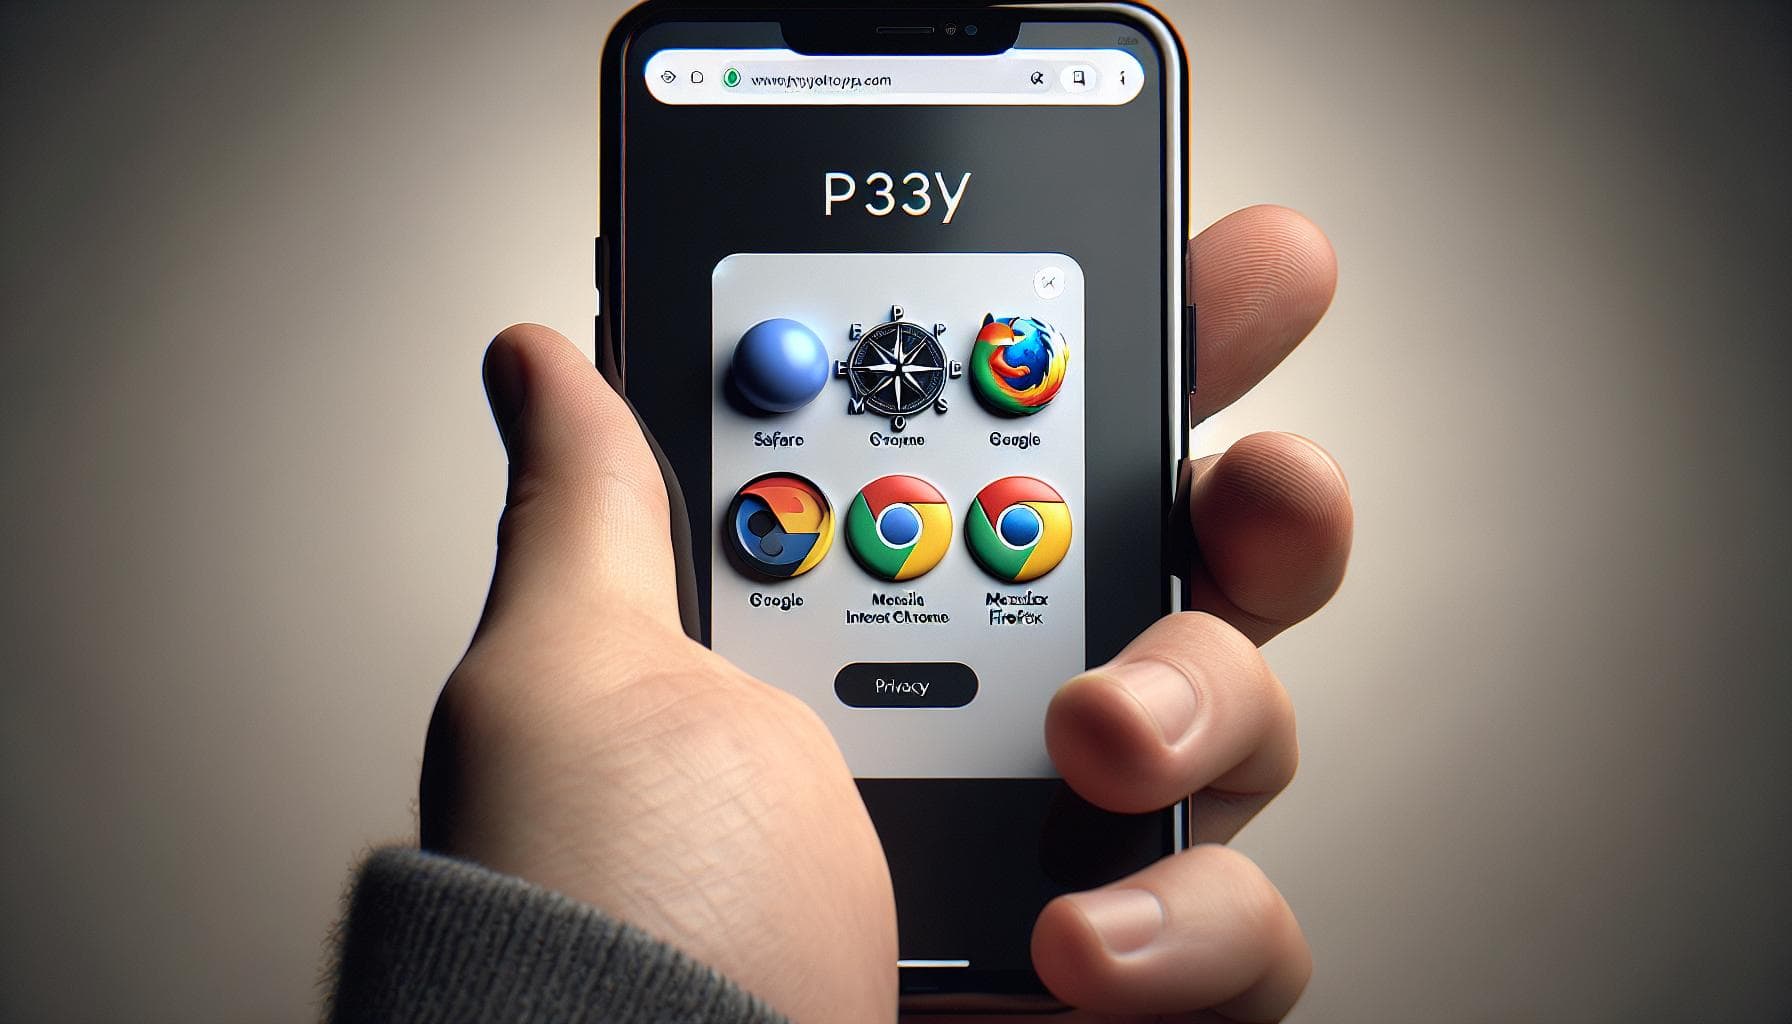
After you've successfully cleared your history on Safari, it's time to tackle your other apps. Many iPhone users don't realize that apps like Google Chrome, Mozilla Firefox, and even in-app browsers have their own browsing histories. These can also clog up your system, lead to frustrating slowdowns, or compromise your privacy.
Clearing History from Chrome
If you're a dedicated Chrome user, it's good to know how to clear your history here as well. First, open your Chrome app. Navigate towards the 'More' option situated at the bottom of your screen. In the dropdown menu, select 'History'. There you'll spot a 'Clear Browsing Data' option. Tap on it, select 'Browsing history', and hit 'Clear Data'.
Clearing History from Firefox
For Firefox zealots it's a similar process. Open up Firefox on your iPhone. Discover the hamburger icon (three horizontal lines) in the lower-right corner. Select 'Your Library' from the dropdown menu. Then, tap on 'History', and select 'Clear Browsing History.'
Remember: just like with Safari, these steps don't just erase your browsing history. They also remove cookies, cache data, and other browsing information. You might have to re-enter saved passwords and other data. Again, it's essential to keep your important logins handy.
This step may seem tedious but it will greatly enhance your iPhone's performance. It'll also offer a robust defence against targeted ads. Going that extra mile really pays off. Keep reading as we share even more ways to optimize your device experience. We'll even dive a little deeper into managing web and privacy settings like a pro.
Additional tips and precautions
When you're clearing your iPhone's browser history, there's a bit more to it than just hitting 'Clear'. You'll also want to keep a few important tips and precautions in mind. Whether you're a novice or a seasoned pro, these guidelines will save you a headache or two down the road.
To begin with, you should always sign out of your accounts before clearing the history. Let's say you've searched for a surprise gift for your significant other on a shared device. You've deleted your browser history, thinking you've covered your tracks. However, if you were logged into your Amazon or eBay account at the time, the search history within that account will still be visible. This could be a dead giveaway of your secret surprise. So, remember! Always sign out.
The second thing you'll want to remember is to update your password manager before clearing browser history. Many people rely on their browser's auto-fill functions to remember passwords. Keep in mind that clearing history, cookies, and cache data will also remove auto-fill information such as passwords. Hence, it's best to assure that all your passwords are stored somewhere safe.
- Consider using a dedicated password manager app: Apps like LastPass, 1Password, and Dashlane work great.
- Manually update with recent password changes: Always update your password manager with new passwords or changes
Taking Control of Your Privacy Settings
Beyond that, consider taking control of your browser's privacy settings. Many iPhone users tend to focus only on Safari settings, neglecting other browsing apps like Google Chrome and Mozilla Firefox. Each browser has unique settings and offers different levels of control over your personal data.
- Safari: Go to Settings -> Safari -> Privacy and Security
- Chrome: Settings -> Privacy -> Clear Browsing Data
- Firefox: Options -> Privacy -> Clear your recent history
Remember, browsing in private or incognito mode can help to minimize data stored in the history. But this isn't a foolproof way to maintain privacy. Always follow the best practices of digital hygiene, like regular clearance of browser history, to consistently command your browsing experience. Through these efforts, you're not only enhancing your device's efficiency, but you're also taking an important step toward protecting your privacy.
Conclusion
You're now equipped with all the knowledge you need to clear your browser history on your iPhone. Whether you're using Safari, Google Chrome, or Mozilla Firefox, you can handle it with ease. Remember, it's not just about keeping your browsing habits private, but also about enhancing your device's performance and dodging those pesky targeted ads. Don't forget those extra precautions like signing out of accounts and updating your password managers. Finally, take charge of your privacy settings in your chosen browser. With regular browser history clearance, you'll maintain a more efficient and private iPhone. Now, it's over to you to put this knowledge into action.
Frequently Asked Questions
How do I clear my browser history on an iPhone?
The article provides specific step-by-step instructions for clearing your browser history on Safari, Google Chrome, and Mozilla Firefox applications on an iPhone.
Why is it vital to clear my browser history regularly?
Regularly clearing your browser history can improve device performance, enhance privacy, and prevent targeted ads.
What additional precautions are mentioned in the article?
Before clearing your browser history, it's suggested to sign out of accounts and update password managers to prevent any accidental loss of information.
How can I manage my privacy settings?
The article recommends taking control of your privacy settings in each browser you use on your iPhone. This will further strengthen your online privacy protection.
Does clearing browser history improve device efficiency?
Yes, regular clearance of browser history boosts device efficiency by freeing up memory and improving browser performance.


